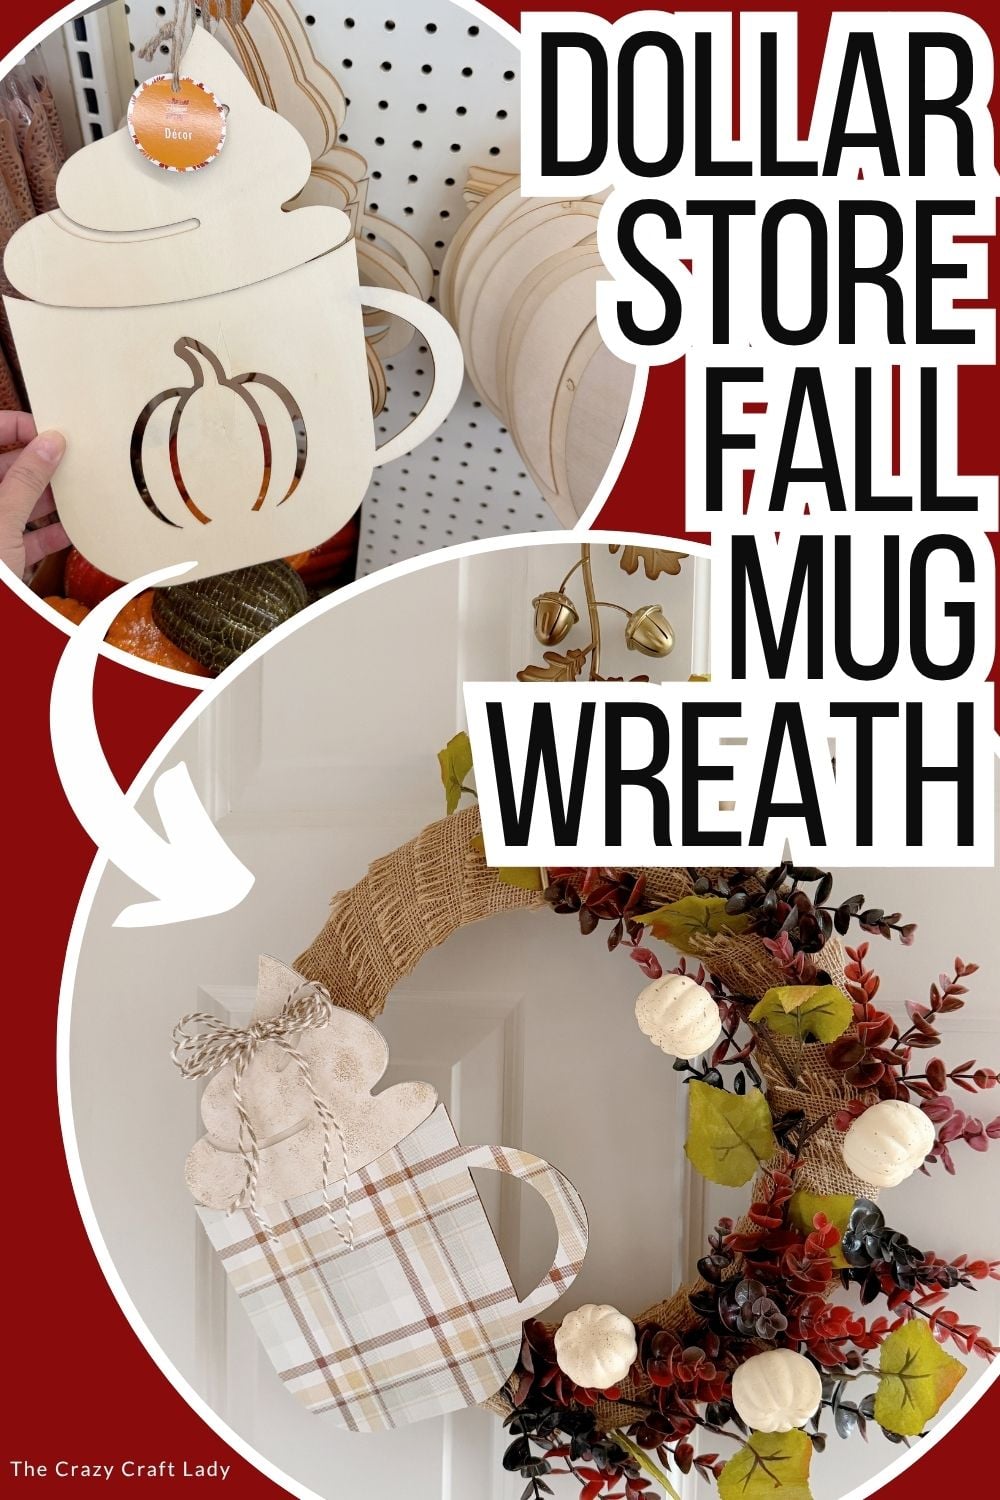
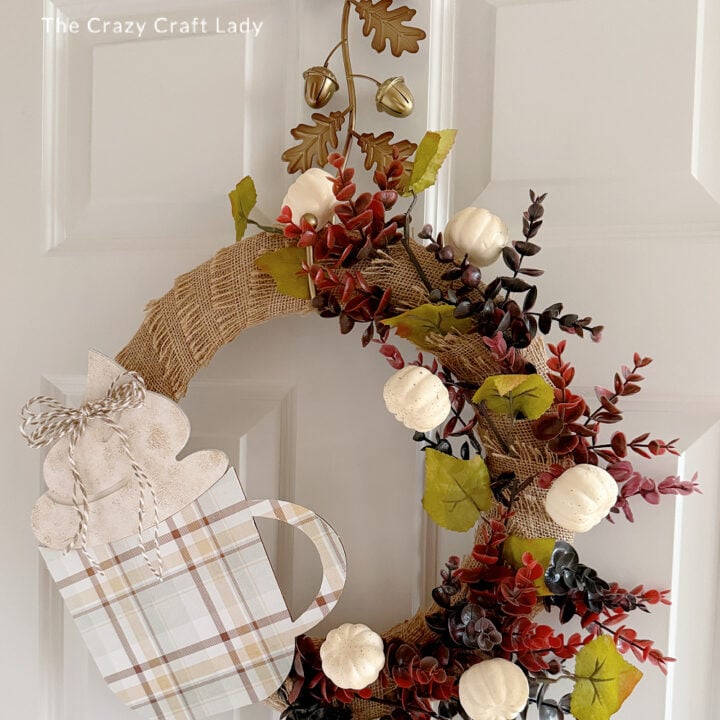
Make a dollar store fall mug cutout wreath with scrapbook paper, burlap, fall greenery, and an inexpensive Dollar Tree wood cutout.
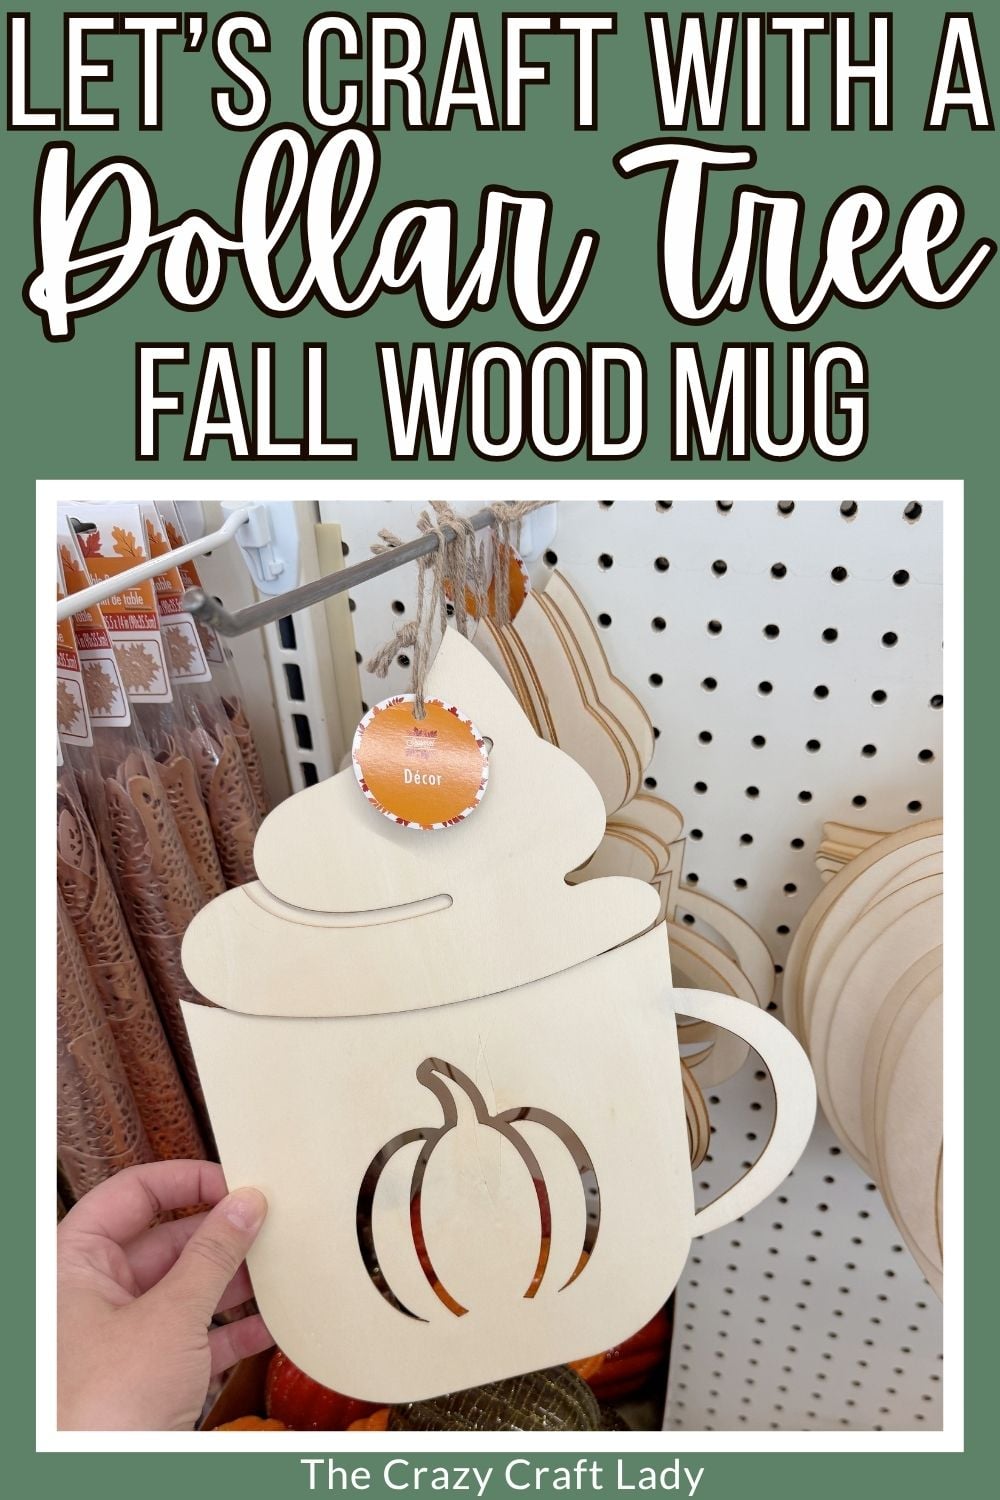
How to make a Dollar Store Fall Mug Cutout Wreath.
This post contains some affiliate links for your convenience. Click here to read my full disclosure policy.
Dollar Store Fall Mug Cutout Wreath
I haven’t made a wreath in a while, and apparently I was a little rusty because this project involved a bit of trial and error. But that’s crafting, right?
For this dollar store fall mug cutout wreath, I started with one of those cute Dollar Tree wooden fall mug cutouts—the kind that looks like a pumpkin spice latte topped with a giant swirl of whipped cream. I gave the mug a plaid scrapbook paper makeover, added some cinnamon-speckled “whipped cream,” and paired it with burlap and fall greenery to create an easy fall wreath.
Did I glue the mug onto the wreath, realize I’d wrapped the burlap in the wrong direction, rip it off, rotate everything, and glue it back on? Yes. We’re calling that part of the creative process.
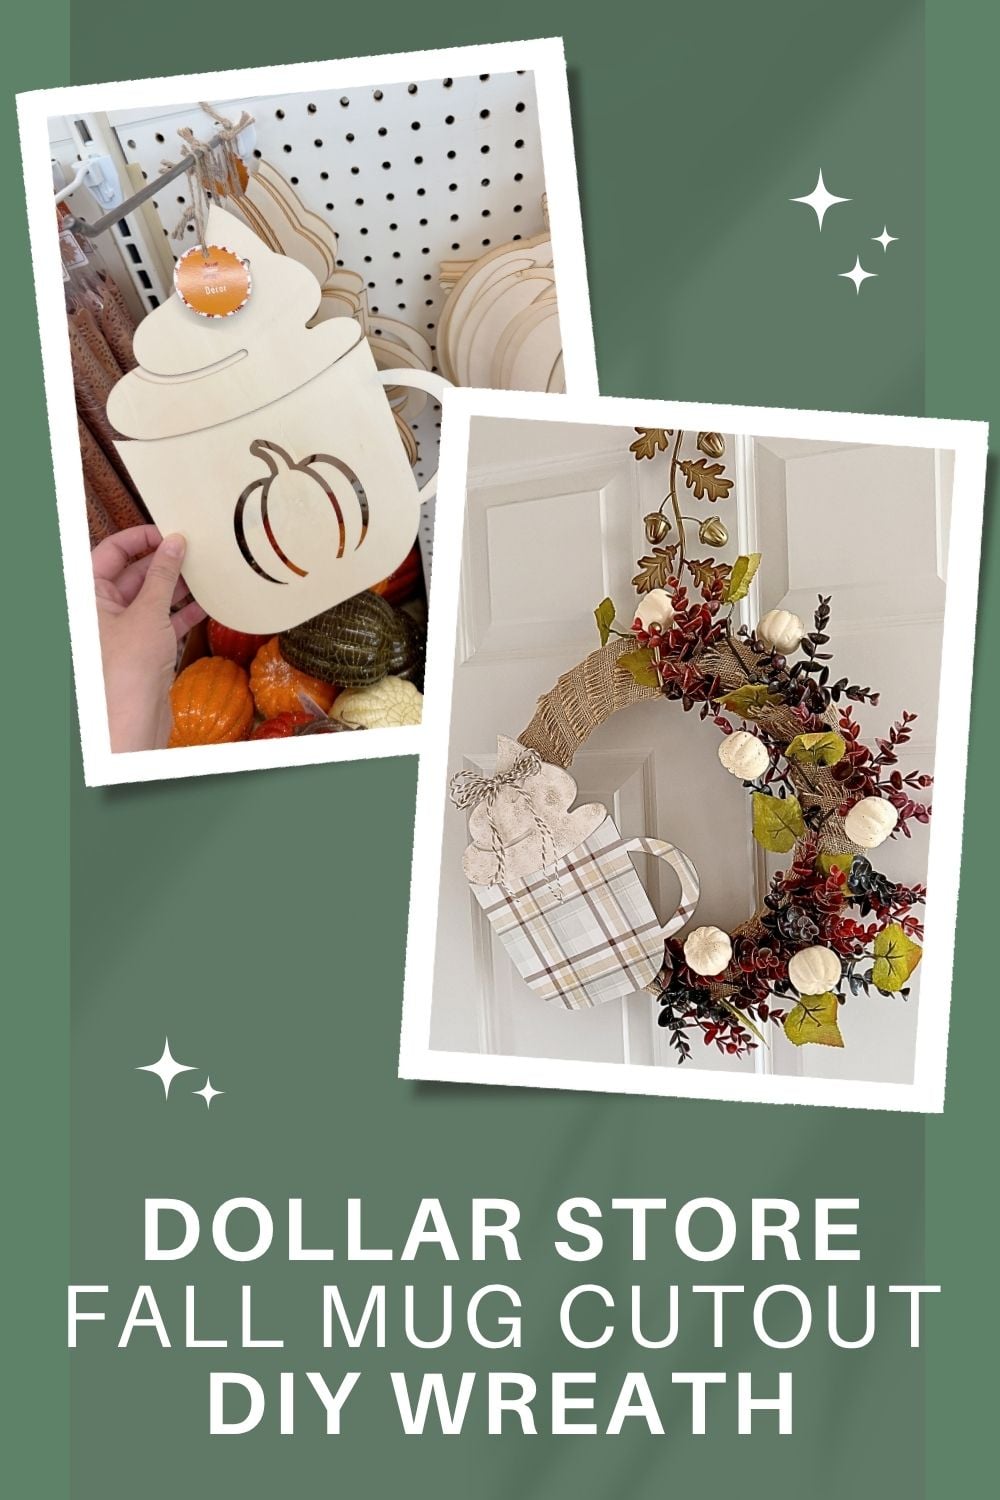
DIY Dollar Store Fall Mug Cutout Wreath
The wooden mug is definitely the star of this wreath, and there are so many ways you could customize it. Pick scrapbook paper that coordinates with your fall decor, then use whatever faux greenery, leaves, berries, or mini pumpkins you already have in your craft stash.
I went with a plaid paper, burgundy eucalyptus, and little white pumpkins for a slightly more neutral take on traditional fall colors.
Video Tutorial: Dollar Store Fall Mug Cutout Wreath
Watch this quick video to see how this craft came together:
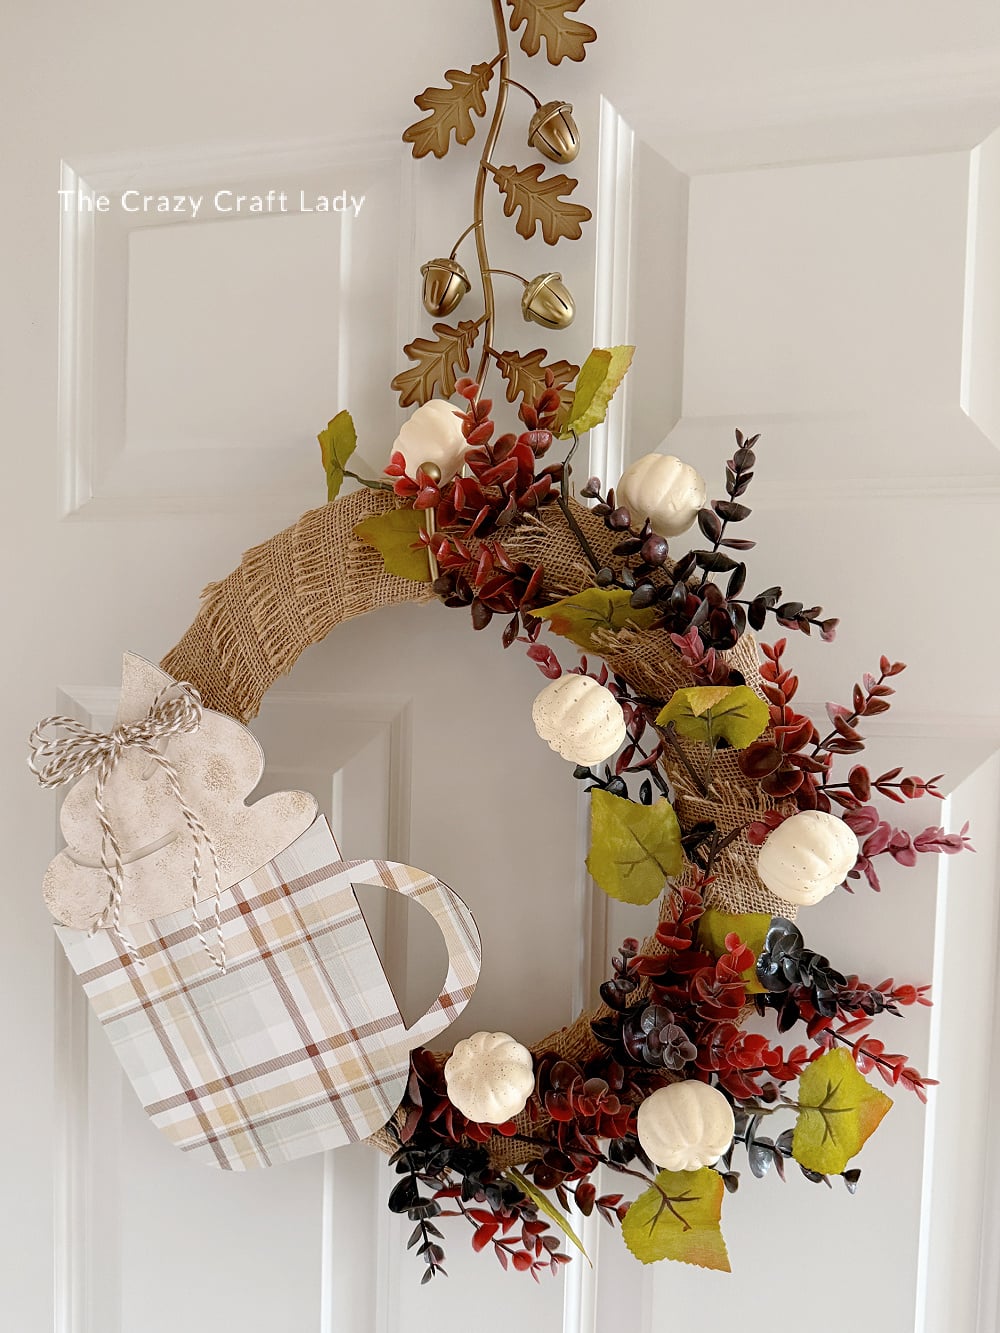
Dollar Store Fall Mug Wreath
Create an easy dollar store fall mug cutout wreath using a wooden mug, burlap, scrapbook paper, and seasonal florals.
Materials
- Dollar Tree fall mug wood cutout
- Fall scrapbook paper
- Mod Podge
- Parchment paper
- Antique white craft paint
- White craft paint
- Light brown or tan craft paint
- Wire wreath form
- Burlap or burlap ribbon
- Faux fall greenery
- Mini pumpkin floral picks
- White and tan twine
Tools
Instructions
- Watch the Video Tutorial. Watch the video tutorial above to see a walkthrough of how to make your own mug fall mug wreath.
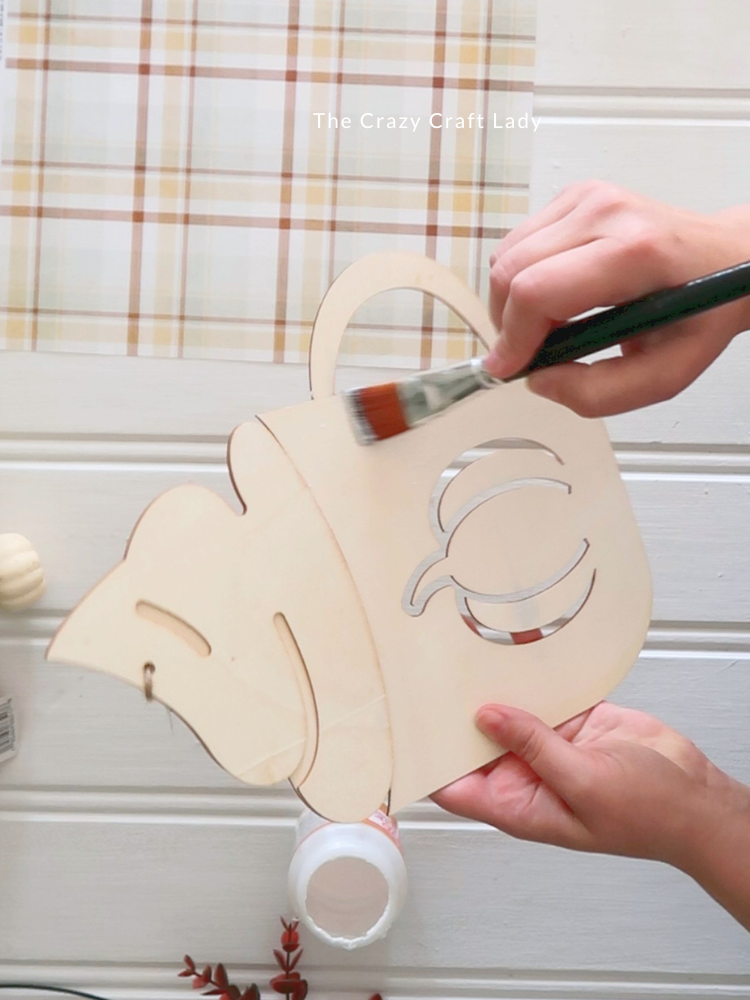
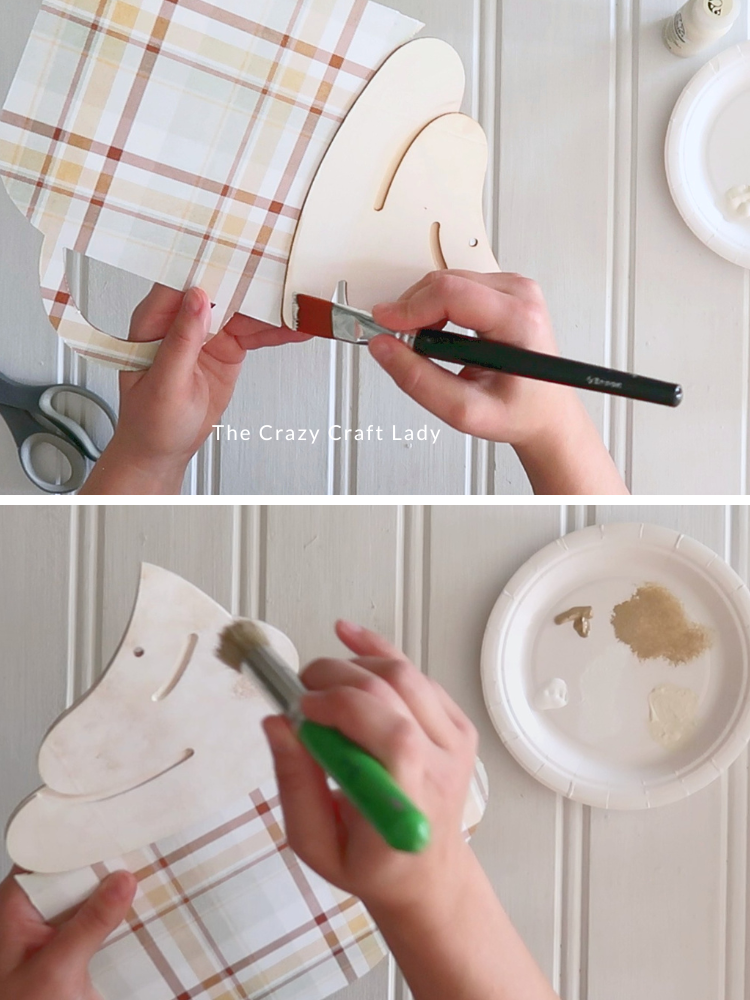
- Decoupage the Mug. Apply an even layer of Mod Podge over the front of the mug portion of the wood cutout, leaving the raised whipped cream section alone. Let the Mod Podge dry completely.

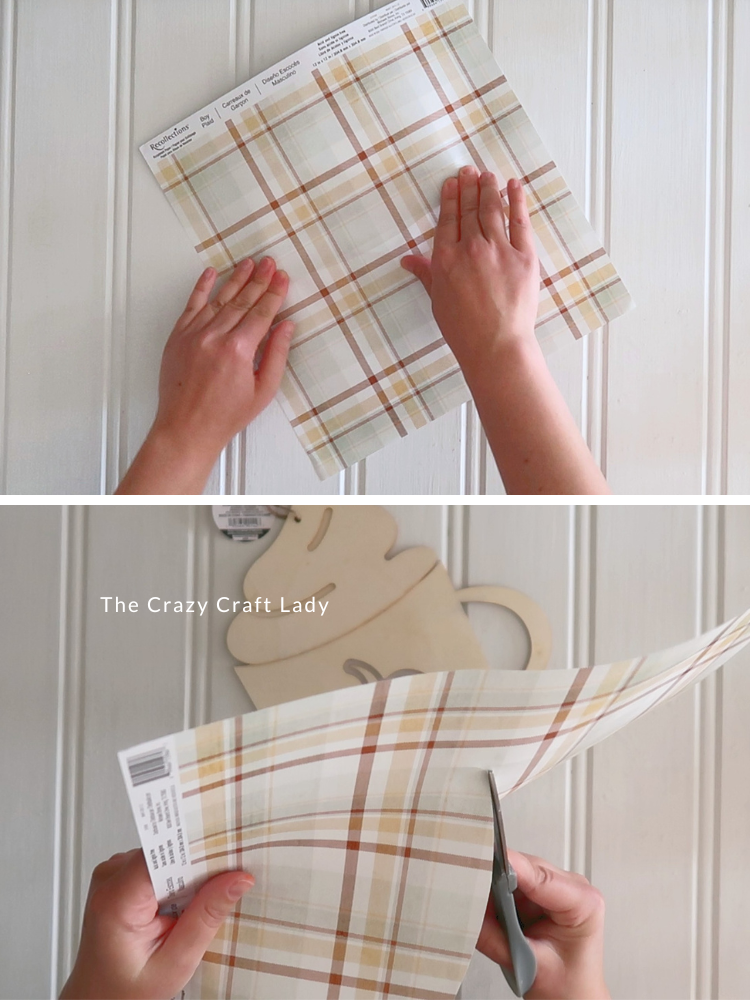
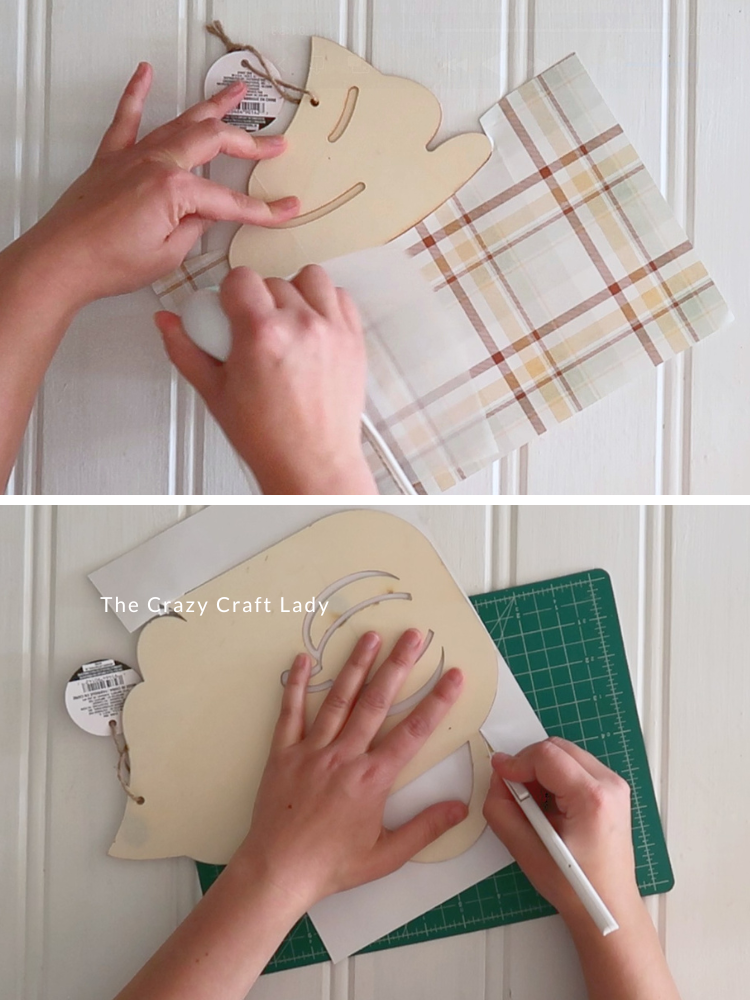
- Add Scrapbook Paper. Cut your scrapbook paper slightly larger than the mug. Press it against the cutout to mark the curved edge underneath the whipped cream, then trim that curve with scissors. Position the paper over the mug, cover it with parchment paper, and use a mini heat press to reactivate the Mod Podge underneath.
- Trim the Paper. Place the mug face-down on a cutting mat and carefully use a craft knife to trim away the excess scrapbook paper. I simply followed the outside edges of the mug and handle and skipped right over the raised pumpkin detail.
- Paint the Whipped Cream. Paint the raised whipped cream portion with an antique white or cream-colored craft paint. Once dry, use a pouncer brush and a tiny amount of white paint to add some texture. Then lightly pounce on a little tan or light brown paint.
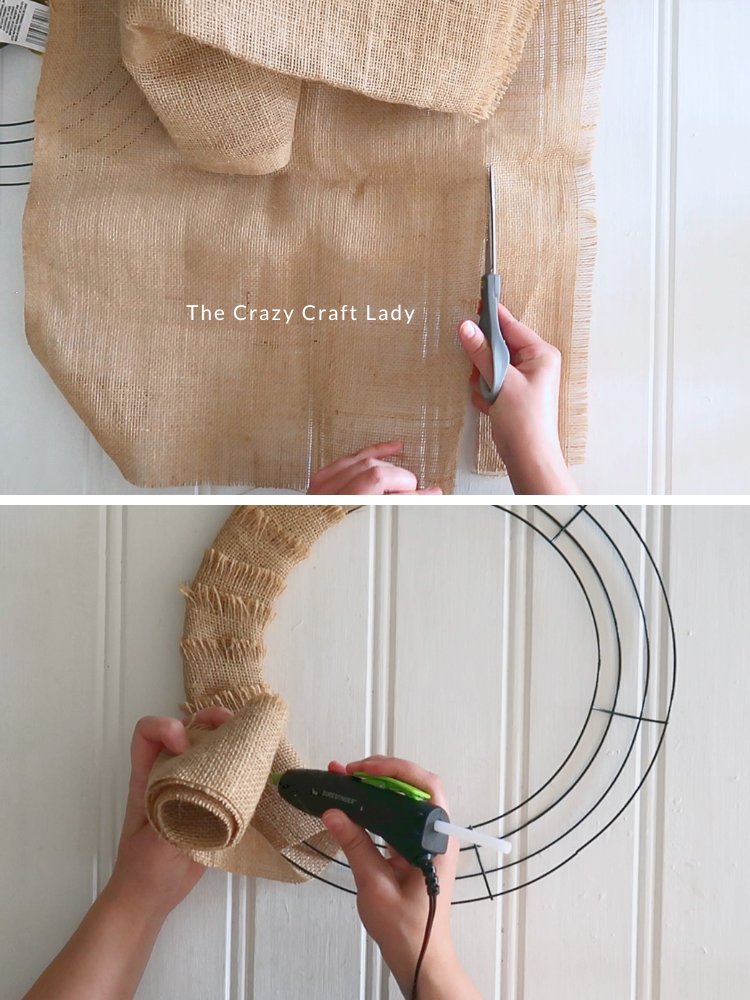
- Wrap the Wreath Form. Cut a strip of burlap approximately three inches wide, or use burlap ribbon. Hot glue one end to the wire wreath form and tightly wrap the burlap around the entire wreath. Overlap each wrap enough to completely cover the wire, adding a dab of hot glue every few wraps to keep everything secure.
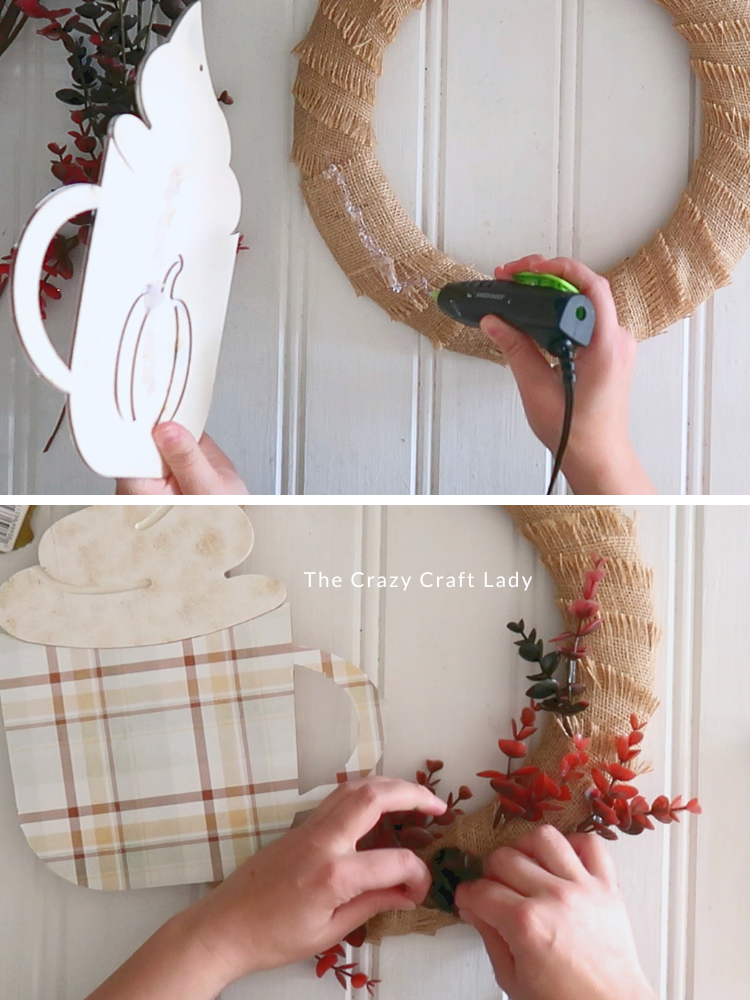
- Attach the Fall Mug Cutout. Hot glue the decorated mug to the left side of the wreath. Pay attention to which direction the burlap overlaps. You want the little openings between the layers facing in a direction that makes it easy to tuck your floral stems inside.
- Add the Fall Greenery. Cut your faux greenery into smaller sprigs and tuck the stems between the layers of burlap. I started with burgundy-brown eucalyptus and then added green leaves with little white pumpkins, concentrating everything along the right side of the wreath opposite the mug. The burlap held my stems surprisingly well, but you can add a little hot glue if yours need extra help staying in place.
- Add a Twine Bow. Wrap white and tan twine around your hand about five times. Slide the bundle off, pinch it in the center to create a figure-eight shape, and wrap another piece of twine around the middle. Tie everything securely, cut and trim the tails, and hot glue the bow to the top of the mug.
Easy Fall Wreath Using Dollar Store Craft Supplies
This dollar store fall mug cutout wreath is a fun way to take one of those seasonal Dollar Tree wood blanks and turn it into something completely different.
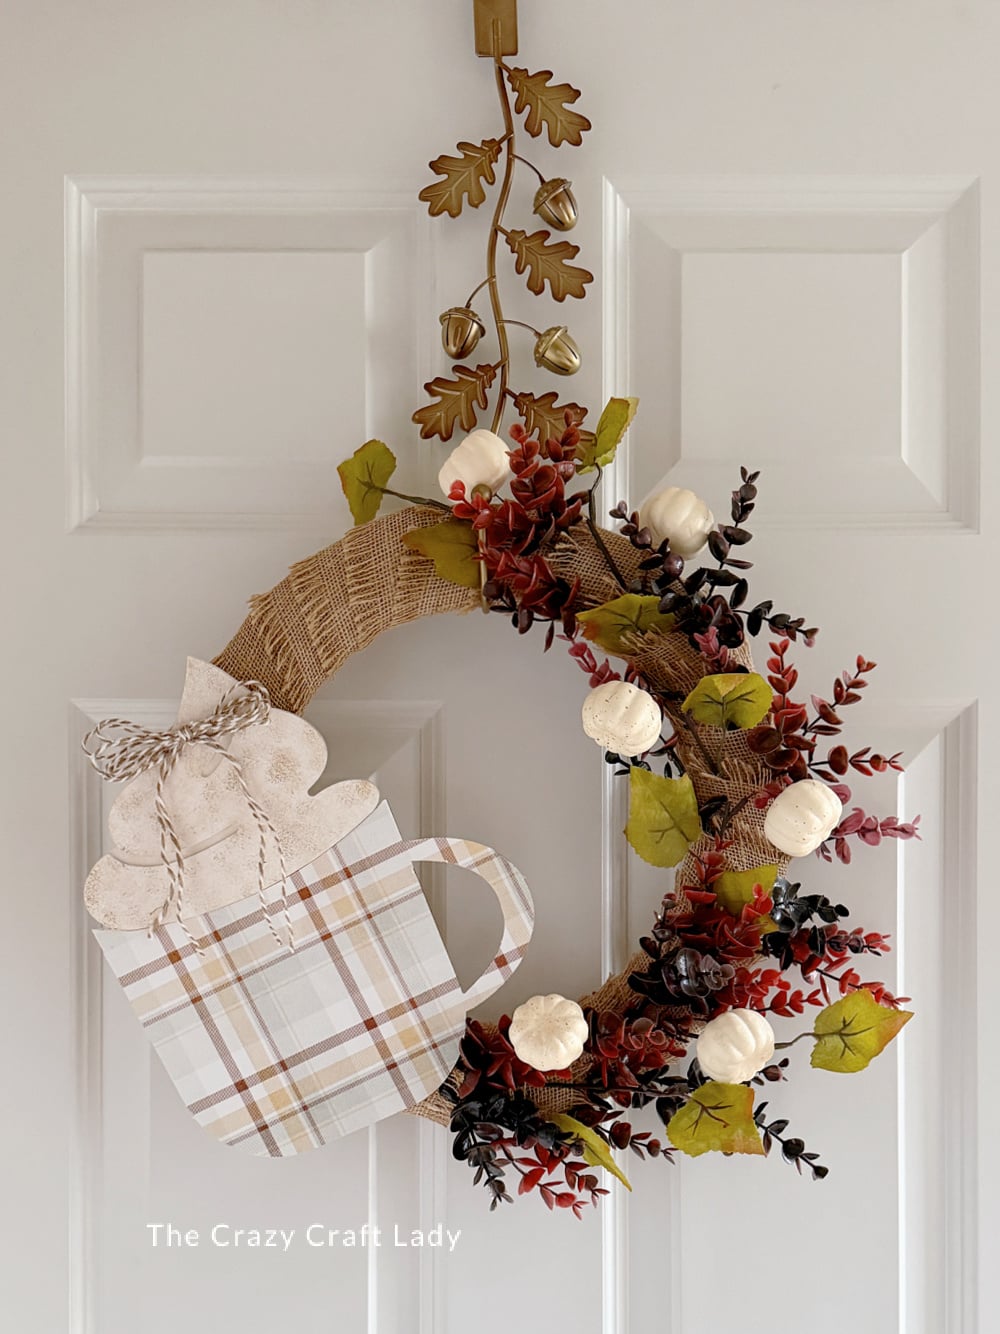
I especially love the decorated mug itself. The plaid scrapbook paper and textured whipped cream give a basic wood cutout so much more personality, and you could easily change the entire look just by switching out the paper and florals.
If I made this wreath again, I might use a slightly larger wreath form so the proportions between the mug and wreath feel a little more balanced. Not every craft comes off the table with me thinking, don’t change a thing.
But that’s okay. Sometimes the projects that make you work for it give you the best ideas for the next one.
PIN this Fall Wreath for Later: