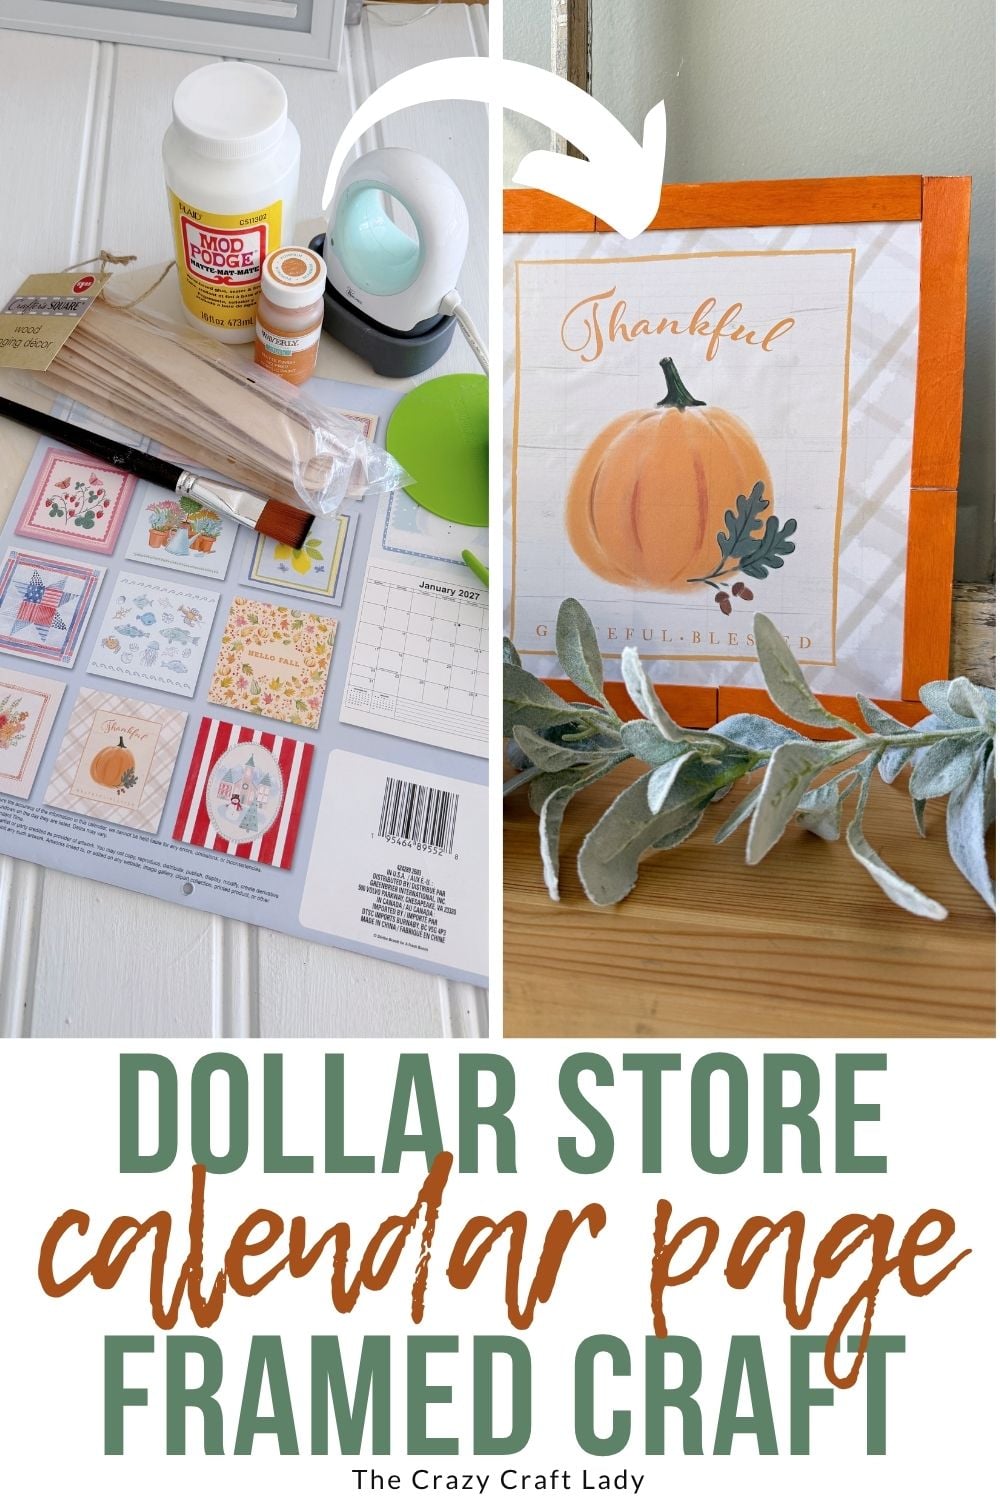
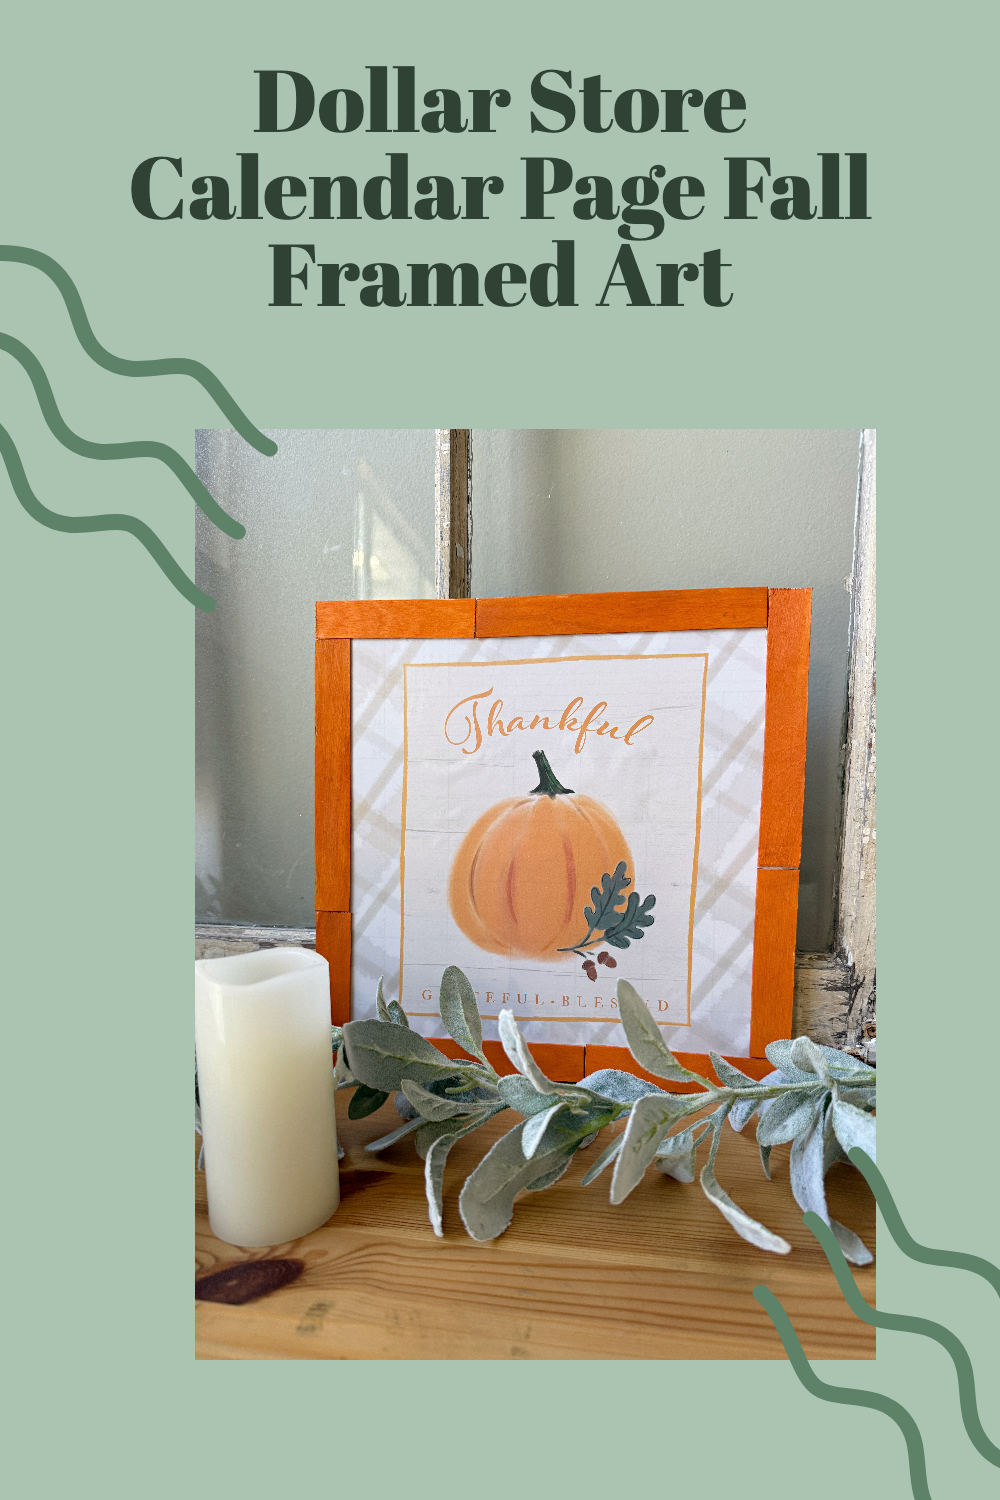
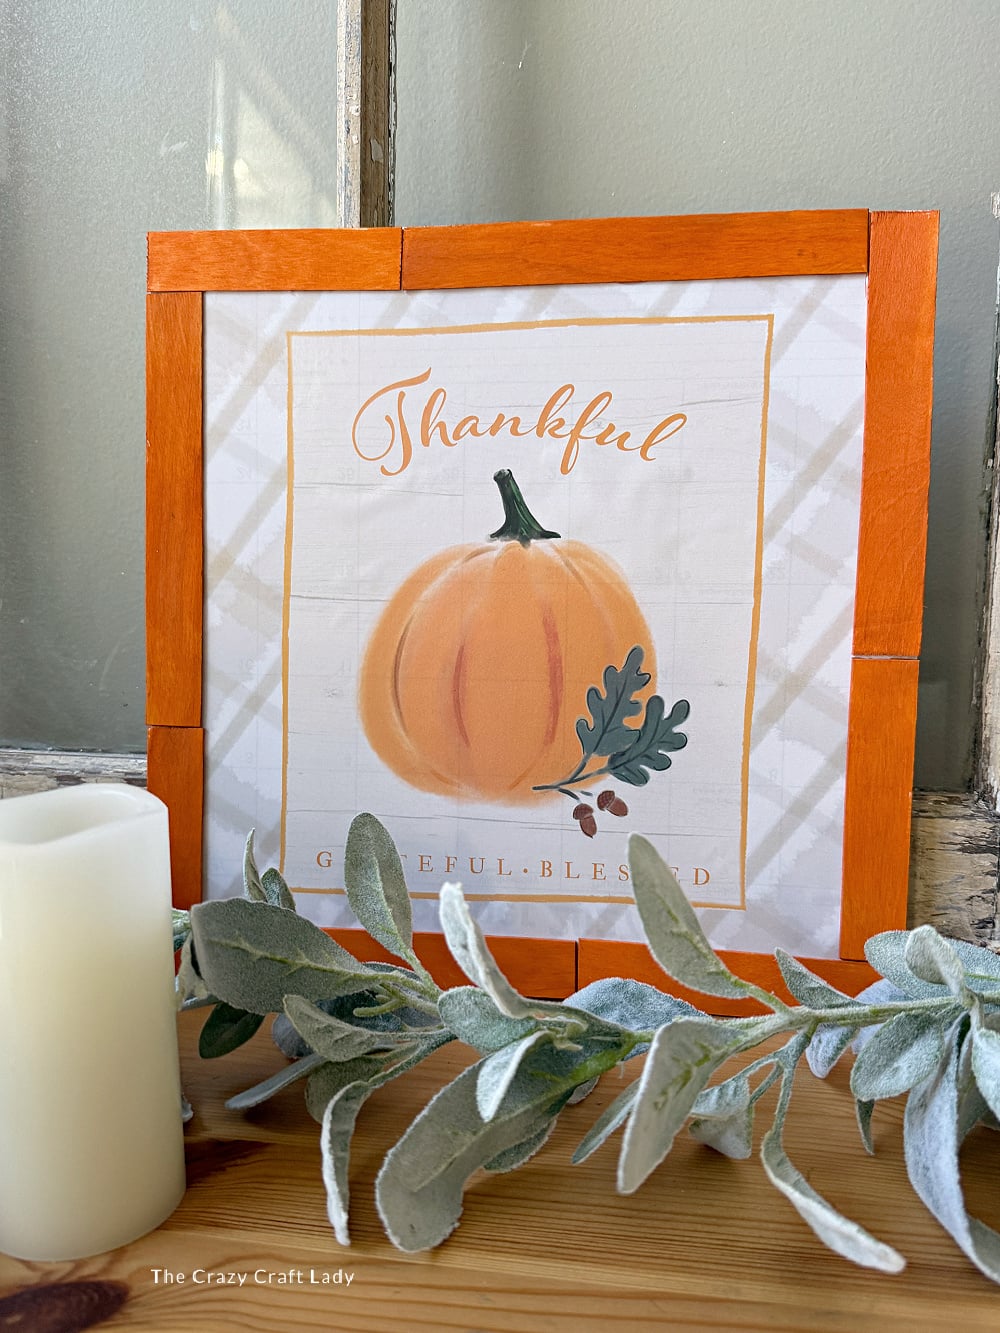
Make a DIY Dollar Store calendar page fall sign with a wood sign, Mod Podge, and craft sticks for an easy, inexpensive fall decor project.
This post contains some affiliate links for your convenience. Click here to read my full disclosure policy.
Dollar Store Calendar Page Fall Pumpkin Sign with a DIY Orange Frame
Dollar Store calendars are basically giant packs of craft paper disguised as calendars. And when you find a calendar page this cute, obviously it needs to become fall decor!
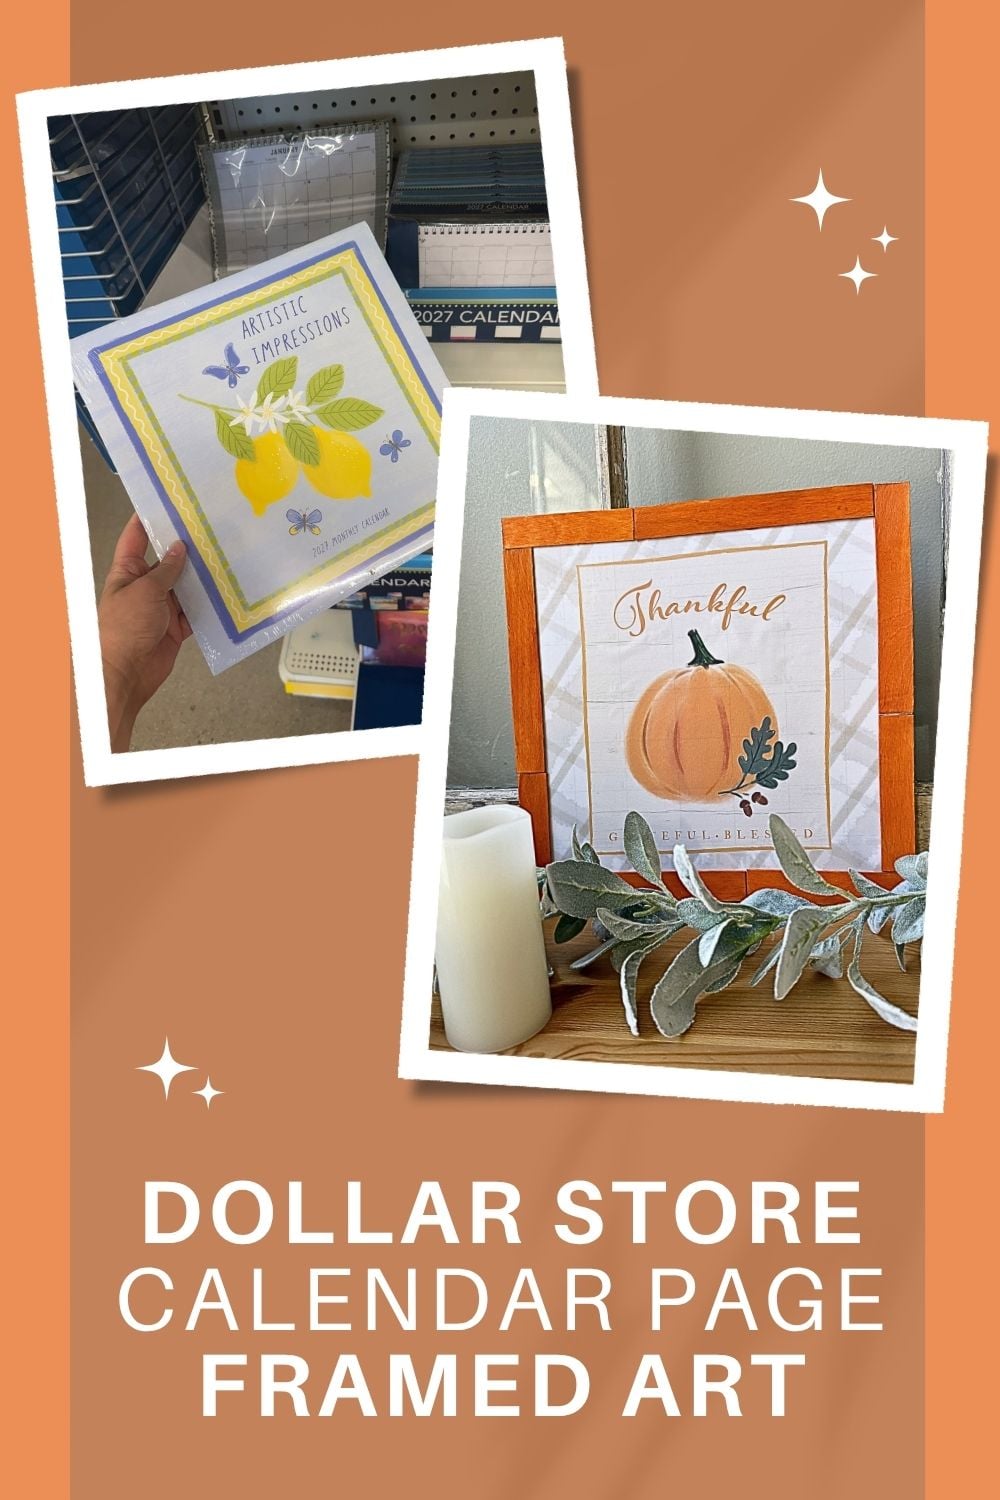
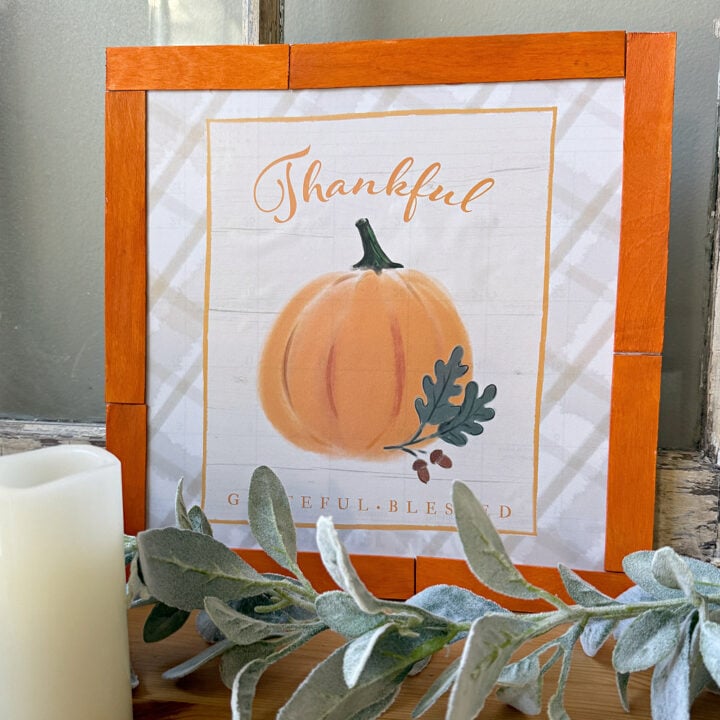
For this DIY Dollar Store Calendar Page Fall Sign, I paired a pretty “Thankful” calendar page with one of those square wood signs from the Dollar Tree craft aisle. The sign is almost exactly the same size as the calendar page, which makes this project ridiculously easy.
Add a handmade frame from jumbo craft sticks, and you’ve got inexpensive fall wall decor that looks way more finished than the supplies would have you believe.
Video Tutorial: Dollar Store Calendar Page Fall Sign
Watch this quick video to see how this craft came together:
Dollar Store Calendar Page Fall Sign
Turn a Dollar Store calendar page into a framed fall sign using the heat-press Mod Podge method for a smooth, wrinkle-free finish.
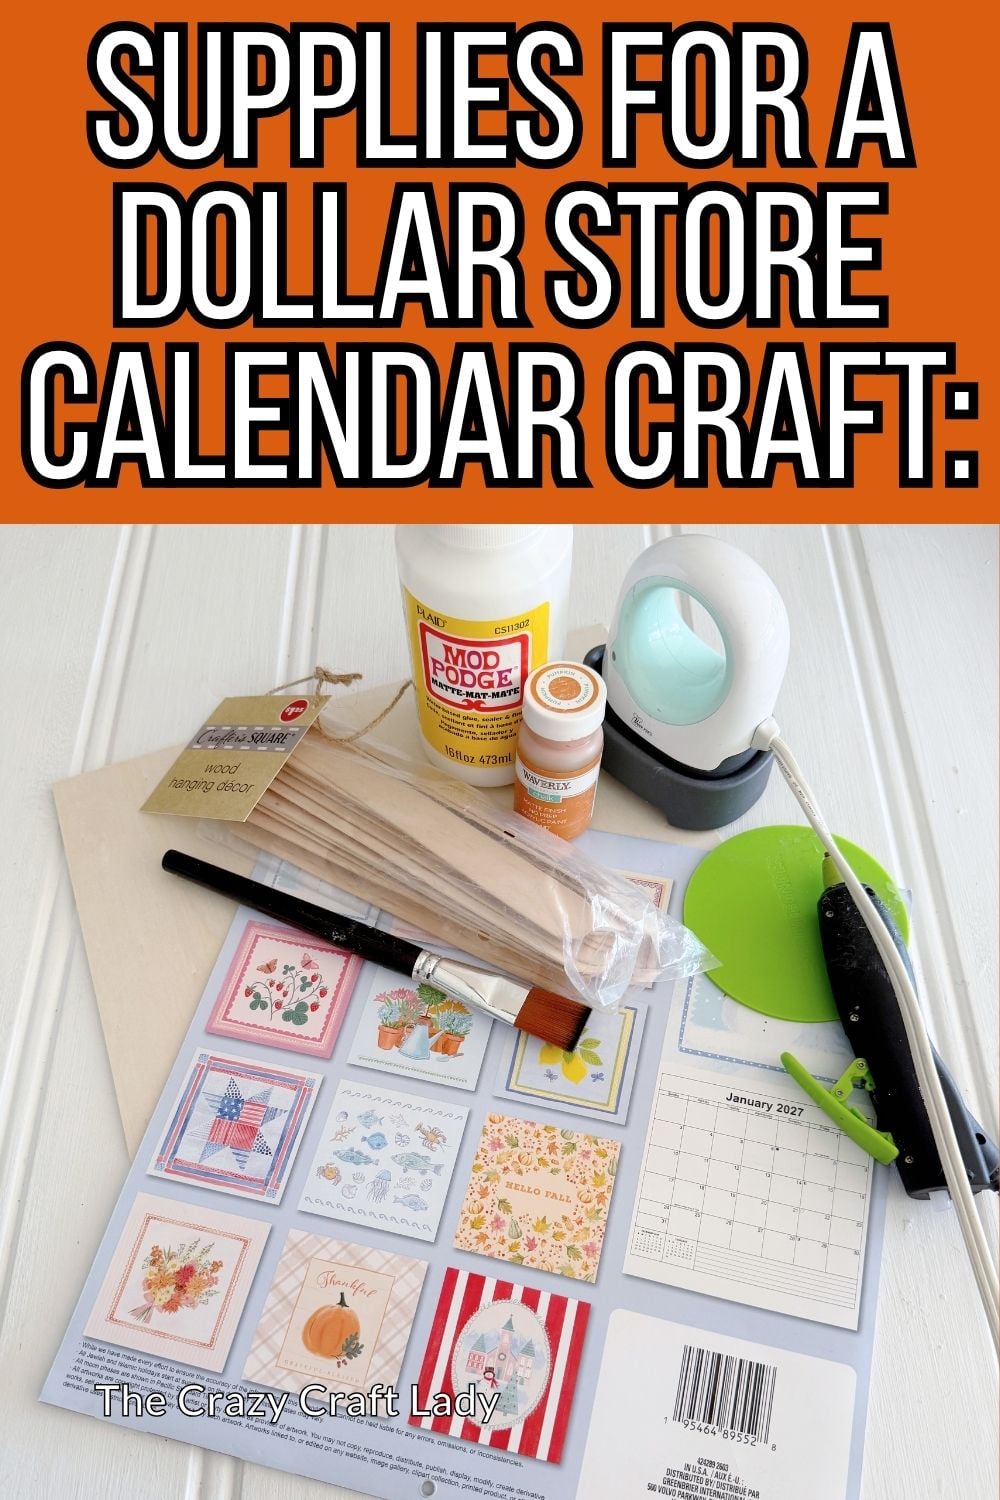
Materials
- Square Dollar Store wood sign
- Fall calendar page
- Mod Podge
- Parchment paper
- Jumbo craft sticks
- Orange craft or chalk paint
- E6000 glue
Instructions
- Watch the Video Tutorial. Watch the video tutorial to see how I use the heat-press method to get a smooth, wrinkle-free calendar page.
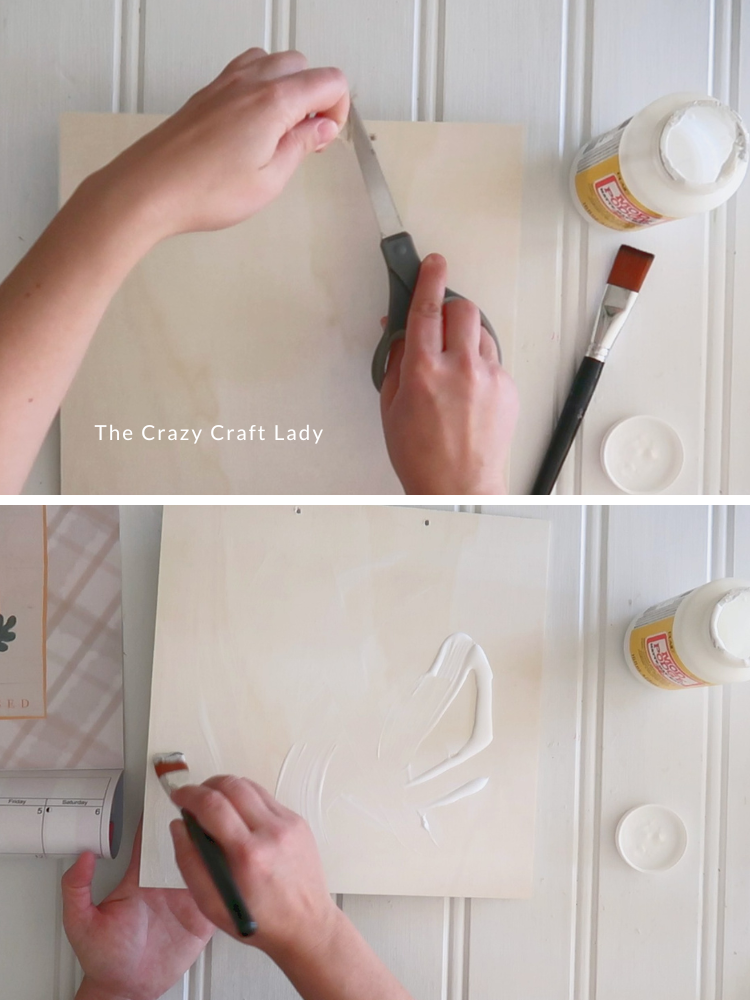
- Apply the Mod Podge. Brush a generous, even coat of Mod Podge over the entire front of the wood sign. Set it aside and let it dry completely before adding the calendar page.

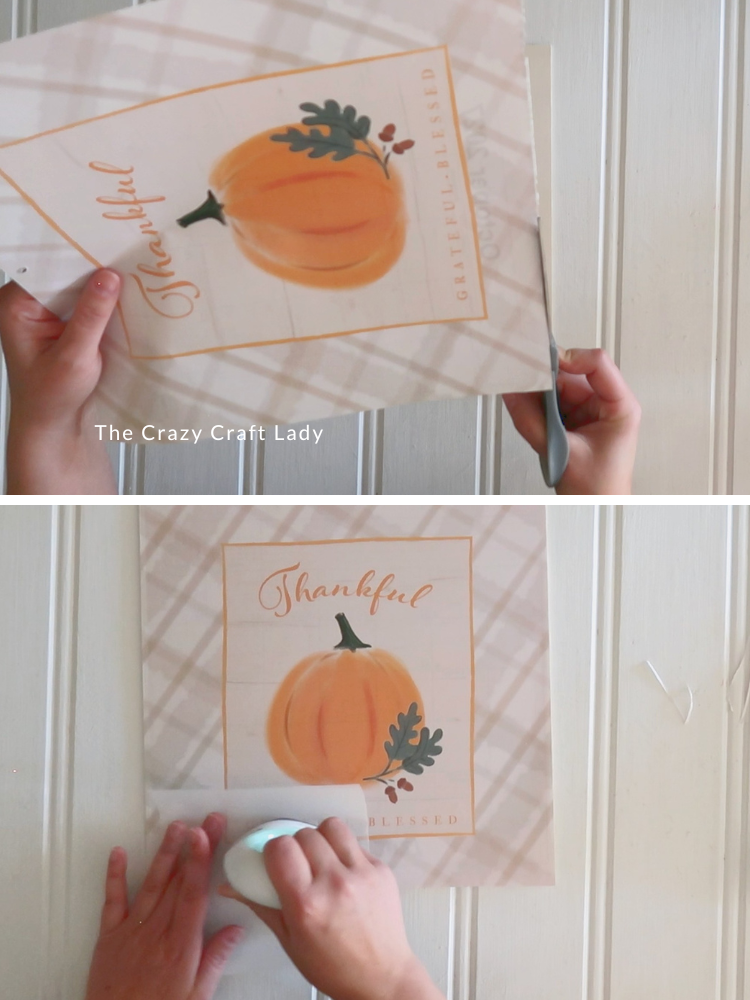
- Attach the Calendar Page. Trim the calendar page and center it over the dried Mod Podge. Cover it with parchment paper, then use a mini heat press or dry household iron to reactivate the Mod Podge. Start in the center and work outward.
- Trim the Edges. If the calendar page extends beyond the wood, trim away the excess with scissors or a craft knife. Heat press the edges again if needed.
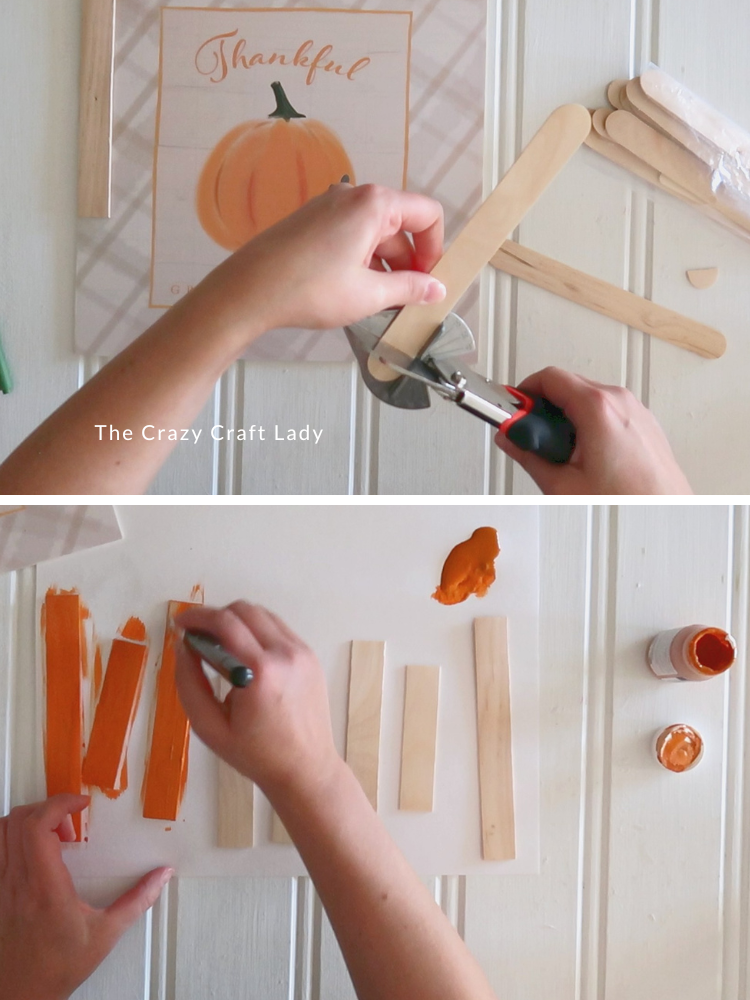
- Make the Frame. Cut jumbo craft sticks to fit around all four sides of the sign. I used two pieces per side and embraced the slightly mismatched lengths for a more rustic, handmade look.
- Paint the Frame. Paint the craft-stick pieces orange. I used Waverly chalk paint in — appropriately enough — Pumpkin. Paint the fronts and visible edges, then let everything dry.
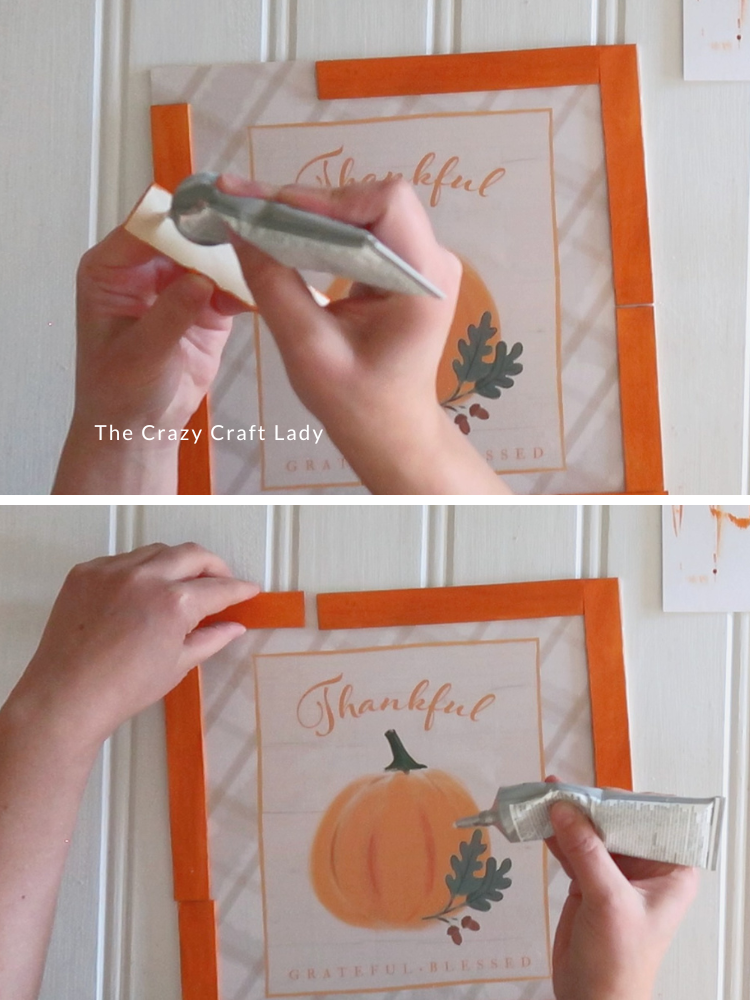
- Glue the Frame in Place. Arrange the painted craft sticks around the calendar page and glue them down with E6000. Let the glue dry completely before displaying your finished sign.
Easy Fall Decor From a Calendar Page
Once everything is dry, your new fall sign is ready to display. Add a hanger to the back for wall decor, prop it on a shelf, or tuck it into a fall mantel or tabletop display.
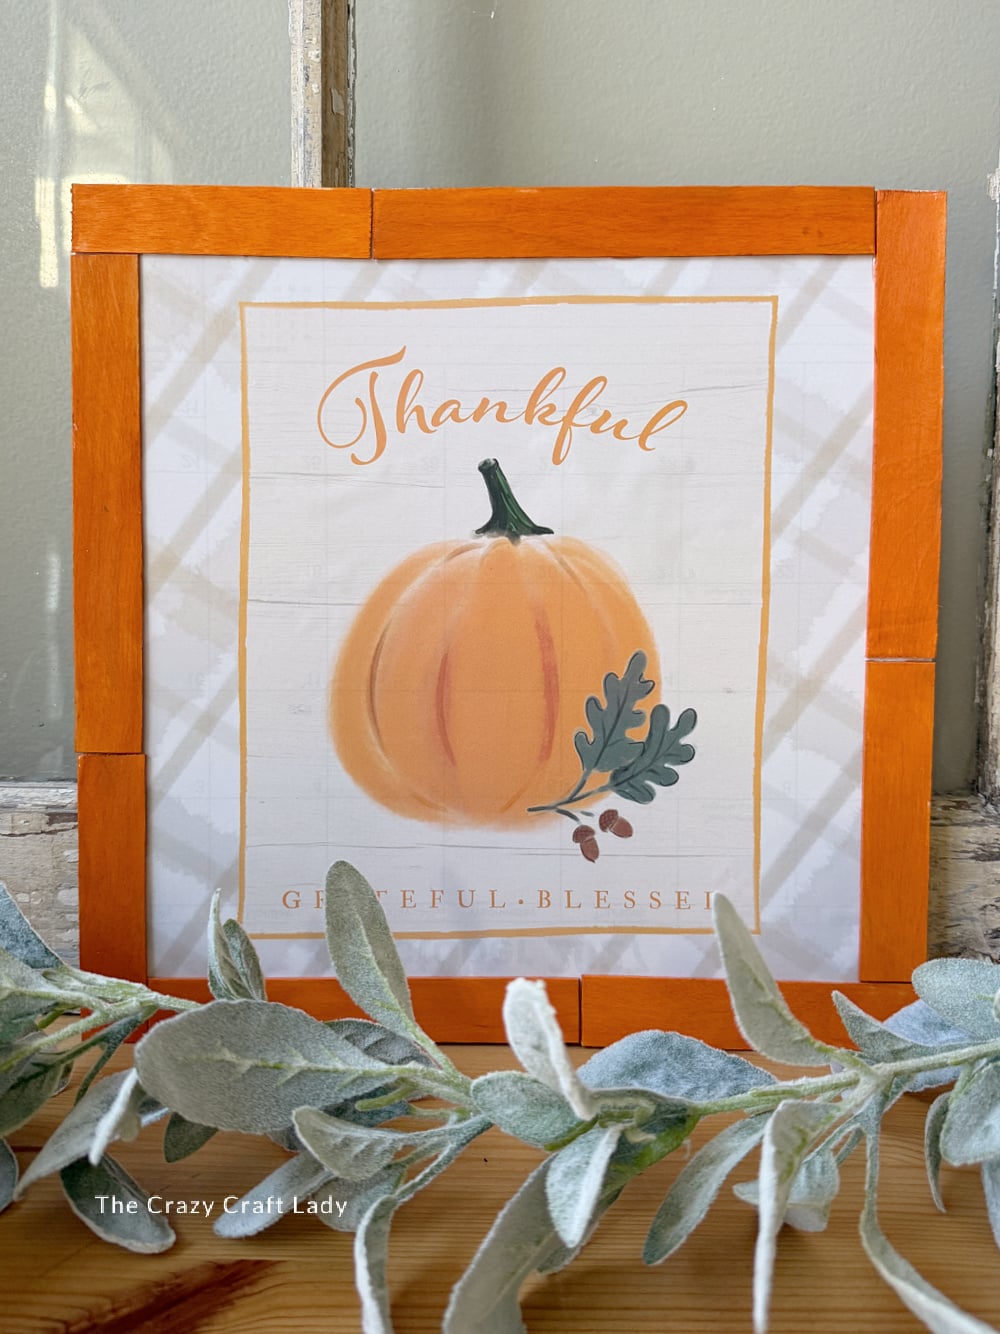
And don’t feel like you have to find this exact “Thankful” calendar page. That’s half the fun of Dollar Store calendar page crafts — find an image you love and use the same basic technique to turn it into inexpensive seasonal decor.
One calendar. So. Many. Craft possibilities.
The Trick for Wrinkle-Free Calendar Page Decoupage
If you’ve ever tried to put a thin calendar page directly onto wet Mod Podge, you probably already know where this is going. Wrinkles. Bubbles. More wrinkles. And then that one bubble you keep trying to smooth out until somehow you’ve made everything worse.
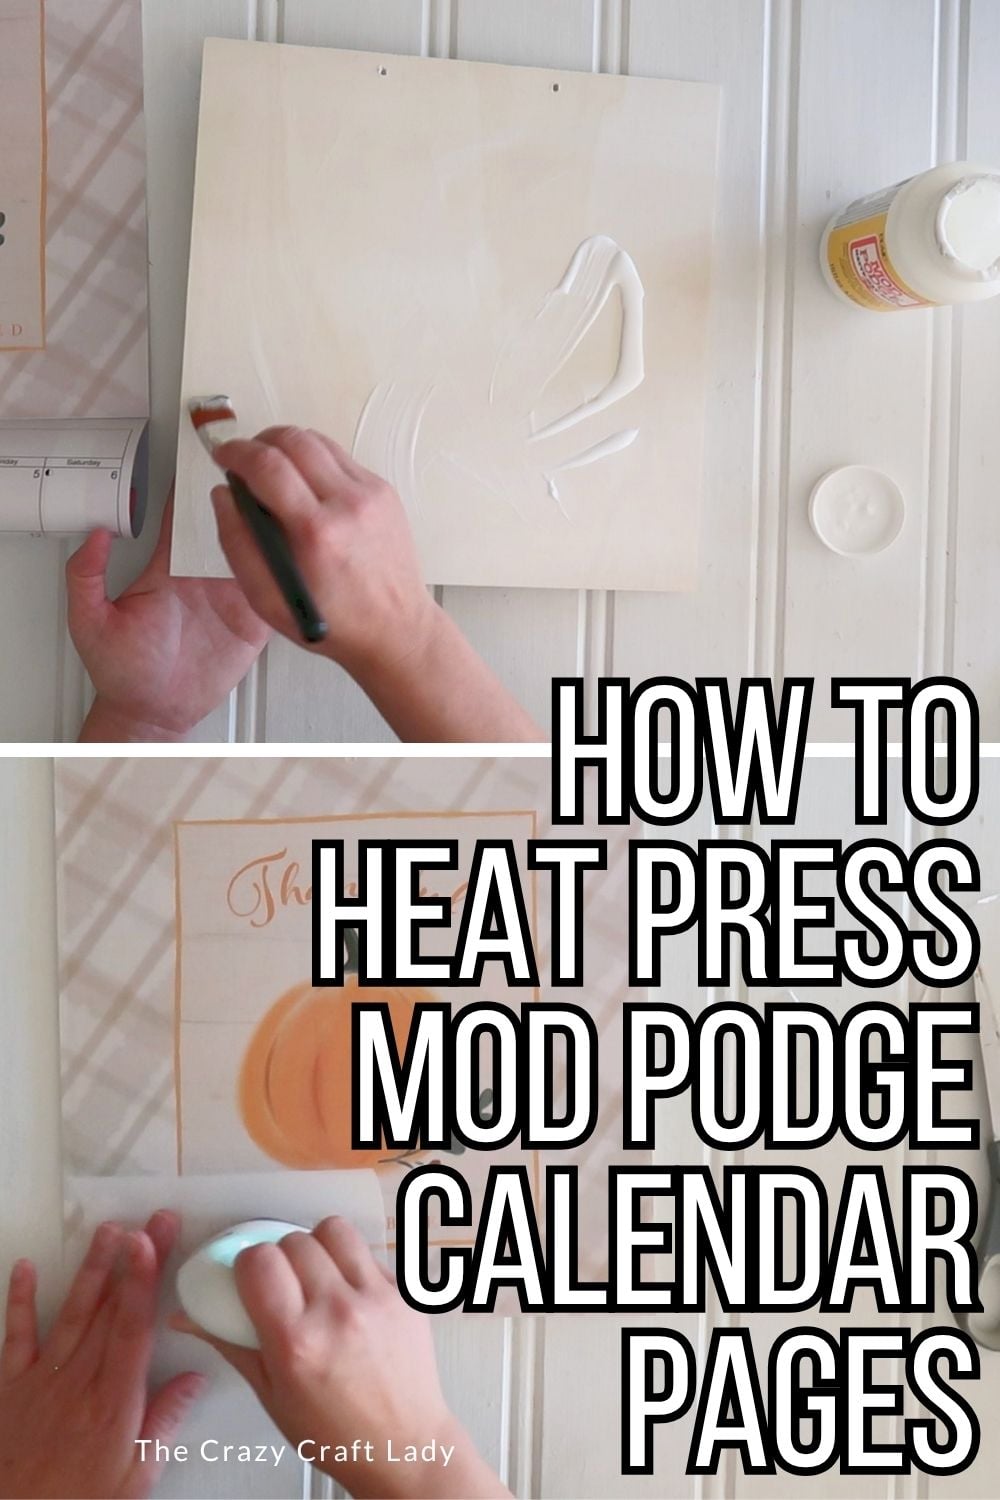
That’s why I love the heat-press method for calendar crafts. Apply the Mod Podge first and let it dry. Then position your paper exactly where you want it and use heat to reactivate the adhesive underneath.
A mini heat press works great, but you don’t need one. A regular household iron with the steam turned off works too. Just remember to place parchment paper between your heat source and the calendar page. It’s such an easy trick, especially when you’re decoupaging a large piece of thin paper like this one.
Make Your Own Dollar Store Picture Frame
I could have popped this calendar page into a regular picture frame and called it a day. But where’s the fun in that?
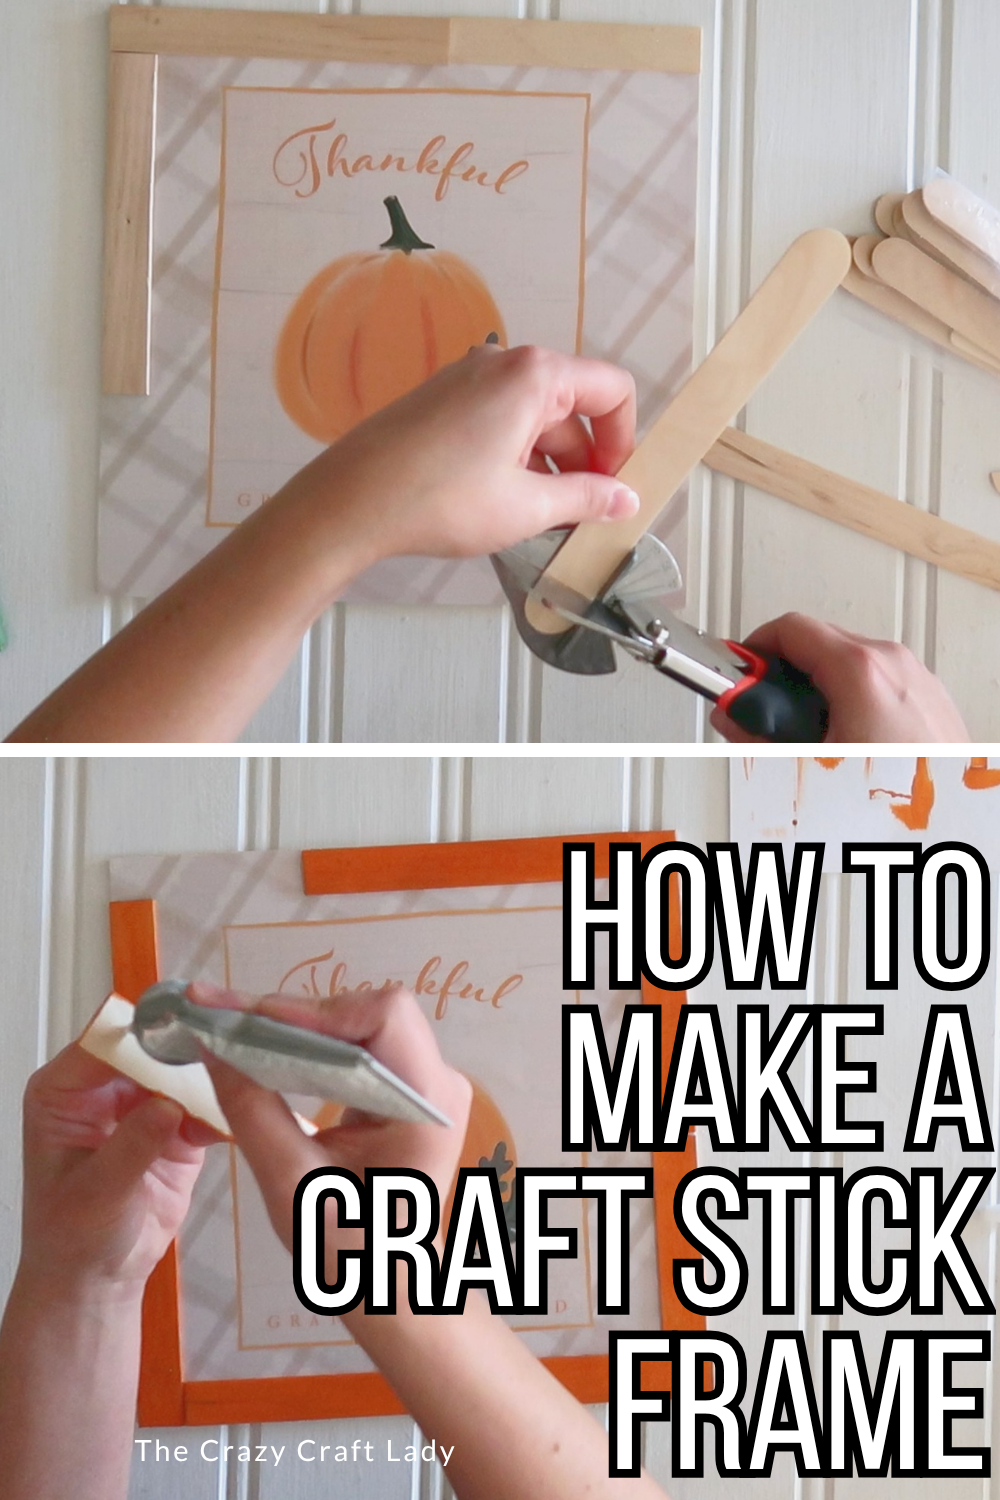
Jumbo craft sticks make an inexpensive little frame and add some dimension to an otherwise super-simple sign. Mine weren’t all perfectly identical in length, but I actually liked it that way. It gives the finished project a more rustic, handmade look.
You could also experiment with thin square dowels or other wood trim if you have some in your craft stash.
PIN this Dollar Store Fall Craft for Later: