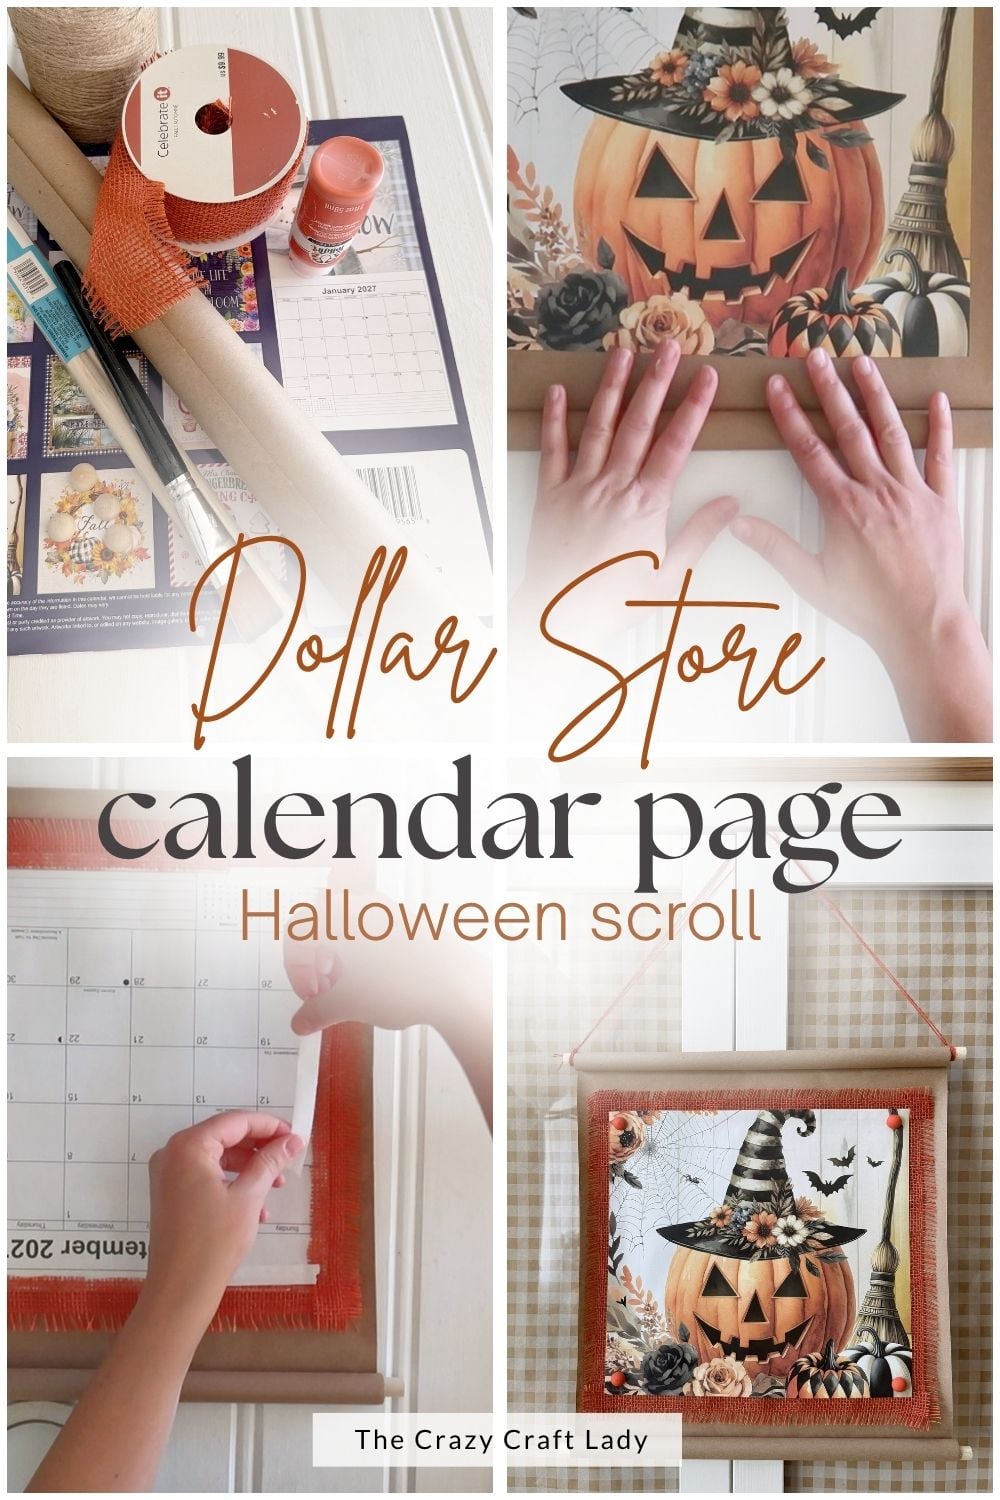
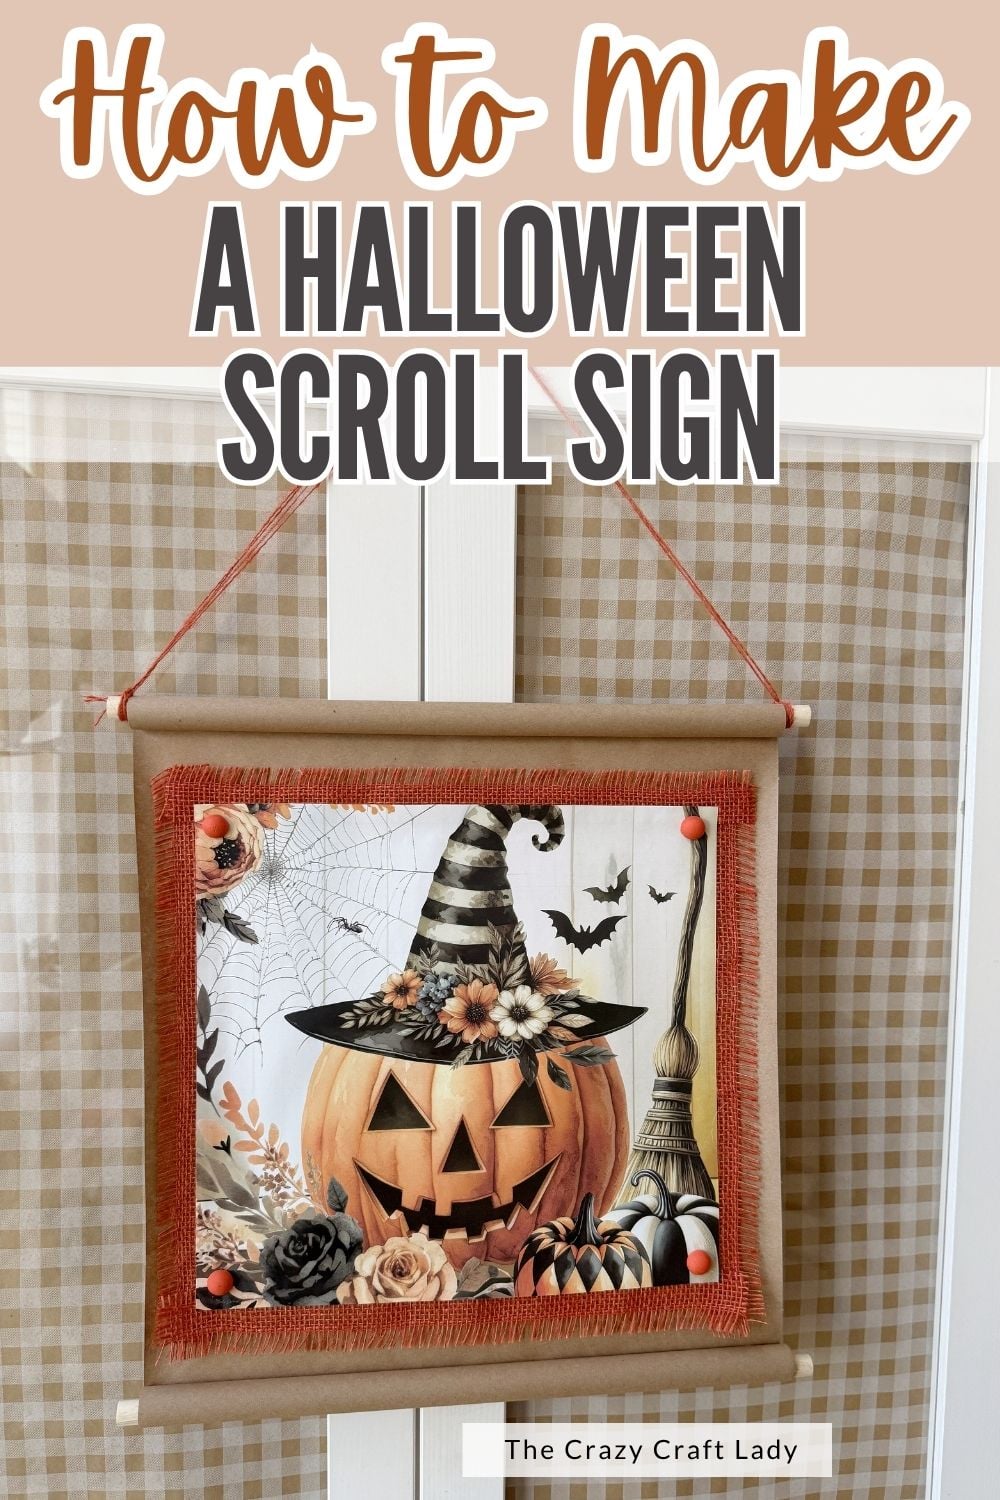
Make a DIY Halloween calendar page scroll sign using Dollar Store supplies, kraft paper, burlap, and wooden dowels for easy Halloween decor.
This post contains some affiliate links for your convenience. Click here to read my full disclosure policy.
DIY Halloween Calendar Page Scroll Sign
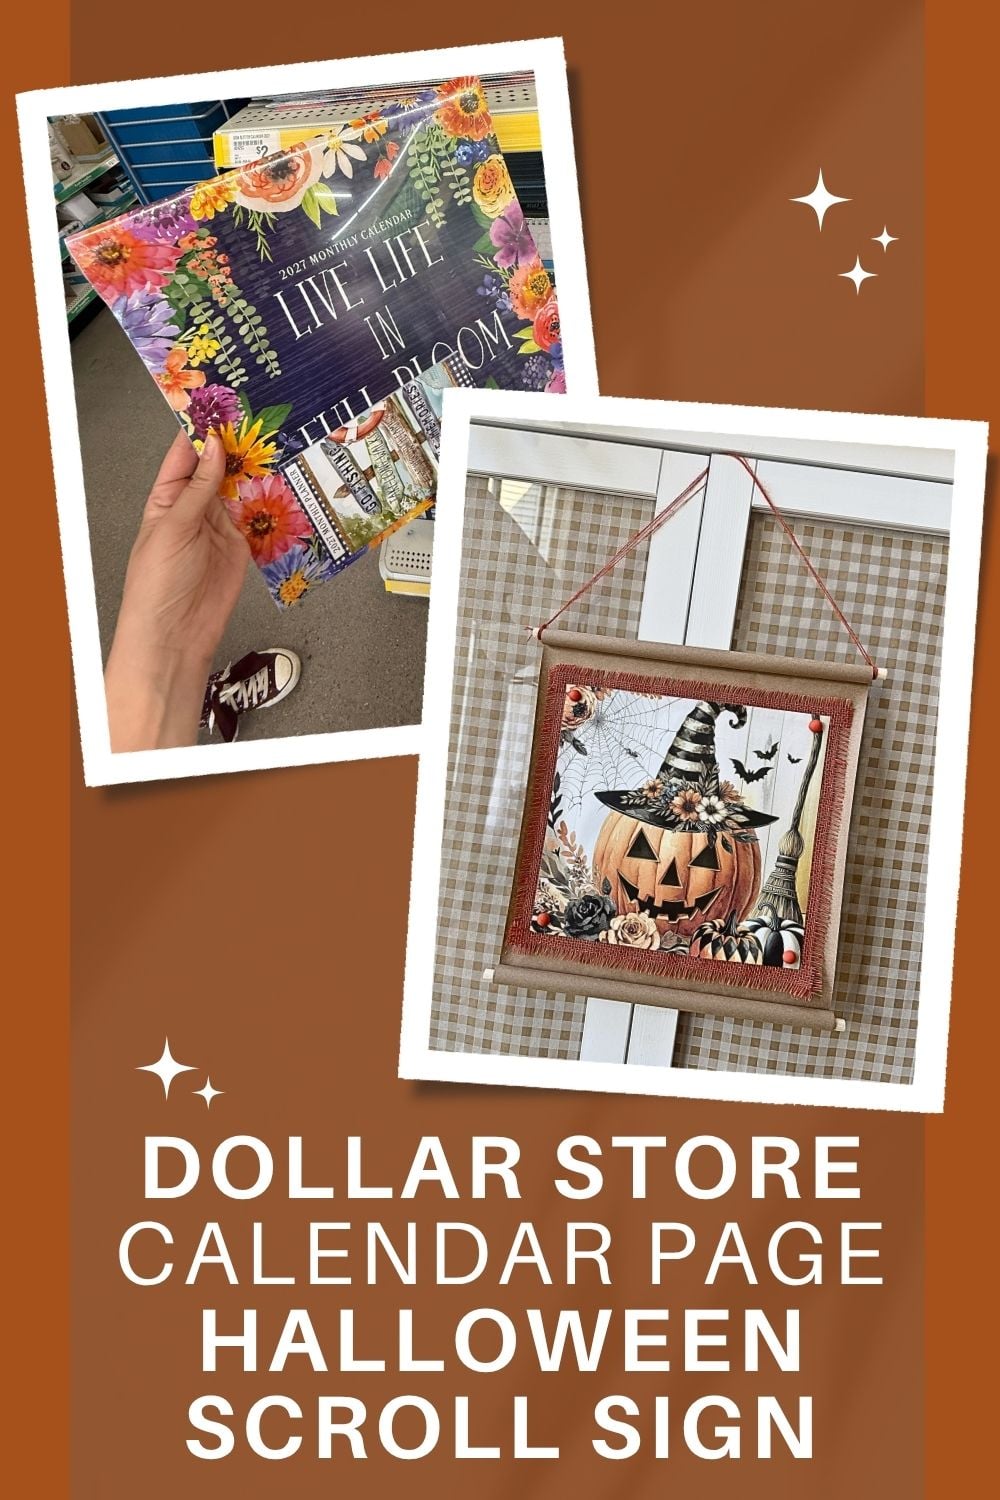
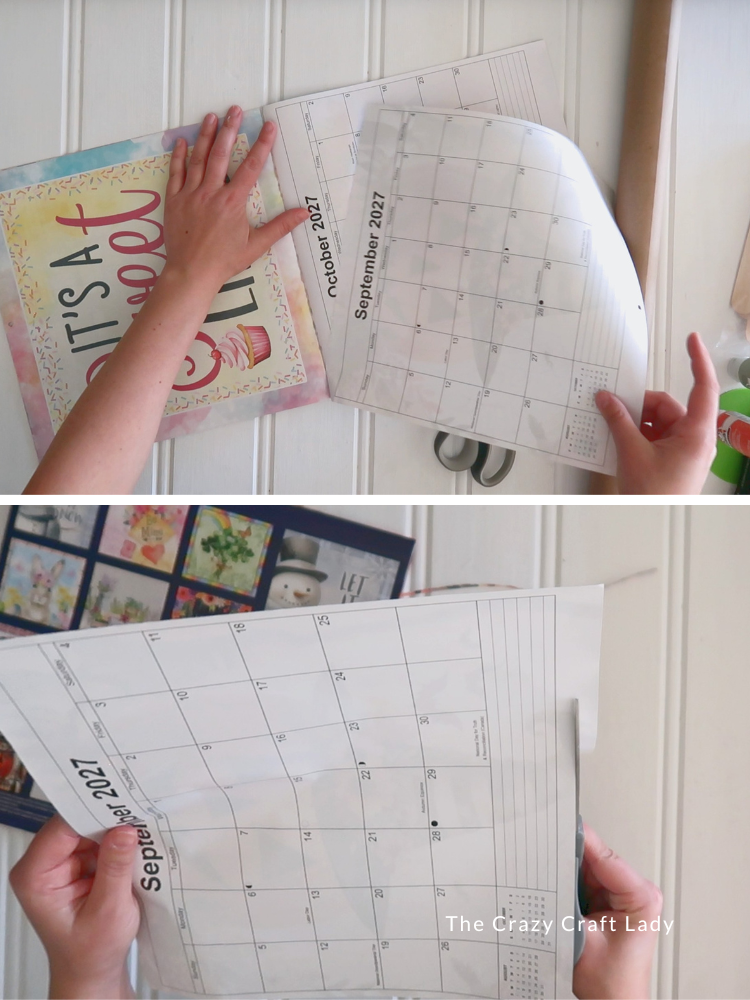
For this project, I grabbed the adorable jack-o’-lantern image from the October page of a 2027 Dollar Tree calendar. But obviously, you can use whatever calendar page you love.
The brown kraft paper gives the project that rustic scroll look, while the orange burlap adds just enough Halloween color. A few painted wooden half beads finish everything off and make the calendar image look like it has been pinned right onto the sign.
It’s inexpensive, easy, and a fun new way to use those pretty calendar pages!
Video Tutorial: Halloween Calendar Page Scroll Sign
Watch this quick video to see how this craft came together:
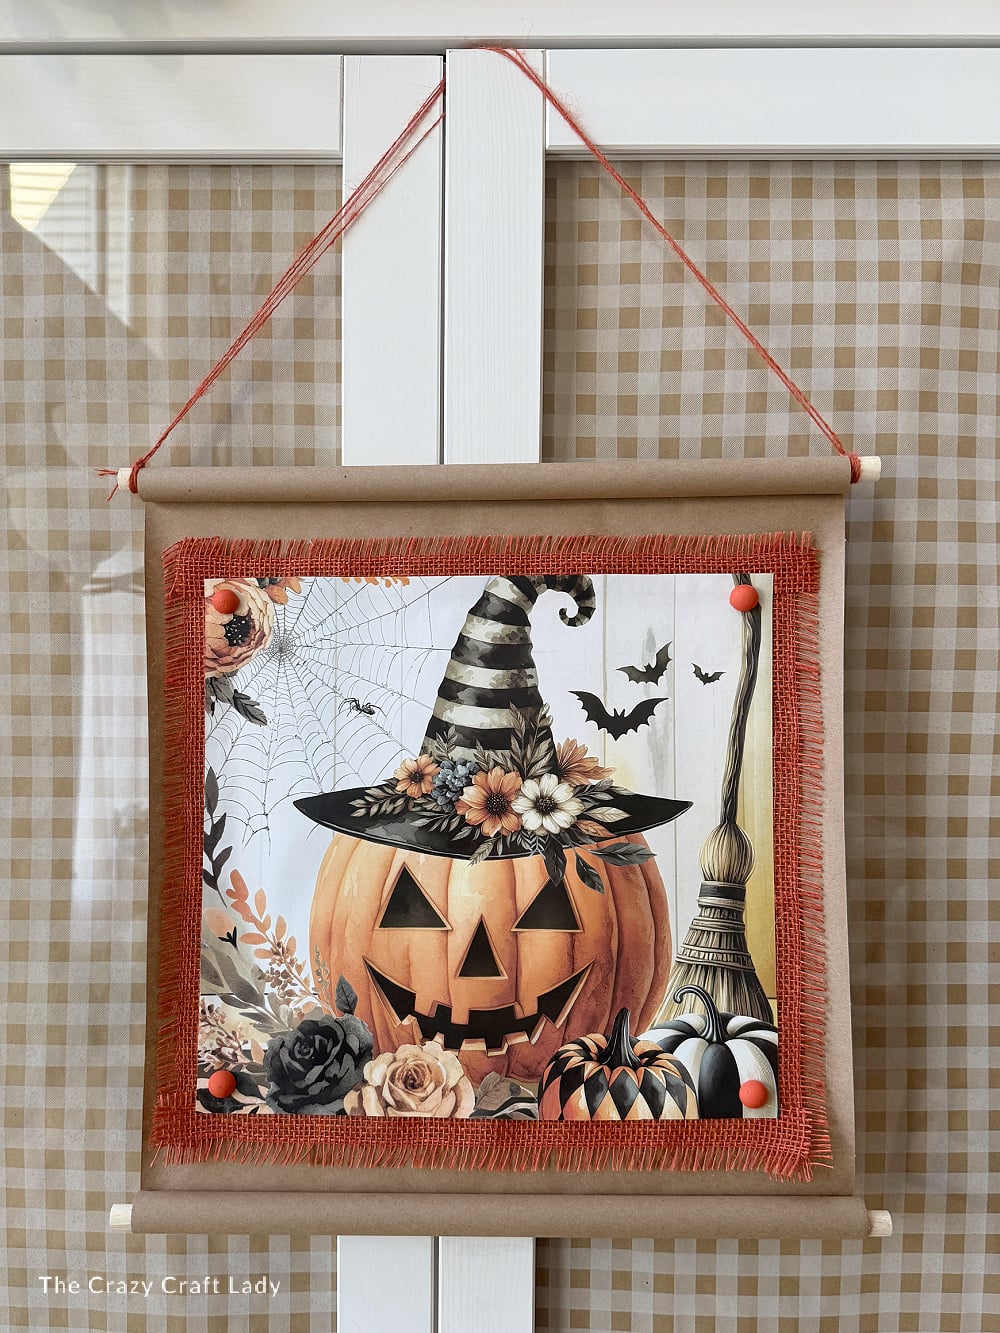
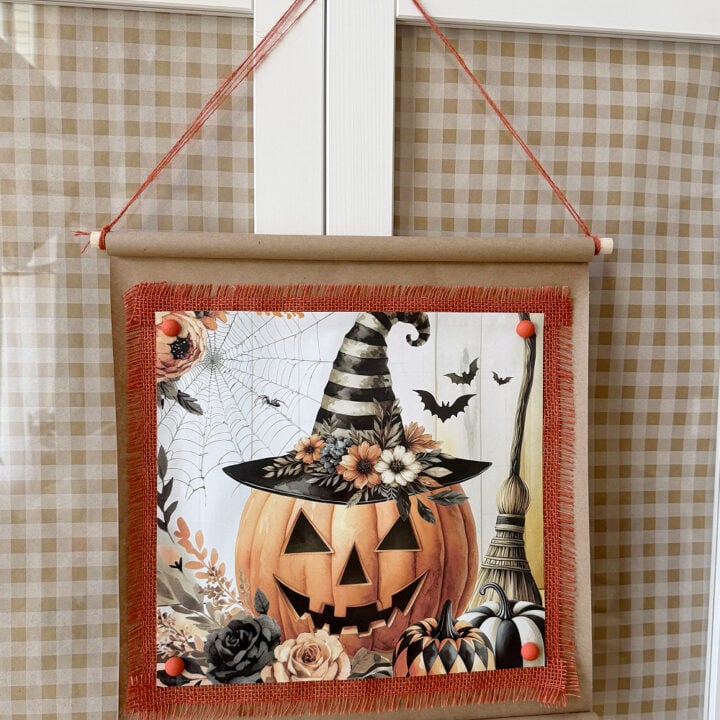
Halloween Calendar Page Scroll Sign
This DIY Halloween calendar page scroll sign is an easy Dollar Store craft made with kraft paper, burlap, dowels, and a festive calendar image.
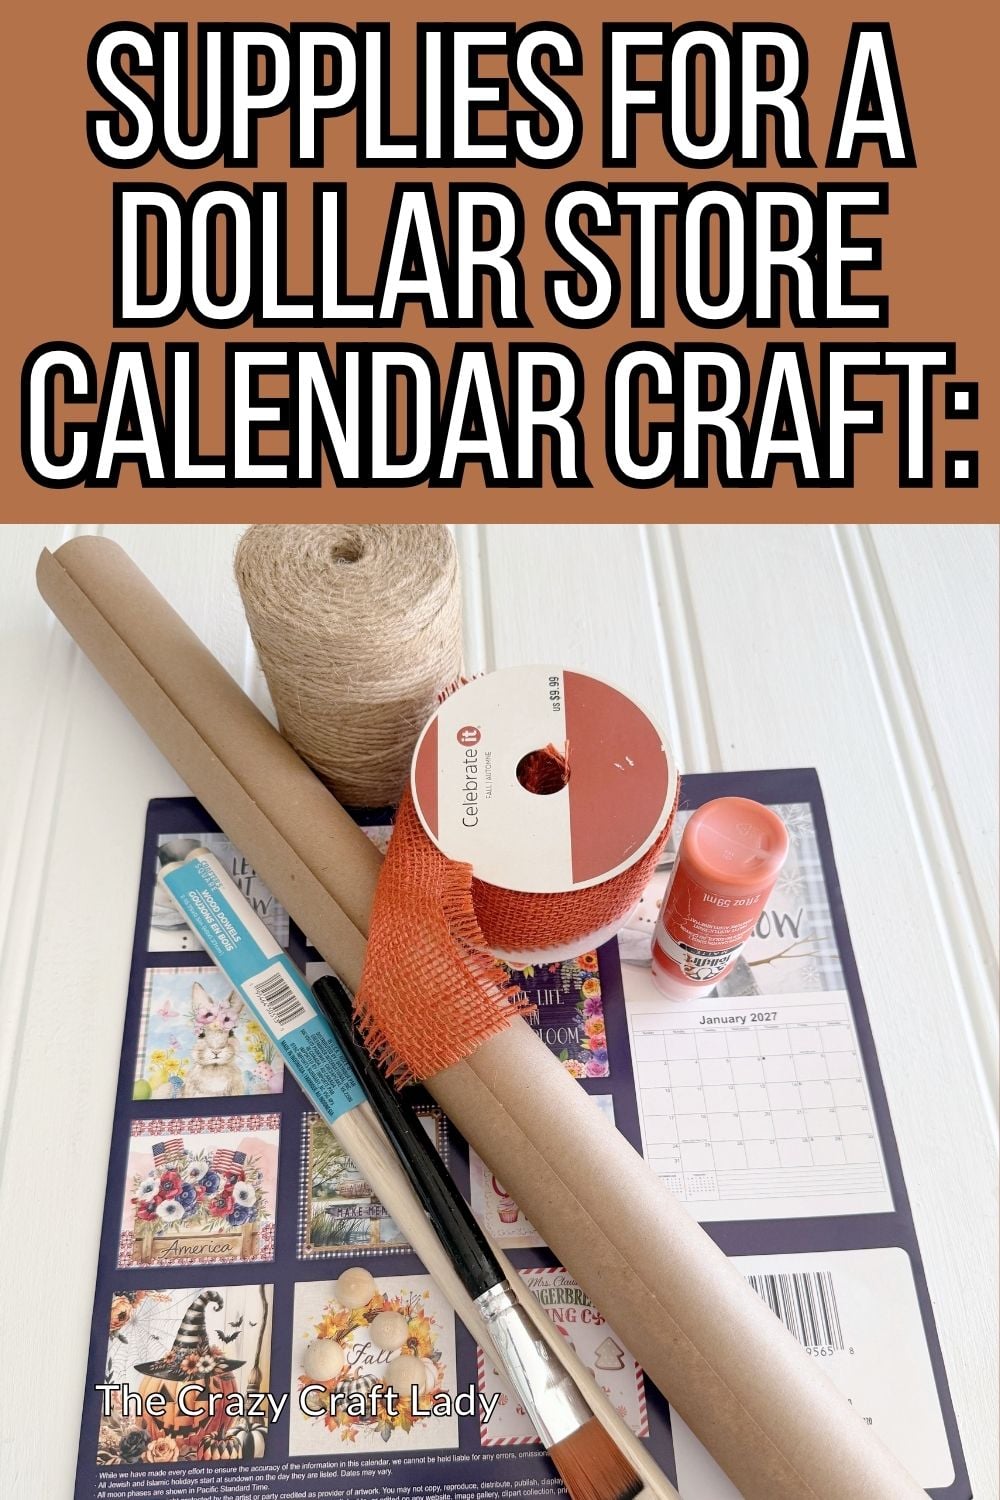
Materials
- Halloween calendar page
- Brown kraft craft paper
- 2 wooden dowels
- Double-sided permanent tape
- Orange burlap ribbon
- 4 wooden half balls (15mm)
- Orange craft paint
Tools
- Pouncer brush
- Hot glue gun
- Scissors
- 2 small clips
Instructions
- Watch the Video Tutorial. Watch the video tutorial to see how the kraft paper scroll, burlap border, and calendar image all come together.
- Trim the Calendar Page. Remove your Halloween image from the calendar and trim away the torn edge, calendar grid, and hole at the top.

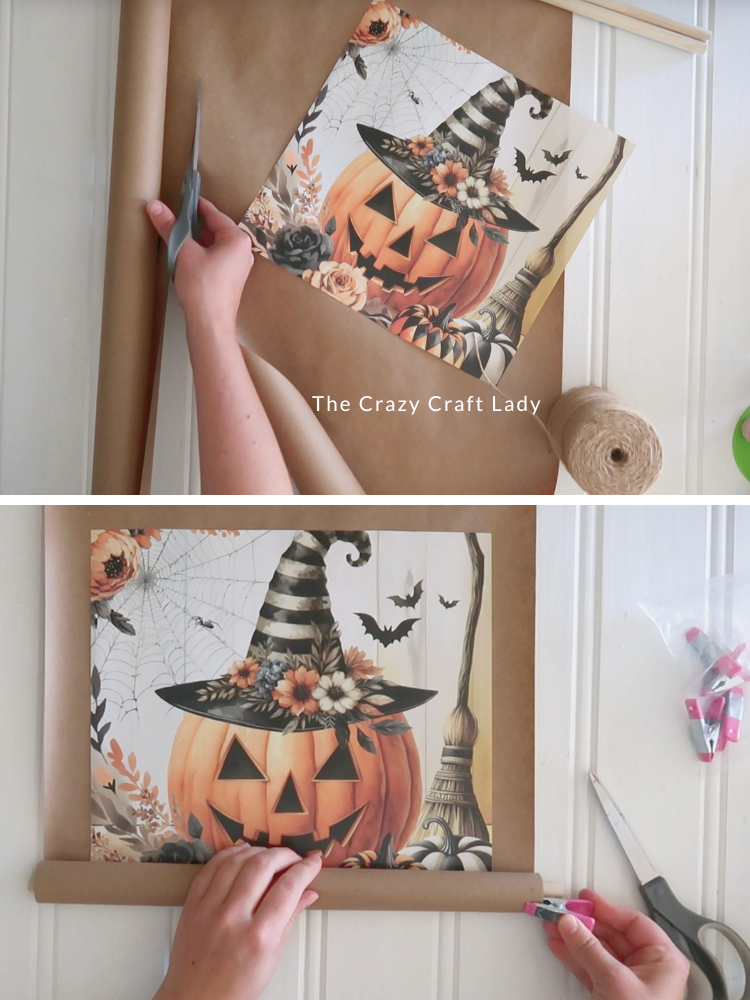
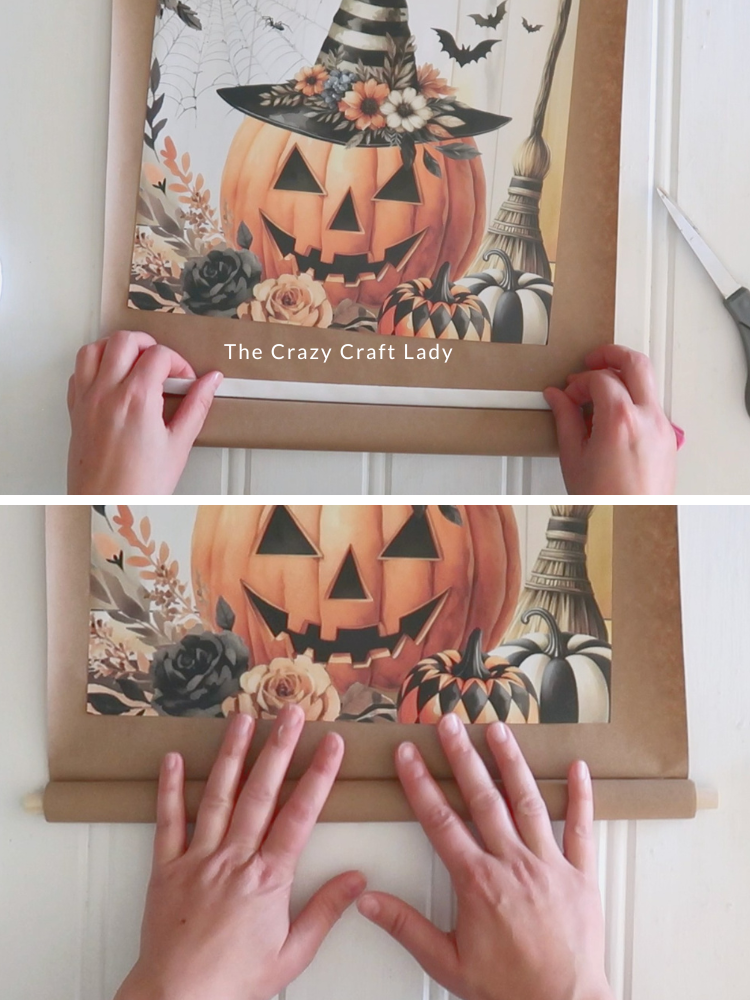
- Cut the Kraft Paper Scroll. Cut a piece of kraft paper about two inches wider than the calendar image. Roll the top and bottom edges around wooden dowels and secure each roll temporarily with clips.
- Assemble the Kraft Paper Scroll. Once you have decided on placement of the two rolls, secure them with double-sided tape.
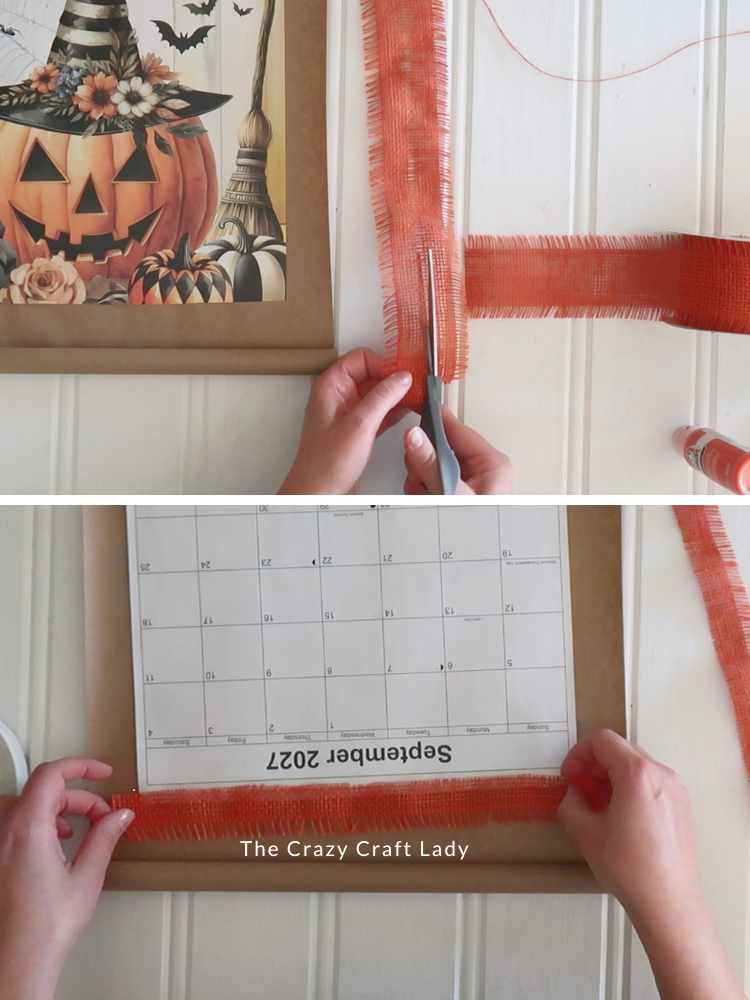
- Add the Burlap Border. Cut orange burlap into narrow strips and attach them to the back of the calendar image with double-sided tape, leaving the frayed edges visible from the front.
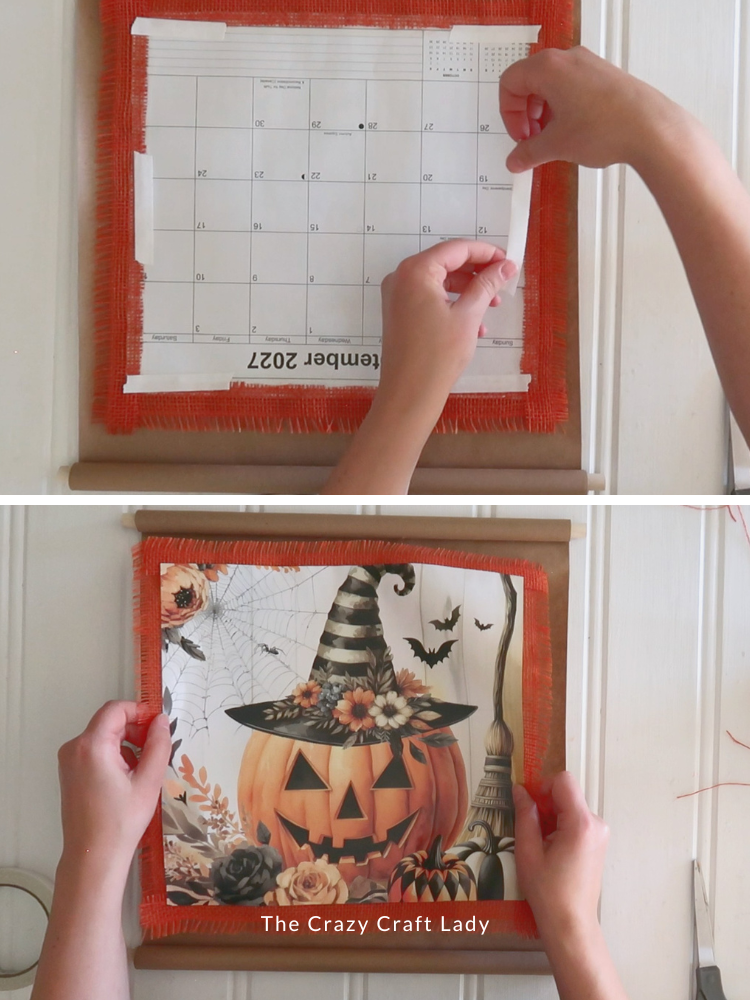
- Attach the Calendar Image. Add double-sided tape around the back of the calendar image and center it on the kraft paper scroll. Press firmly to secure.
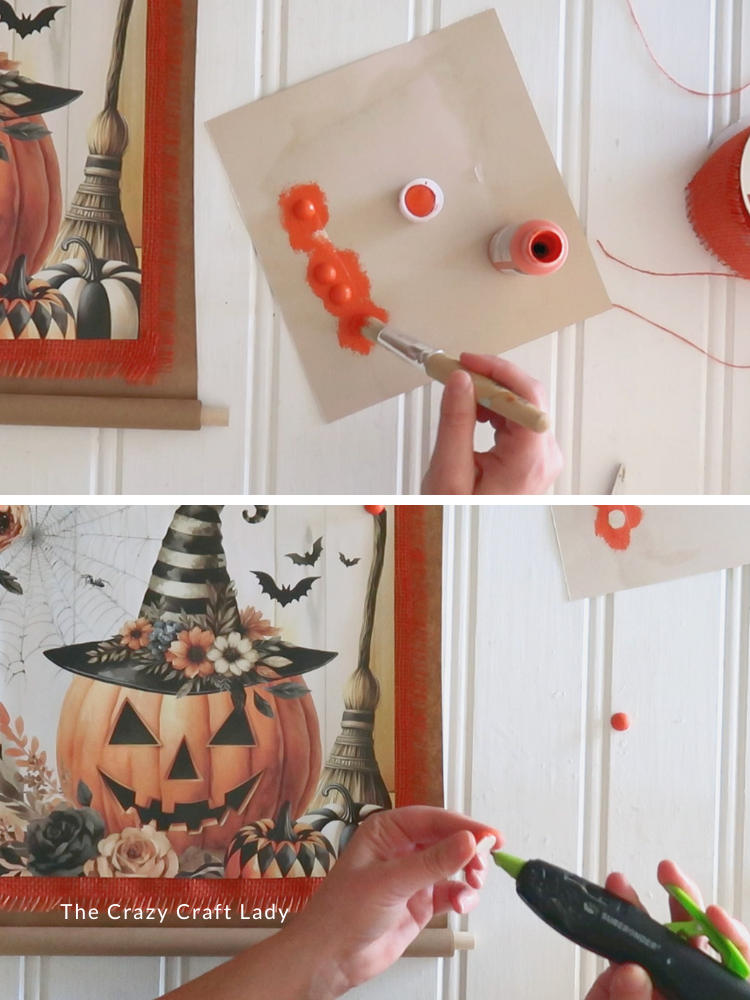
- Add Decorative Half Beads. Paint four 15mm wooden half balls orange. Once dry, hot glue one to each corner of the calendar image to create the look of decorative tacks.
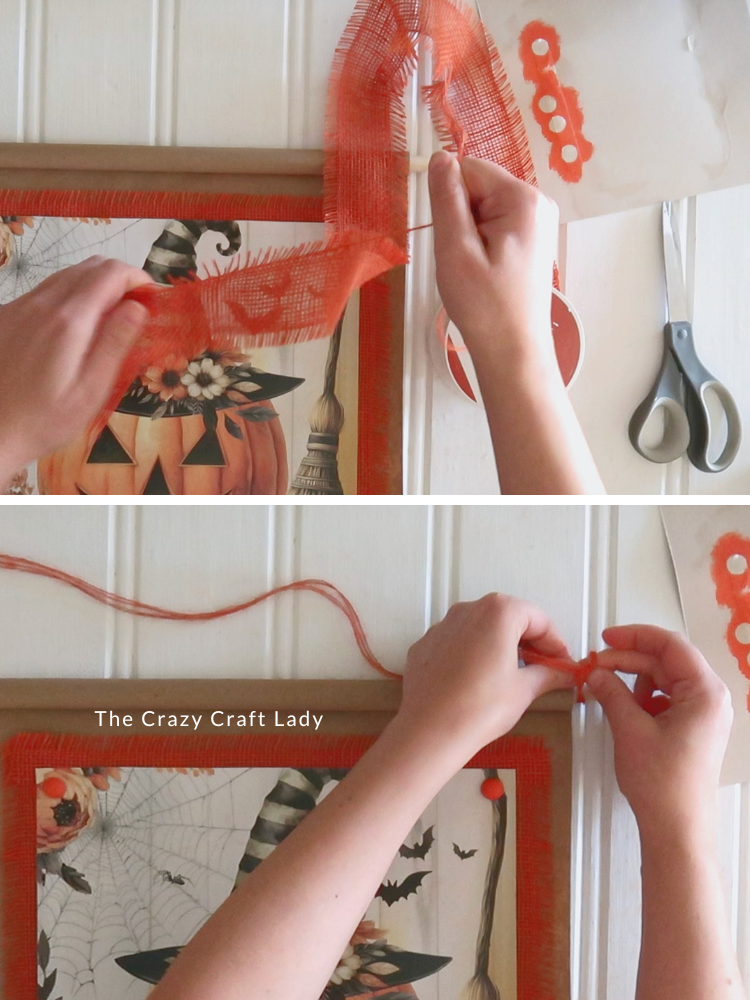
- Add the Hanger. Pull several strands from the orange burlap ribbon and tie them to each end of the top dowel. Then your Halloween scroll sign is ready to hang.
An Easy Way to Craft With Dollar Store Calendar Pages
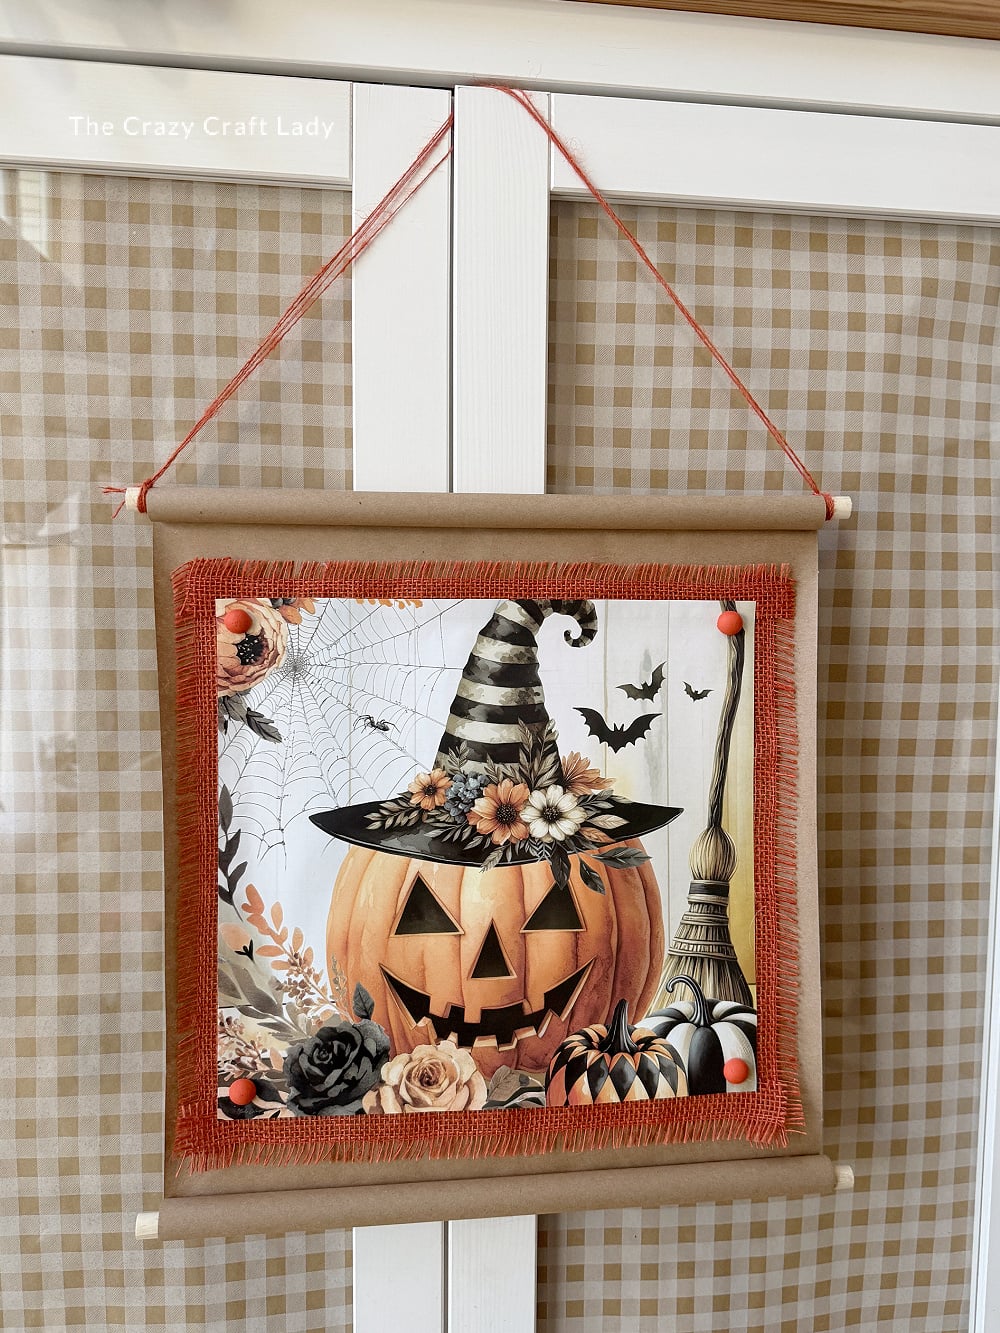
I love finding different ways to use Dollar Store calendar pages because the artwork is already done for you. And sometimes those little calendar images are way too cute to toss at the end of the year!
This DIY Halloween Calendar Page Scroll Sign is especially fun because you don’t need a wood sign or expensive base. Brown craft paper and a couple of inexpensive dowels create the entire scroll.
And don’t limit this idea to Halloween! Try it with pumpkins and leaves for fall, Christmas calendar pages for the holidays, or florals for a pretty everyday sign.
Once you know how to make the basic kraft paper scroll, you can swap out the artwork and make one for just about any season.
PIN this Halloween craft for later: