

DIY Reverse Applique Christmas Pillows you can make for under $10 using drop cloth, quilting fabric, and easy hand stitching. Learn how to create stunning Pottery Barn–style peekaboo pillows for the holidays.
How to make DIY Reverse Applique Christmas Pillows
This post contains some affiliate links for your convenience. Click here to read my full disclosure policy.
Hey there crafty friends! Today we’re doing something a little different. I broke out my sewing machine (unsupervised!) to make a pair of Pottery Barn–inspired winter pillow covers… using nothing more than drop cloth fabric, quilt scraps, and a bit of embroidery.
These Pottery Barn pillows were adorable, but the price tag? Absolutely not. Instead, I stitched up my own version with a fun peekaboo reverse appliqué effect — all for under $10 total.

And the best part? These are pillow covers, not full pillows. So you can reuse your inserts and simply swap covers seasonally without filling your storage closet with 47 Christmas pillows.
If you’ve got a drop cloth, a sewing machine, and a cozy Christmas movie queued up, you can absolutely make these!
Video Tutorial: DIY Reverse Applique Christmas Pillows
Watch this quick video to see how this craft came together:


DIY Reverse Applique Christmas Pillows - Pottery Barn Patchwork Pillow Dupe
Looking for budget-friendly winter pillow covers? Learn how to transform drop cloth, embroidery thread, and quilt scraps into stunning Pottery Barn dupe pillows anyone can make.
Materials
- Drop cloth fabric (I use the canvas drop cloths from Home Depot)
- Four coordinating quilting cotton prints (⅛ yard each is plenty)
- Embroidery thread (I used 6-strand green)
- Embroidery needles
- Carbon transfer paper
- Printer paper + printed “LOVE” and “JOY” outlines (or your own traced letters)
- Painters tape
- Pillow insert (mine were 14x24)
Tools
- Fabric cutting mat/rotary cutter (optional but helpful)
- Sewing machine
- Iron + ironing board
- Ruler
- Fabric scissors (sharp ones!)
- Embroidery hoop
- Sewing clips
Instructions
- Watch the video. Follow along with the video tutorial for a walkthrough on how to make your own drop cloth Christmas pillow covers.
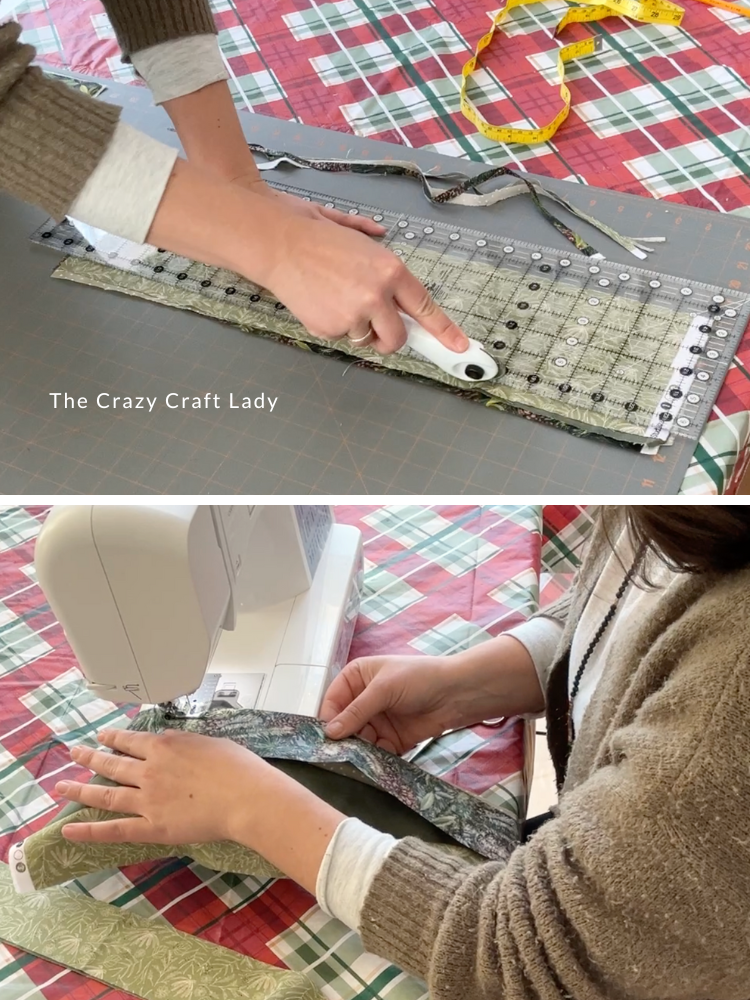
- Cut Your Quilting Strips. Choose four coordinating winter fabrics (I went with greens so the pillows can stay out all winter). Cut 2.5-inch-wide strips from each print. For each pillow, you’ll need eight strips total, repeating each print twice.

- Sew the Strips Into a Panel. Place strips right sides together and sew with a ¼-inch seam allowance. Continue until you have a full panel made from eight strips. Press seams flat with an iron.
- Cut the Drop Cloth Pillow Front. Cut a piece of drop cloth to 14.5 x 24.5 inches (or whatever matches your pillow insert plus ¼" seam allowance on all sides). Press well, drop cloth likes to be wrinkly.
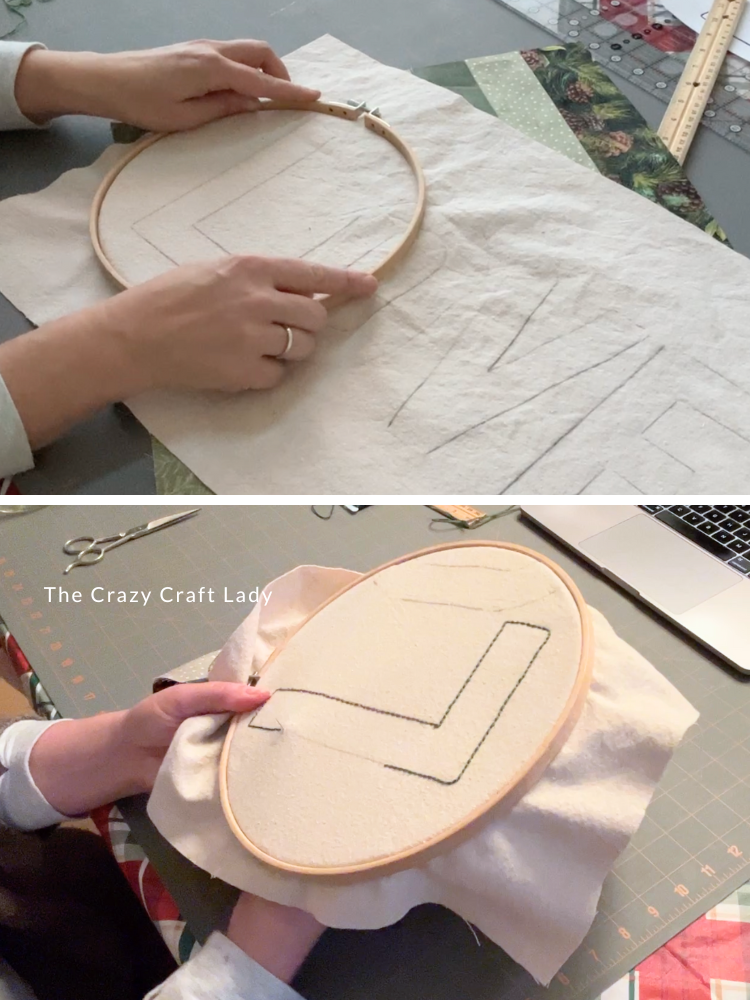
- Transfer Your Word Design. Print your chosen word (“LOVE” or “JOY”) in an outline font using Canva or any word editor. Tape the printed sheet onto the drop cloth. Slip a piece of carbon transfer paper underneath. Trace the outline firmly using a pen or stylus. Use a ruler on straight edges for crisp transfer lines.

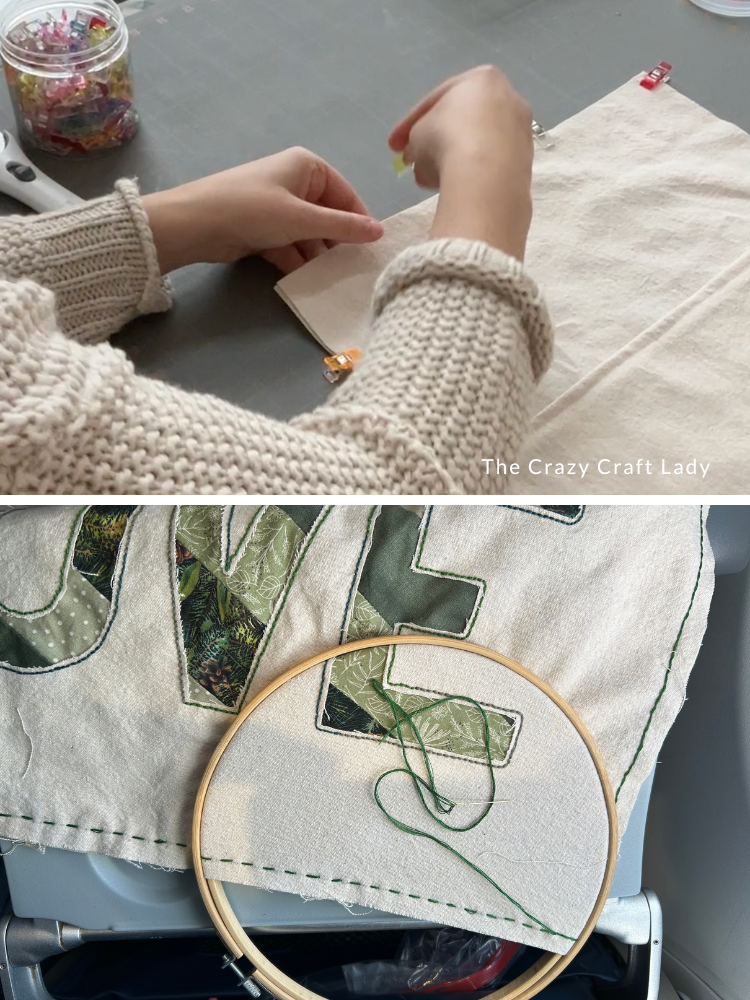
- Position the Quilting Panel Behind the Drop Cloth. Position your quilted strip panel at a diagonal, and then lay the drop cloth on top. Make sure quilt fabric underlies every part of the letters.
- Stitch the Letters by Hand. Secure both layers in an embroidery hoop. Use a six-strand backstitch around each letter. Work one letter at a time, smoothing both fabrics as you move the hoop. Pro tip: queue up a Christmas movie and enjoy the hand-sewing time.
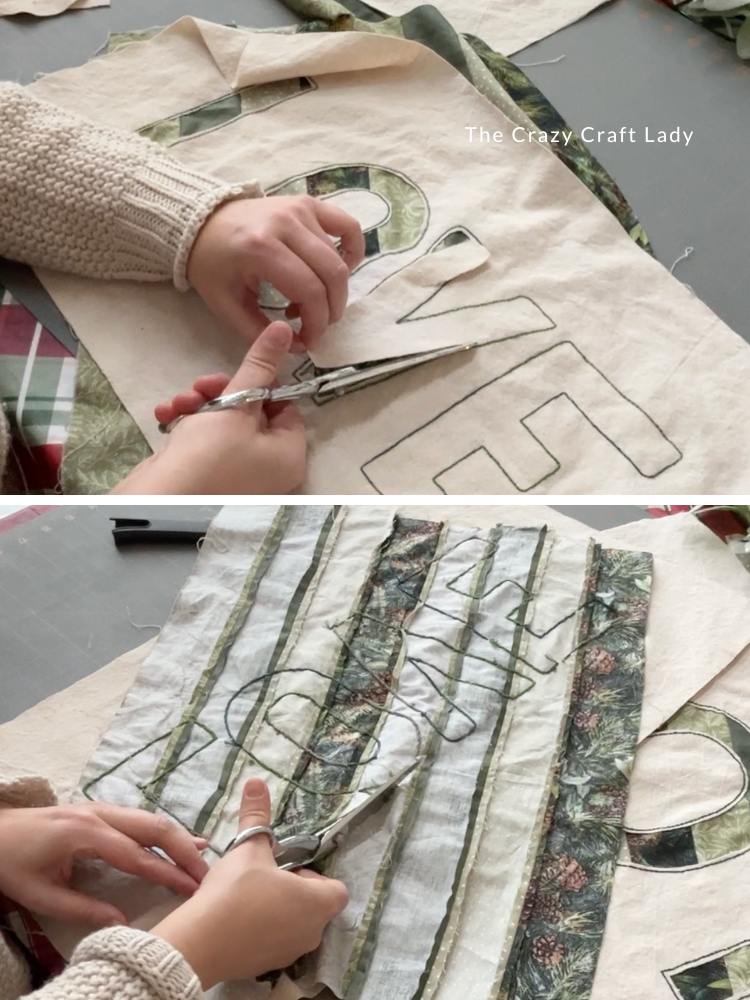
- Trim the Peekaboo Letters. This is the fun part! Using sharp fabric scissors, snip ONLY the top drop cloth layer inside each letter. Carefully cut right up to the stitched line, revealing the quilt fabric underneath. Rotate the fabric, not your scissors, for smoother curves and cleaner edges.
- Trim Excess Fabric on the Back. Cut away excess quilt panel that extends beyond the drop cloth edges. Leave a smaller rectangle behind the letters, but remove anything sticking out of the seam area.
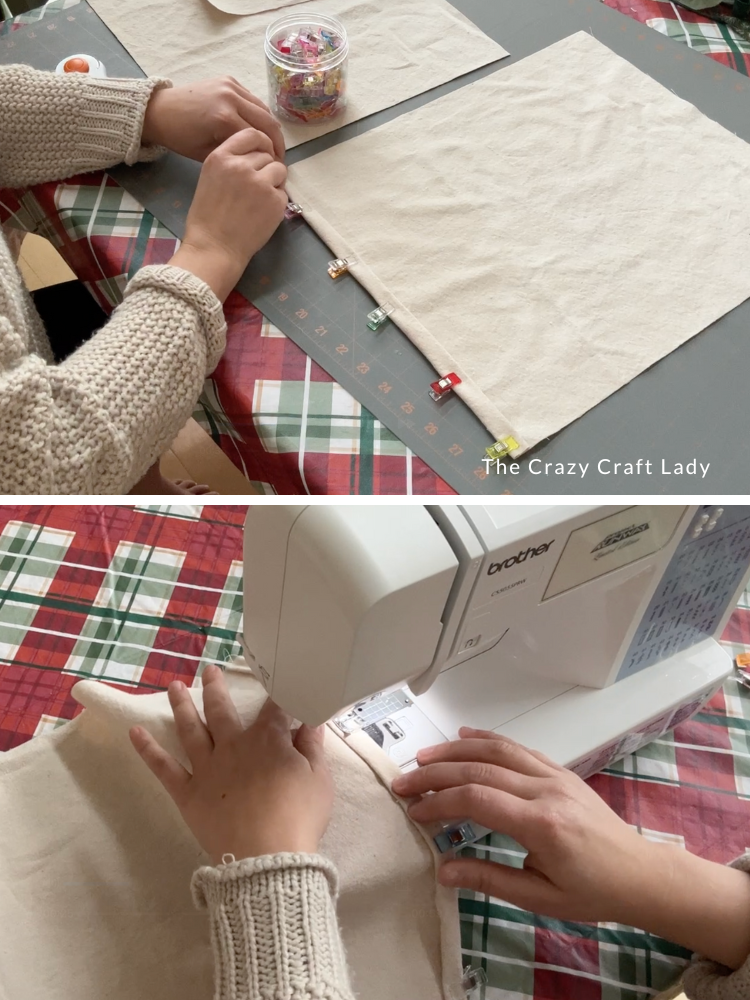
- Make the Envelope-Style Pillow Back. Cut a 14.5-inch-wide strip of drop cloth. Length should be pillow width + 7 inches. Cut this long piece roughly in half to make two back panels. On one short edge of each panel, fold over ¼ inch twice, clip, and sew a hem.
- Assemble the Pillow Cover. This part is slightly different from traditional envelope pillow assembly: Place drop cloth pillow front and back pieces WRONG sides together (bad sides touching). This allows you to do decorative embroidery stitching around the edges. Clip all the way around. With embroidery thread, stitch completely around the pillow perimeter. I used a double running stitch for cleaner front and back edges.
- Insert Your Pillow and Fluff. Slide your pillow insert inside the envelope back and admire your handiwork! Your Pottery Barn dupe is ready to display.
The Finished Pillow Covers

PIN these Christmas Pillow Covers for Later:

More Christmas Dropcloth DIYs:
- Turn a drop cloth into oversized Christmas sheet music wall décor! Get step-by-step instructions for this Pinterest-worthy holiday craft using paint pens and transfer paper.
- Grab some paint and drop cloth or canvas fabric to make a Christmas tree wall hanging. It’s a fun alternate to a real tree, or just a great addition to winter decor.
- How to make inexpensive DIY Christmas pillows – using a drop cloth and Sharpie markers. This budget-friendly holiday decorating idea is pure genius!