
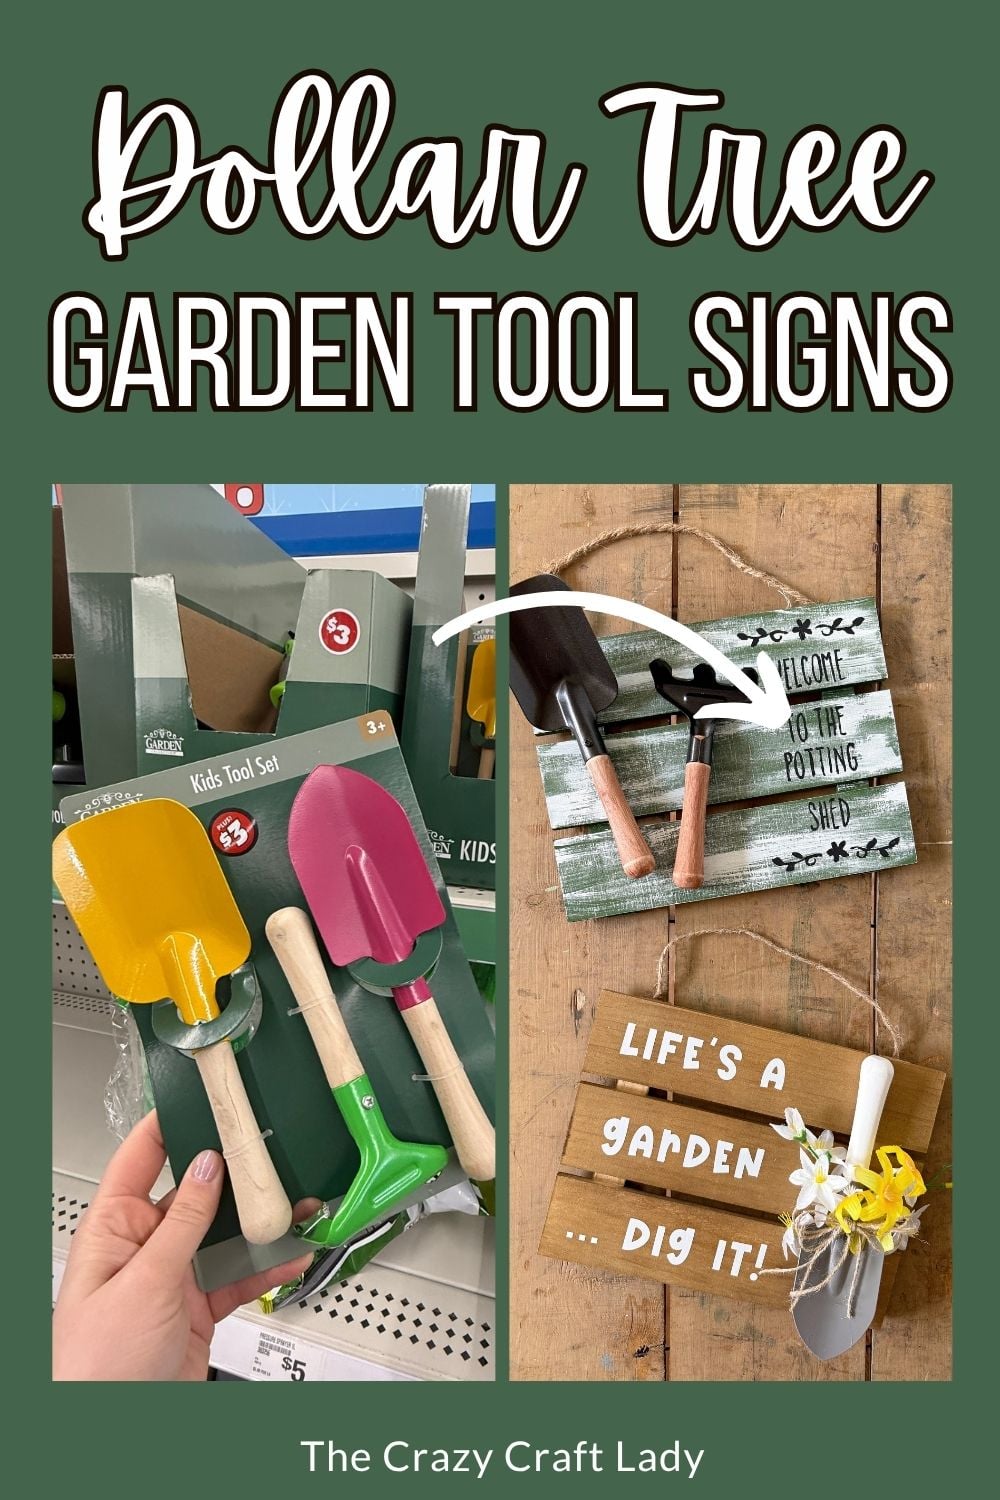
Turn inexpensive Dollar Tree garden tools into charming cottage-style decor with this DIY Potting Shed Sign! This easy farmhouse garden craft is perfect for porches, potting benches, sheds, and spring decorating.
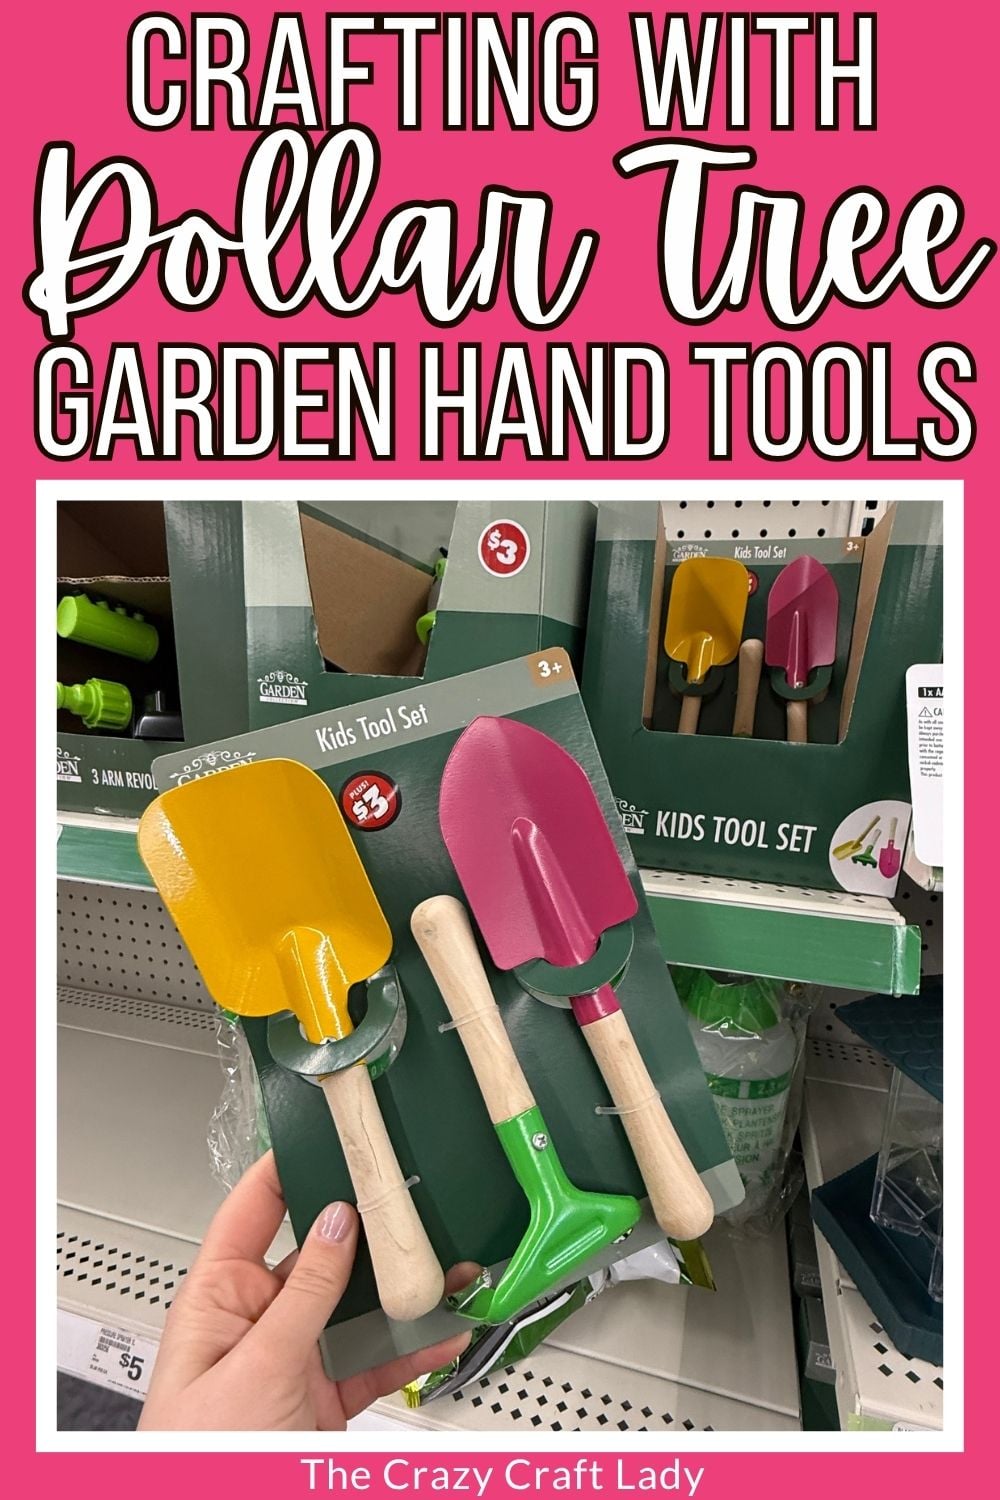
How to make a “welcome to the Potting Shed” Sign using a Dollar Tree slatted wood sign and hand tools.
This post contains some affiliate links for your convenience. Click here to read my full disclosure policy.
DIY Potting Shed Sign
If you love cottage-style garden decor as much as I do, you’re going to adore this easy DIY Potting Shed Sign! Using a simple wood sign and a couple of inexpensive garden tools, you can create a charming piece of wall decor that looks like it came straight from a vintage garden shop.
The best part? This project is completely customizable. Change the paint color, create your own wording, or even use full-size garden tools for a larger statement piece. Whether you’re decorating a potting shed, porch, sunroom, or garden nook, this project adds instant character and charm.
Video Tutorial: DIY Potting Shed Sign
Watch this quick video to see how this craft came together:
DIY Potting Shed Sign Using Dollar Tree Garden Tools
Looking for creative garden decor on a budget? Learn how to make this adorable DIY Potting Shed Sign with Dollar Tree garden tools, a wood sign, and simple paint techniques.
Materials
- Kids' garden tool set (or regular hand garden tools)
- Dollar Tree slatted wood sign
- Oil-rubbed bronze spray paint
- Wood stain of your choice
- FolkArt Matte Acrylic Paint in Sap Green
- White acrylic craft paint
- Carbon transfer paper
- Black chalk paint
- E6000 adhesive
- Painter's tape
- Printed wording template ("Welcome to the Potting Shed" or similar)
Tools
- Screwdriver
- Sandpaper (optional)
- Flat 1-inch paintbrush
- Fine detail paintbrush
- Paper trimmer or scissors
- Printer
Instructions
- Watch the video. Follow along with the video tutorial for a step-by-step walkthrough of how to make your own potting shed sign.
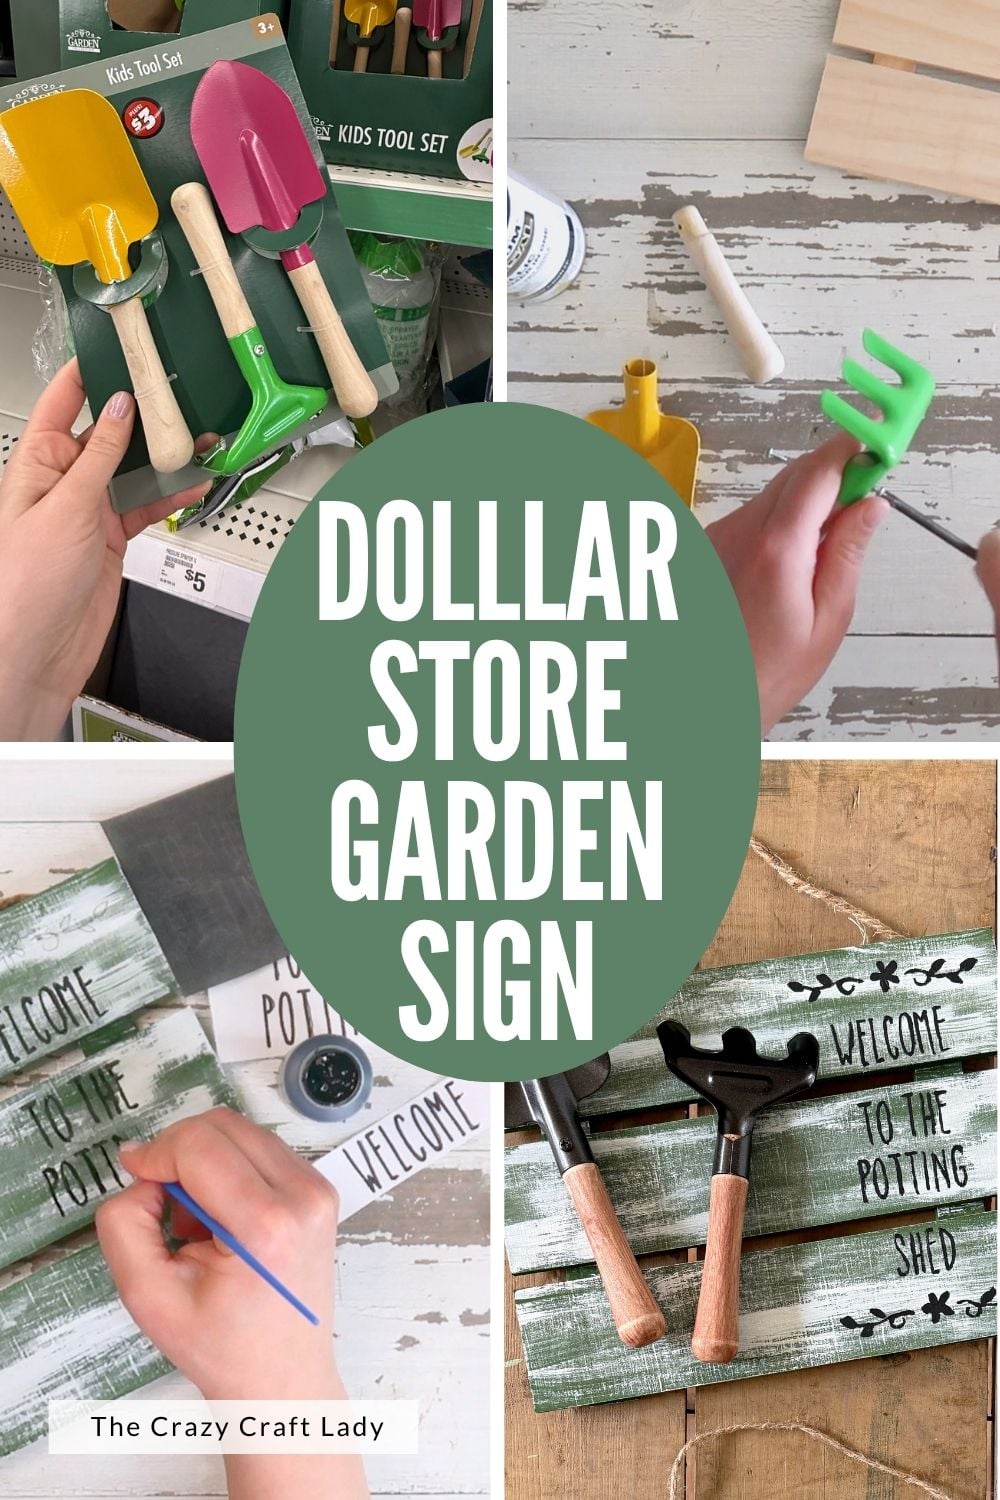
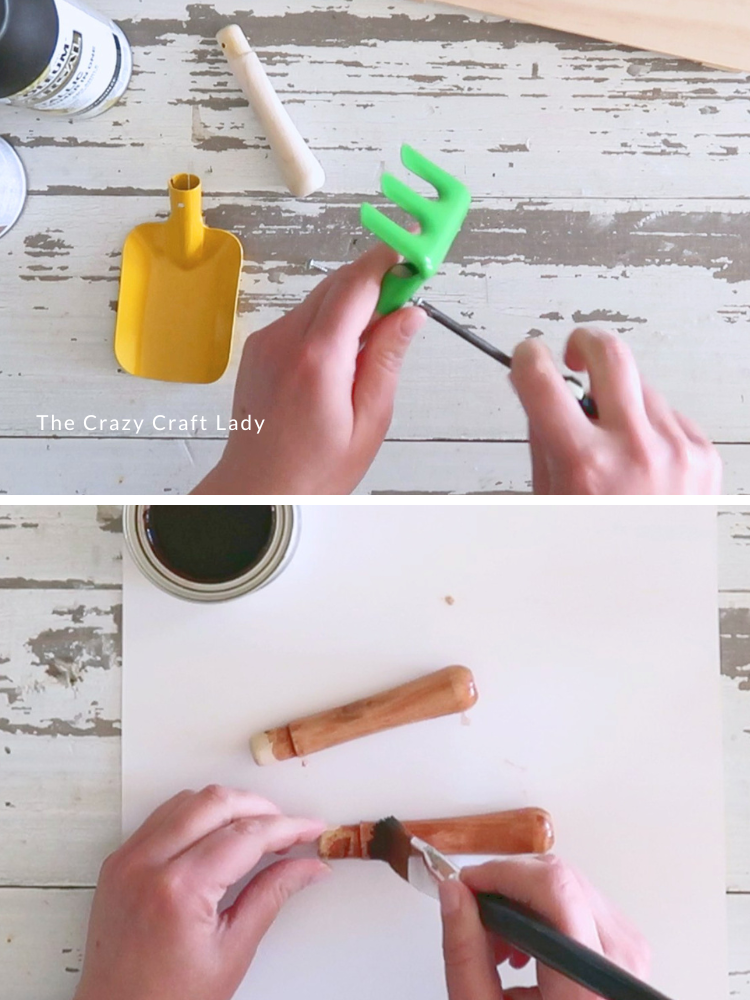
- Disassemble the Garden Tools. Start by taking apart your garden tools. Remove the screws holding the metal tool heads to the wooden handles. If your handles have stamped writing on them, you can lightly sand it away. However, this step is optional because you can simply rotate the handles so the writing faces the back when reassembling.

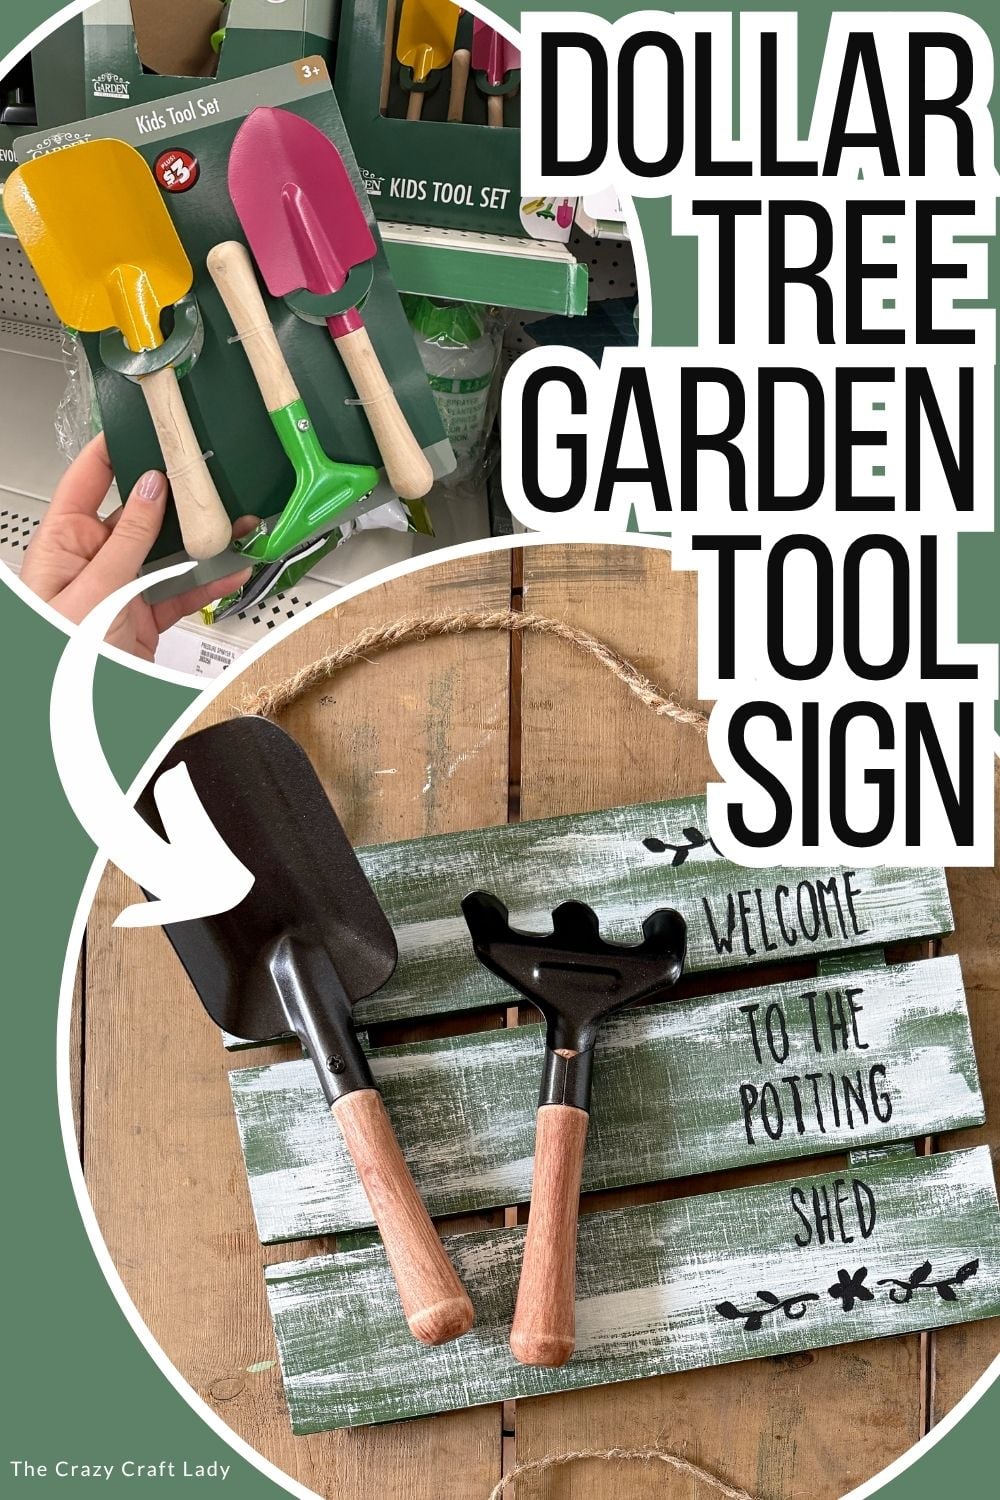
- Paint the Metal Tool Heads. Spray paint the metal portions of the tools with an oil-rubbed bronze spray paint. Don't forget to paint the screws too! Allow the paint to dry completely.
- Stain the Wooden Handles. Apply wood stain to the handles using a flat paintbrush. Let the stain dry completely reassembling the tools..
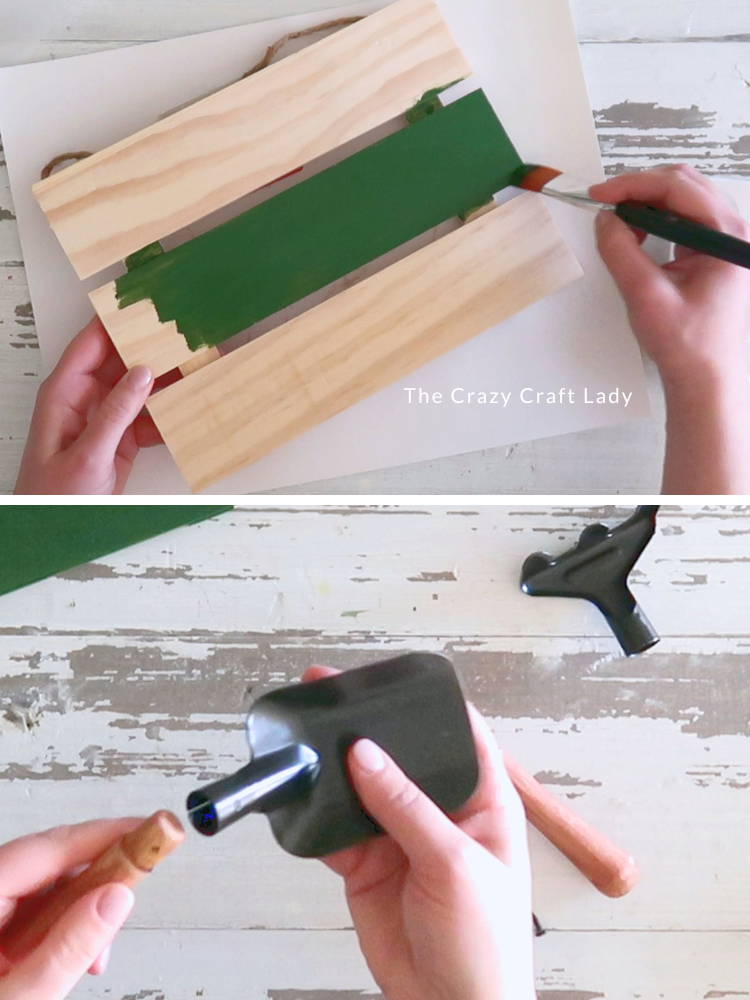
- Paint the Sign. Paint the entire slatted wood sign with Sap Green acrylic paint. Because of the grooves between the slats, be sure to work the paint into all the nooks and crannies. Don't worry if coverage isn't absolutely perfect. Allow the paint to dry.
- Dry Brush White Paint. Once the green paint is dry, lightly dry brush white paint over the surface. Use a small amount of paint on your brush and quickly sweep it across the sign, concentrating on the edges and raised areas. Add as much or as little distressing as you like.
- Create and Print Your Design. Download the free printable, or design your own in a program like Canva. Print the words in separate lines so they can be easily centered and spaced on the sign. Trim each line, leaving extra white space on both sides to help with alignment.
- Transfer the Design. Arrange your words on the right side of the sign, leaving room for the garden tools on the left. Place carbon transfer paper underneath each printed line and trace over the letters and decorative elements. Work one line at a time until the entire design has been transferred to the sign.
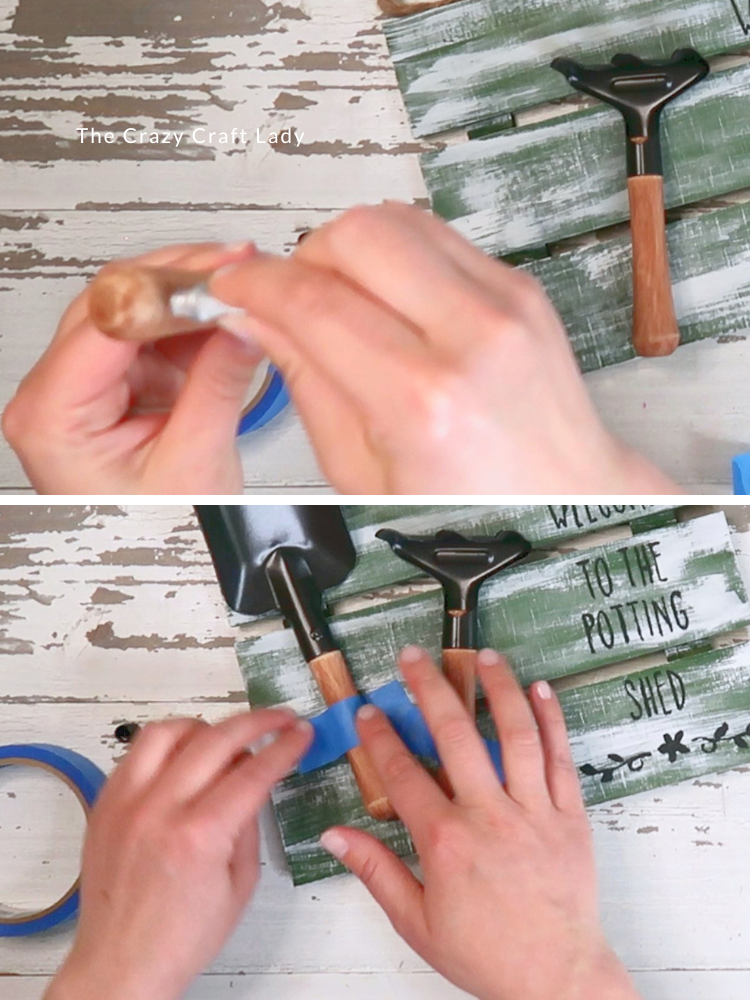
- Paint the Lettering. Using a fine detail brush and black chalk paint, carefully paint over the transferred lettering and decorative flourishes. If you prefer, a black paint marker works great for this step too. Allow the paint to dry completely.
- Reassemble the Garden Tools. Reattach the painted metal tool heads to the stained handles using the original screws. If you skipped sanding off any stamped writing, simply position the writing toward the back.
- Attach the Tools to the Sign. Apply E6000 adhesive to the backs of the tool handles and position them on the left side of the sign. Use painter's tape to hold everything in place while the adhesive cures. Alternative Method: You can also secure the tools by driving screws through the back of the sign into the wooden handles.
- Display Your Finished Sign. Once the adhesive is fully cured, your DIY Potting Shed Sign is ready to hang! This charming project looks perfect displayed in a garden shed, on a covered porch, in a greenhouse, or as part of your spring and summer decor.

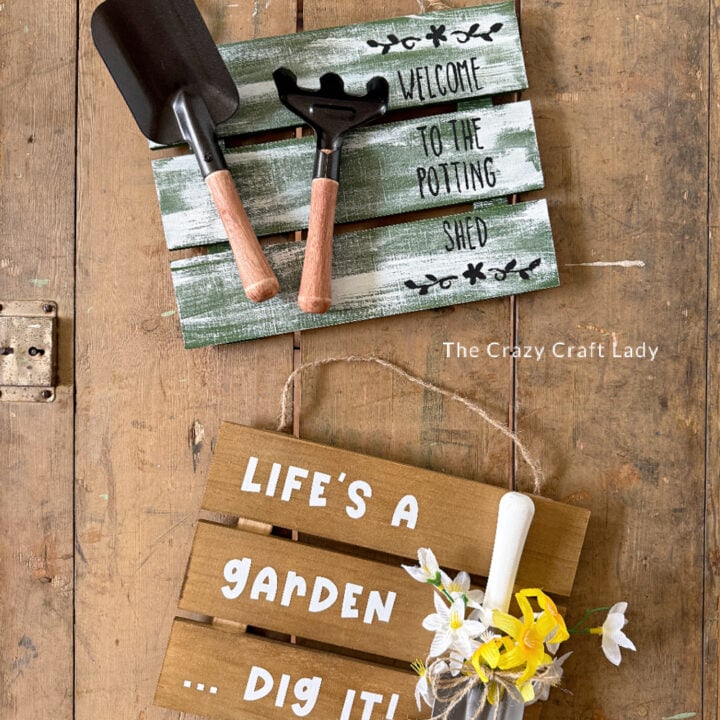
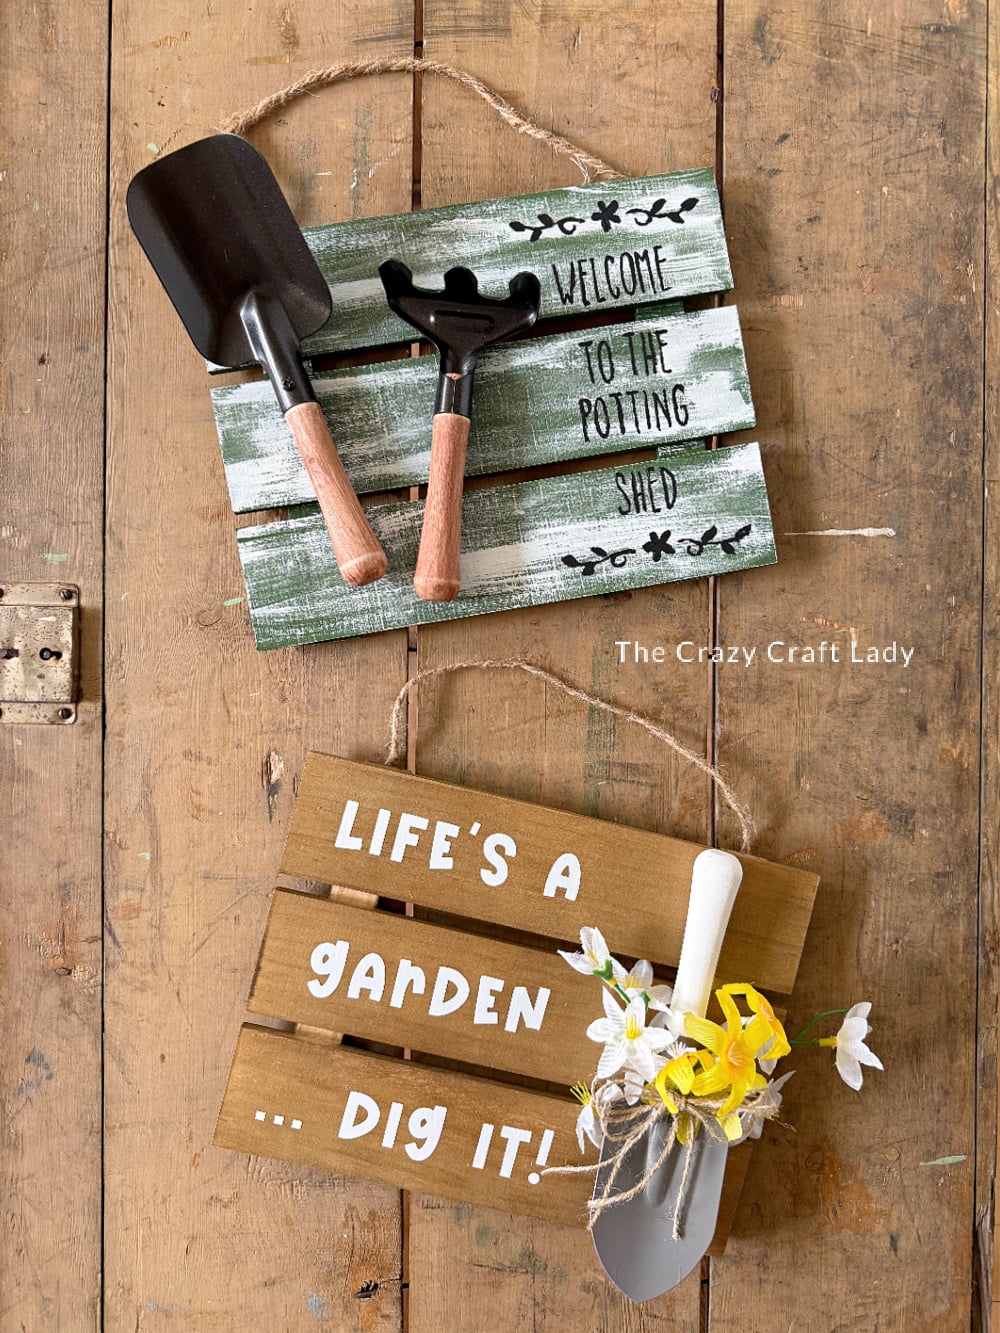
The Finished Craft
This Potting Shed Sign is proof that a few inexpensive supplies and a little creativity can turn ordinary garden tools into beautiful custom decor. It’s an easy afternoon craft that adds so much personality to your gardening space!
PIN this Potting Shed Sign for later:
More Garden-Inspired DIY Projects You’ll Love
If you enjoyed this project, be sure to check out these other creative DIY decor ideas: