Looking for unique Dollar Tree crafts? Learn how to transform a plastic tarp into modern botanical wall decor with this easy DIY wall hanging tutorial and free printable design.
This post contains some affiliate links for your convenience. Click here to read my full disclosure policy.
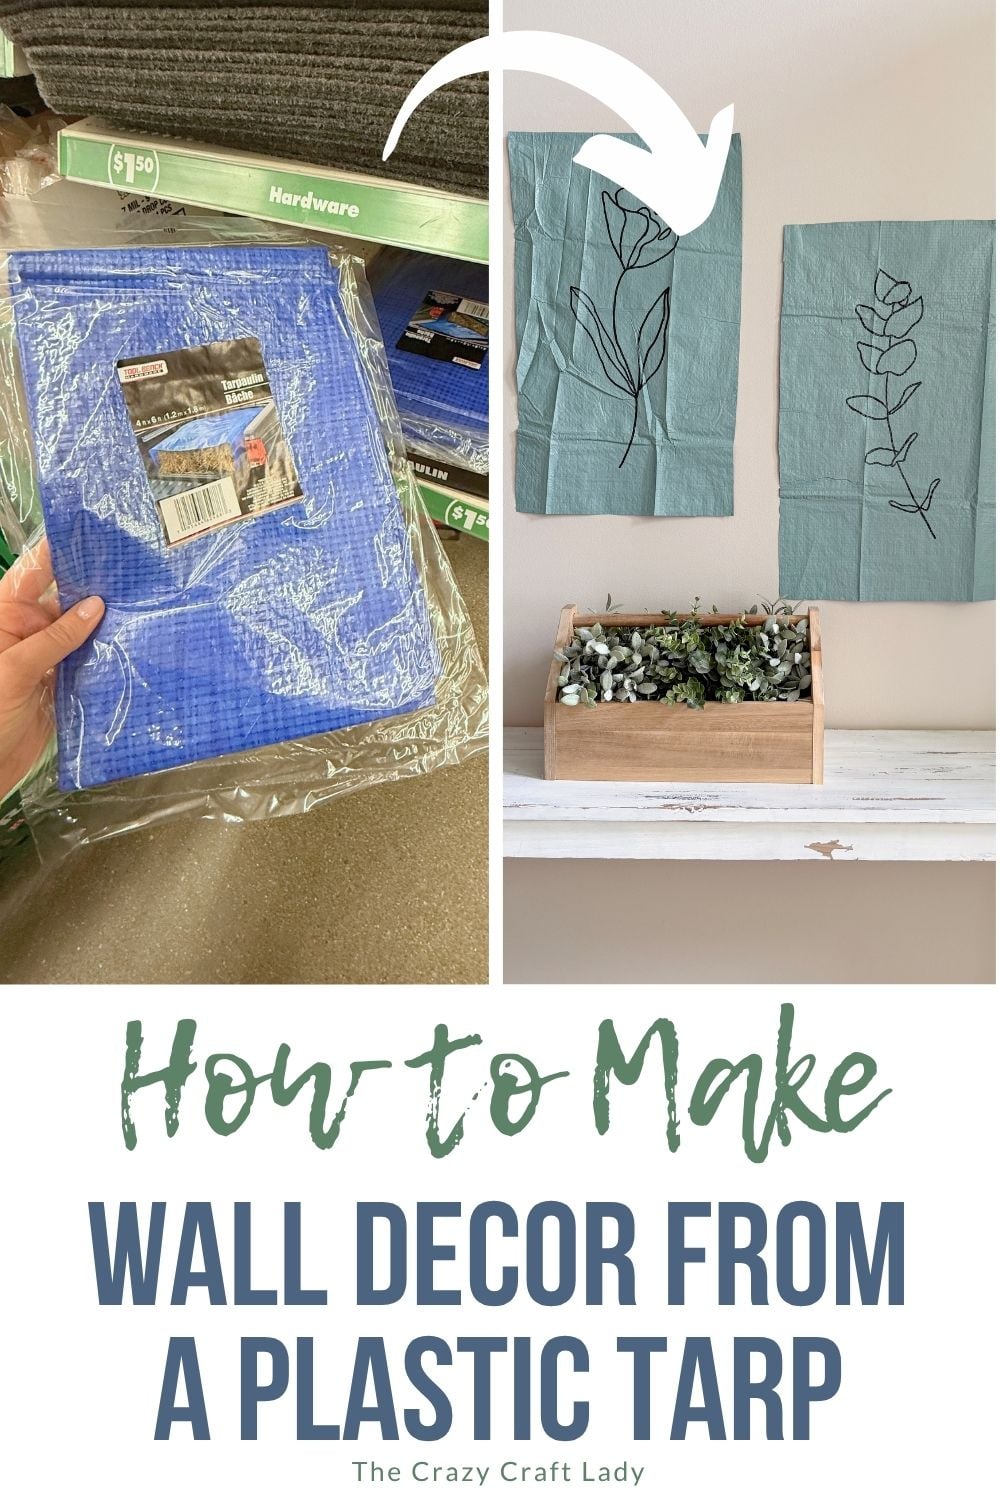
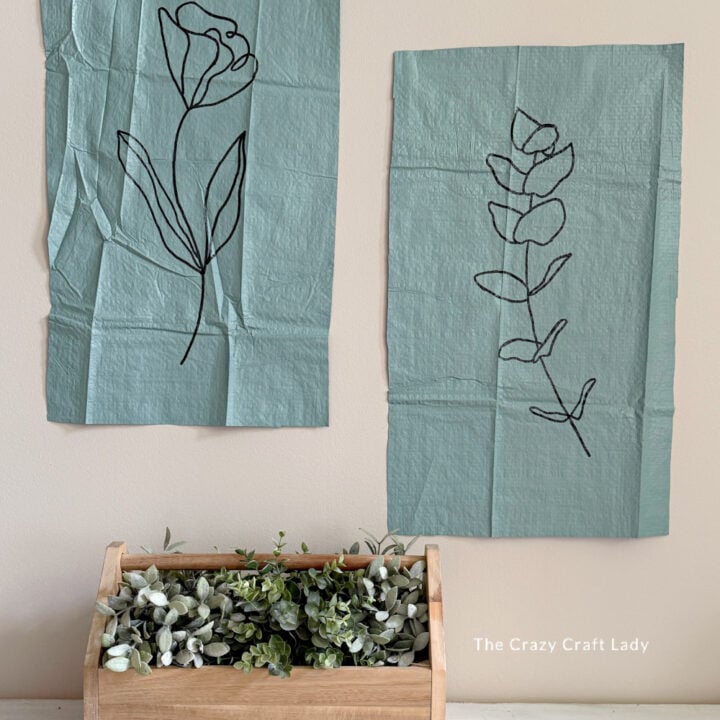
How to make beautiful wall art from a blue plastic tarp and paint.
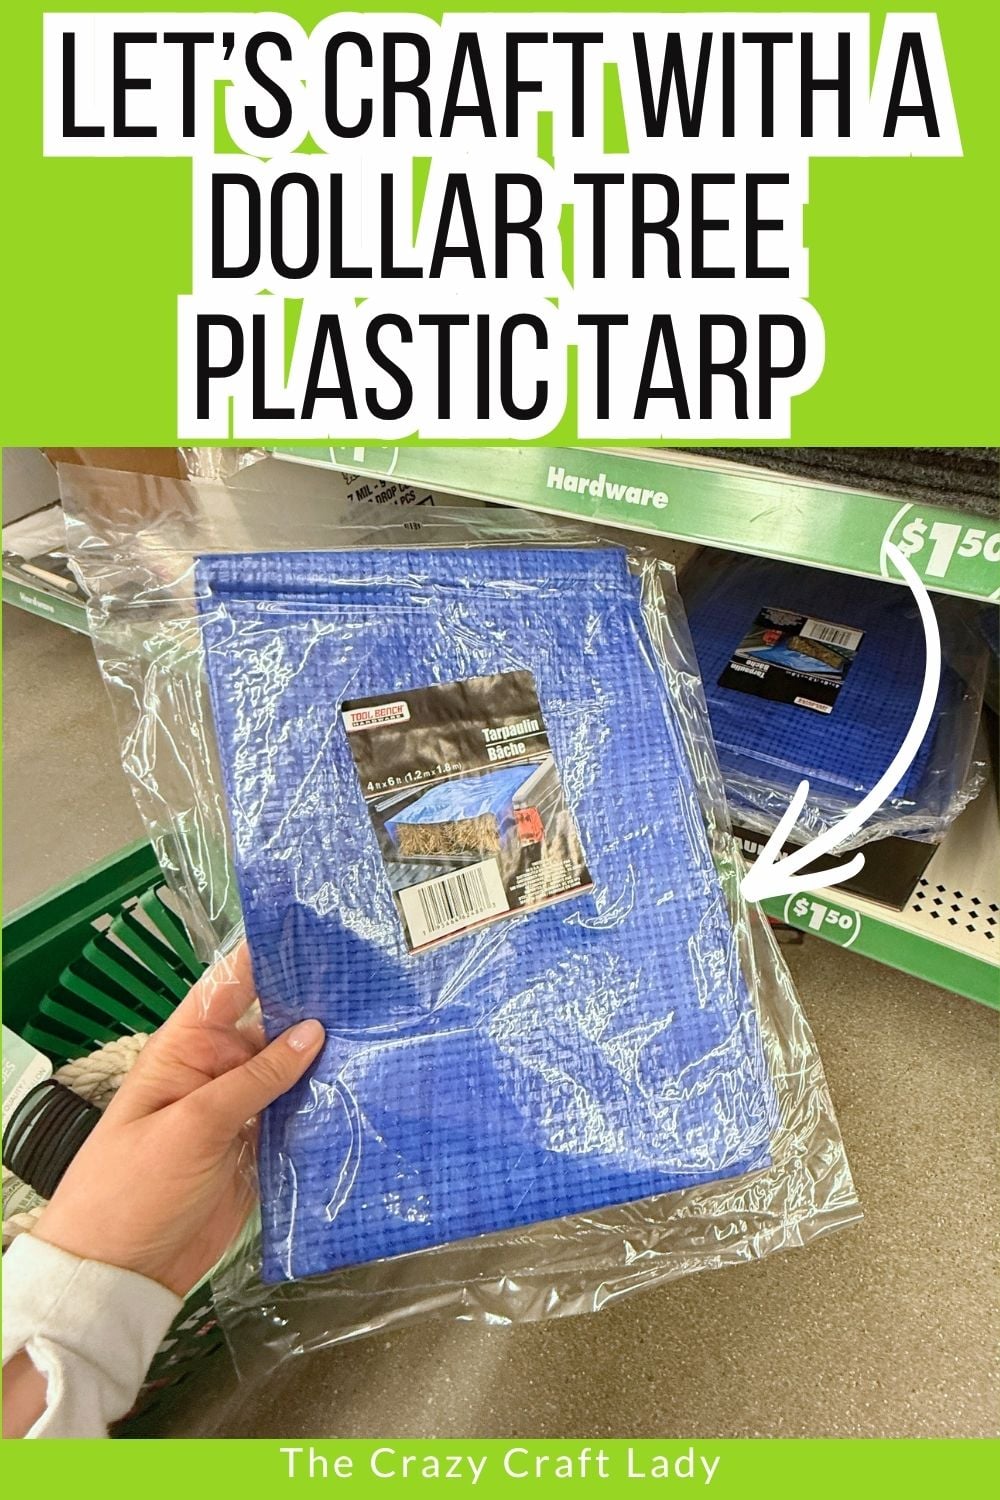
Sometimes the best craft ideas come from the most unexpected places. And by unexpected, I mean standing in the Dollar Tree aisle staring at a blue plastic tarp and thinking, “Wait…that texture is actually kind of interesting.”
Now, I fully admit this project felt a little risky when I started. A plastic tarp isn’t exactly what comes to mind when you think of beautiful home decor. But once I looked past the bright blue color and focused on that crinkled, woven texture, I knew it had potential.
With a little spray paint, a botanical printable, and an oil-based paint pen, that humble Dollar Tree tarp turned into a pair of modern wall hangings that look way more expensive than they should.
If you love finding creative ways to turn inexpensive materials into unique decor, this project is definitely for you.
Why You’ll Love This Dollar Tree Craft
- Made from a $1.25 Dollar Tree tarp
- Creates gorgeous textured wall art
- Easy beginner-friendly project
- Completely customizable colors and designs
- Works with farmhouse, cottagecore, minimalist, and modern decor styles
- Uses a free printable template
Video Tutorial: DIY Plastic Tarp Wall Hangings
Watch this quick video to see how this craft came together:
DIY Plastic Tarp Wall Hangings
Create beautiful textured wall art from an unexpected Dollar Tree supply! This budget-friendly DIY botanical wall hanging is easy to customize and perfect for modern farmhouse, cottagecore, or minimalist decor.
Materials
- Blue plastic tarp from Dollar Tree
- Sharpie marker
- Matte spray paint
- Botanical printable template
- Carbon transfer paper
- Black oil-based paint pen (or fine paintbrush and black paint)
- Twine, dowels, or hanging hardware (optional, I just hung my tarps with 3M Command strips)
Tools
- Ruler
- Scissors
- Tracing stylus or embossing tool
Instructions
- Watch the video. Follow along with the video tutorial for a step-by-step walkthrough of how to make your own painted tarp wall hanging.
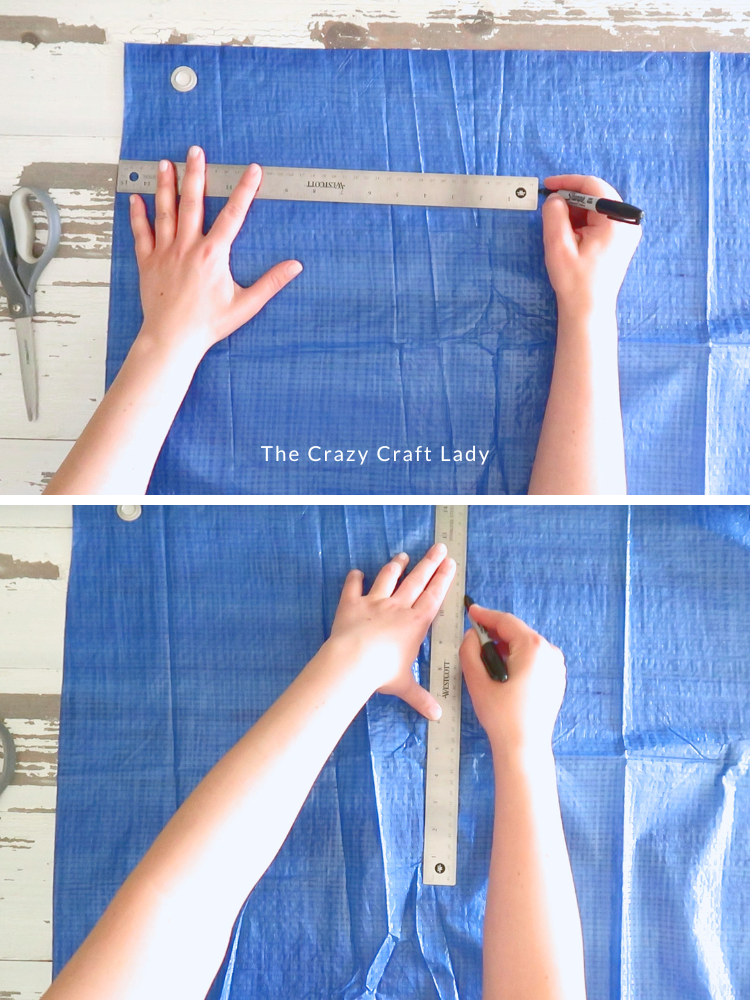
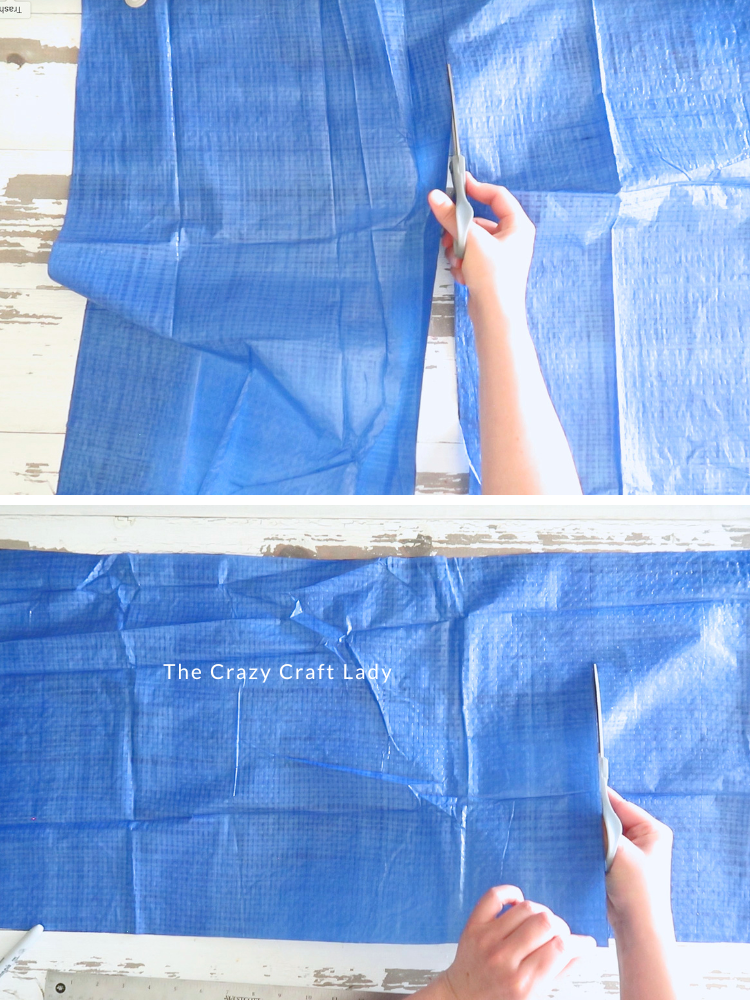
- Cut the Tarp Into Strips. Start by opening the tarp and laying it flat. Using a ruler and Sharpie, measure 15 inches from one edge of the tarp. Make small marks along the length of the tarp and connect them with a straight line. Cut along the line to create one long strip measuring approximately 15 inches wide.

- Cut the Tarp Into Panels. Next, measure 25 inches and mark another cutting line. Cut the strip into sections to create panels measuring approximately 15 inches by 25 inches. I made two wall hangings, but you can customize the size however you'd like.
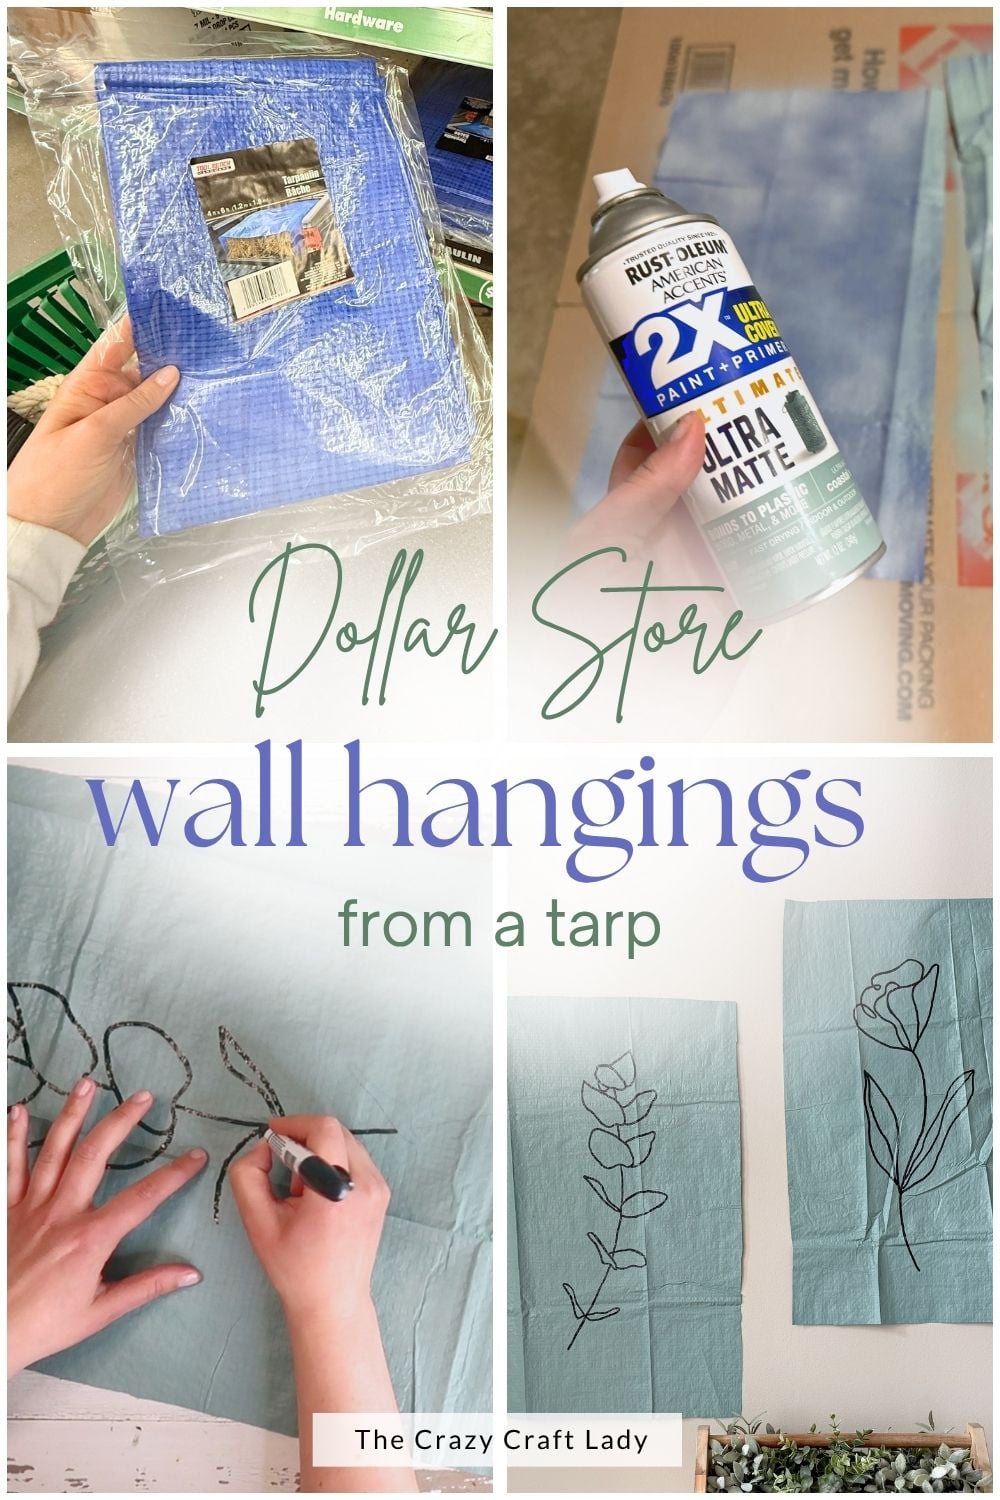
- Spray Paint the Tarp. Take your tarp panels outside and apply a coat of spray paint. I used a soft seafoam green matte spray paint because I wanted a more neutral, earthy look. The original bright blue wasn't exactly matching my decor style! Allow the paint to dry completely before moving on to the next step.
- Prep the Botanical Design. Print the free botanical template. Place a sheet of carbon transfer paper underneath your printable and position it on top of the painted tarp. One important tip: Don't tape the printable directly to the tarp. The adhesive can pull up the spray paint when removed. Instead, simply hold the template in place while tracing.
- Transfer the Botanical Design. Using a tracing stylus or embossing tool, carefully trace over all of the lines in the design. This will transfer the image onto the painted tarp and give you a guide for the next step.
- Trace Over the Design. Use a black oil-based paint pen to trace over the lines. I used a chunky oil-based Sharpie paint pen because it made the process quick and easy. If you don't have one, a small paintbrush and black acrylic paint will work just as well. Simply follow the transferred lines until the entire botanical design is complete.
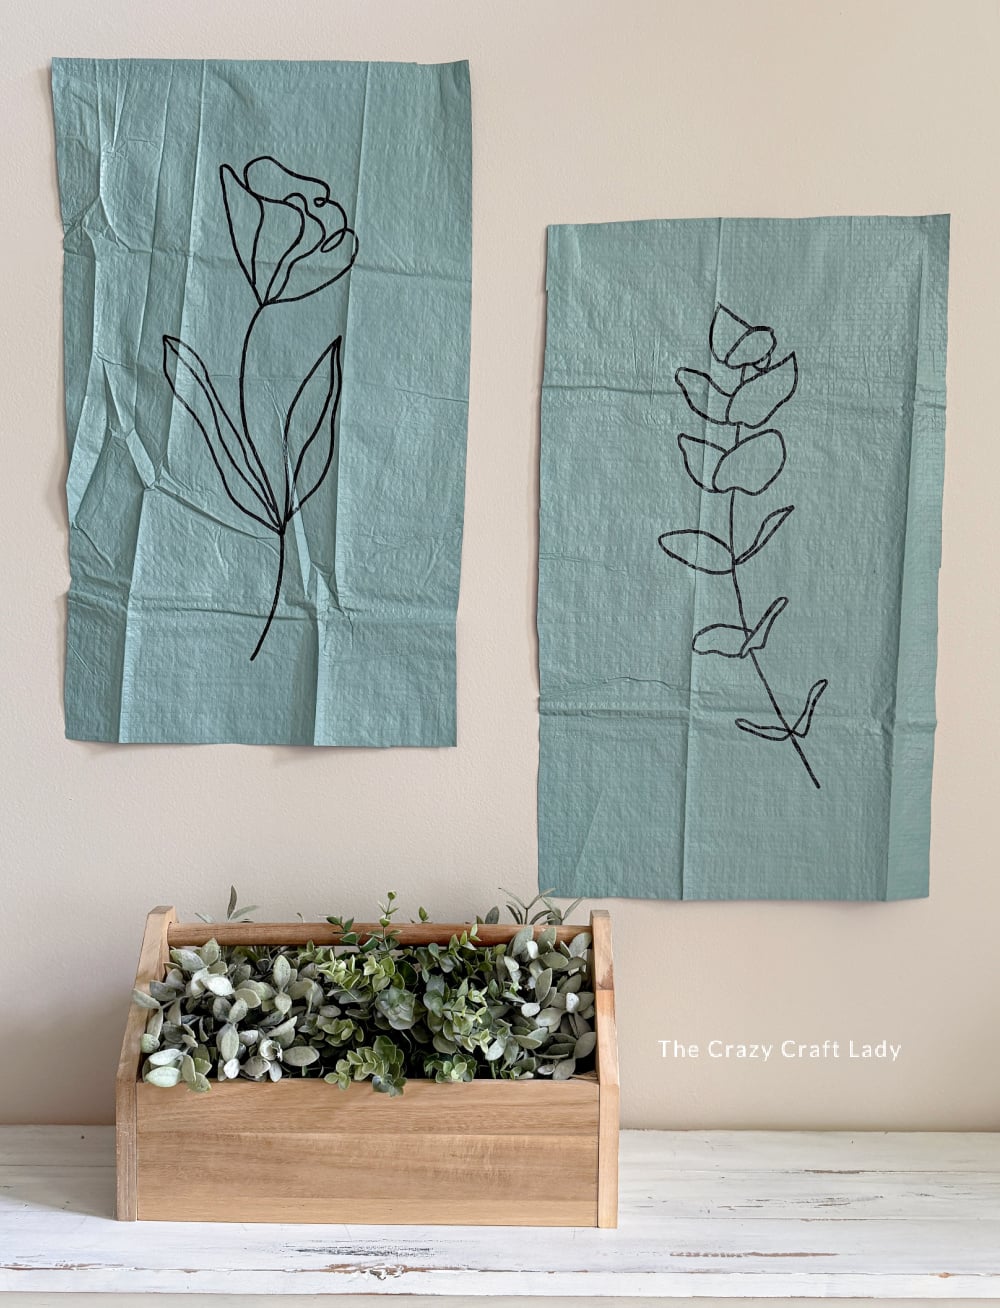
- Display Your Finished Wall Art. Once the paint is dry, your wall hanging is finished! I left my tarp panels slightly wrinkled because I actually love the extra texture and dimension it adds. The imperfections give the piece character and help disguise the fact that it started life as a plastic tarp. You can display your finished artwork several ways: clip it to a wooden hanger, attach it to a dowel rod, frame it, hang it with decorative clips, or add twine and create a banner-style wall hanging.
Notes
Customization Ideas
One of the best things about this project is how easy it is to personalize.
Try:
* Black tarp with white botanical artwork
* Neutral beige paint for a linen-inspired look
* Vintage floral illustrations
* Abstract line art
* Seasonal designs
* Inspirational quotes
* Cottagecore wildflowers
* Modern geometric patterns
The possibilities are endless!
The Finished Craft
I know a plastic tarp isn’t the first thing most people reach for when making home decor, but that’s exactly why I love projects like this.
Sometimes the most creative crafts come from looking at ordinary materials in a completely different way.
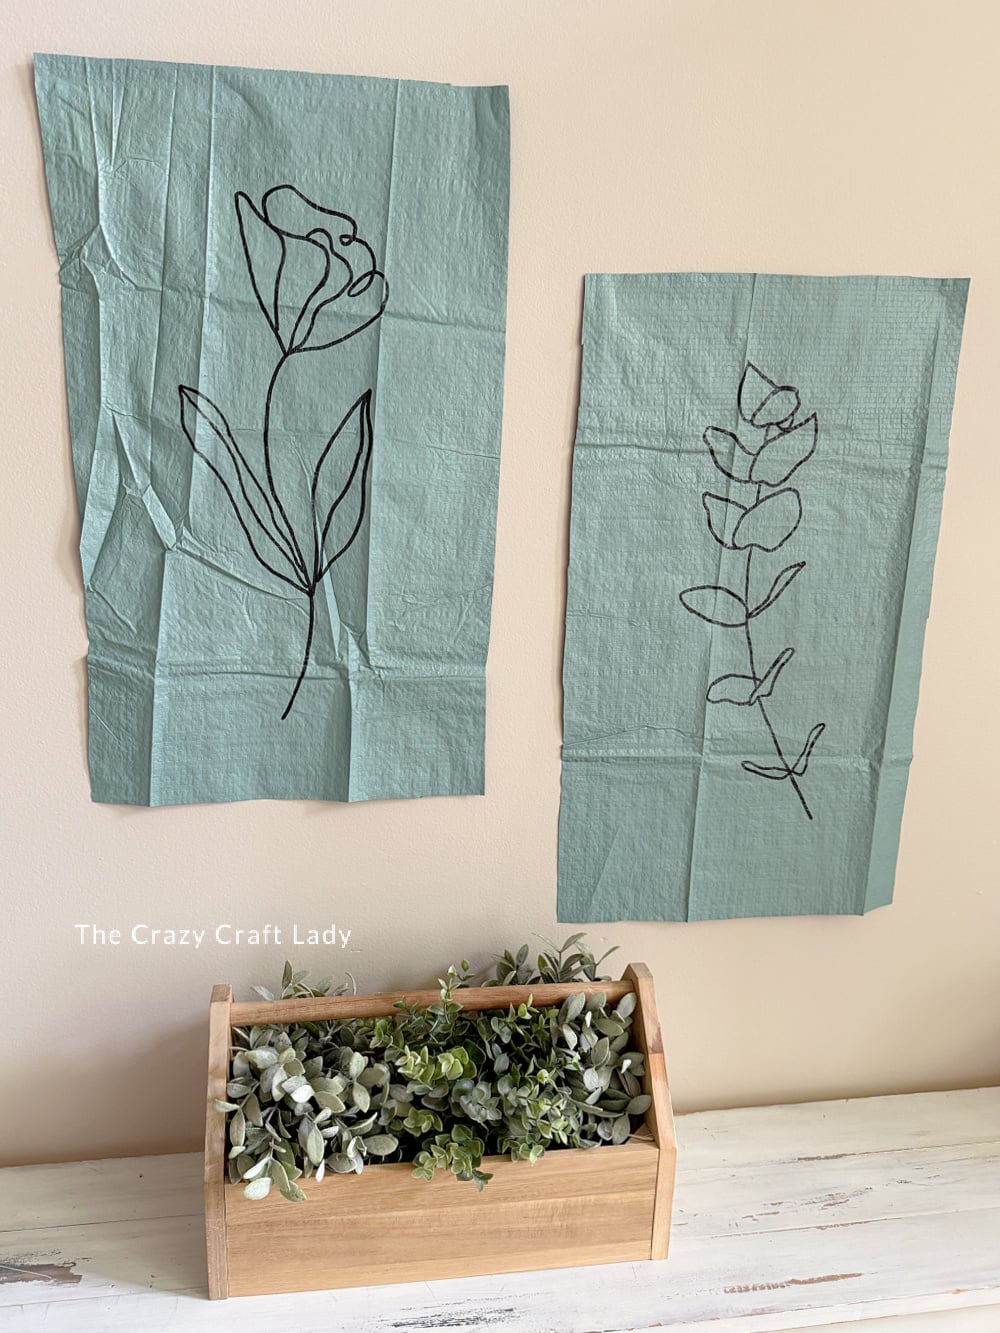
The textured surface of the tarp gives these wall hangings a unique, almost fabric-like appearance, while the botanical artwork keeps them feeling modern and high-end.
Not bad for something that started in the Dollar Tree hardware aisle!
PIN this craft for later: