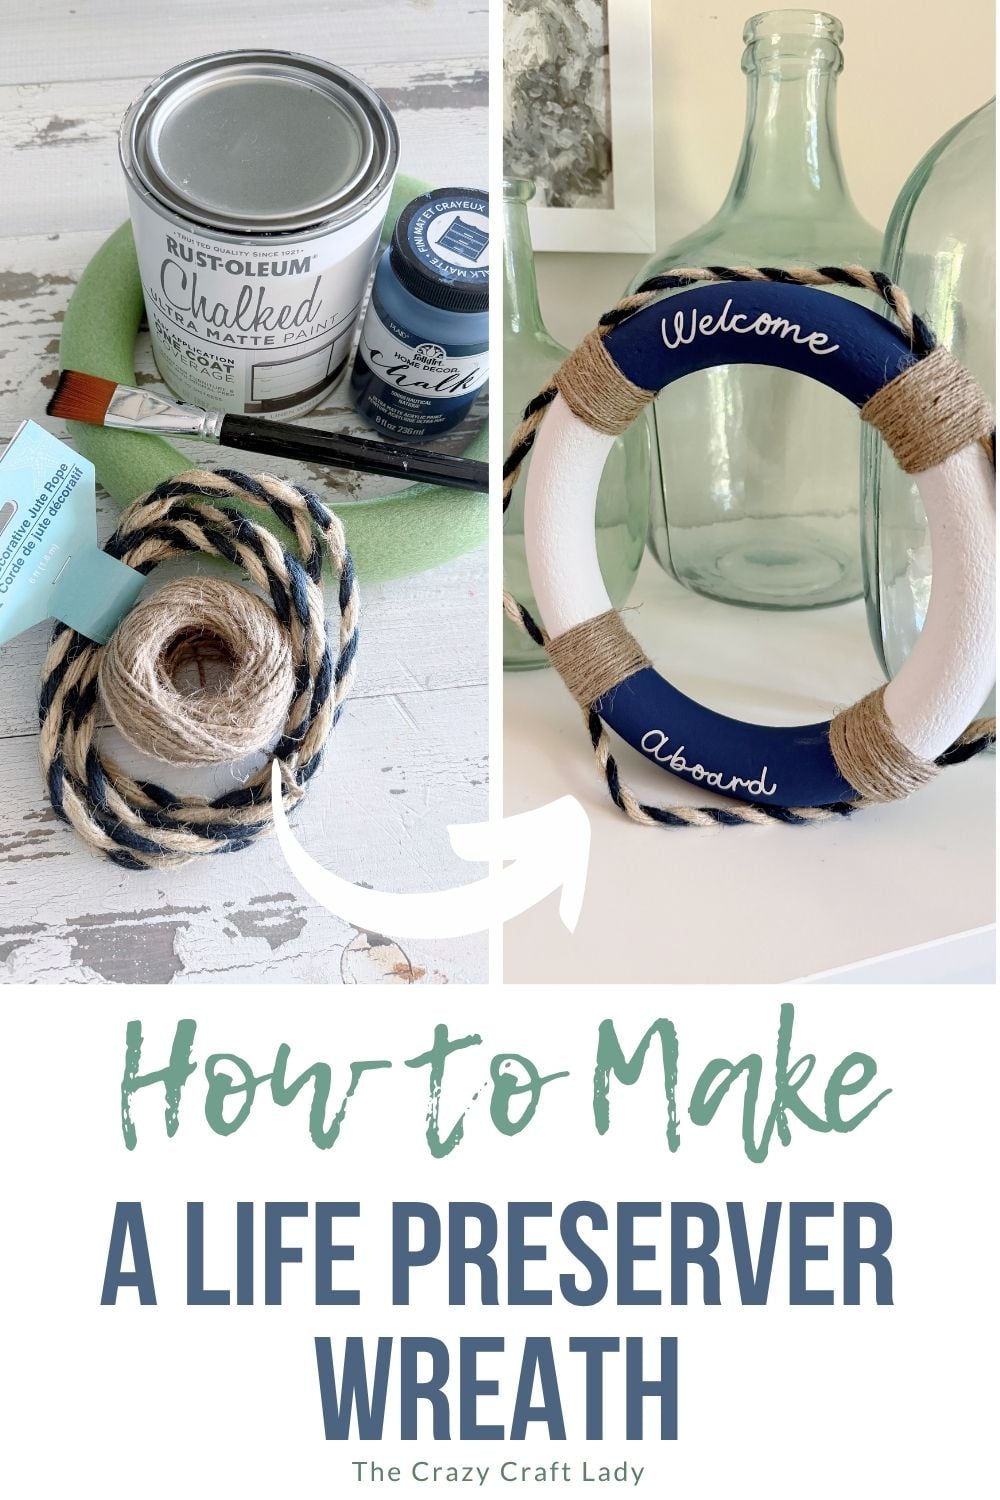
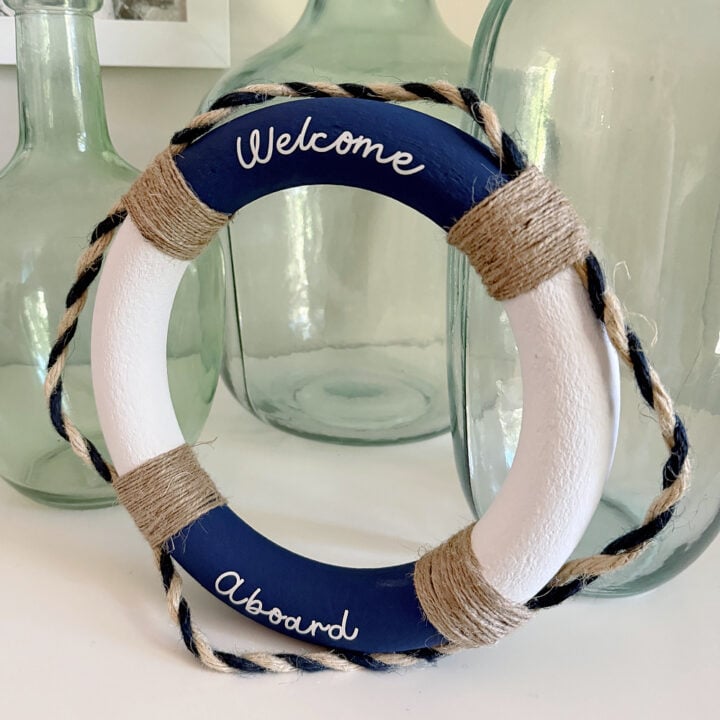
Make a DIY life preserver wreath using a Dollar Tree foam wreath form, paint, rope, and vinyl! This easy nautical wreath is perfect for summer front door decor.
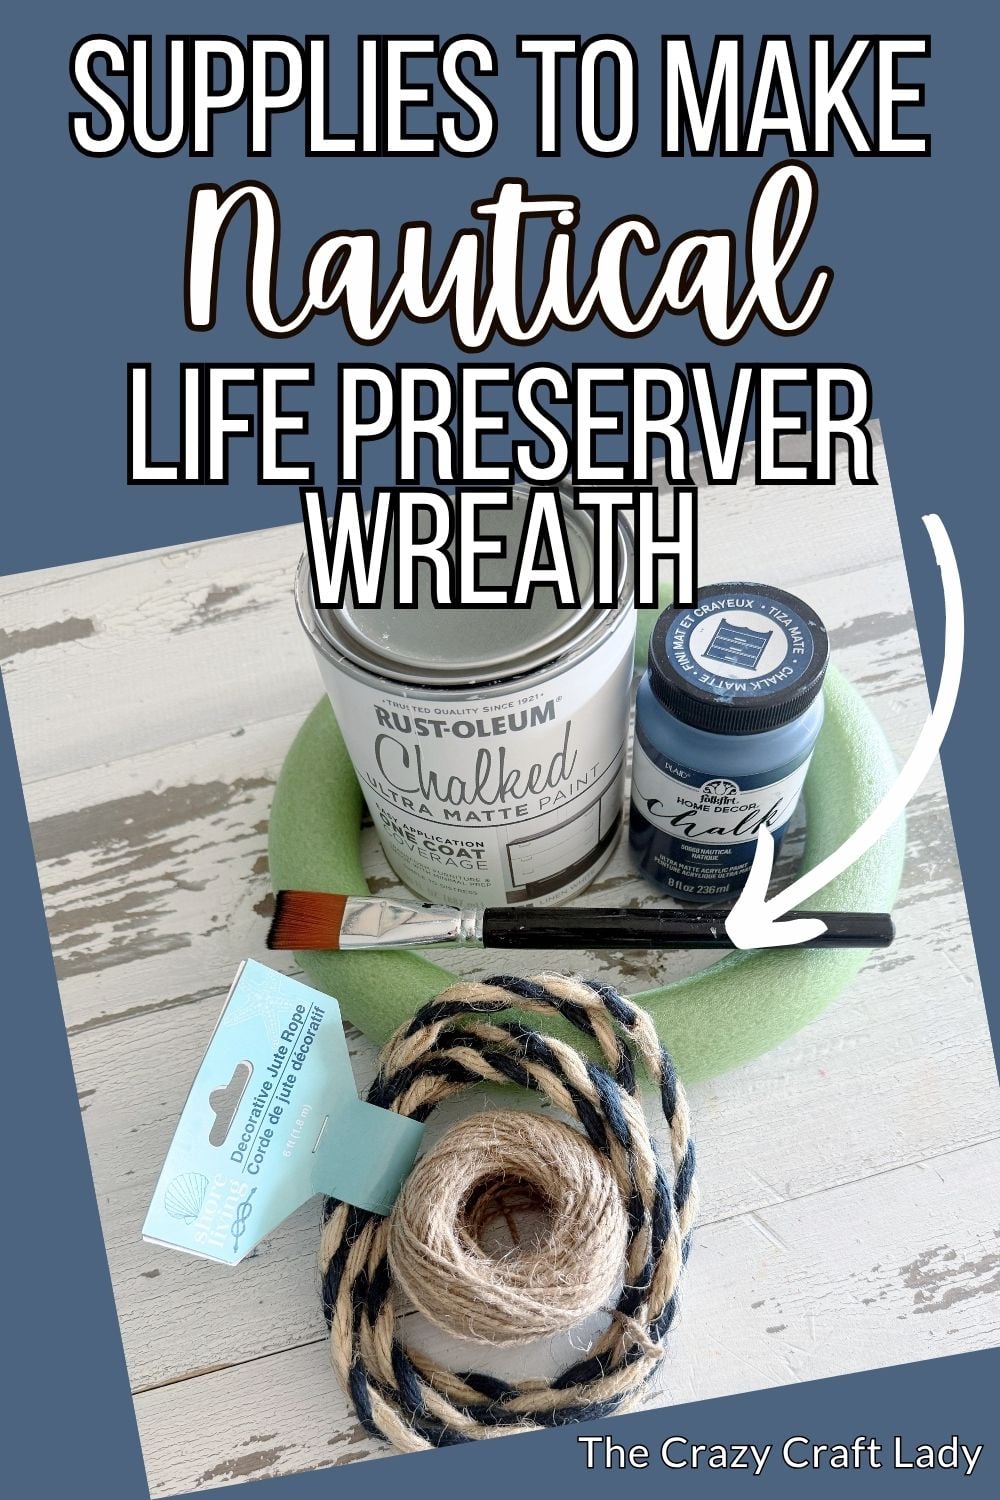
How to make a nautical navy and white life preserver wreath craft
This post contains some affiliate links for your convenience. Click here to read my full disclosure policy.
There’s something about nautical decor that never goes out of style. Whether you decorate a lake cabin, love coastal cottage vibes, or just want a fun summer wreath for your front door, this DIY life preserver wreath is a simple project that makes a big impact.
Using a foam wreath form, a little paint, rope, and twine, you can create a realistic-looking life preserver that’s perfect for summer decorating. Finish it off with a “Welcome Aboard” message, a family name, or your favorite nautical phrase, and you’ll have a custom wreath that looks right at home in any beach-inspired space.
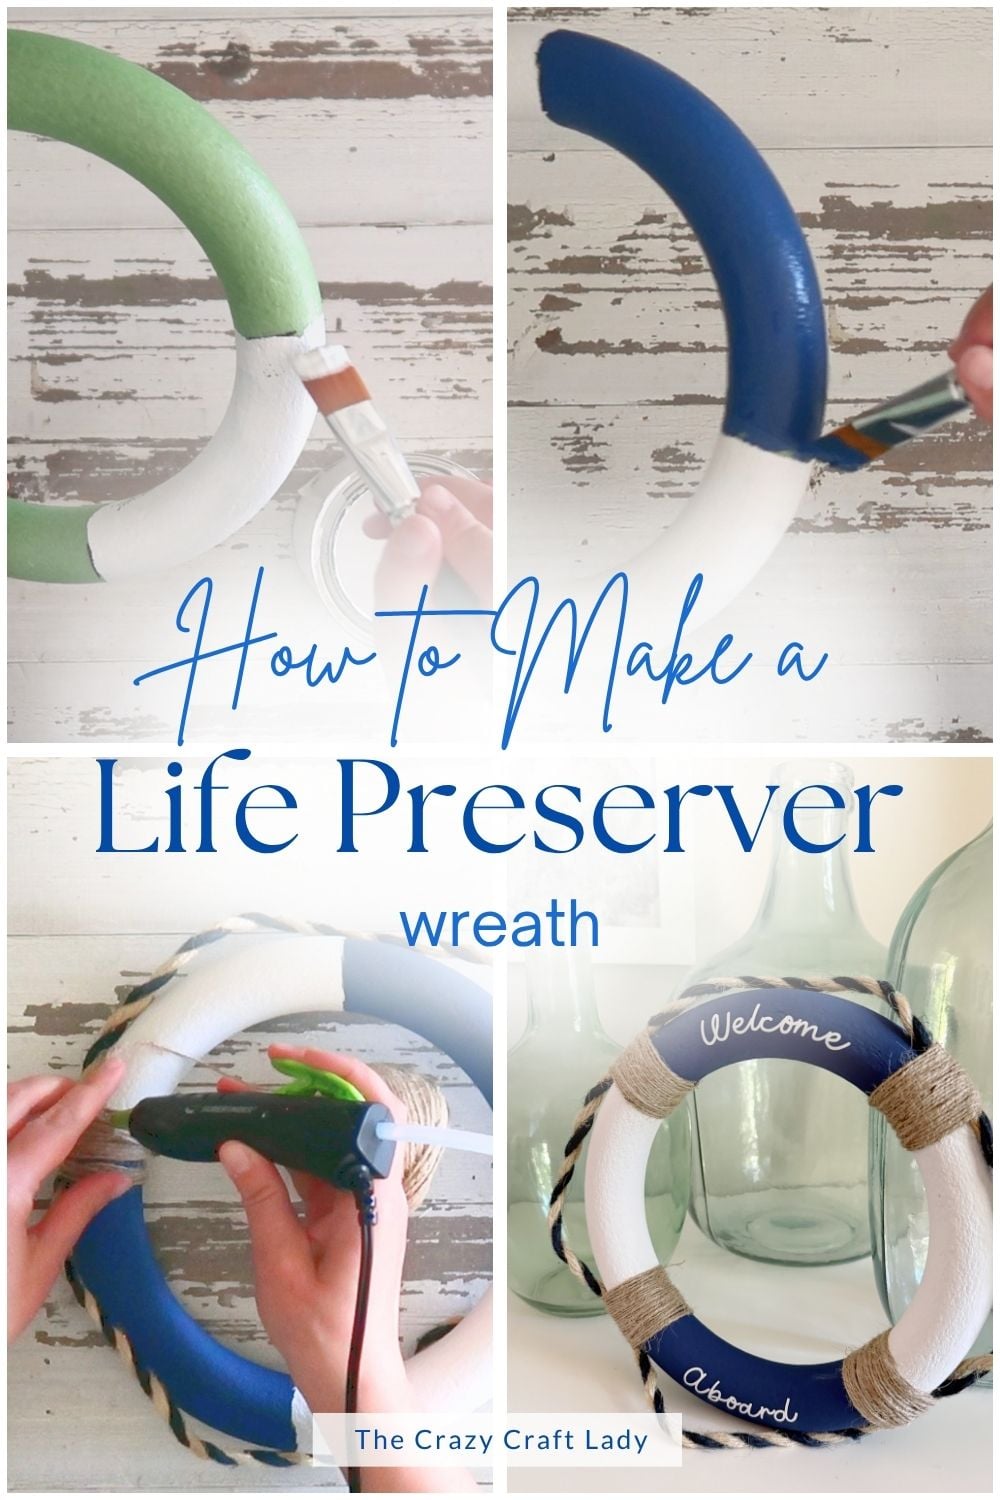
Video Tutorial: DIY Life Preserver Wreath
Watch this quick video to see how this craft came together:
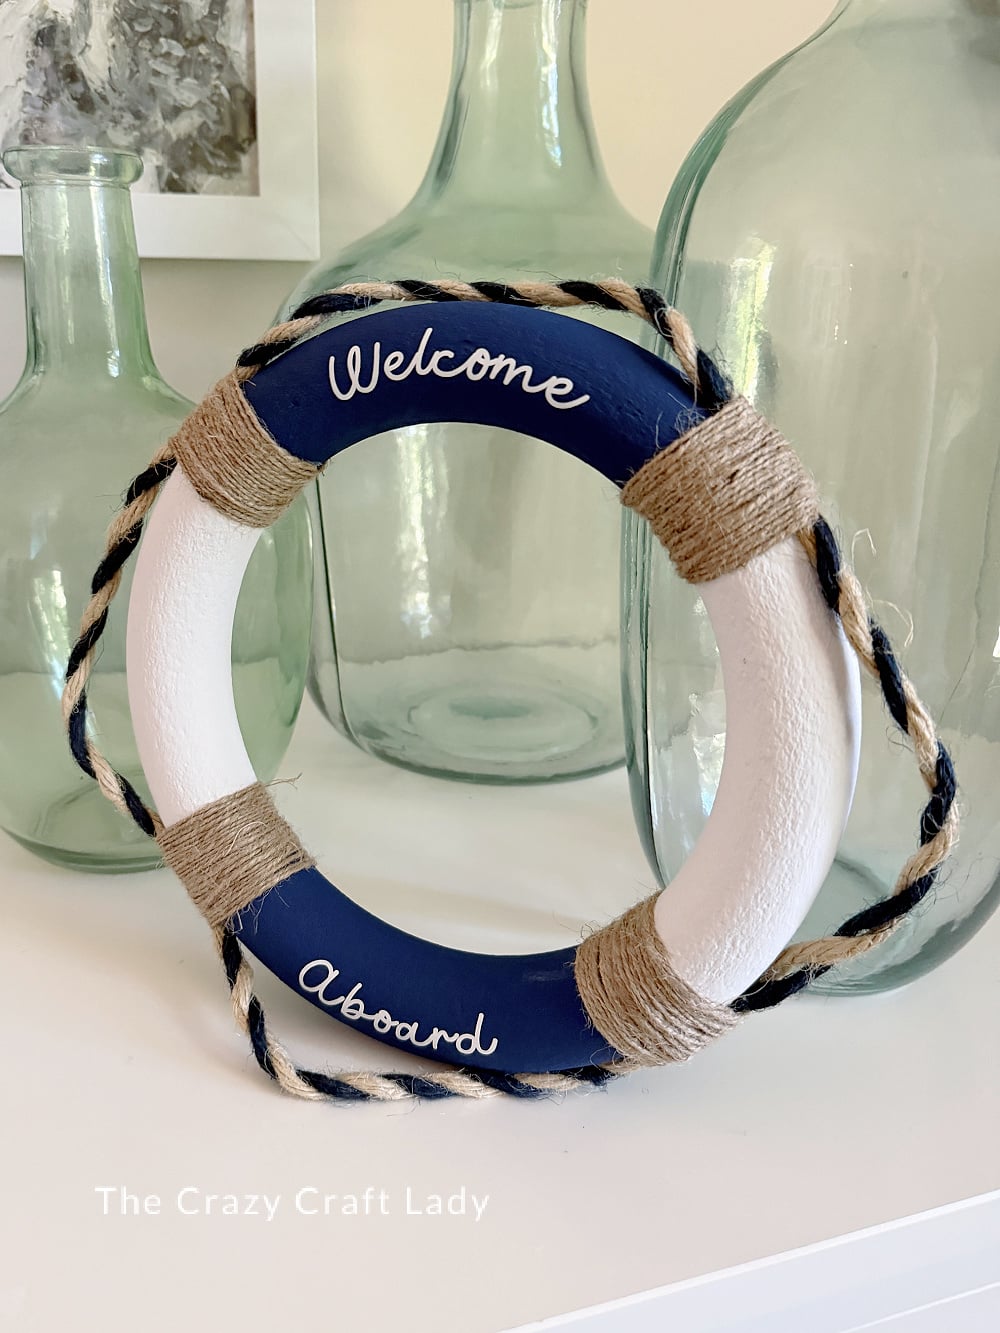
DIY Life Preserver Wreath
This DIY wreath is made from a plain foam wreath form painted in alternating white and navy sections, then dressed up with rope and twine to create the look of a classic life preserver. Add a “Welcome Aboard” decal, and you’ve got the cutest coastal wreath for summer.
Materials
- Foam wreath form (mine came from Dollar Tree, but a craft store foam wreath form or even a pool noodle would work)
- White chalk paint
- Navy blue chalk paint
- Sharpie marker
- Jute rope (I used a Dollar Tree rope with navy woven in, but plain jute works too)
- Straight pins or sewing pins
- Dollar Tree twine
- White adhesive vinyl, Cricut machine (optional, for the lettering, and transfer tape
Instructions
- Watch the video. Follow along with the video tutorial for a step-by-step walkthrough of how to make your own life preserver wreath.
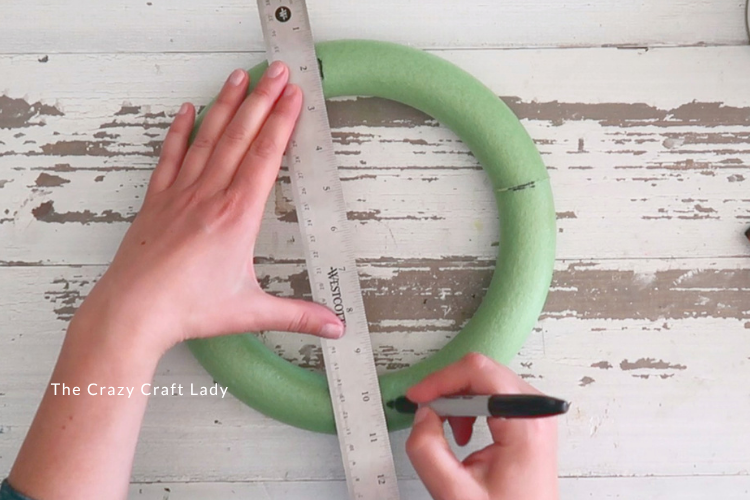
- Mark the wreath into four sections. Start with a plain foam wreath form. Use a Sharpie to divide the wreath into four even sections. This doesn’t have to be mathematically perfect—just eyeball it well enough that it looks balanced once painted.

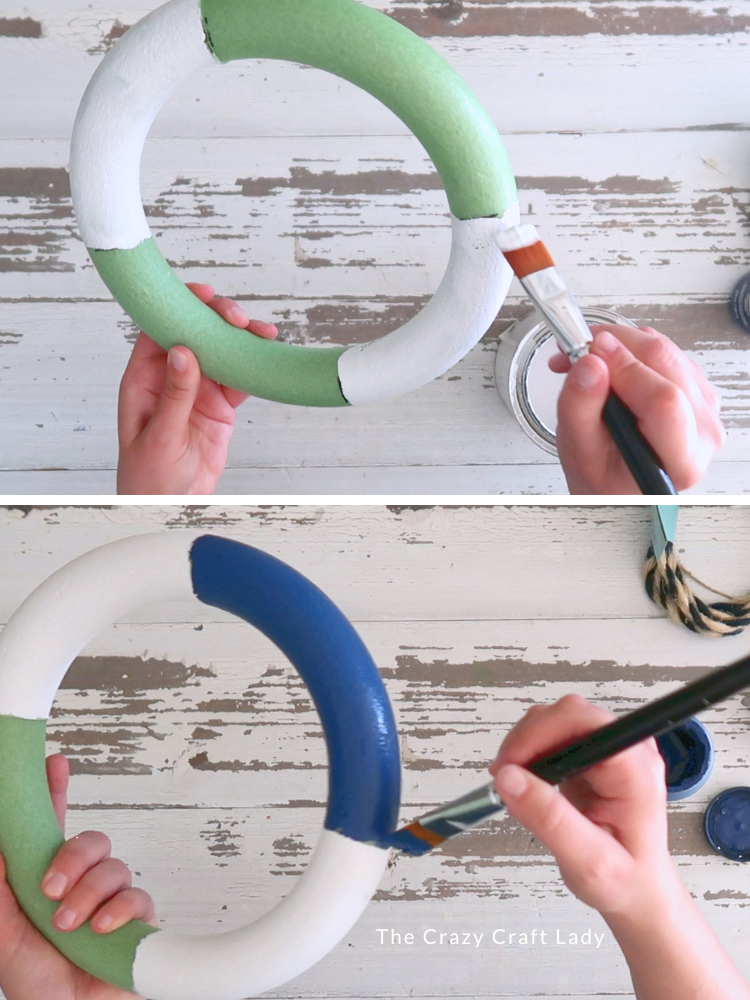
- Paint two sections white. Paint two of the sections white. I ended up doing two coats of white paint, letting it dry completely between coats so I got nice solid coverage.

- Paint the other two sections navy. Once the white paint is dry, go back and paint the remaining two sections navy blue. I only needed one coat of the navy paint. Tip: I set my wreath on top of a glass jar while it dried so I could paint without constantly flipping it around and smudging everything.
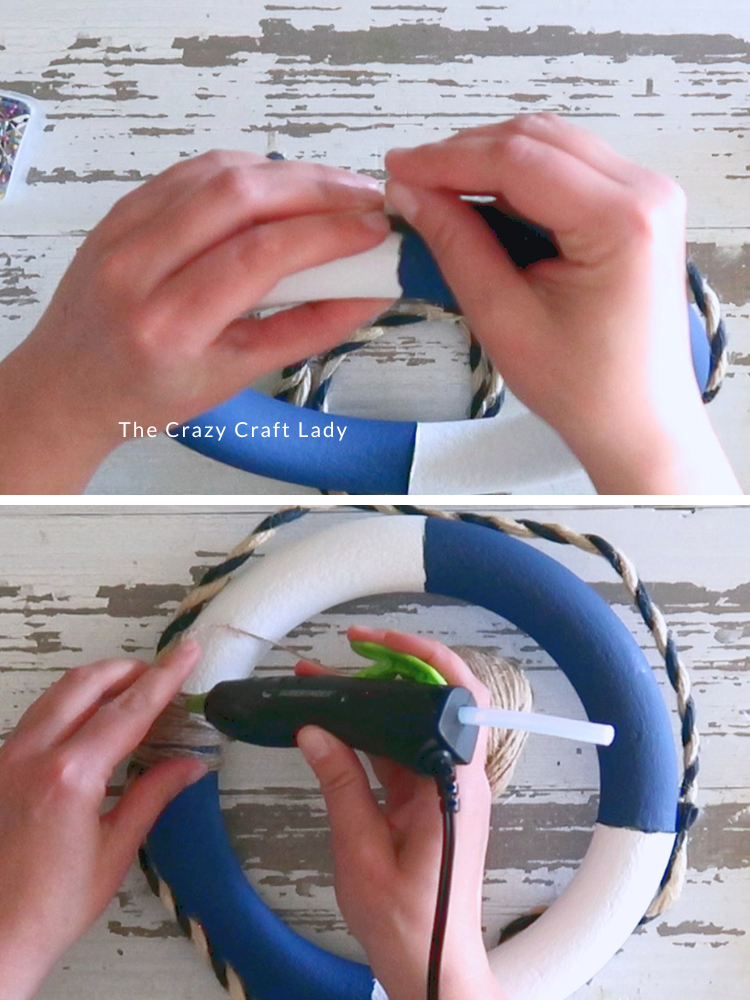
- Add the rope around the outside of the wreath. Next, take your jute rope and pin it around the outside of the wreath form. I used a Dollar Tree rope that had navy woven into it, which worked perfectly for this project, but plain jute rope would look great too. Use straight pins to secure the rope to the wreath form in four evenly spaced spots around the wreath. When you pin it down, leave a small gap between the rope and the wreath form so it sits slightly raised instead of being pressed flat against the foam. Once you get all the way around, trim the rope and pin the end in place.
- Wrap twine around each color dividing line. Now we’re going to cover the spots where the navy and white sections meet. Take some regular twine and wrap it around the wreath form at each dividing line. I wrapped mine around about 20 times per section, creating a band of twine that was roughly 1 inch wide. Do this in all four places where the paint colors meet. Once you’re done wrapping each section, secure the twine end with a little hot glue.
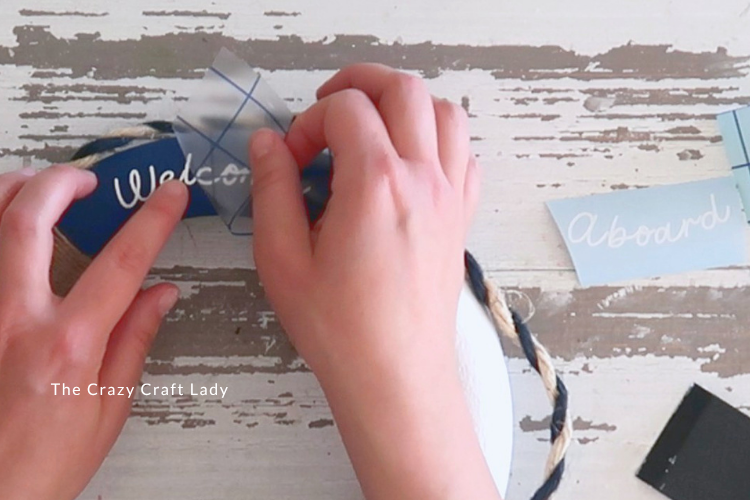
- Add your lettering. Cut the words “Welcome Aboard” from white adhesive vinyl using a Cricut. I curved the text in Cricut Design Space so it would follow the shape of the wreath: top curve at 15 and bottom curve at -15. If you don’t have a Cricut, you could: hand-paint a phrase, add a wooden anchor or sailboat embellishment, use stencils, or leave it plain and let the life preserver design speak for itself.
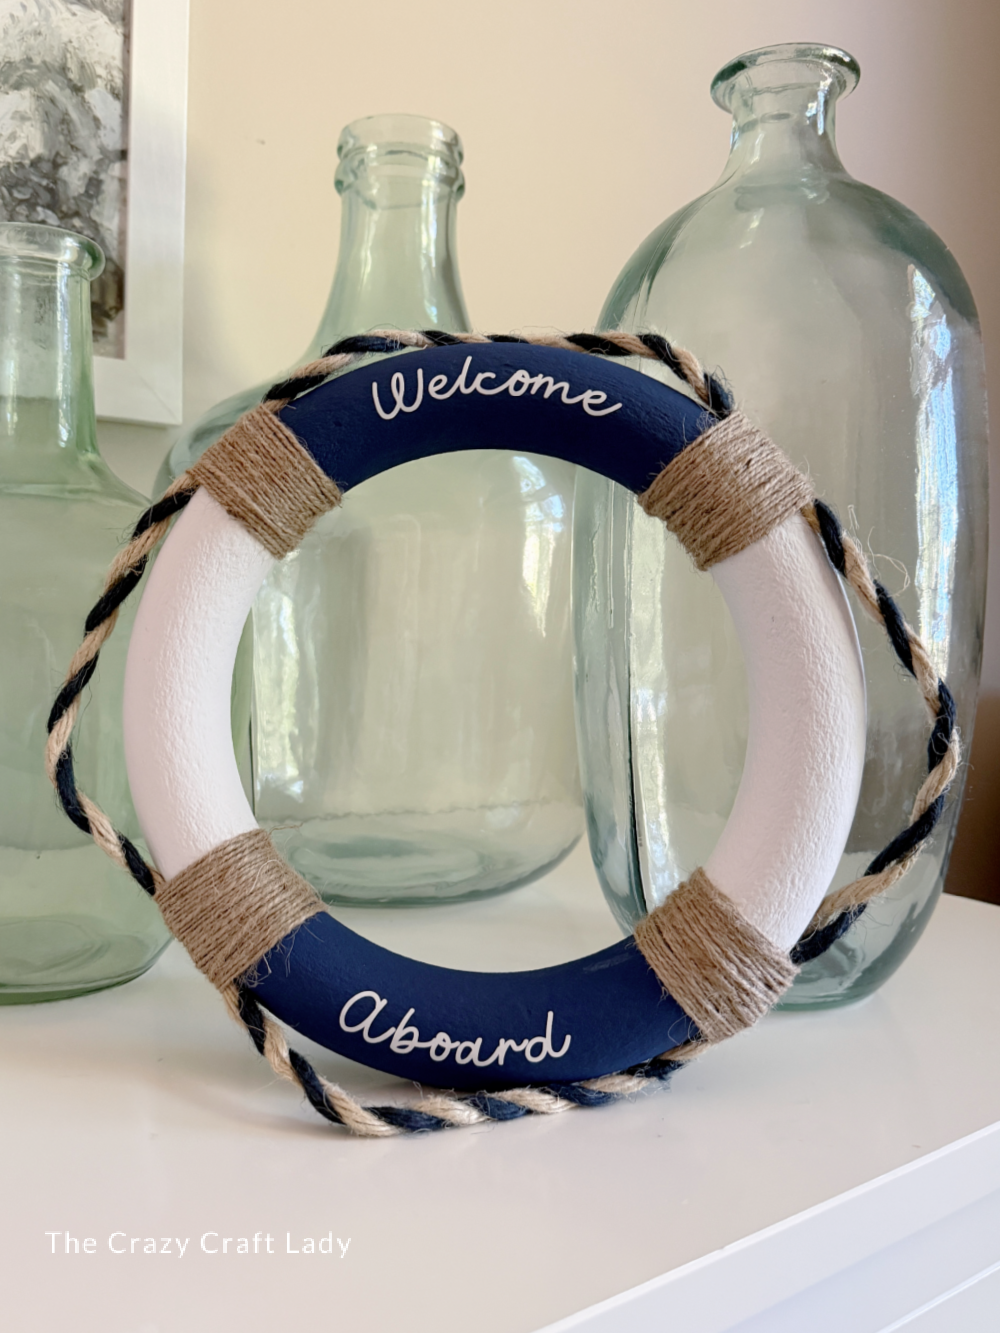
The Finished Craft
Once your lettering is on, your little life preserver wreath is done!
It’s such a fun summer wreath idea if you like coastal decor, lake house style, beachy crafts, or just making something cute out of inexpensive supplies. I love that it’s clearly nautical without needing a bunch of extra embellishments, and the rope and twine details make it look so much more finished.
PIN this wreath for later: