
Make a DIY Fall Fabric Photo Mat using a dollar store picture frame, pretty autumn fabric, and Mod Podge for easy seasonal decor.
This post contains some affiliate links for your convenience. Click here to read my full disclosure policy.
How to make a DIY fall fabric photo mat from dollar store supplies.
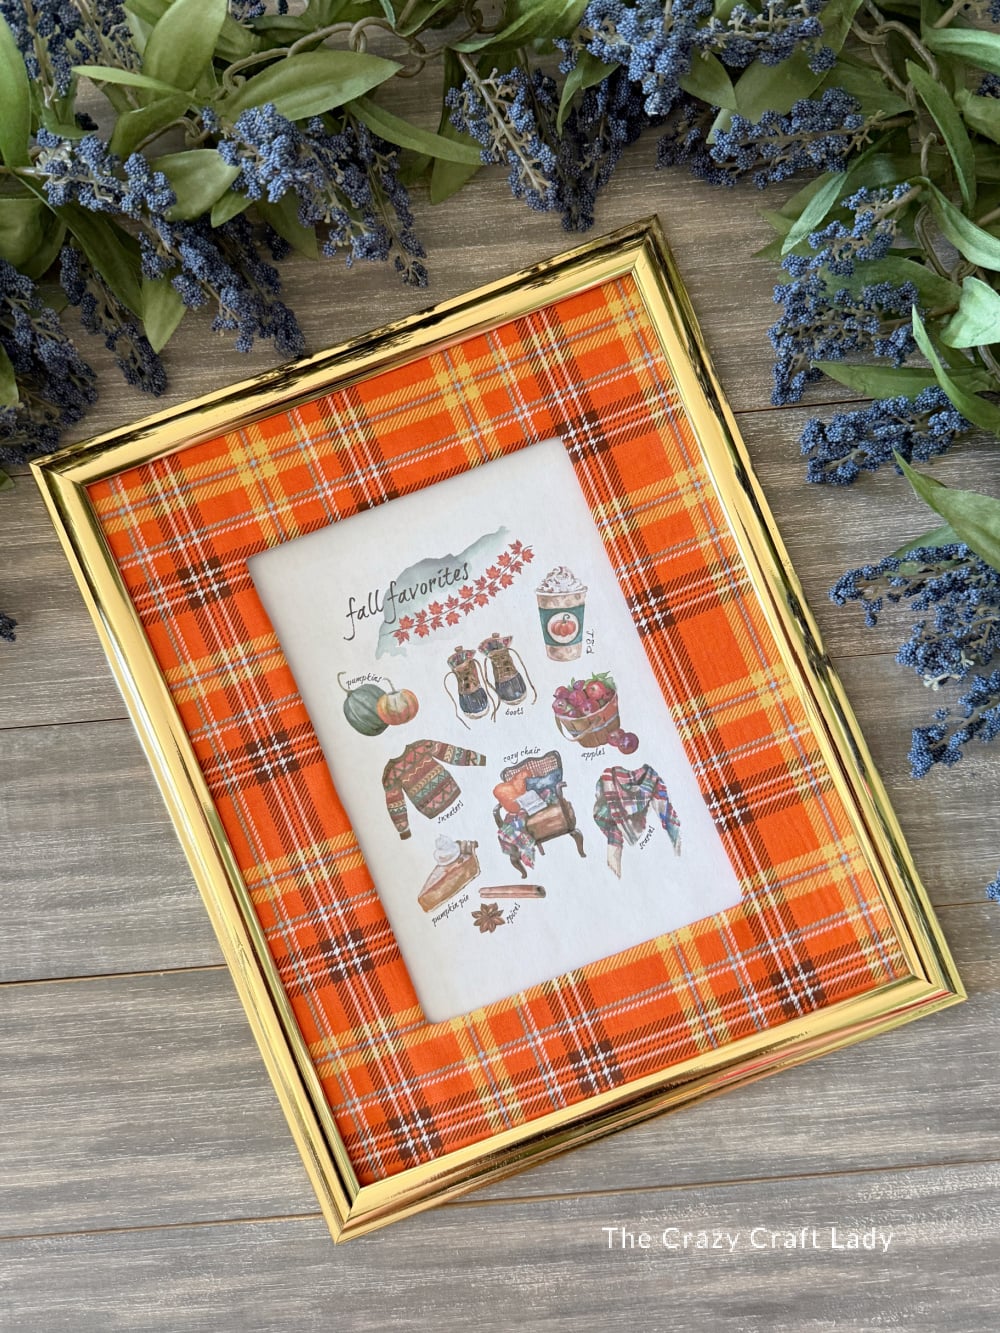
Give a basic dollar store picture frame a cozy seasonal makeover with this DIY Fall Fabric Photo Mat! Instead of buying a fancy decorative frame or custom mat, we’re using the cardboard backing that comes with an inexpensive picture frame and covering it with pretty fall fabric.
It’s an easy way to add color, pattern, and texture to a favorite family photo or seasonal printable. And because you can use whatever size frame and fabric you already have, it’s a great little craft for using up supplies from your stash.
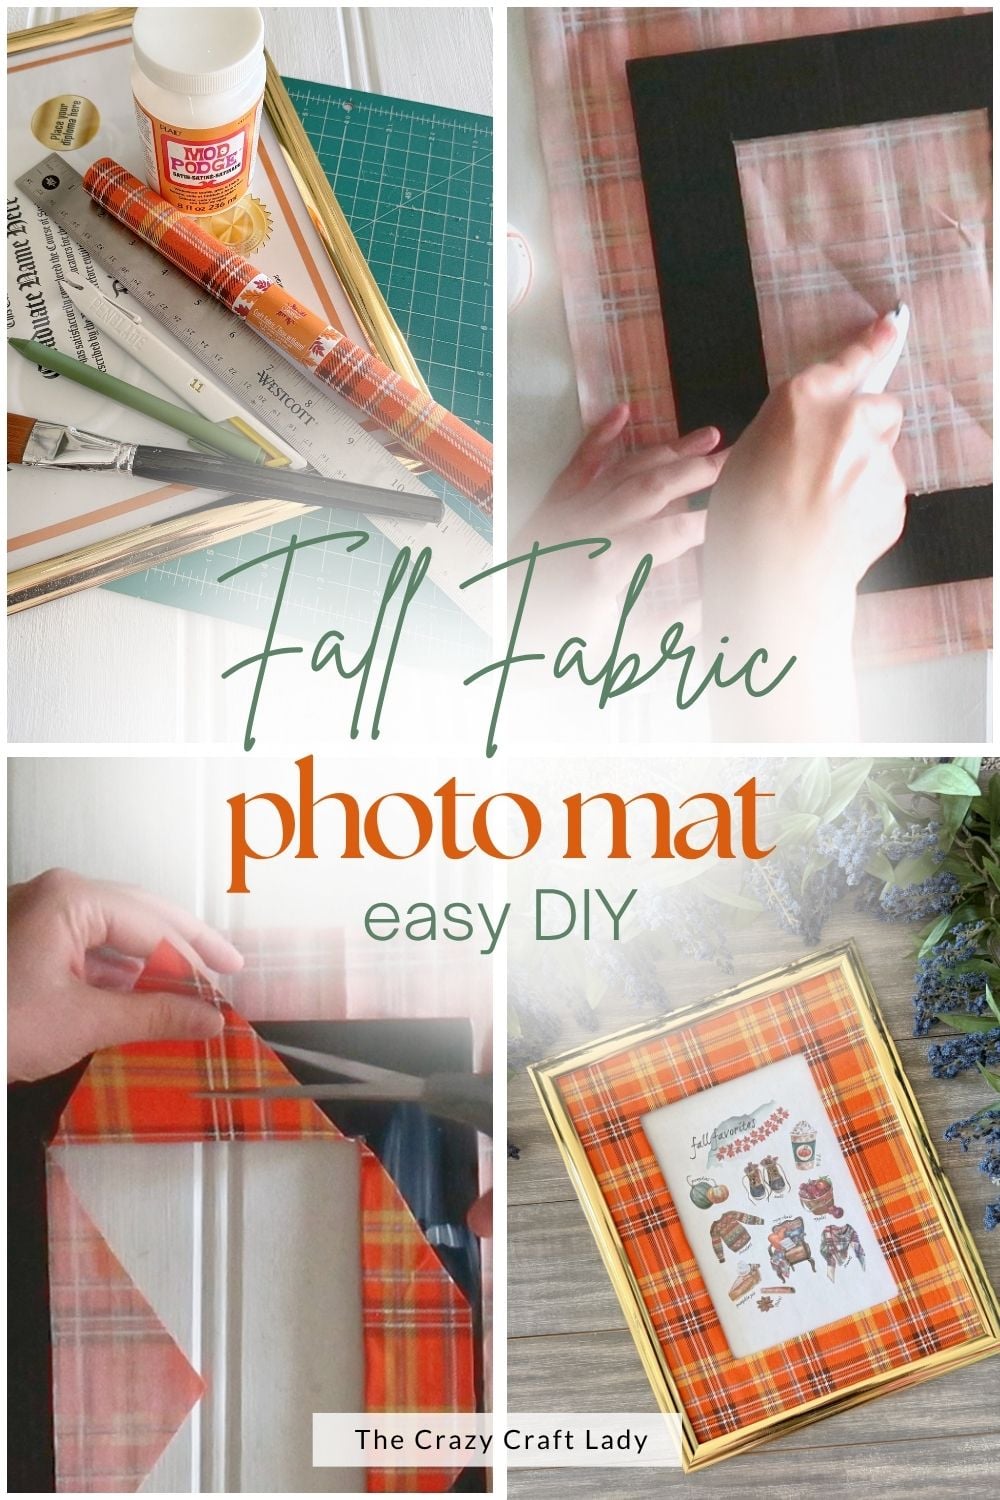
A little measuring, a little Mod Podge, some careful folding—and you’re in business!
Watch the Video Tutorial
Watch the video tutorial below to see exactly how I made this DIY Fall Fabric Photo Mat from start to finish.
DIY Fall Fabric Photo Mat
Learn how to make a DIY Fall Fabric Photo Mat with inexpensive supplies for a custom way to display favorite photos or fall printables.
Materials
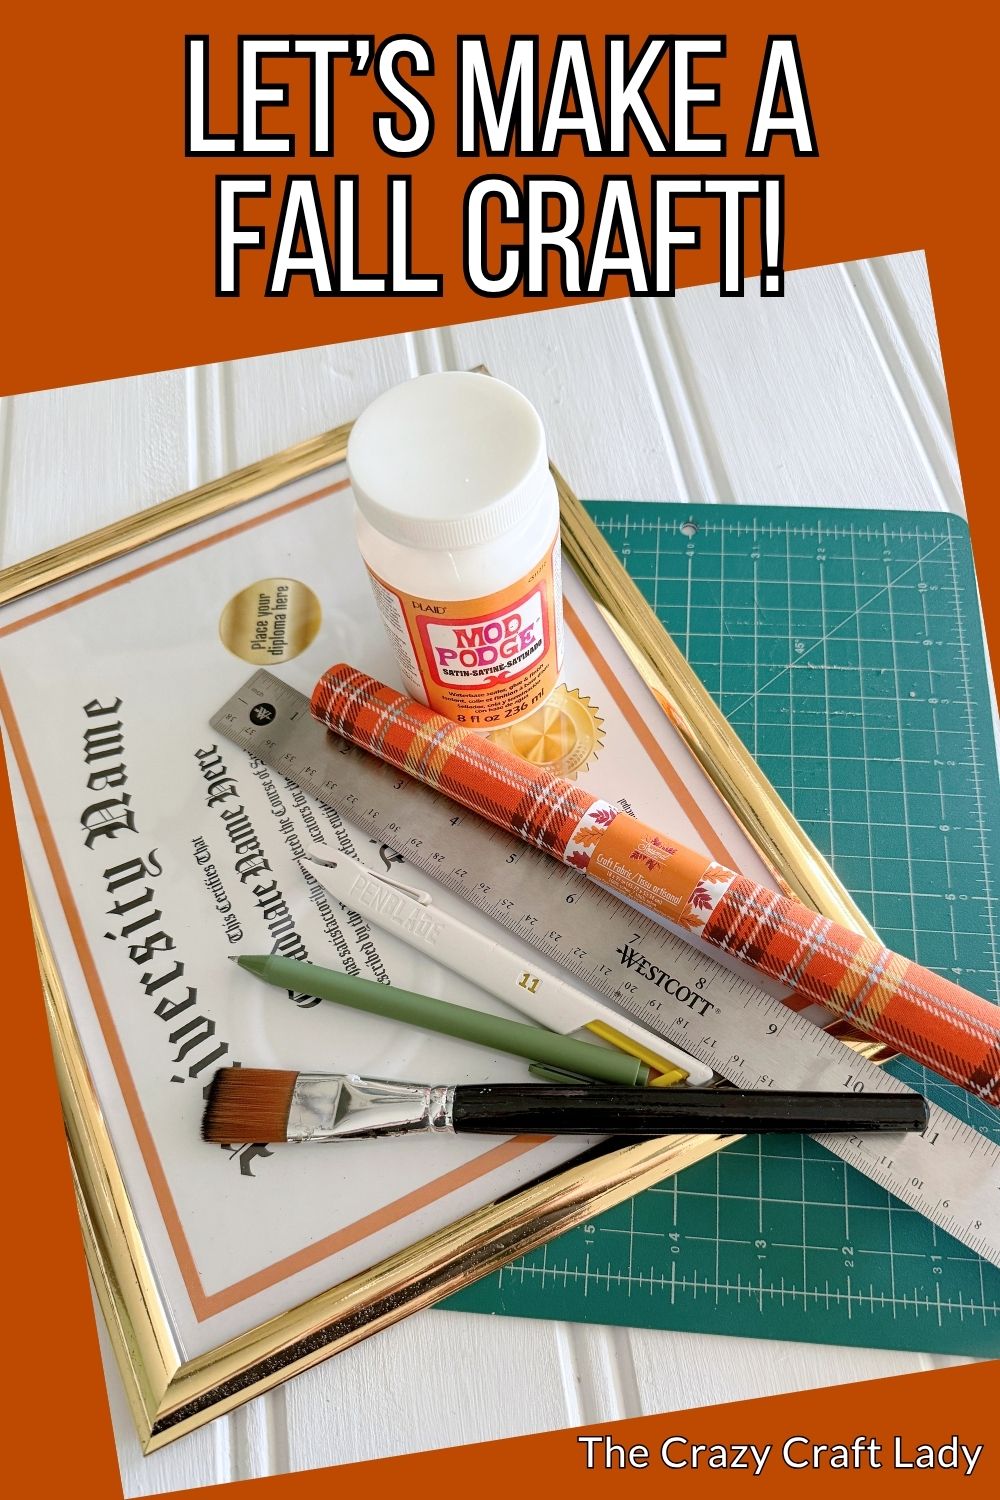
- Dollar store picture frame
- Cardboard frame backing
- Fall fabric
- Mod Podge
- Favorite photo or printable
Tools
- Flat paintbrush
- Ruler
- Pen
- Craft knife
- Metal ruler
- Rotary cutter
- Cutting mat
- Craft scissors
Instructions
- Watch the Video. Follow along with the video tutorial to see exactly how to create a fall fabric photo mat.
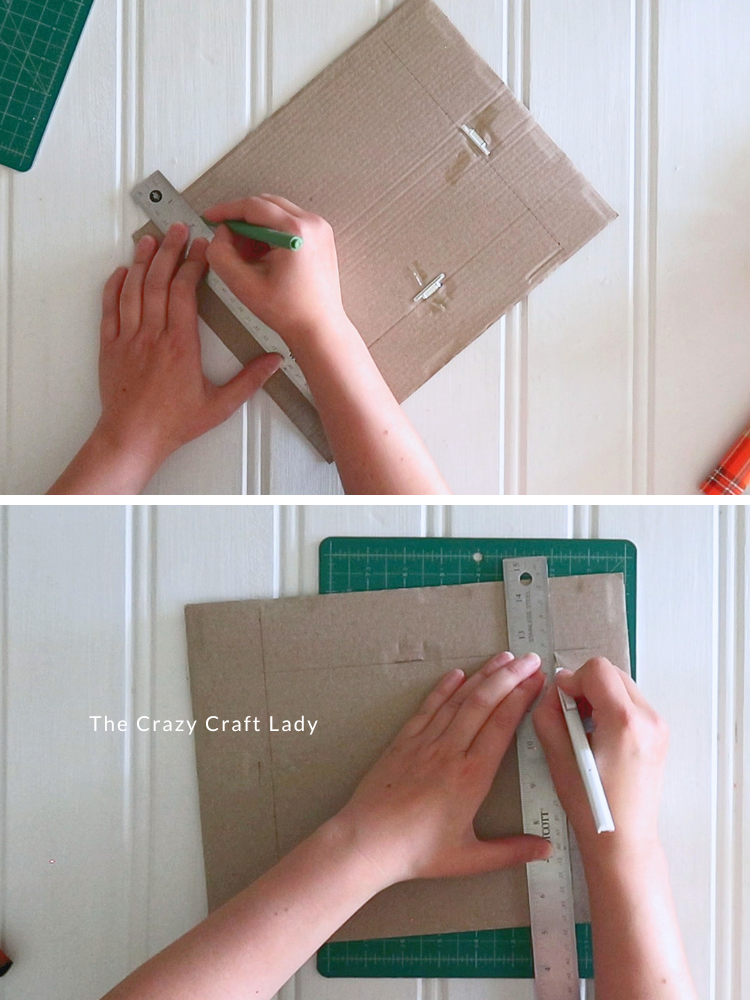
- Remove the Picture Frame Backing. Start with any inexpensive picture frame you like. Fold back the little metal tabs and remove the cardboard backing. Instead of tossing that cardboard aside, we're going to turn it into our custom fabric photo mat.
- Measure the Photo Mat Opening. Using a ruler and pen, measure two inches in from each edge of the cardboard. Make a small mark at two points along one side and connect those marks with a straight line. Repeat on the other three sides until you have a centered rectangle drawn onto the cardboard. This rectangle will become the opening in your photo mat. You can adjust the measurements depending on the size of your frame and the photo you want to display.

- Cut Out the Center. Place the cardboard on a cutting mat and line a metal ruler up with one of your pen marks. Using a sharp craft knife, carefully score along the line several times. Repeat on all four sides until the center section pops out. Clean up any loose pieces of cardboard around the cut edges before moving on.
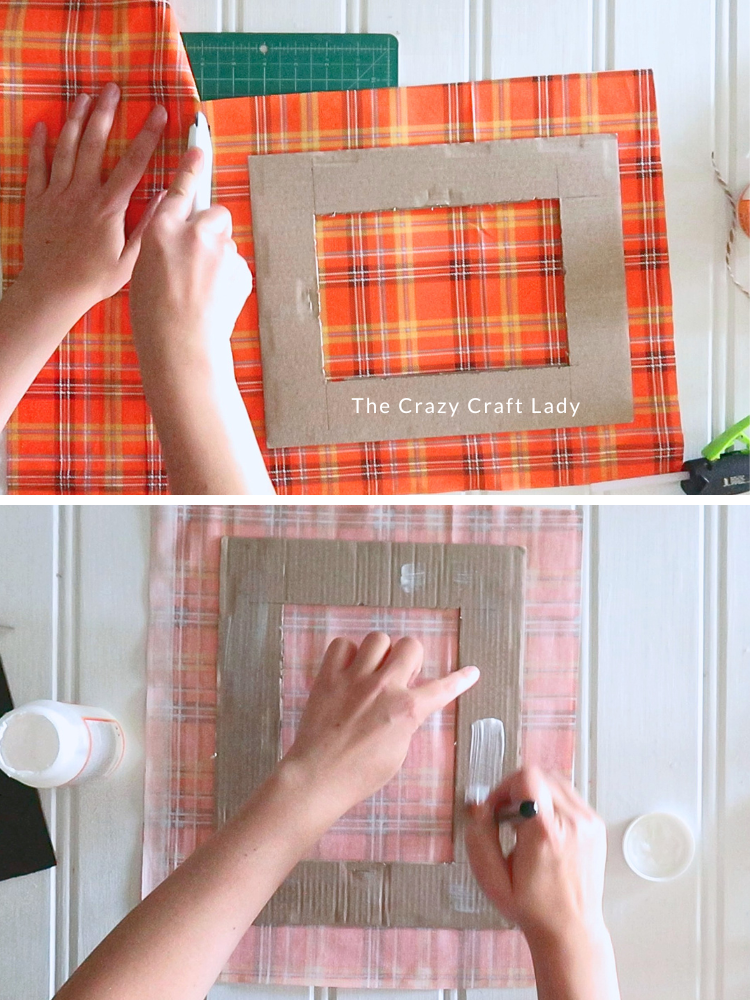
- Cut the Fall Fabric. Cut a piece of fall fabric approximately 1½ to 2 inches larger than your cardboard mat on every side. Place the fabric wrong-side up and center your cardboard photo mat on top.
- Secure the Fabric. Brush a small amount of Mod Podge onto the front of the cardboard mat. Center the cardboard on your fabric and press it gently into place.
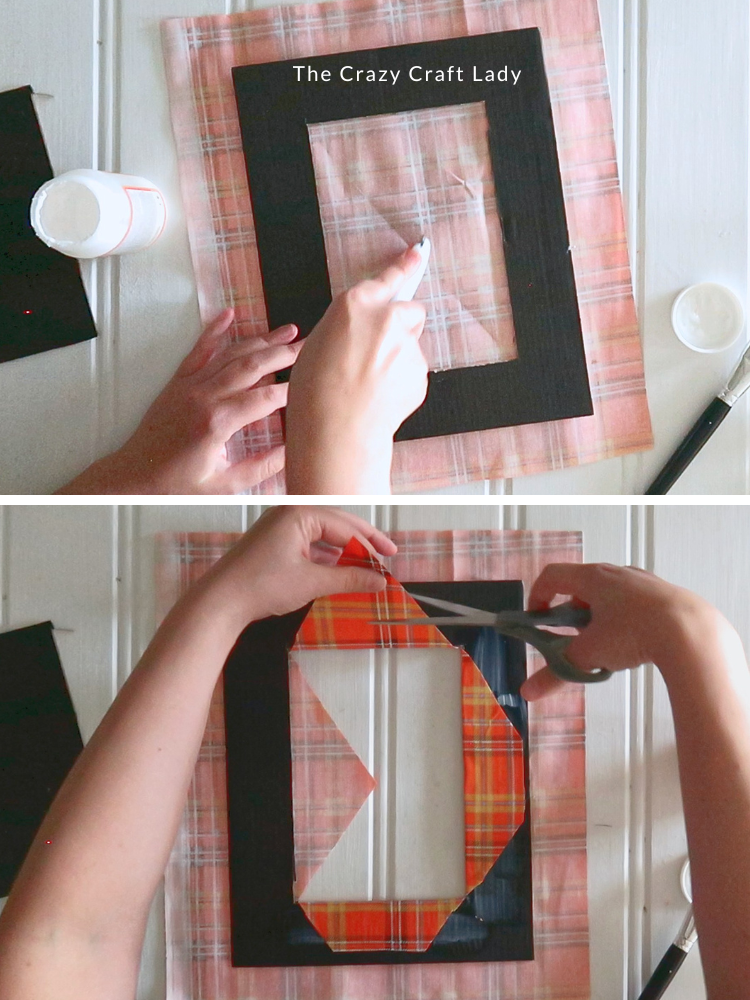
- Cut the Center Opening. Using a rotary cutter, carefully cut an X through the fabric in the center opening. Stop slightly short of each inside corner. I didn't trust myself to get all the way into those corners with the rotary cutter, so I switched to scissors for the last little bit.
- Wrap the Inside Edges. Trim the pointed tip from each fabric triangle to remove some of the excess bulk. Apply Mod Podge to the back of the cardboard around the inside opening. Fold each fabric flap over the cardboard and smooth it firmly into place. As you work, flip your DIY Fall Fabric Photo Mat over occasionally and check the front. Use your fingertips to finagle the fabric around the corners until the opening looks nice and crisp. Take your time with this part because these inside edges will be visible in the finished frame.
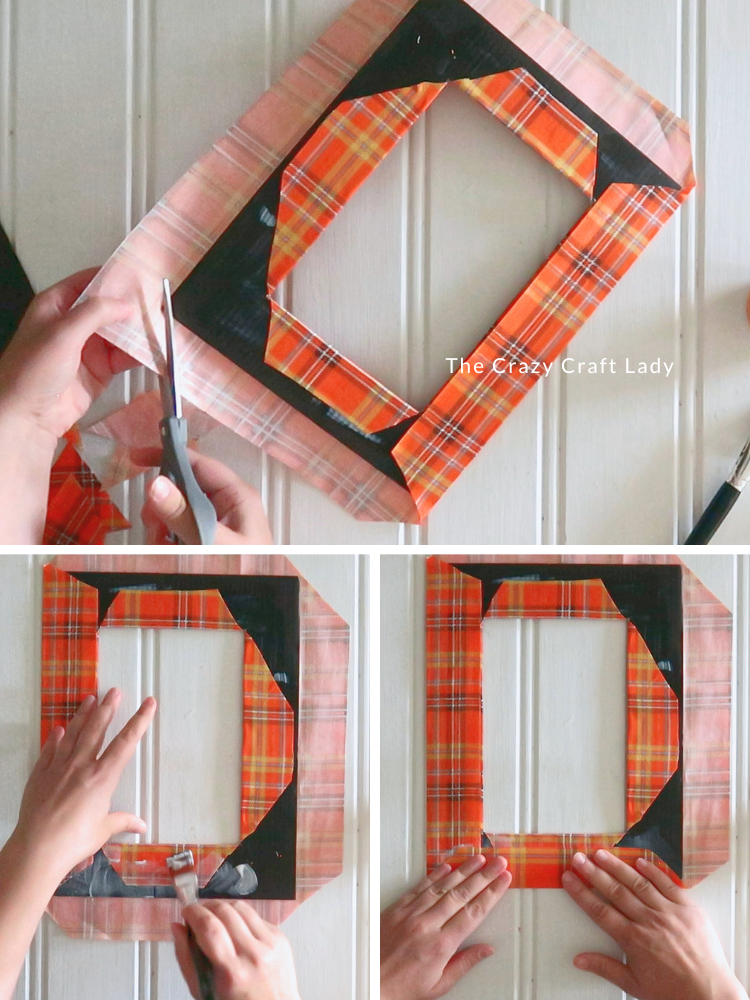
- Trim the Outer Corners. Before wrapping the outside fabric around the cardboard, trim a triangle from each of the four fabric corners. Cutting away that extra fabric first prevents you from ending up with bulky corners on the back of the photo mat.
- Wrap the Outer Edges. Working one side at a time, brush a generous amount of Mod Podge onto the fabric and fold it over the outside edge of the cardboard. Before completely pressing each edge down, pinch and adjust the corners so the fabric folds neatly. The outer corners don't have to be quite as perfect as the inside opening because they'll be hidden by the picture frame. Repeat on all four sides and set the finished fabric-covered photo mat aside to dry.
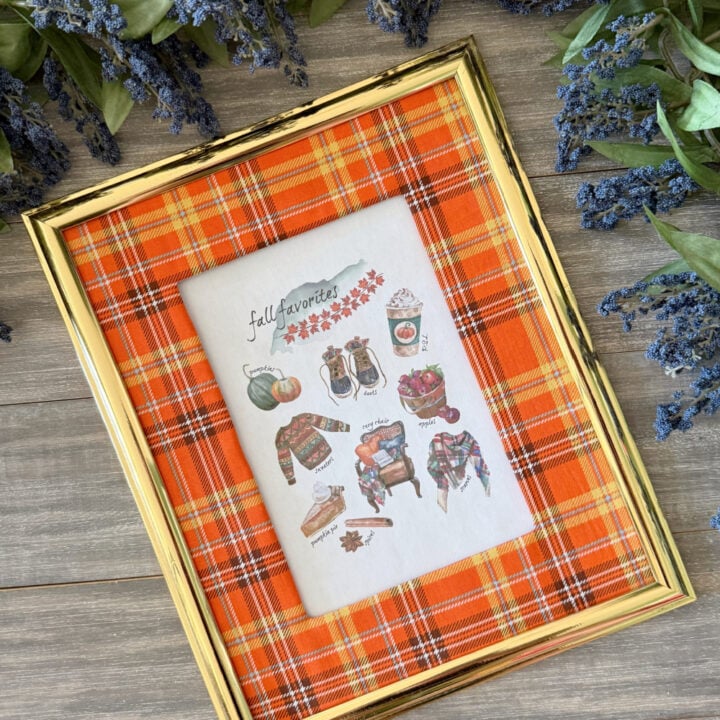
- Put the Frame Back Together. Once the Mod Podge is completely dry, add your favorite photo or printable behind the opening. Place your finished DIY Fall Fabric Photo Mat back into the original dollar store frame and secure everything with the metal tabs. That's it!
Notes
Tips for Making a Fabric Photo Mat
- Don't rush the cutting portion of this project. Scoring the cardboard several times with a craft knife will give you much cleaner edges than trying to cut all the way through in one pass.
- You'll also want to be generous when cutting your fabric. Having an extra 1½ to 2 inches around the outside makes wrapping everything much easier.
- Most importantly, keep checking the front of the mat while you're folding the fabric around the center opening. Those inside corners are the most visible part of the finished project, so spend a little extra time getting them nice and crisp.
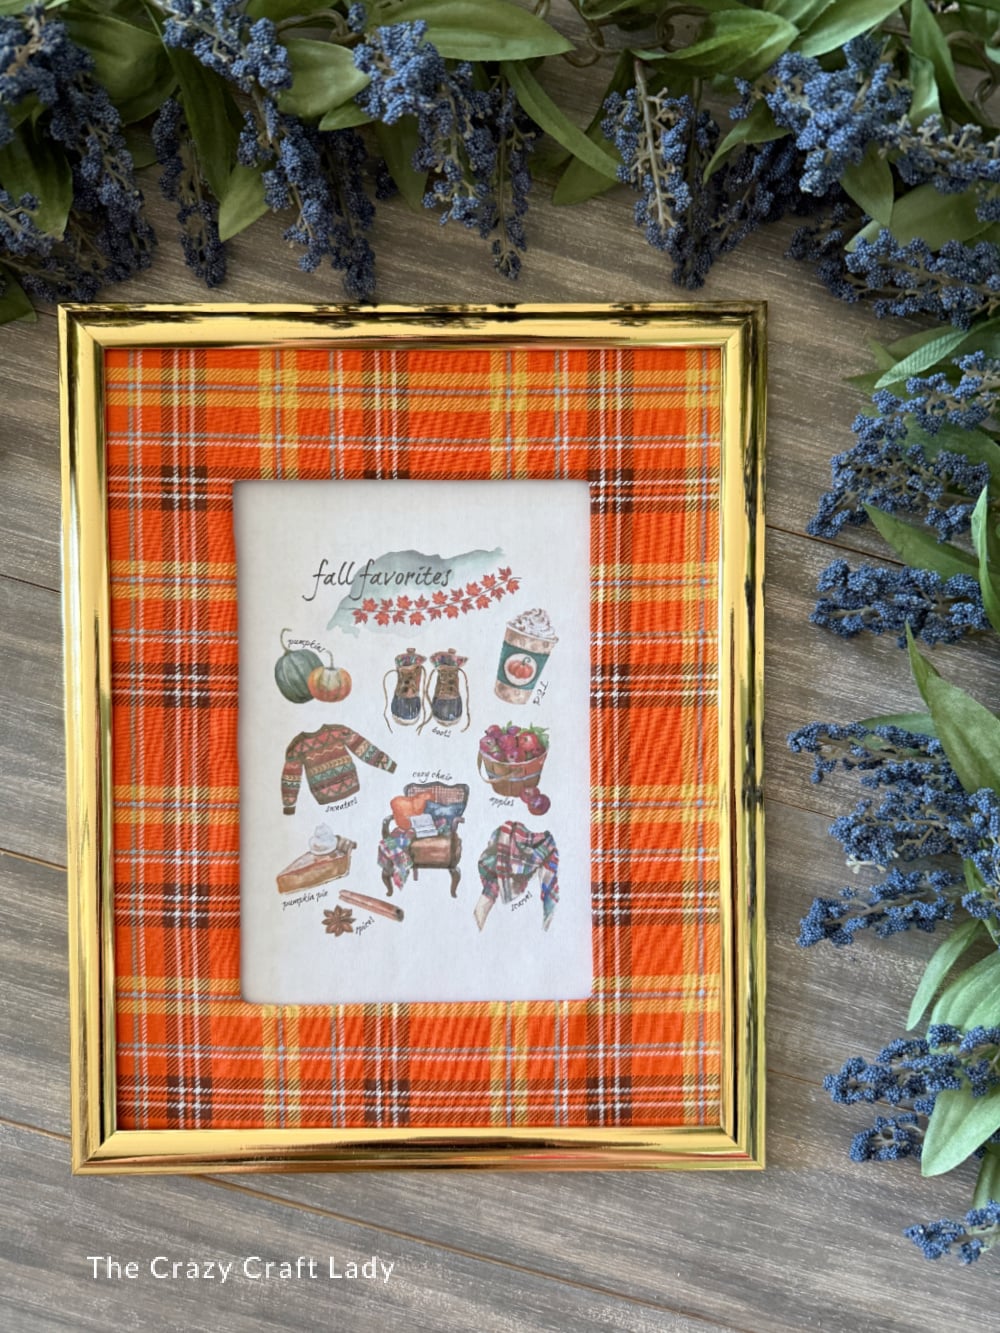
What Can You Put in Your Fall Fabric Frame?
Obviously, you can add a favorite family photo, but that’s definitely not your only option.
Try framing a fall printable, vintage botanical illustration, autumn quote, pressed leaves, seasonal artwork, or even a favorite fall photograph.
You could also swap out what’s inside the frame throughout the season while keeping your fabric mat in place.
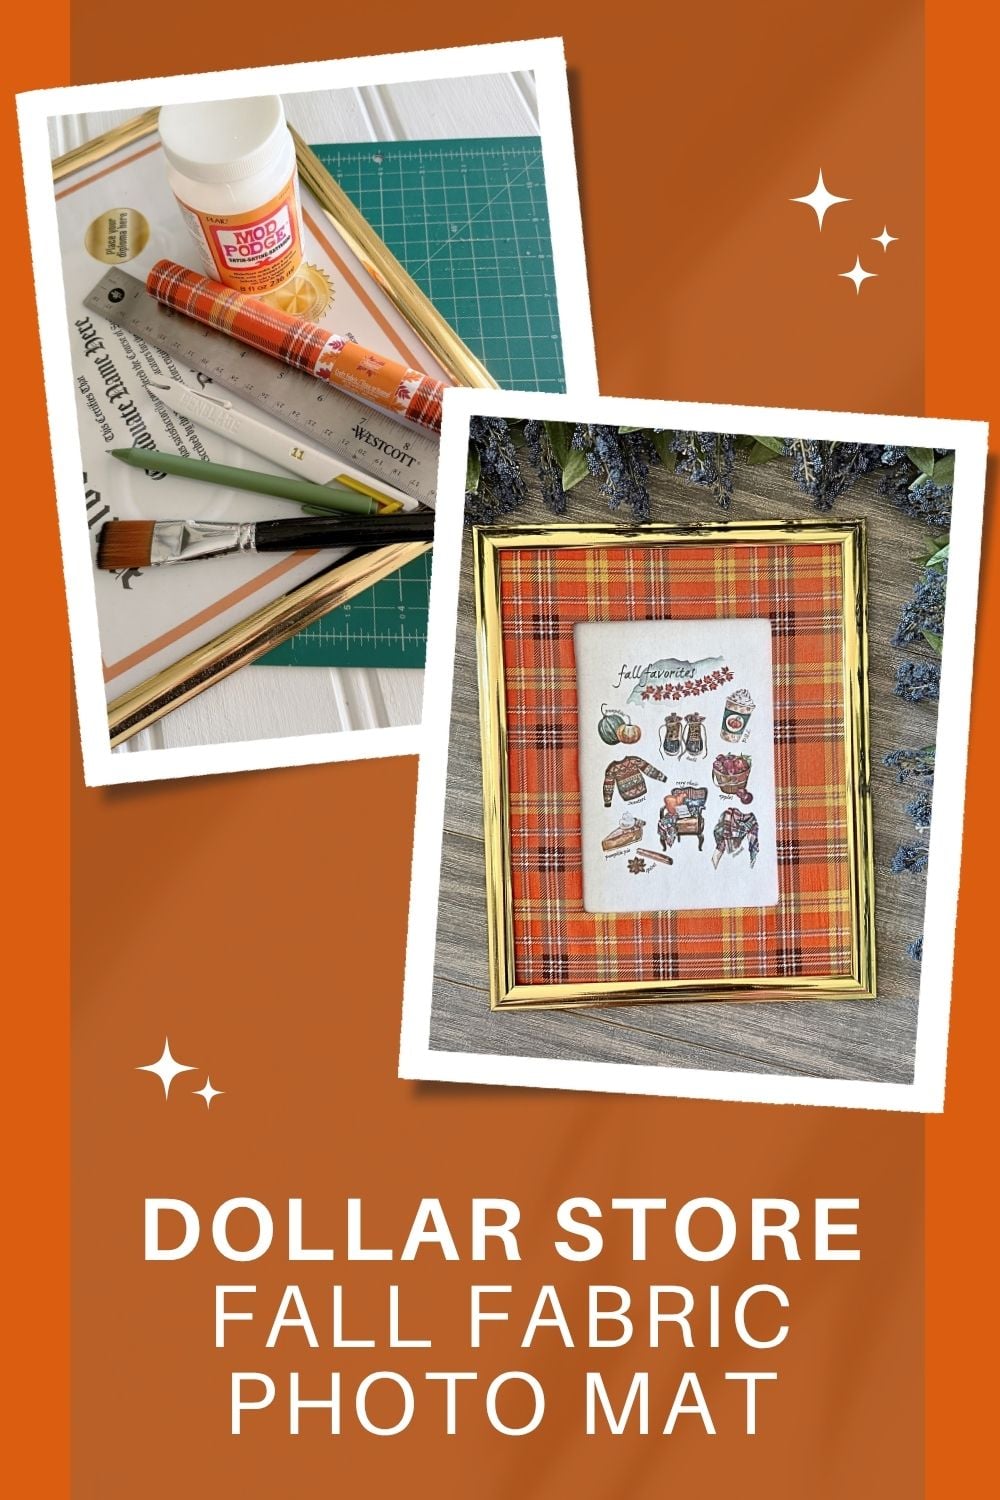
Make Fabric Photo Mats for Every Season
Once you know how to make your own fabric-covered photo mat, you can use this same technique all year long.
Swap the fall fabric for Christmas plaid, spring florals, patriotic prints, Halloween fabric, or something neutral for everyday decorating.
It’s such an easy way to make an inexpensive picture frame feel completely custom without paying for professional matting.
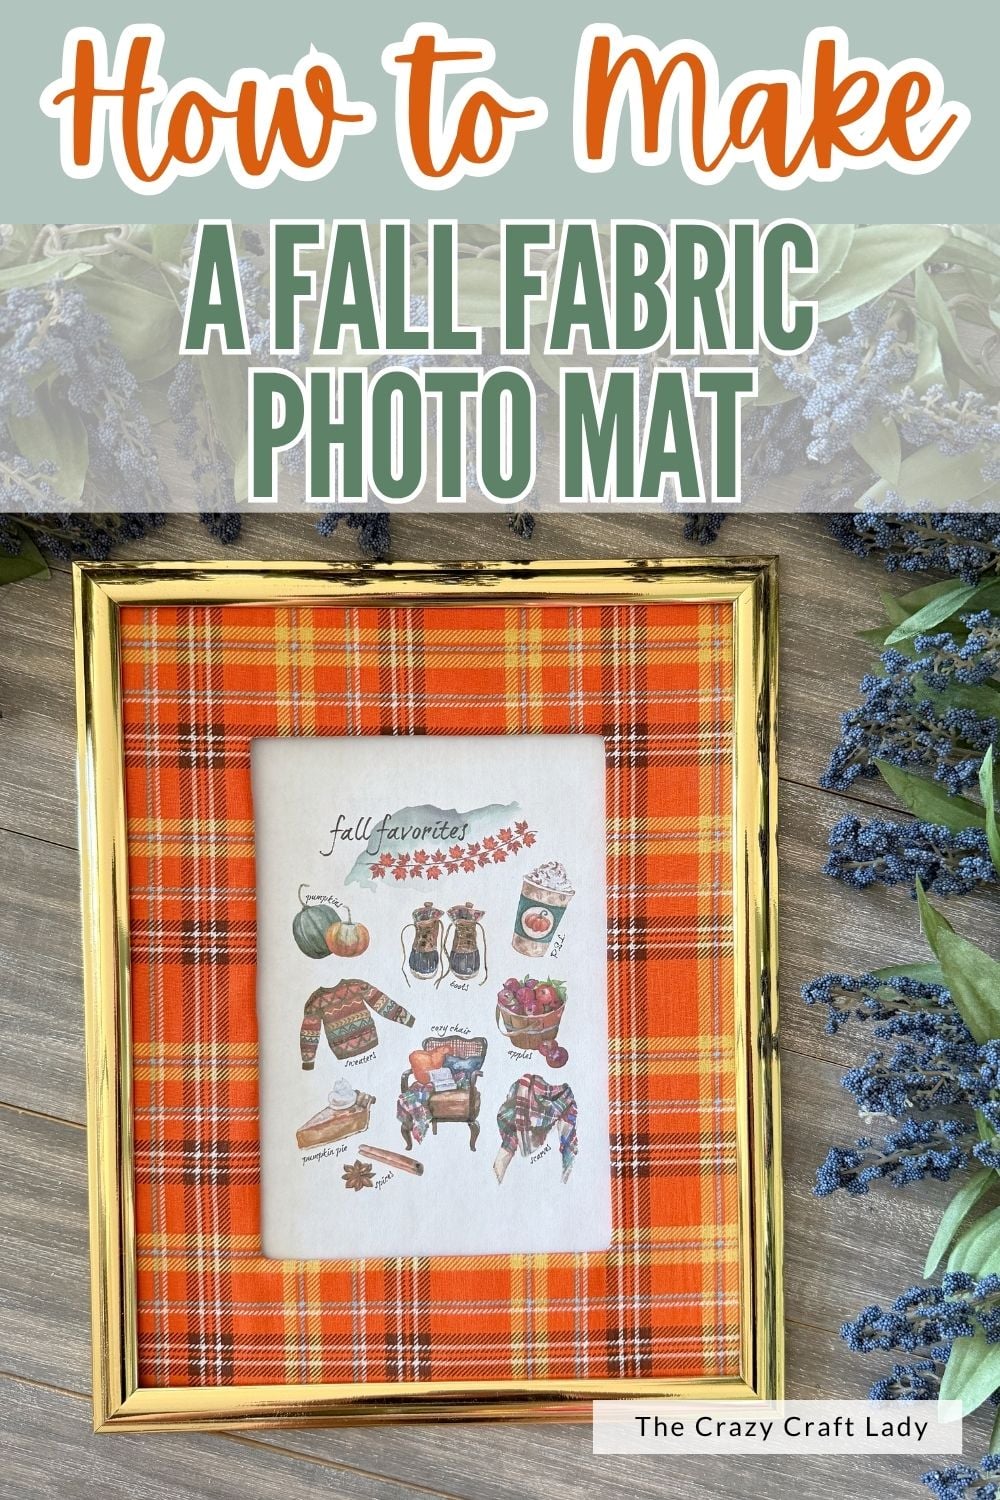
Easy DIY Fall Fabric Photo Mat
I love finding ways to turn the most basic dollar store supplies into something that feels a little more special, and this DIY Fall Fabric Photo Mat does exactly that.
You’re essentially taking the cardboard that already came inside the frame and giving it a makeover with a scrap of pretty fall fabric and some Mod Podge.
Add a favorite photo or printable, pop everything back into the frame, and you’re in business. Easy, inexpensive, and a fun way to bring a little extra fall pattern and texture into your decor!