
Make Fall Fabric Decoupage Candles using flameless candles, pretty autumn fabric, and Mod Podge for an easy, budget-friendly fall craft.
This post contains some affiliate links for your convenience. Click here to read my full disclosure policy.
How to make fall fabric decoupage candles with dollar store supplies.
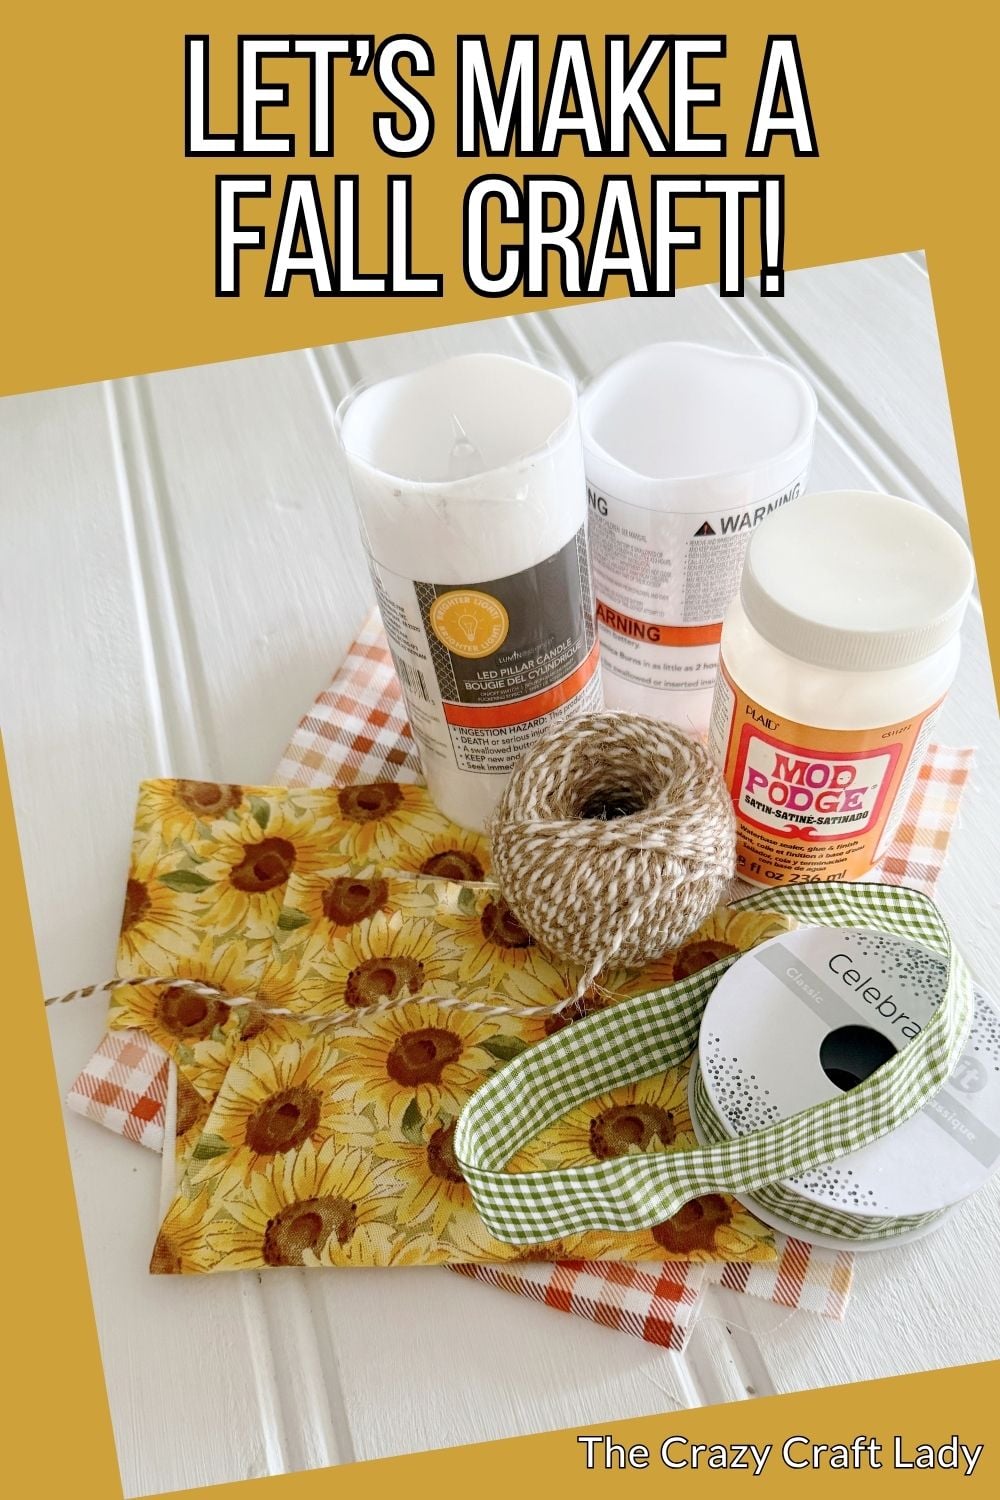
Grab a couple of inexpensive battery-operated candles and some pretty autumn fabric because we’re giving those plain little candles a fall makeover!
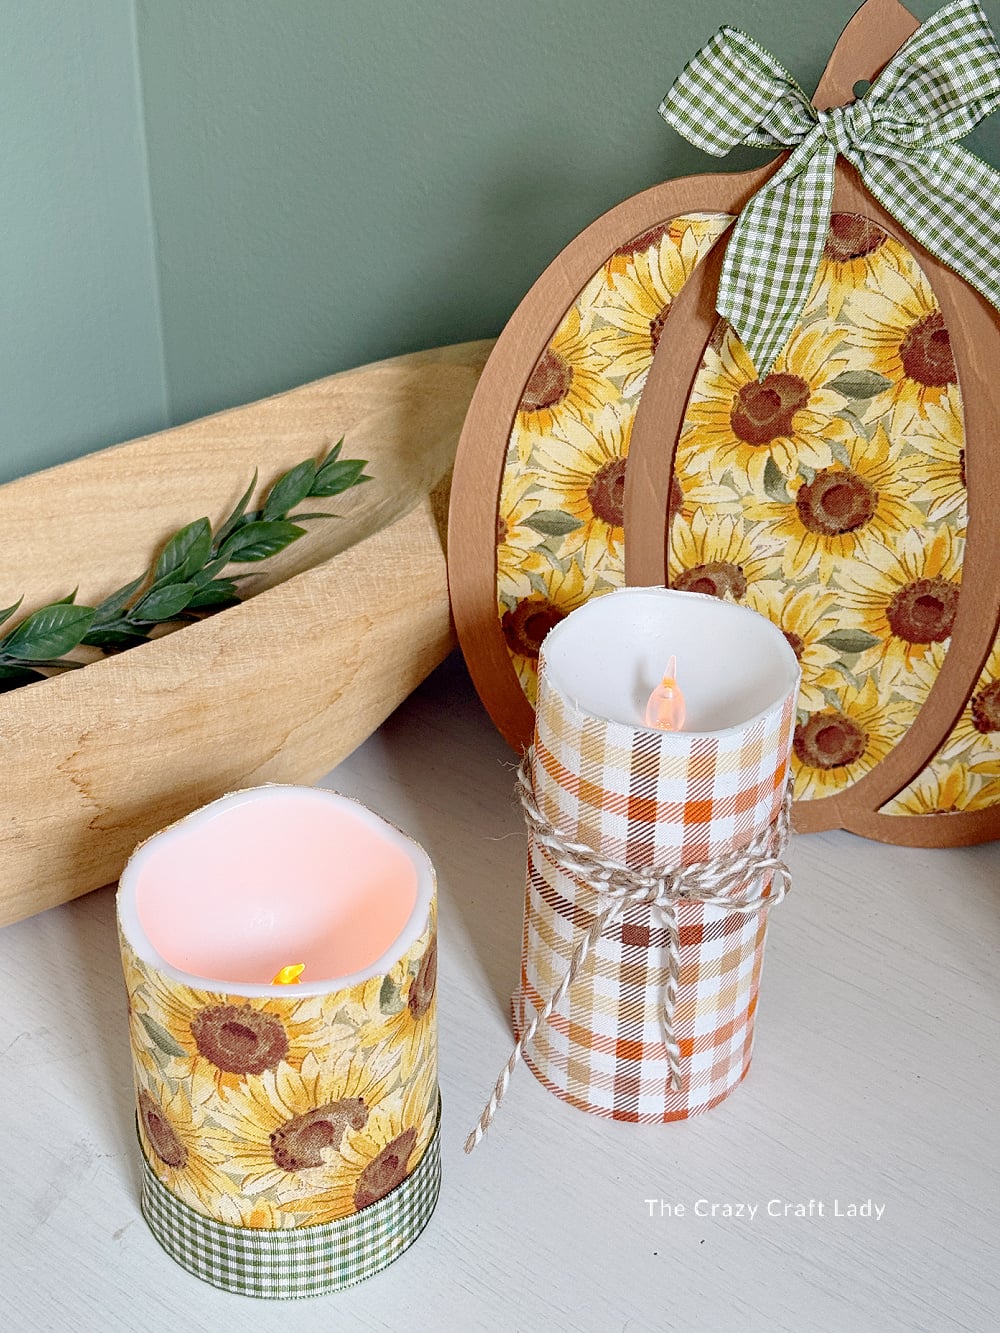
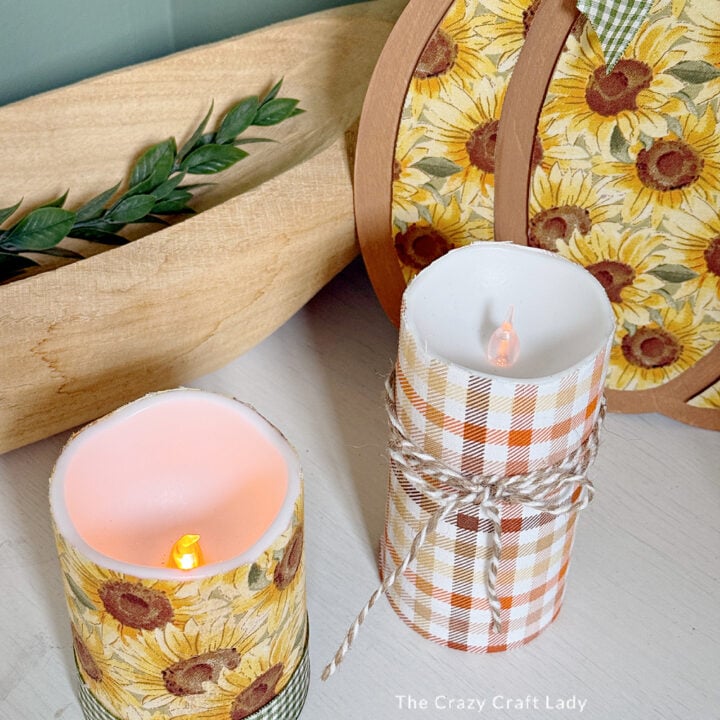
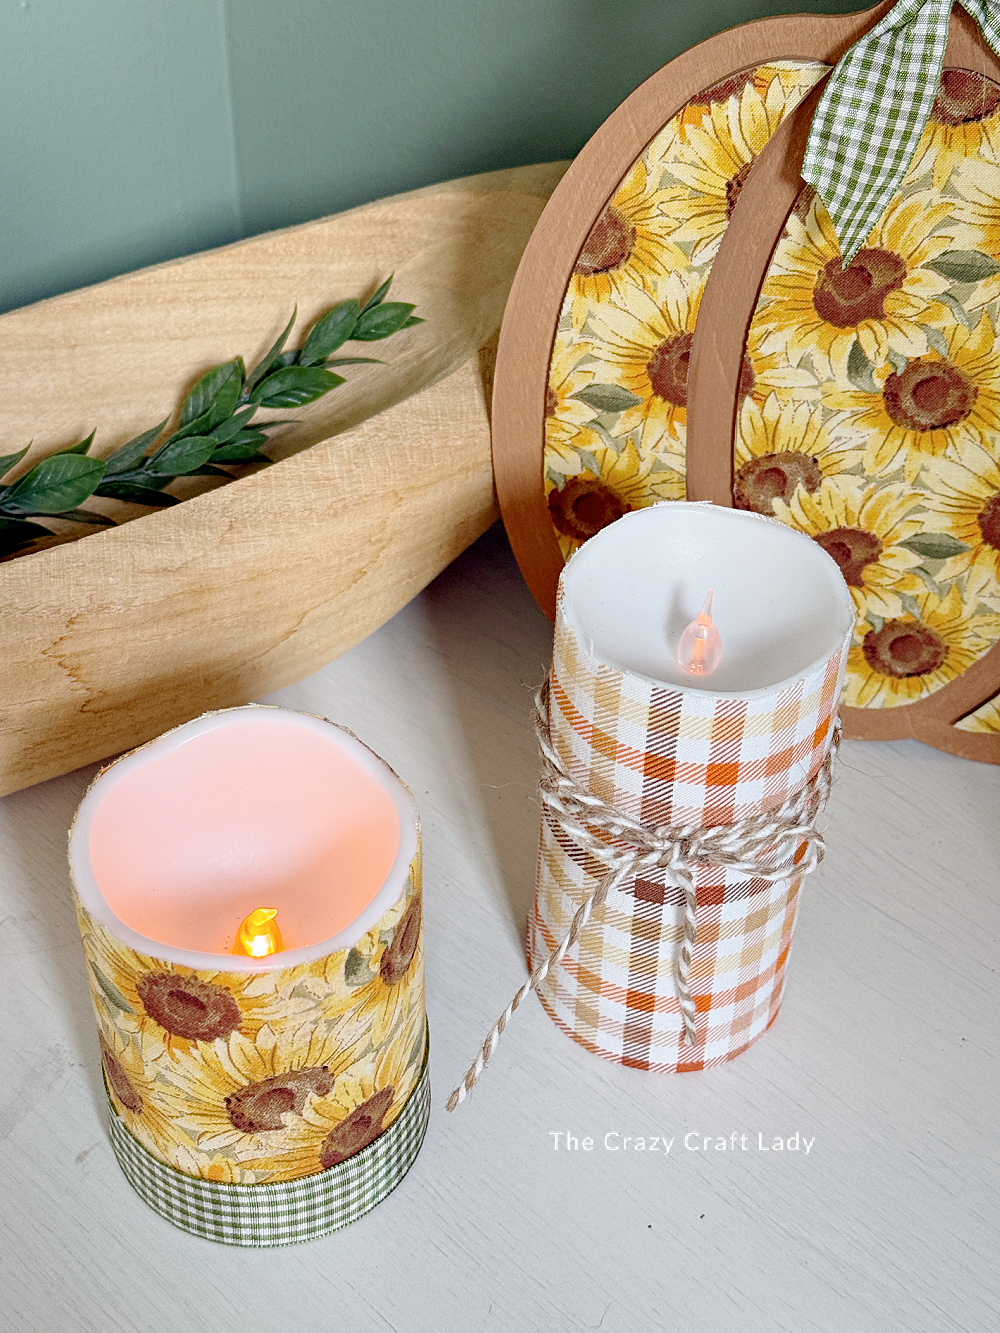
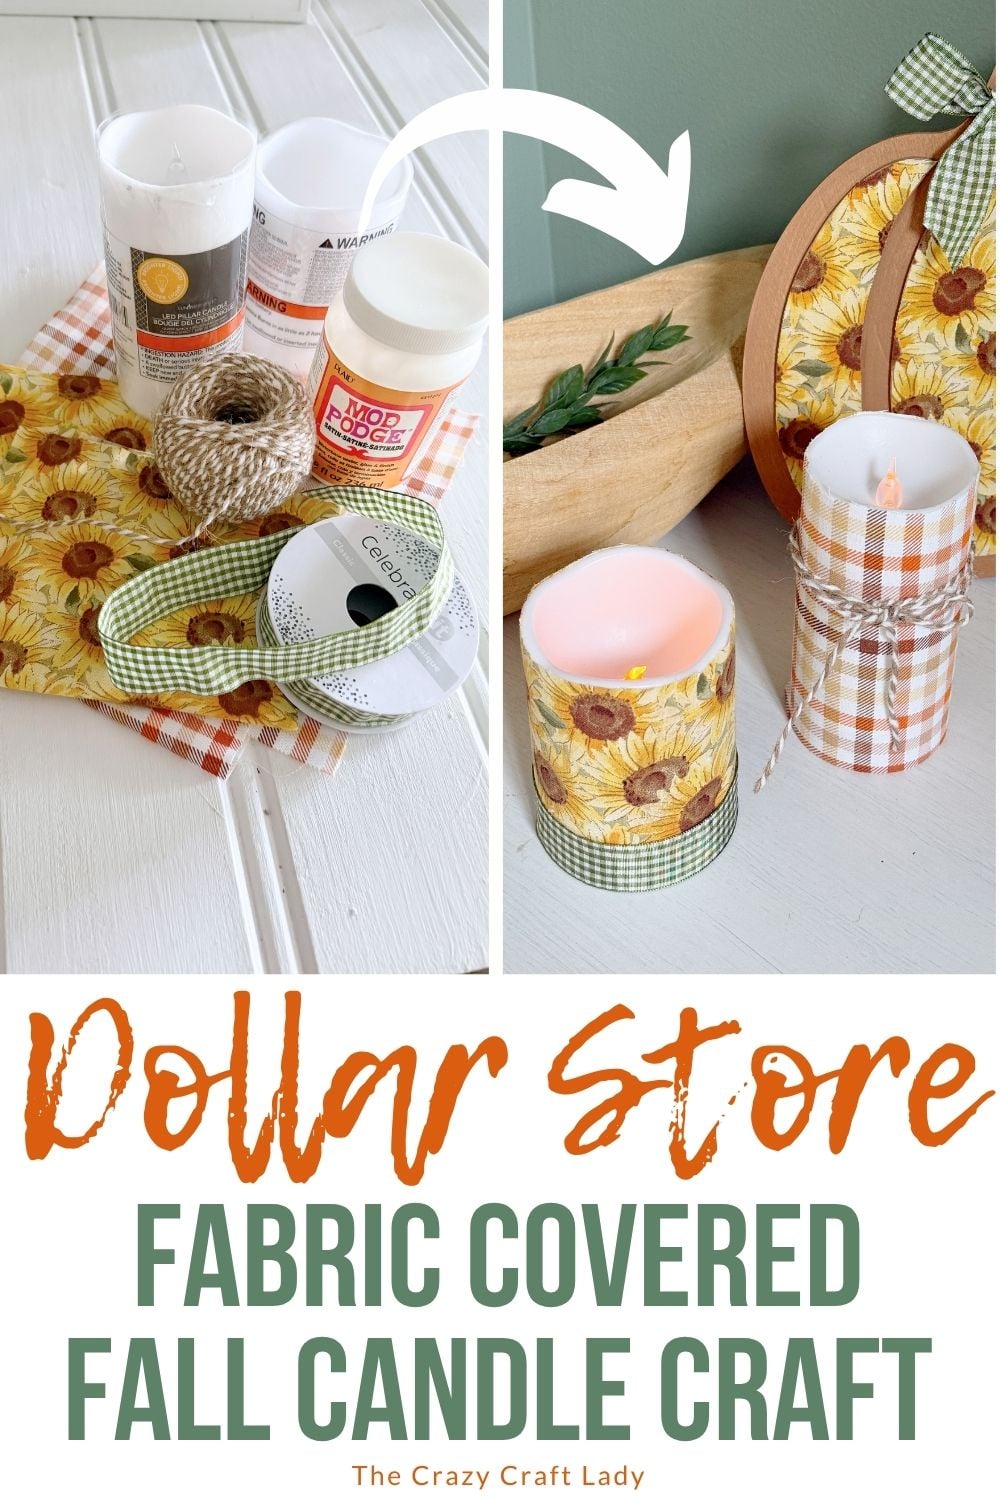
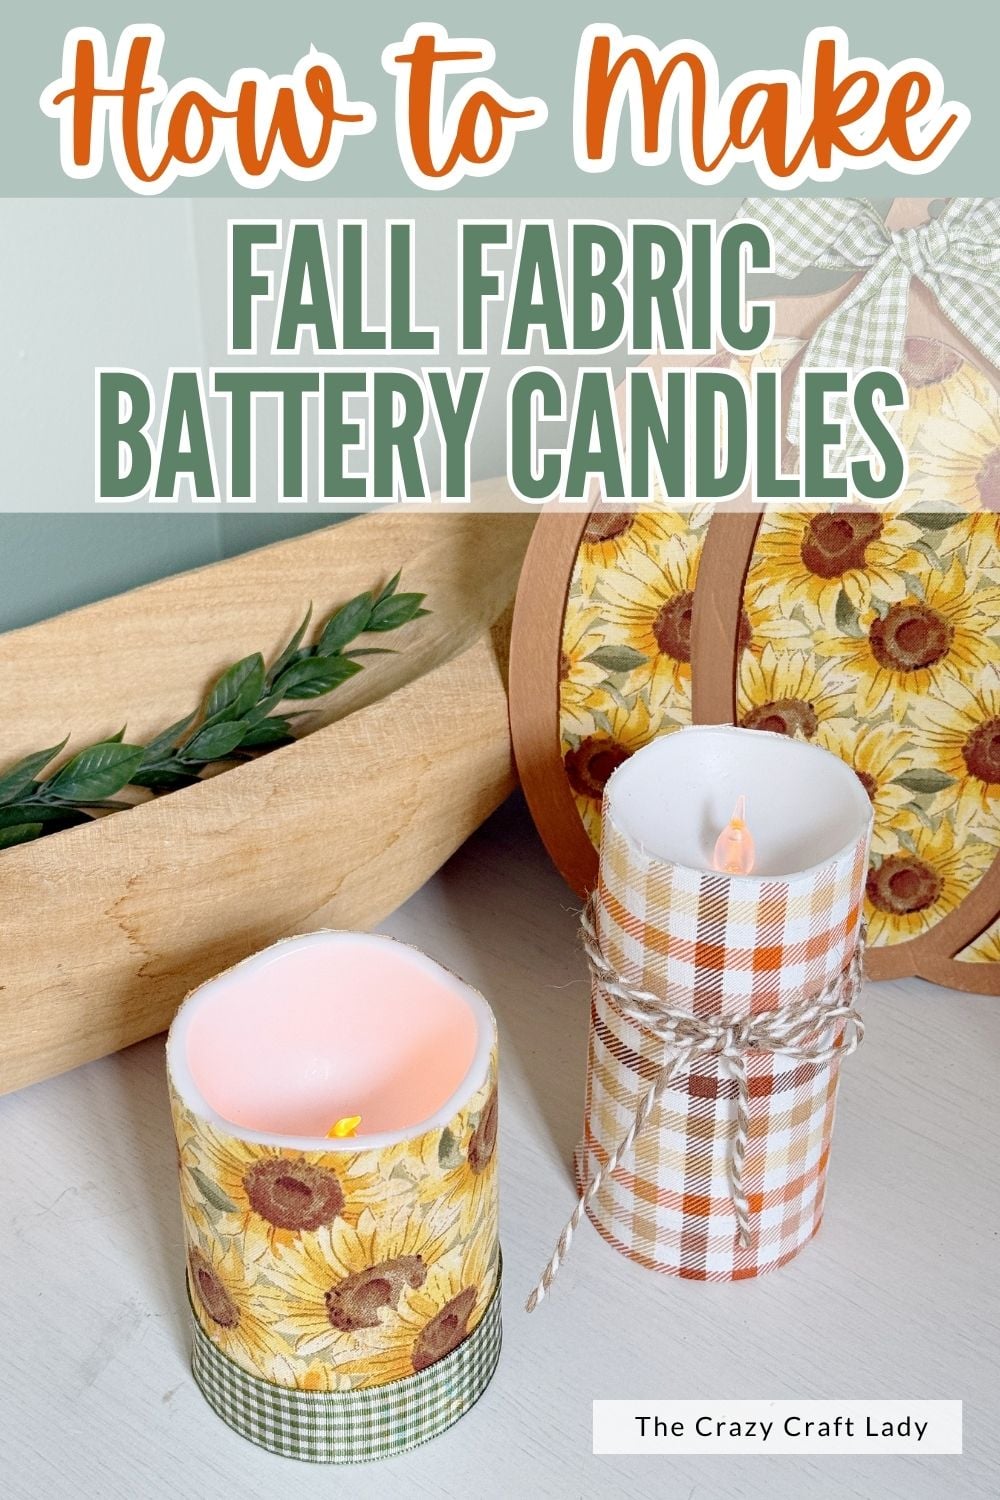
These Fall Fabric Decoupage Candles are ridiculously easy to make with fabric, Mod Podge, and a few simple embellishments. I used a pretty sunflower fabric from the dollar store, then finished one candle with baker’s twine and the other with green and white check ribbon.
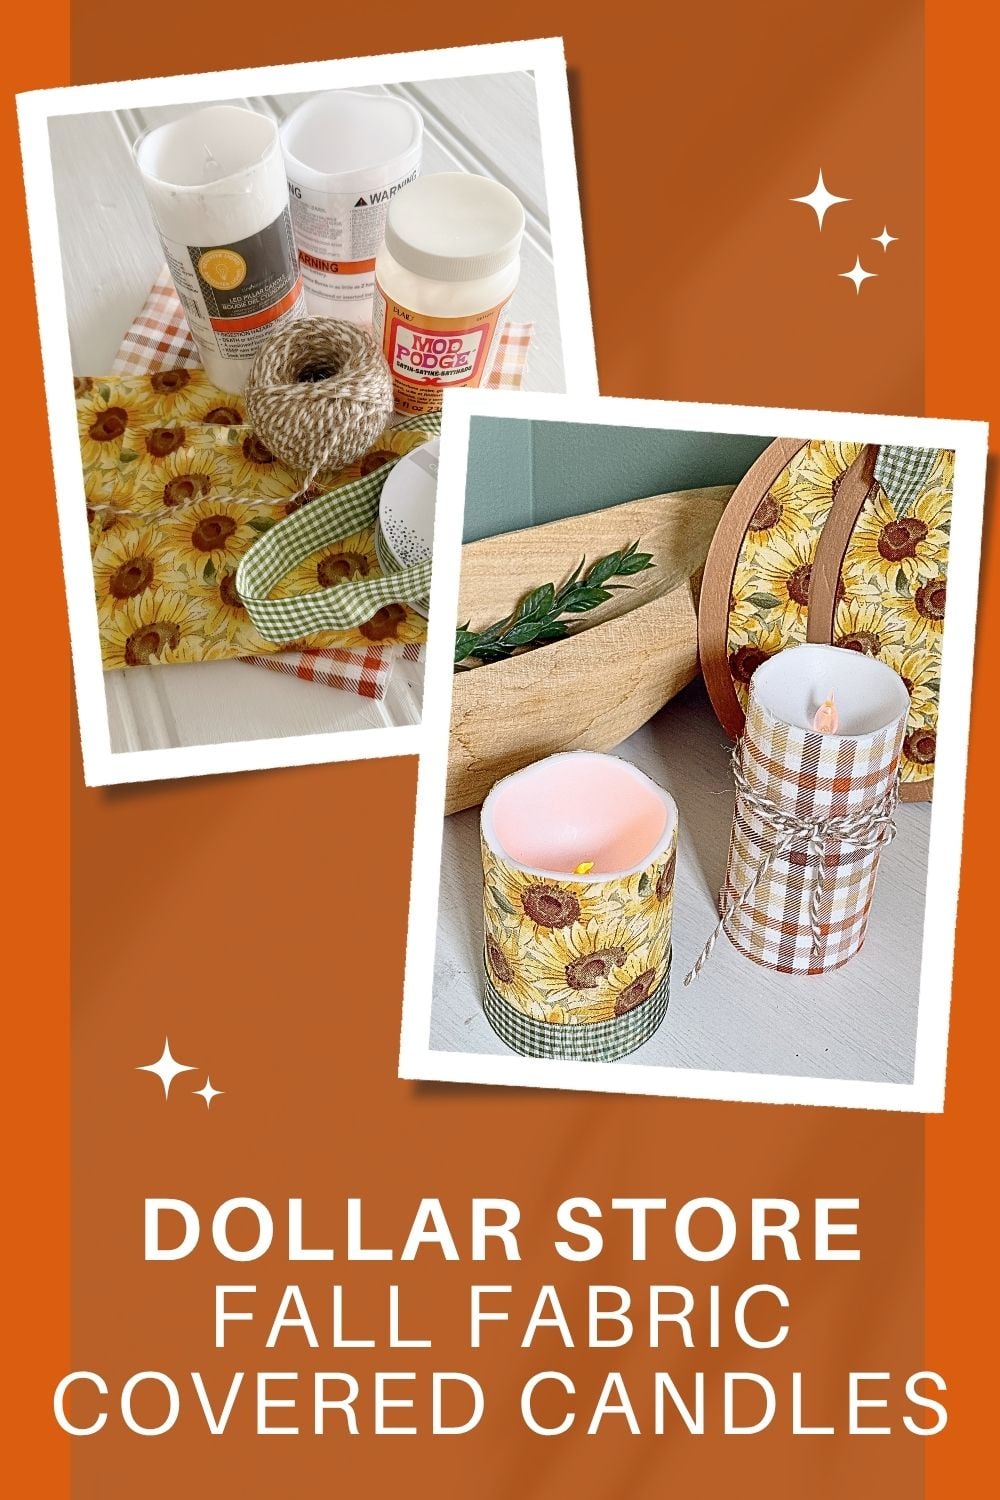
They’re cute, inexpensive, and perfect for adding a little pattern and texture to your fall decor. And because we’re using battery-operated candles, you still get that cozy candle glow without putting an actual flame anywhere near the fabric. Because, you know…fire safety.
Watch the Video Tutorial
Watch the video tutorial below to see exactly how I made these Fall Fabric Decoupage Candles from start to finish.
Fall Fabric Decoupage Candles
Learn how to make Fall Fabric Decoupage Candles with battery-operated candles, Mod Podge, and fall fabric for cozy seasonal home decor.
Materials
- Battery-operated dollar store candles
- Fall fabric
- Mod Podge
- Baker's twine
- Ribbon
Tools
- 1-inch flat paintbrush
- Rotary cutter and cutting mat or fabric scissors
- Fine-point scissors
- Hot glue gun and glue sticks
Instructions
- Watch the Video. Follow along with the video tutorial to see exactly how to create fall fabric- decoupage candles.
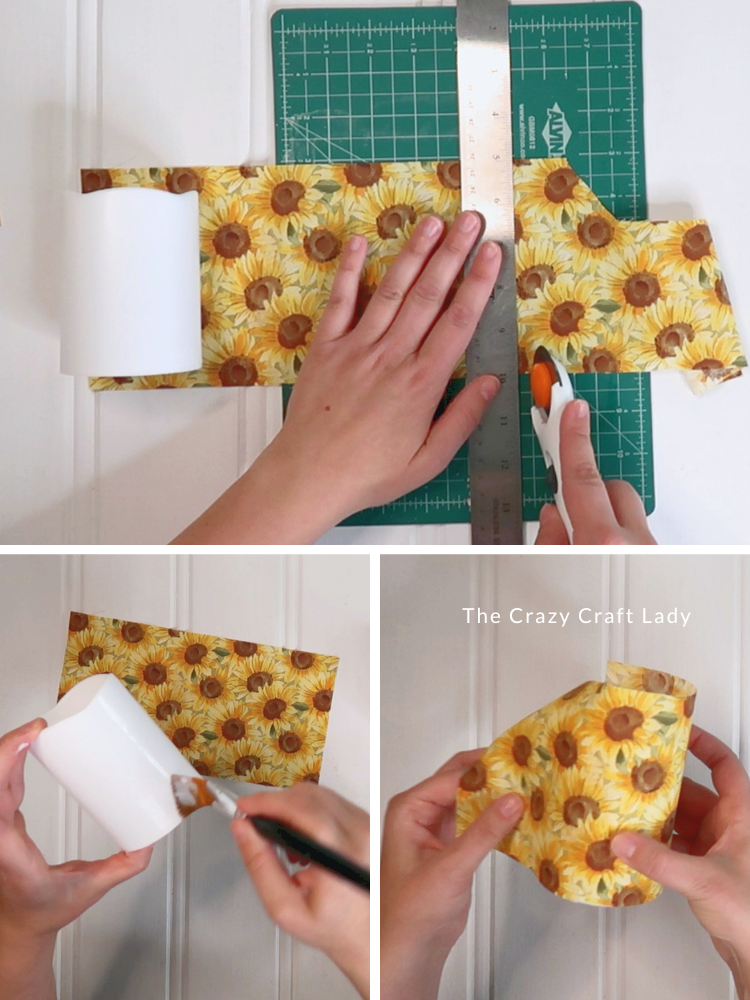
- Cut the Fall Fabric. Start by wrapping your fabric loosely around the candle to figure out approximately how much you'll need. Cut a strip that's slightly taller than the candle and a little longer than the circumference. You want enough fabric for the two ends to overlap slightly when it's wrapped around the candle. I used a rotary cutter and cutting mat to get a nice straight cut, but fabric scissors will work just fine too.

- Apply the Mod Podge. Using a flat paintbrush, apply a generous coat of Mod Podge over the entire outside surface of the candle. Fabric will absorb a fair amount of Mod Podge, so don't be too stingy here. You want enough adhesive to keep the fabric firmly attached to the plastic candle.
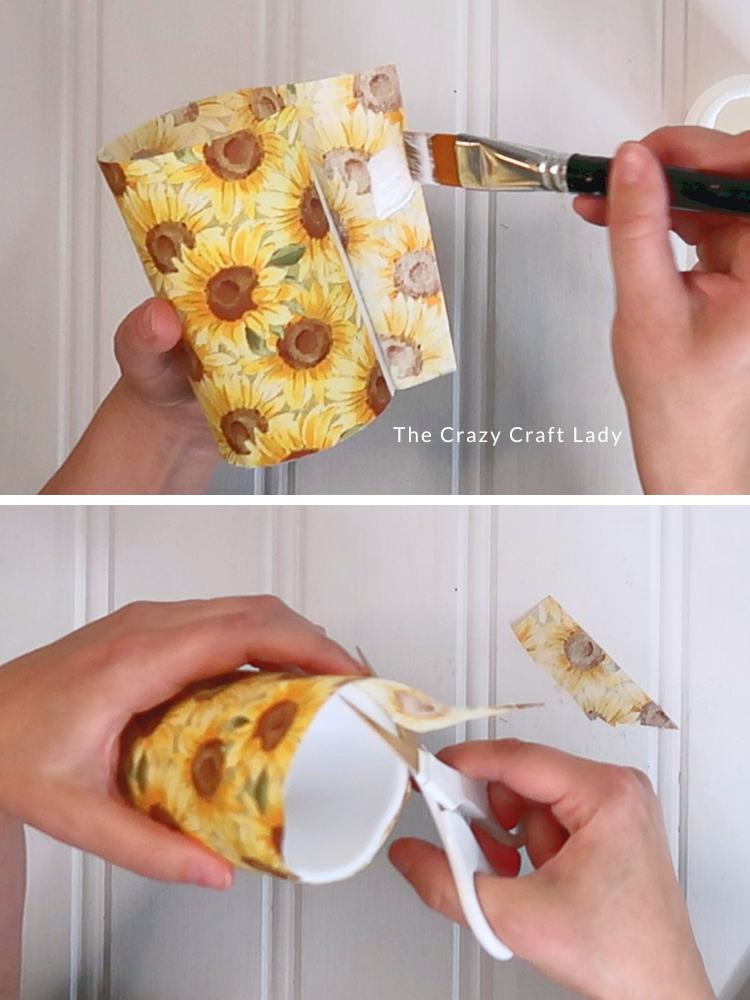
- Wrap the Candle with Fabric. Line the bottom edge of your fabric up with the bottom of the candle. Starting at one end, slowly roll the fabric around the candle, smoothing it with your fingertips as you go. Keep working your way around until you reach the opposite end. The fabric should overlap just slightly. Brush a little extra Mod Podge underneath that overlapping edge and press it firmly into place. Smooth everything one more time to make sure there aren't any wrinkles or bubbles.
- Trim the Fabric Around the Top. You'll probably have a little extra fabric sticking up around the top of your candle. Grab a pair of small, fine-point scissors and carefully trim the fabric to follow the wavy top edge of the plastic candle. Go slowly here. Those little scissors make it much easier to get right up against the edge and create a clean finish. Give the fabric one final smoothing with your fingertips and set the candle aside to dry.
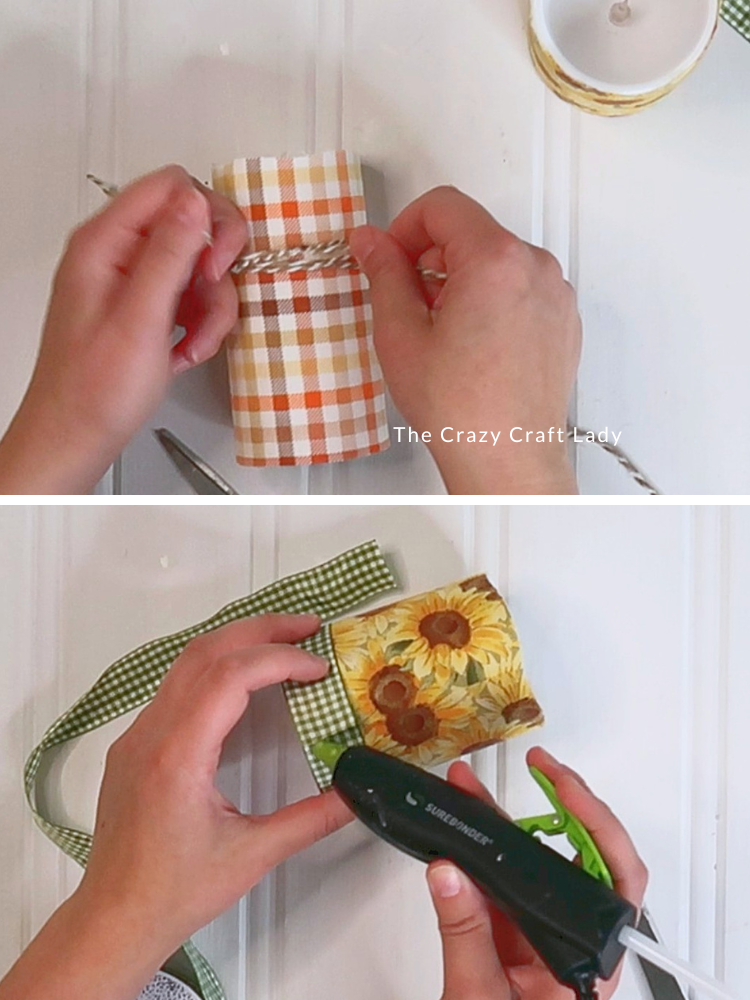
- Add Baker's Twine. For my taller candle, I kept the embellishment super simple. Wrap baker's twine around the middle of the candle about three times, then tie it into a small bow.
- Add Ribbon. For my shorter candle, I used green and white check ribbon.Find the fabric seam on the back of your candle and start your ribbon there. Add a small dab of hot glue to secure one end, wrap the ribbon around the candle, and hot glue the other end in place.
Notes
Tips for Fabric Decoupage on Candles
These Fall Fabric Decoupage Candles are pretty forgiving, but there are a few things that make the process easier.
- Cut your fabric slightly larger than you think you'll need. It's much easier to trim away extra fabric than realize halfway through wrapping that your piece is too short.
- Use plenty of Mod Podge, especially if you're working with a thicker cotton fabric. The fabric will absorb some of the adhesive before it sticks securely to the plastic.
- And definitely use small, sharp scissors around the top. Following the uneven melted-wax shape is much easier with fine-point scissors than regular craft scissors.
What Kind of Candles Should You Use?
This craft is designed for battery-operated flameless candles only.
Do not use fabric, Mod Podge, ribbon, or twine on candles with a real flame. We’re making cute fall decor here—not testing the response time of the local fire department.
Dollar store LED candles are perfect because they’re inexpensive and come in different heights, making it easy to create a little grouping.
Make Fabric Decoupage Candles for Every Season
Once you know how easy these are to make, there’s no reason to stop with fall.
Use Christmas fabric with velvet ribbon for the holidays, florals for spring, patriotic prints for summer, or spooky fabric for Halloween.
You could even use neutral fabric and twine to make a set that works with your everyday decor.
It’s the exact same technique—just swap out your fabric and embellishments.
Easy Fall Fabric Decoupage Candles
I love a craft that doesn’t require a giant supply list or an entire afternoon, and these Fall Fabric Decoupage Candles definitely fit the bill.
A couple of plain battery-operated candles, some pretty fall fabric, and Mod Podge are really all you need. Finish them with ribbon or baker’s twine, turn on those little LED flames, and you’ve got yourself some cute custom fall decor.
And honestly, once you realize how easy it is to decoupage fabric onto these little candles, you’re probably going to start looking at every seasonal fabric and thinking, “Well, obviously I need candles to match.”