
Learn how to make a whimsical DIY tiered topiary using Dollar Tree pots and faux tulip. It’s perfect for spring decor!

How to make a Topsy Turvy Flower Pot Topiary using plastic pots from the dollar store and faux tulips from the craft store.
This post contains some affiliate links for your convenience. Click here to read my full disclosure policy.
If you love a good whimsical spring craft, this one is SO fun. We’re turning simple Dollar Tree pots into a stacked, slightly off-kilter floral topiary that looks high-end but costs just a few bucks to make. It’s playful, colorful, and perfect for spring decorating!

Video Tutorial: Topsy Turvy Flower Pot Topiary
Watch this quick video to see how this craft came together:
Topsy Turvy Flower Pot Topiary
This Dollar Tree flower topiary is a unique stacked pot decor idea using faux tulips and simple supplies.
Materials
- 3 Dollar Tree plastic pots
- Faux tulips (or any spring florals)
- Foam cones (styrofoam)
- Wooden dowel
- Floral wire cutters
- Raffia (optional, for filler)
- Vase filler rocks (Dollar Tree)
Tools
- Craft knife
- Small craft saw
- Hot glue gun + glue sticks
- Duct tape
Instructions
- Watch the video. Follow along with the video tutorial for a step-by-step walkthrough of how to make your own topsy-turvy topiary craft.
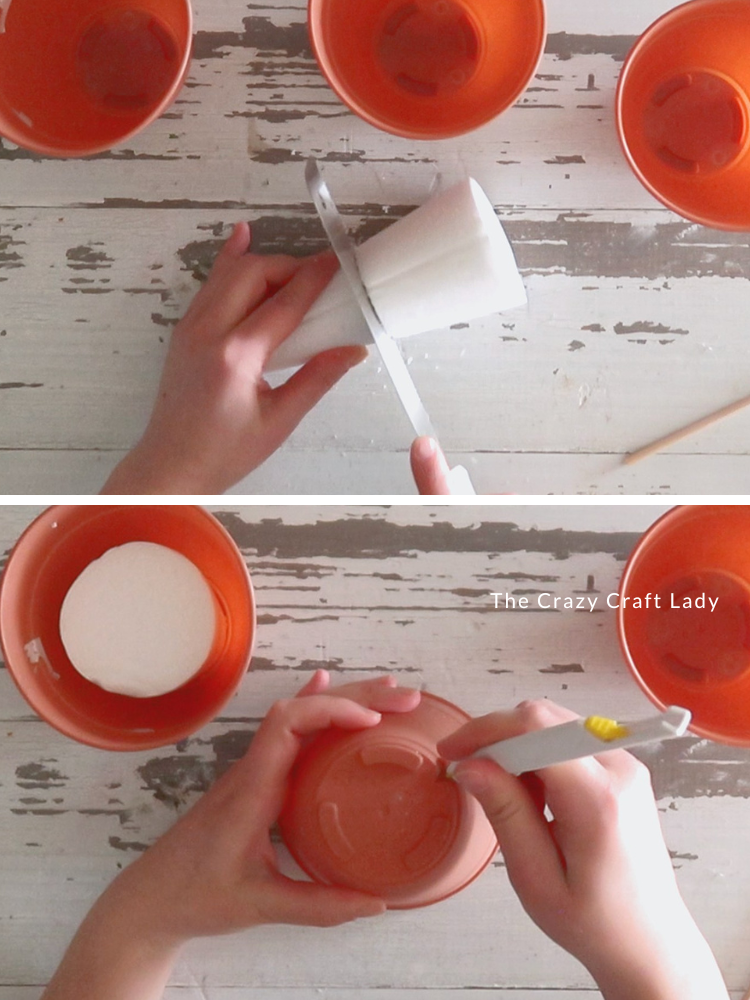
- Prep Your Base Pot. Start by cutting a foam cone in half so it fits nicely inside your bottom pot, with about 1/4 to 1/2-inch space between the foam and pot wall. Insert your wooden dowel through the center of the cone and secure with hot glue. This creates your base structure.

- Prep the Top Pots. Use a craft knife to open one drainage hole in the bottom of the second and third pots. This allows the dowel to run through all three pots when stacked.
- Build the First Layer. Add faux tulips into the base pot, filling it about halfway. This step is just to establish height and spacing, not to fully fill it yet.
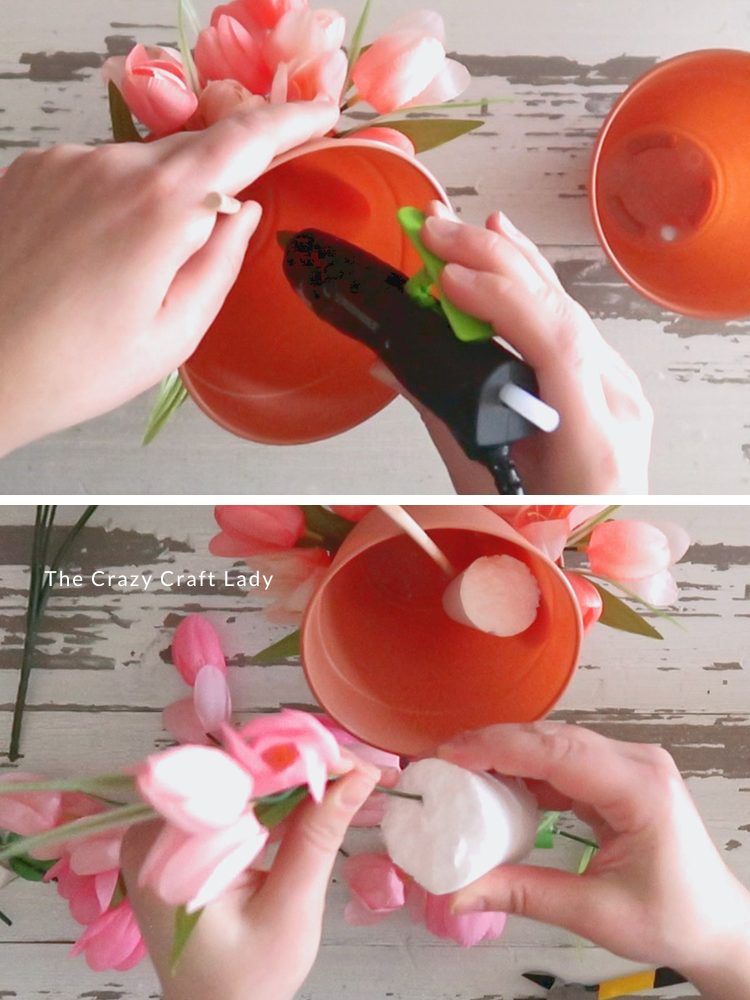
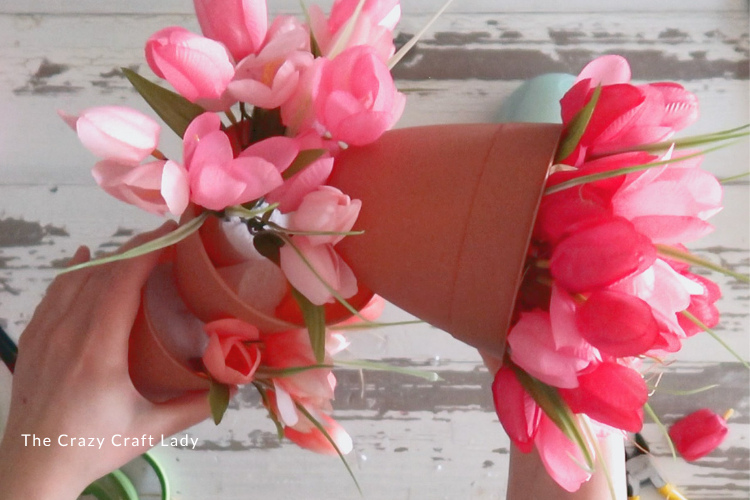
- Add the Second Pot. Slide the second pot onto the dowel and tilt it slightly for that “topsy turvy” look. Secure it with a generous amount of hot glue where the dowel meets the pot. Hold in place until set.
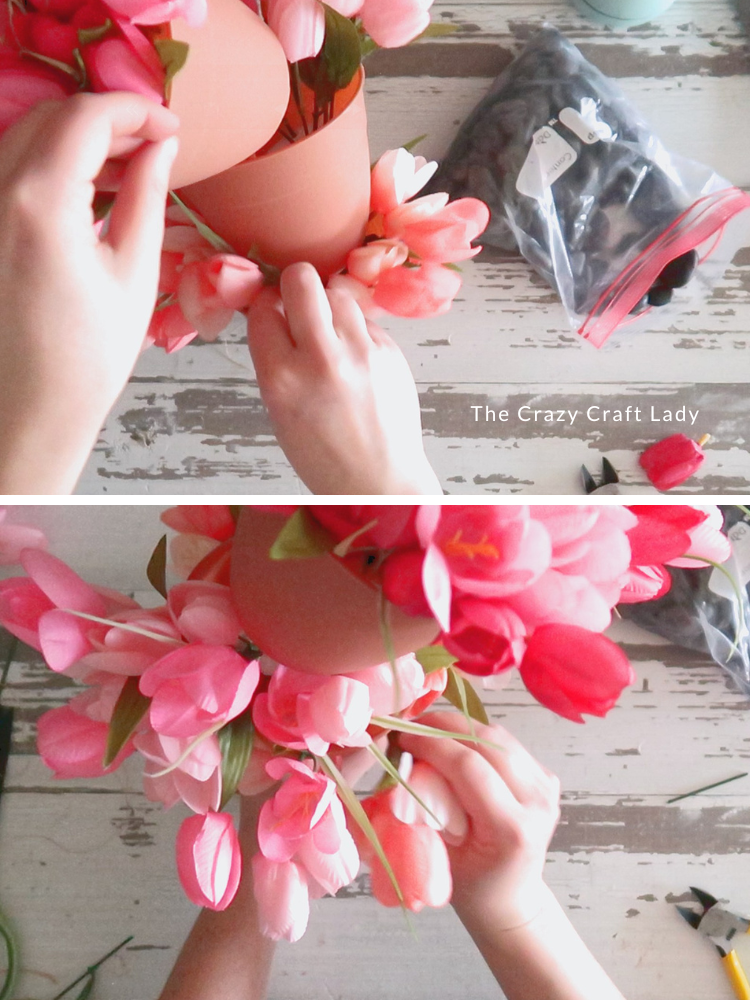
- Insert Foam + Florals (Middle Pot). Cut leftover foam pieces to fit the second pot. Instead of gluing them in, hold the foam outside the pot while inserting stems—this prevents loosening your glued structure. Add a few tulips to test placement and spacing.
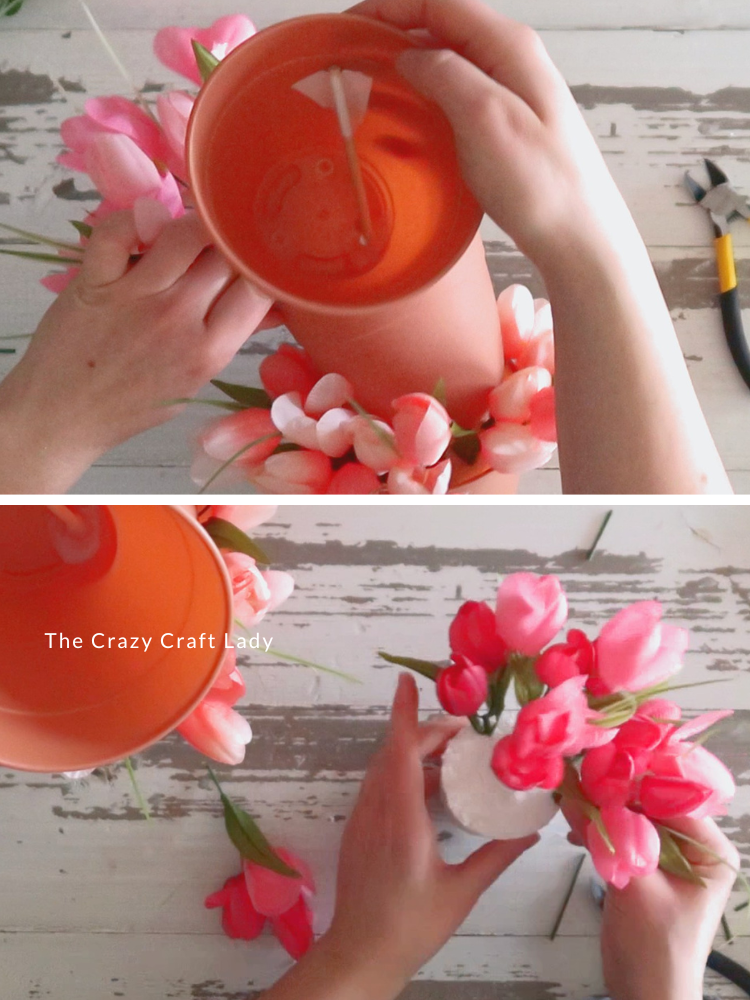
- Attach the Top Pot. Slide on the third pot and position it at an angle. Secure with hot glue at the base of the dowel, then reinforce by taping the dowel to the inside of the pot with duct tape.

- Fill the Top Pot. Insert foam into the top pot and fully fill it with flowers. If you see gaps or foam peeking through, tuck in raffia for a finished look.
- Weigh Down the Base. Because this piece is top-heavy, add rocks around the foam in the bottom pot. This stabilizes your topiary and keeps it from tipping over.
- Final Fill + Adjustments. Go back and fill in all pots with additional florals. Step back and check: Are any stems too tall? Are there gaps that need filling? Does the overall balance look right? Trim and adjust until you love it!


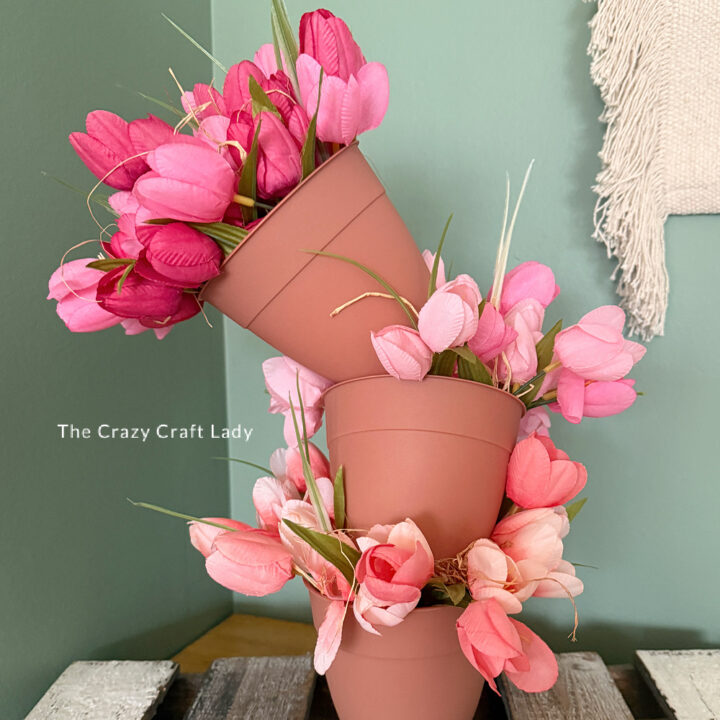
The finished craft

This DIY topsy turvy topiary is such a fun twist on traditional spring decor. I love how the angled pots give it that whimsical, almost storybook fee. And you can totally customize it with different flowers or colors.
PIN this spring tulip topiary craft for later:
