
Learn how to make a DIY busted canvas spring sign using Dollar Tree supplies and a free printable. An easy, budget-friendly craft!

This post contains some affiliate links for your convenience. Click here to read my full disclosure policy.
How to Make a Busted Canvas Craft for Spring
If you love easy Dollar Tree crafts with a high-end look, this DIY busted canvas spring sign is a must-try. It’s quick, budget-friendly, and that “busted canvas” effect adds such a fun 3D detail. Plus, you can customize it with any printable or color palette you love!

Video Tutorial: Spring Mini Busted Canvas
Watch this quick video to see how this craft came together:

DIY Busted Canvas Spring Sign
This Dollar Tree busted canvas craft is a simple and creative way to make spring wall art with a unique 3D “ripped canvas” effect.
Materials
- 4x6 Dollar Tree stretched canvas
- Chalk paint (pink or color of choice)
- Acrylic craft paint (optional for color mixing)
- Yellow acrylic or chalk paint (for inside)
- Printed image (free printable)
- Manila folder (or lightweight cardstock)
- Glue stick
- Hot glue gun & glue sticks
- Black wire (or floral wire)
- 2 small wood beads
Tools
- Paintbrush (1-inch flat brush)
- Scissors
- Craft knife (or pen blade)
- Cutting mat
- Pencil or pen
- Pin vise tool (or small drill/awl)
Instructions
- Watch the video. Follow along with the video tutorial for a step-by-step walkthrough of how to make your own spring busted canvas craft.

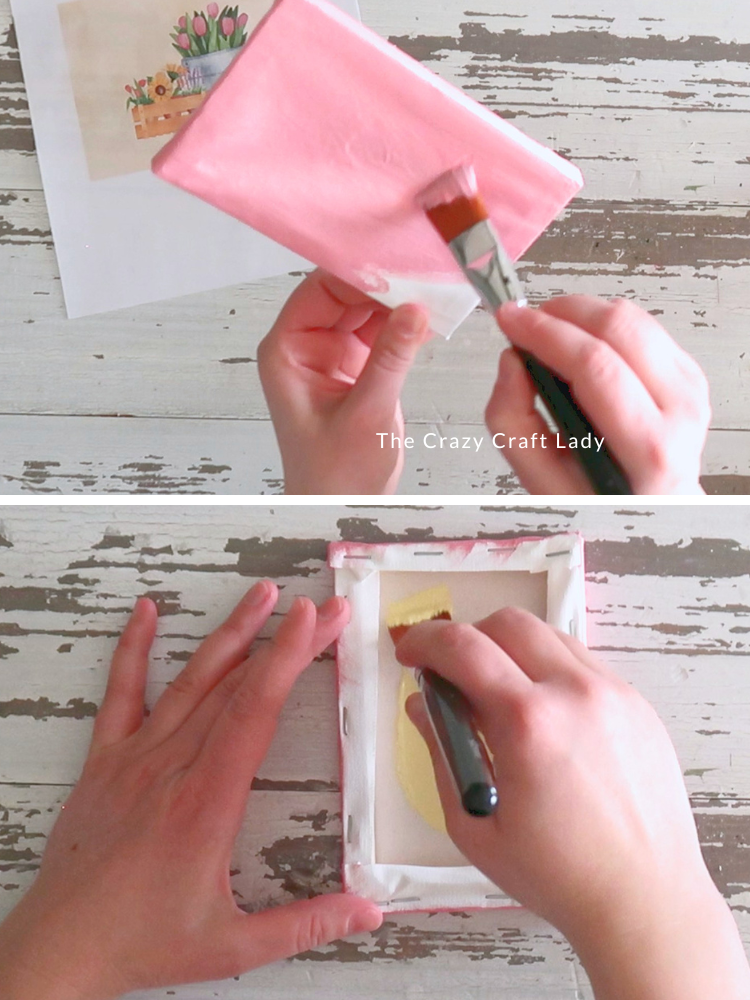
- Paint the Canvas. Start by painting the front and edges of your canvas with your main color (in my case, pink). Let dry. Flip the canvas over and paint the inside/back area with a contrasting color (like pastel yellow). Let dry.
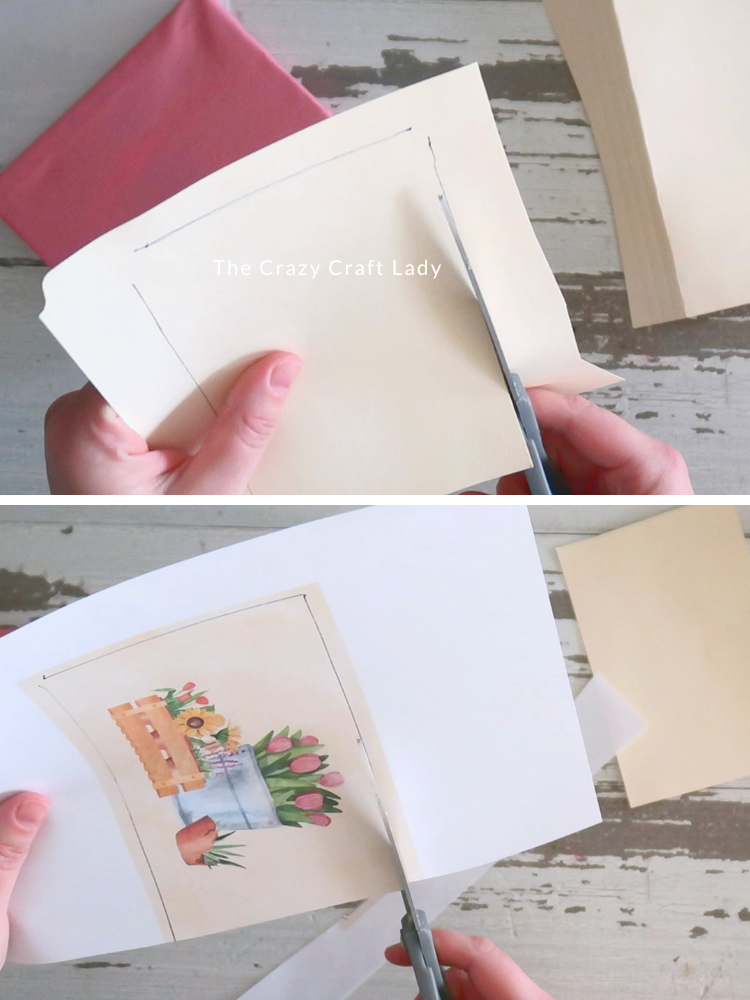
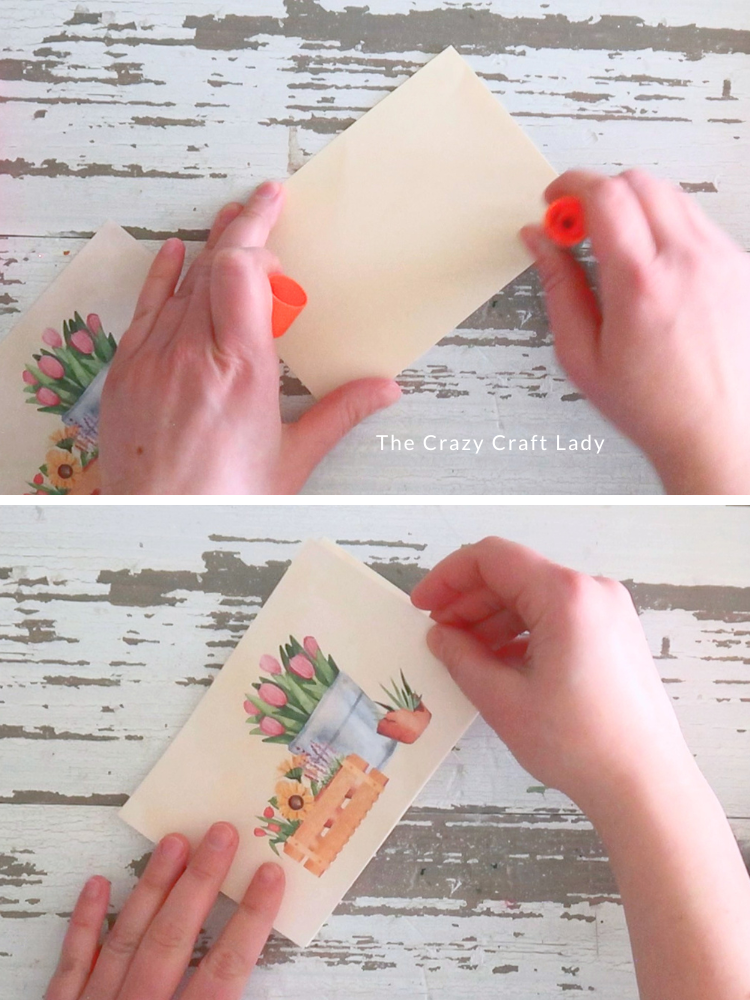
- Create the Backer. Trace the canvas onto a manila folder, then cut just inside the line so it fits neatly inside. Trace that same shape onto your printable and cut it out. Use a glue stick to attach the printable to the manila folder backing.
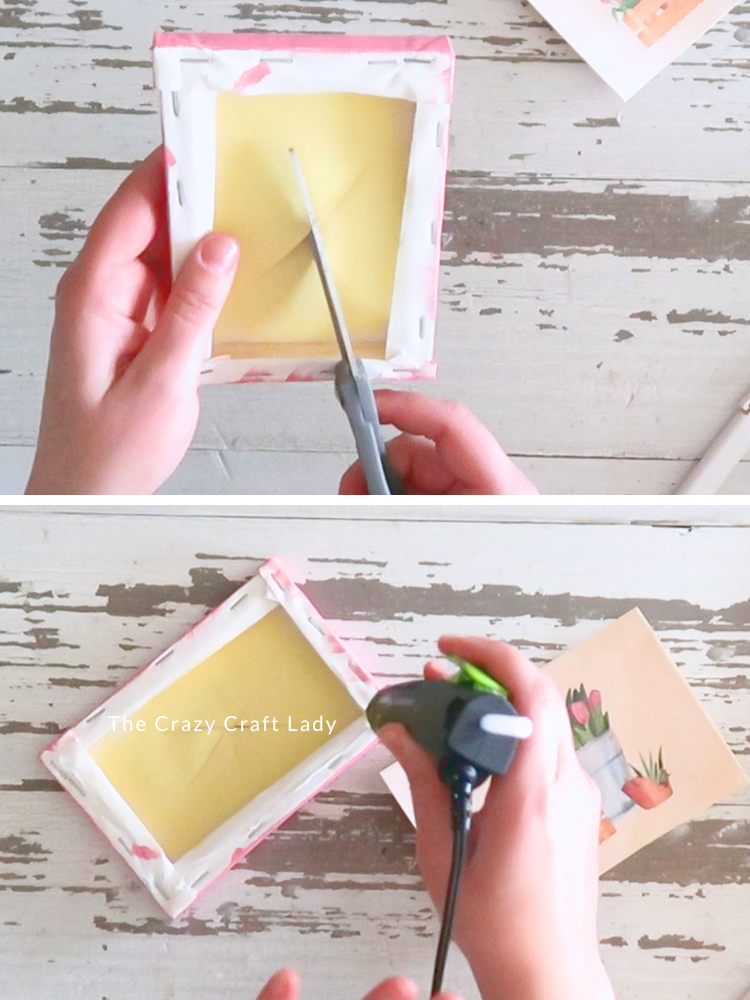
- Cut the “Busted” Slits. Flip the canvas face down. Use a craft knife to cut 6 slits in a star pattern from the center outward. You can score first, then cut with scissors, or whatever feels easiest.
- Attach the Image. Add hot glue around the inside back edge of the canvas. Quickly press your printable/backer into place and smooth it down.
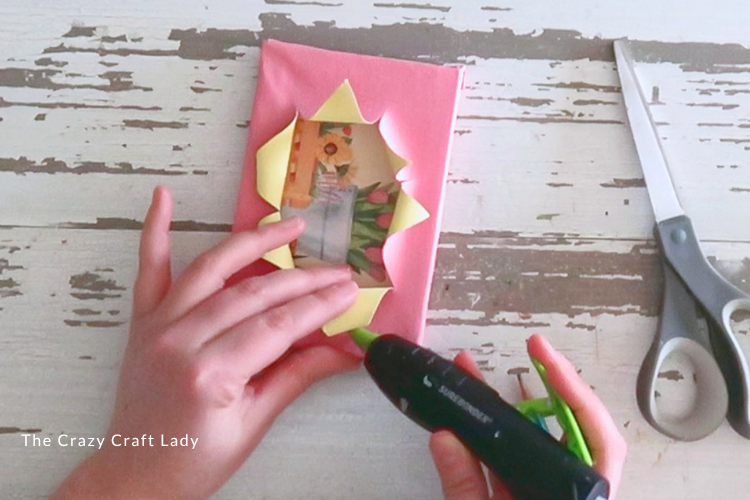
- Create the Busted Effect. Flip the canvas over. Carefully cut or widen the slits if needed, then roll each section outward to reveal the image underneath. Secure each flap with a small dab of hot glue. Use a pencil or paintbrush handle to help curl them for that dimensional look.

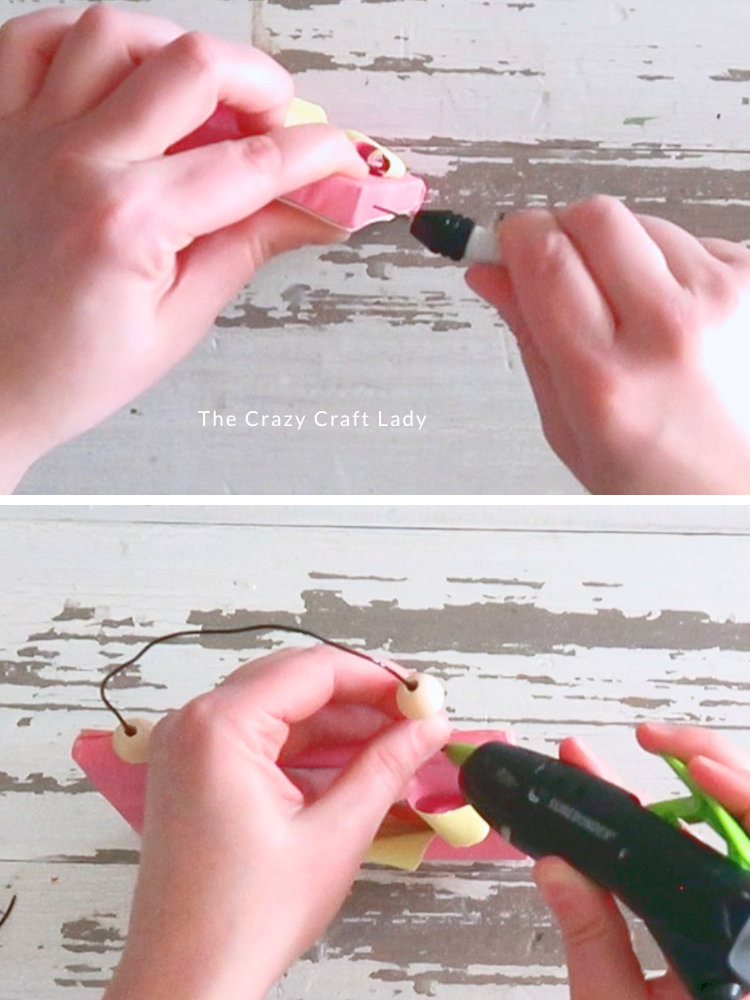
- Add the Hanger. Mark two small holes near the top of the frame. Use a pin vise tool to create pilot holes. Cut a piece of black wire, bend it slightly for a soft, wavy look, and insert each end into the holes. Slide a wood bead onto each end and secure with hot glue.
Notes
If you try this project, don’t forget to experiment with different colors, prints, and even larger canvas sizes!
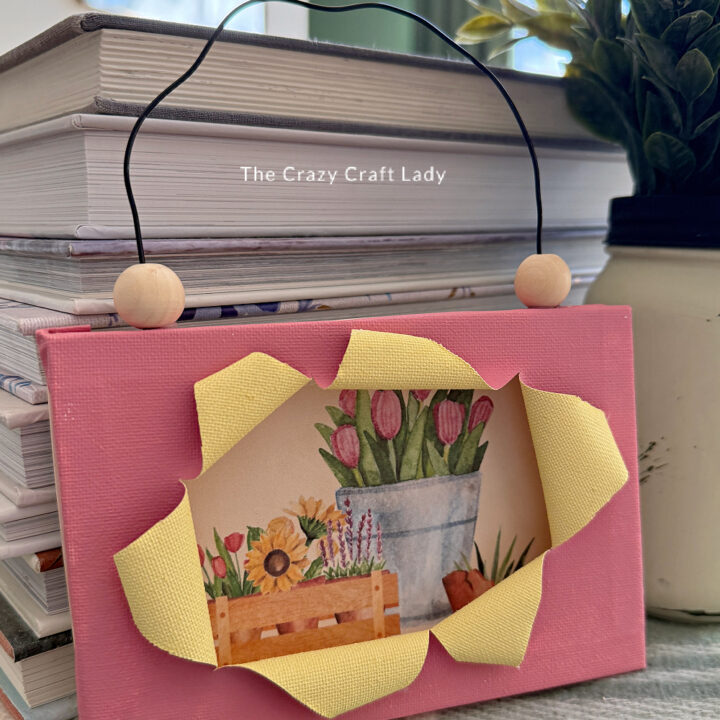
The Finished Craft
This DIY busted canvas craft is such a fun twist on traditional wall art. It’s simple, affordable, and totally customizable for any season, just swap out the printable!

I especially love the added detail of the wire and wood bead hanger, it gives it a little extra personality compared to basic twine.
Don’t Forget to PIN this Craft for Later:
