
Turn a small plastic pumpkin stack into charming fall decor! This Dollar Tree rustic painted plastic pumpkin stack uses matte paint and a distressed finish.
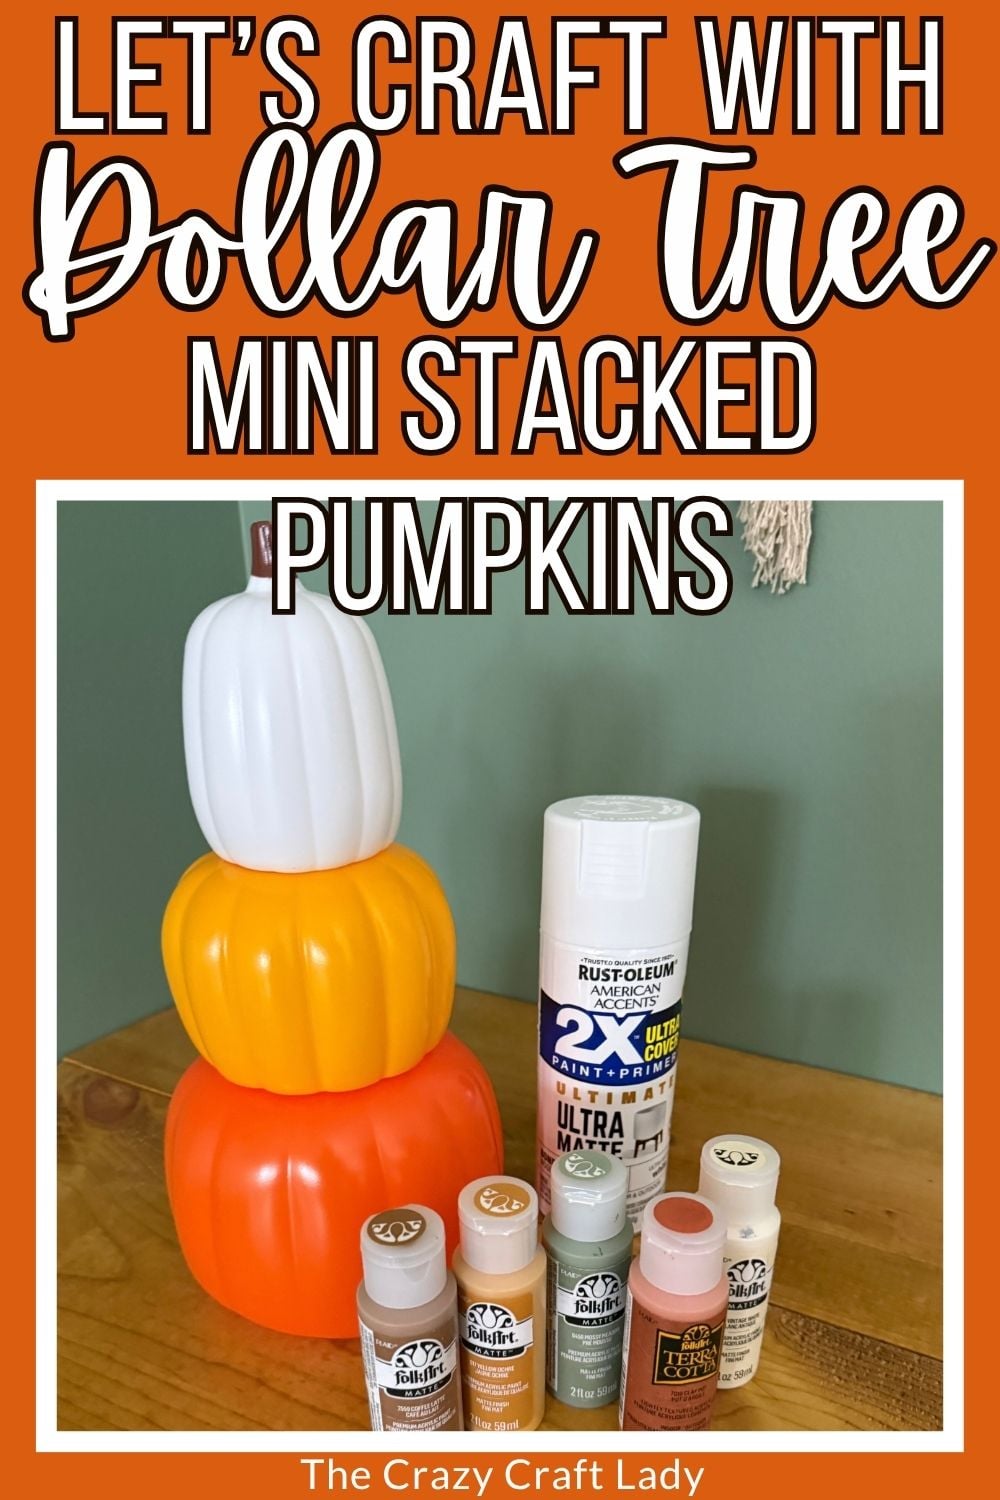
Try this Dollar Tree rustic painted plastic pumpkin stack with soft orange, green, and yellow paint. An easy, budget-friendly DIY for your fall decor!
This post contains some affiliate links for your convenience. Click here to read my full disclosure policy.
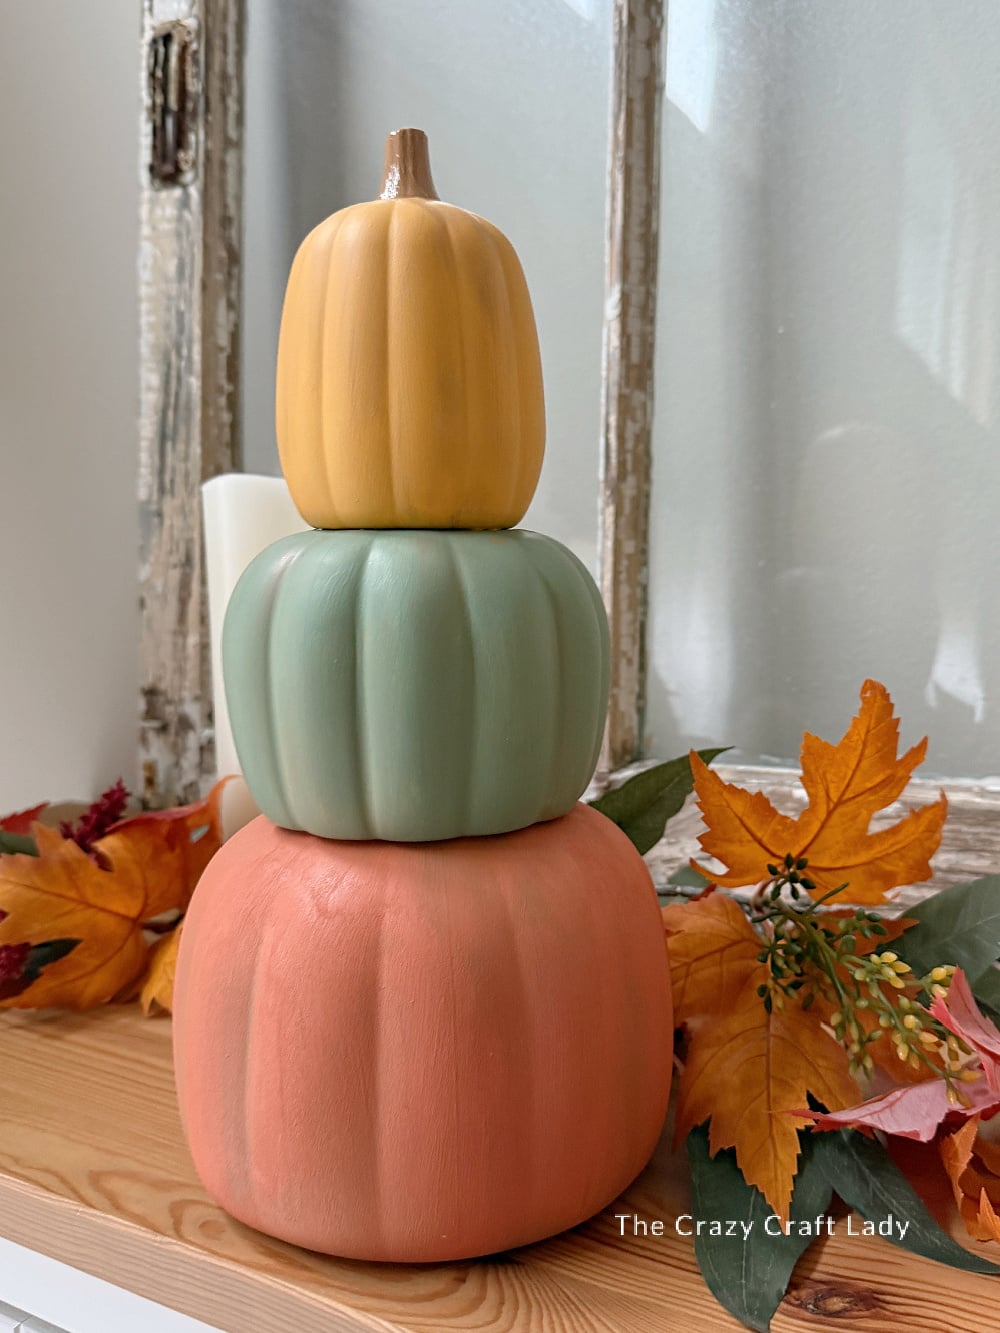
A little paint can make such a difference with those plastic pumpkins from Dollar Tree! For this Dollar Tree rustic painted plastic pumpkin stack, I used soft orange, mossy green, and muted yellow, then blended in a little brown paint to give each pumpkin some extra dimension.
The result is a sweet little pumpkin stack with a softer, more rustic look. If you love decorating for fall but bright orange plastic isn’t quite your thing, this is an easy way to make a budget-friendly find work with your decor.
And the best part? You can play around with the colors and distressing. I’m happiest with a paintbrush in my hand, and this is one of those projects where you can have fun as you go!
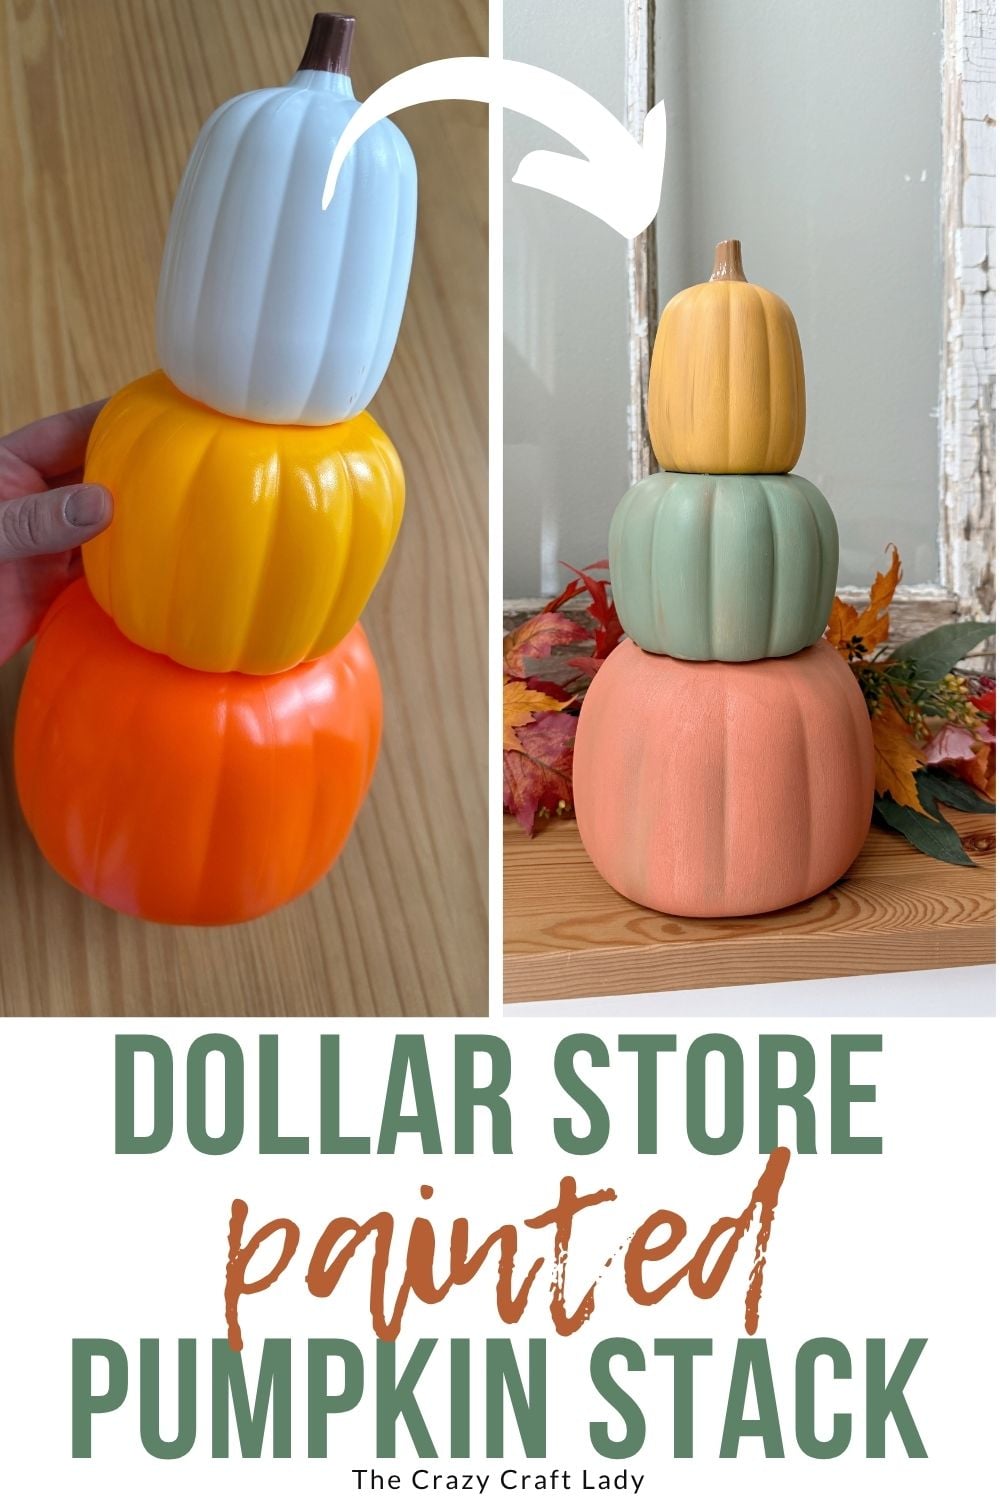
A Softer Take on Traditional Fall Colors
I still wanted this pumpkin stack to feel like fall, so I kept the orange, green, and yellow color combination. I just chose more muted versions of those colors. The largest pumpkin got a warm orange base, the middle pumpkin got a mossy green, and the smallest pumpkin got a golden yellow. A little light brown paint helped soften the finish and bring out the pumpkins’ ridges.
Most of the paint I used was FolkArt Matte. I love how it goes on! For the orange, though, I used FolkArt Terra Cotta in Clay Pot because it was the shade I wanted. You don’t have to use the same paint line for every pumpkin. Pick the colors you love.
Supplies for This Dollar Tree Rustic Painted Plastic Pumpkin Stack
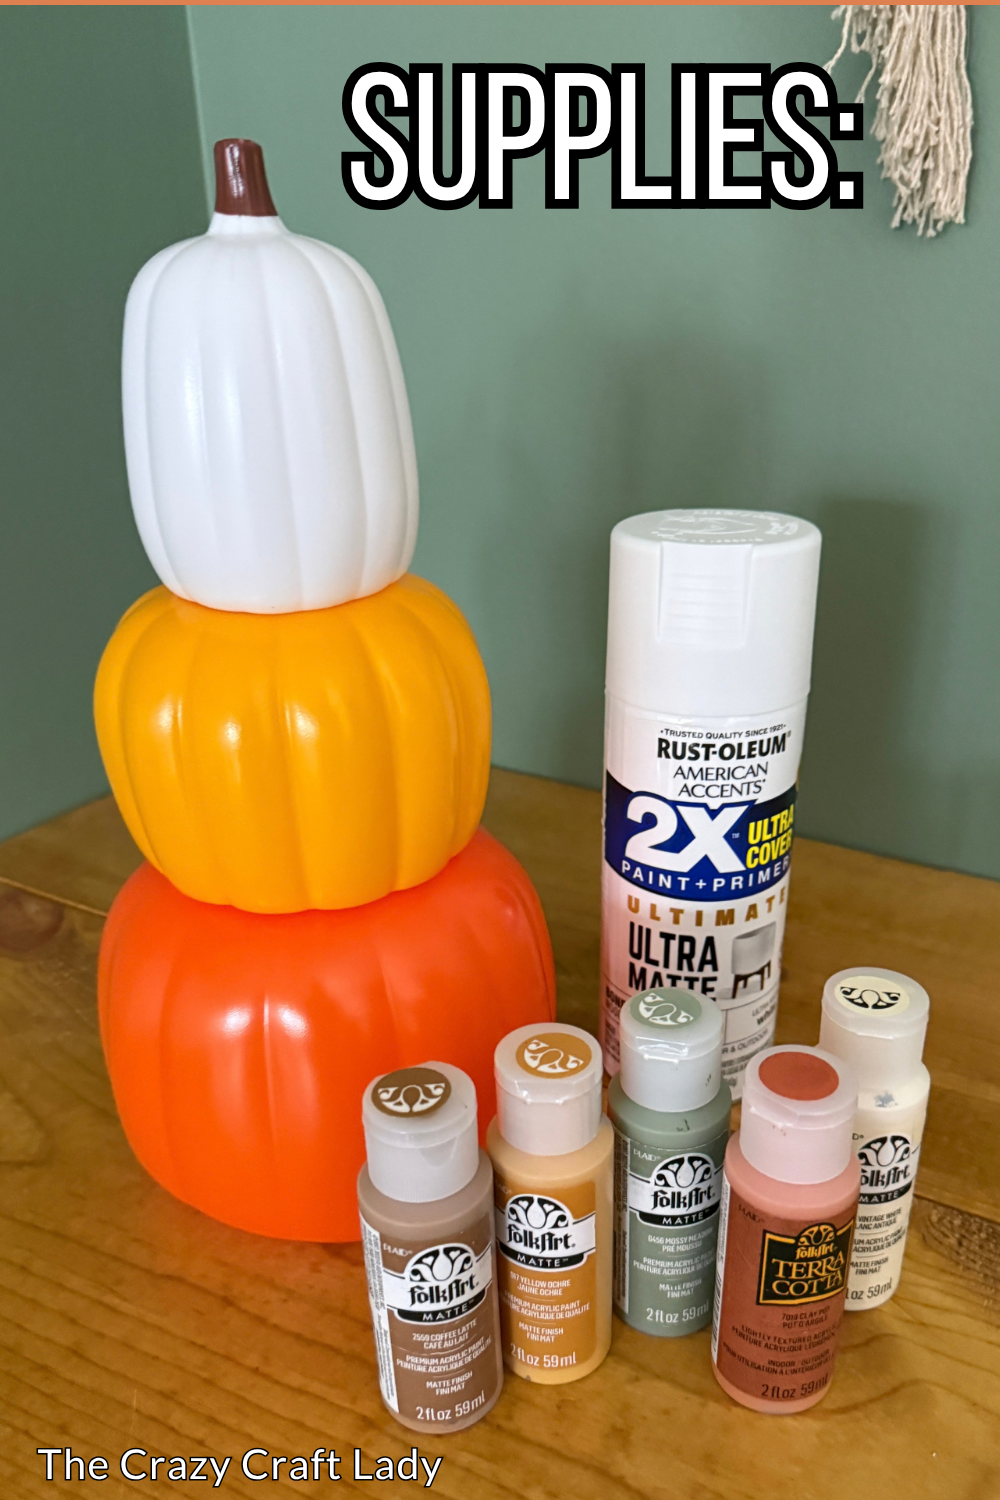
- Small three-piece plastic pumpkin stack from Dollar Tree
- Flat white spray paint suitable for plastic
- FolkArt Terra Cotta paint in Clay Pot
- FolkArt Matte paint in Mossy Meadow
- FolkArt Matte paint in Yellow Ochre
- FolkArt Matte paint in Coffee Latte
- Flat 1-inch paintbrush
- Small detail paintbrush
- Paper plate or paint palette
- Protective covering for your work surface
Paint note: The Coffee Latte paint does double duty here. Use it to distress all three pumpkins and to paint the stem at the end.
How to Make a Dollar Tree Rustic Painted Plastic Pumpkin Stack
Step 1: Watch the Video Tutorial
Watch the video tutorial located above, right here in this blog post, to see how I painted and distressed this little pumpkin stack.
Step 2: Separate and Spray Paint the Pumpkins
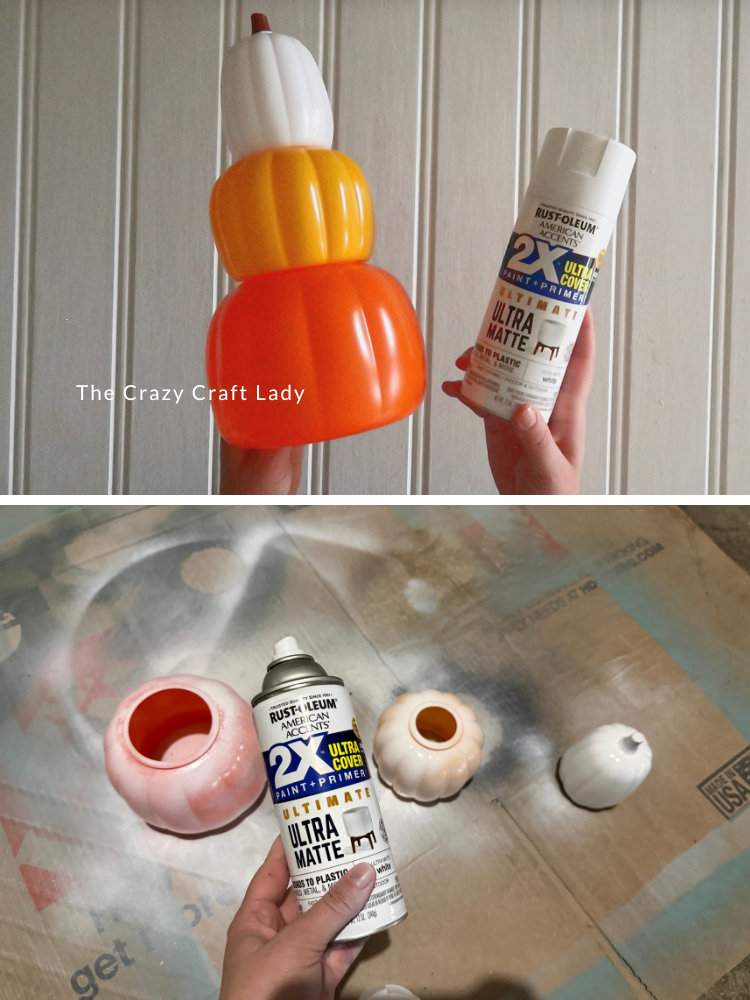
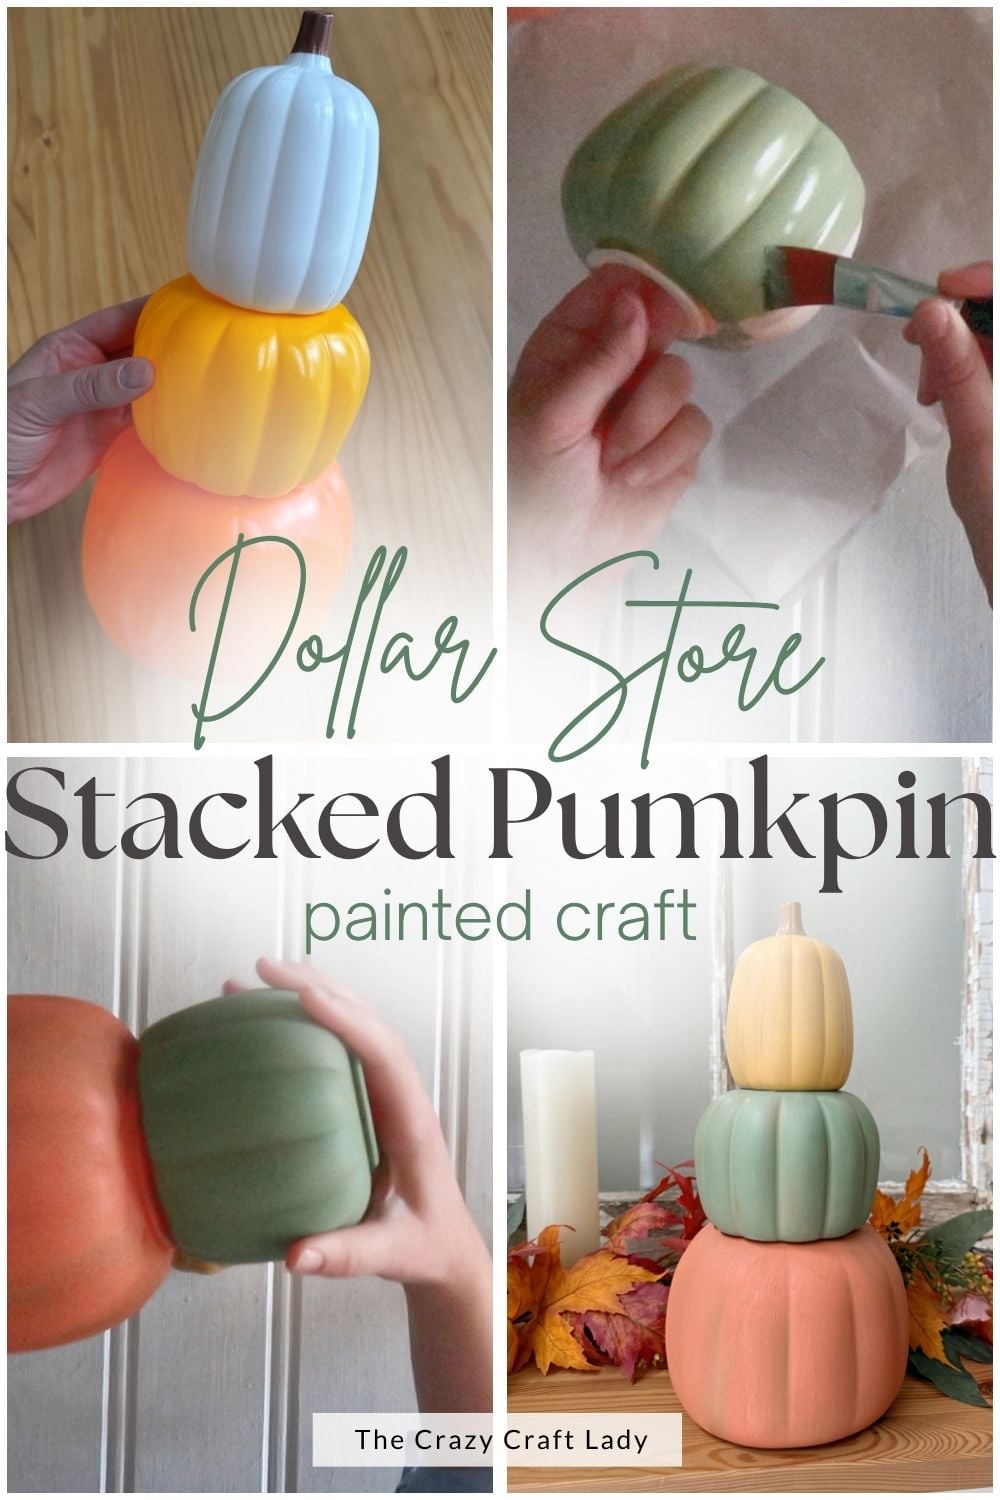
Pull the pumpkin stack apart so you can paint each pumpkin individually.
Give the pumpkins a light coat of flat white spray paint. This is serving as a base coat, so you don’t need complete white coverage. Mine was just a quick coat to get the pumpkins ready for their fall colors.
Let the spray paint dry fully before brushing on your paint.
Step 3: Paint Each Pumpkin a Muted Fall Color
Use a flat 1-inch paintbrush to apply your first coat of color to each pumpkin:
- Largest bottom pumpkin: Clay Pot
- Medium middle pumpkin: Mossy Meadow
- Smallest top pumpkin: Yellow Ochre
* These are the colors I chose, but you can absolutely use whatever fits your fall decor.
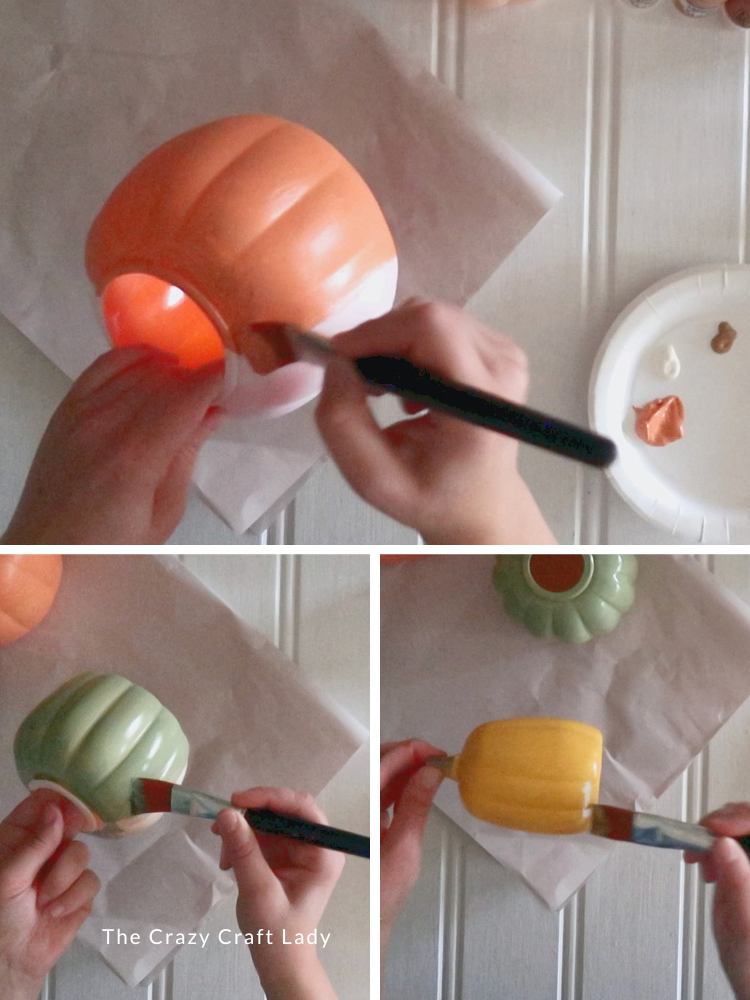
Paint around the curves and into the grooves, then let the first coat dry. Don’t worry if you need another coat for full coverage. You’ll build up the finish as you work.
Step 4: Add a Second Coat and Blend in Brown Paint
Work on one pumpkin at a time, adding a second coat of its base color where needed for full coverage. While that fresh paint is still workable, pick up the tiniest amount of Coffee Latte brown paint on the corner of your flat brush.
Lightly brush it into a few areas, using gentle back-and-forth strokes to blend it into the base color. You can follow the pumpkin’s grooves, add a little shading near the bottom, or brush brown into a few scattered spots for a softly aged look. Start with less brown than you think you need. You can always add more, but you still want those pretty fall colors to show through.
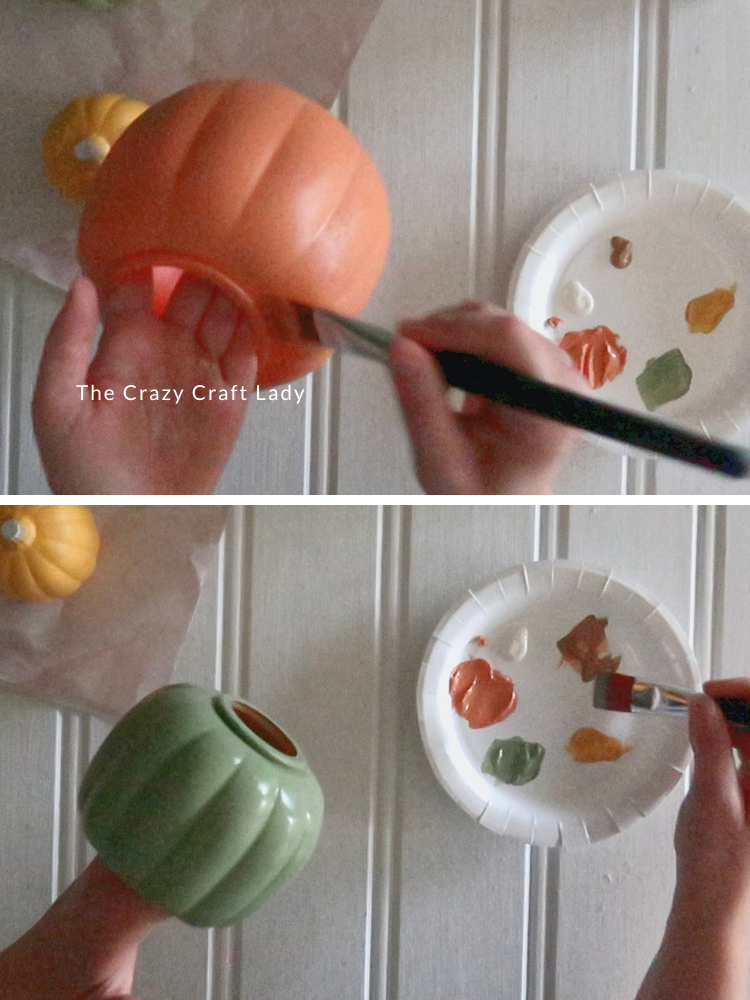
Step 5: Repeat the Distressing on All Three Pumpkins
Use the same technique on the green and yellow pumpkins, blending small amounts of Coffee Latte into the painted surface. The brown shows up a little differently against each color. It’s easier to see against the green, but it adds warmth and dimension to all three.
There’s no exact pattern to follow here. Keep your brush strokes light, soften any obvious lines, and have fun with it! The goal is a gently distressed finish, with some variation in the color. Let all three pumpkins dry thoroughly before putting the stack back together.
Step 6: Reassemble the Pumpkin Stack
Pop the three pumpkins back together, with the largest on the bottom and the smallest on top. Mine snapped together easily before painting, but the fit was a little tighter afterward. You may need some firm, careful pressure to reconnect the pieces. Take your time and avoid pressing or rubbing the painted surfaces more than necessary so you don’t damage the finish.
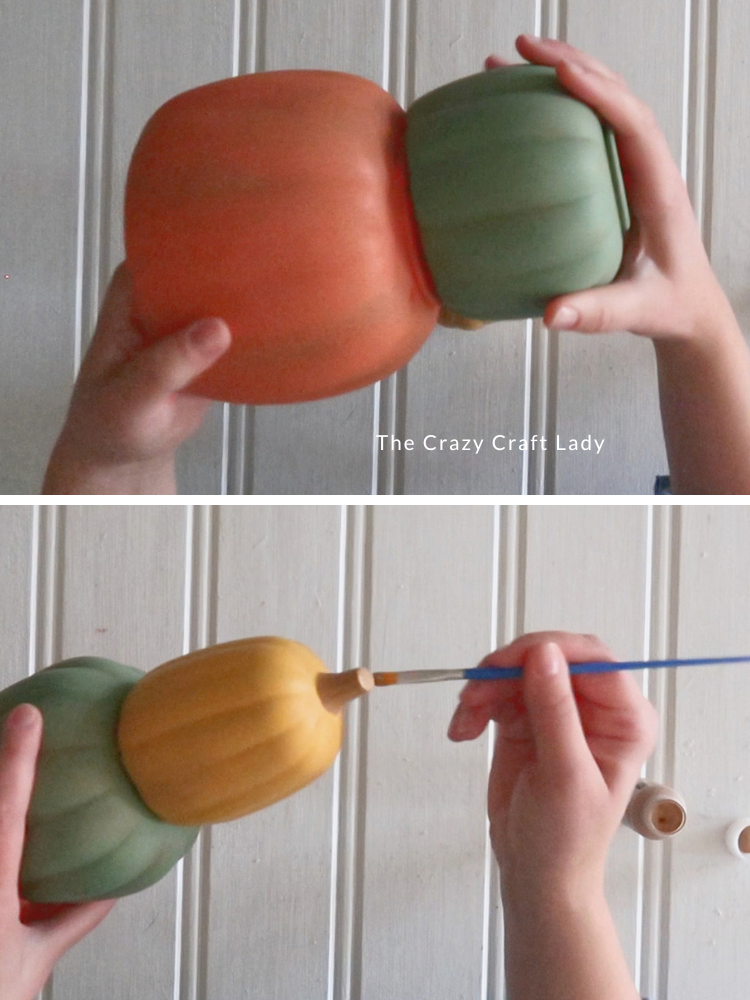
Step 7: Paint the Top Stem
Use a small detail brush to paint the stem on the top pumpkin with Coffee Latte, the same light brown used for the distressing. Let the stem dry, and your little pumpkin stack is ready to display!
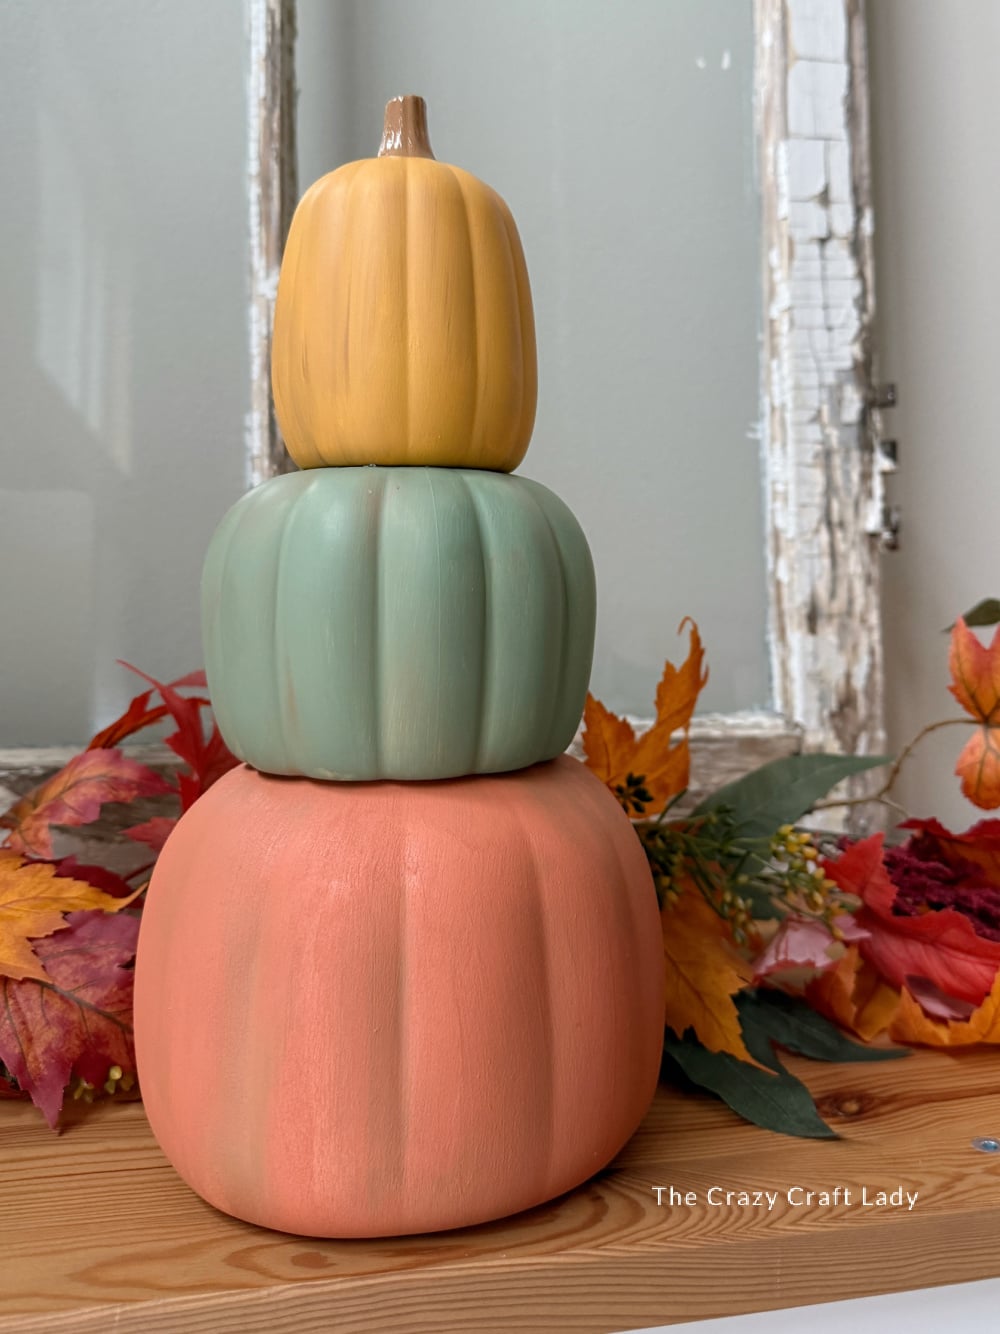
Tips for the Painted Finish
- Keep the white base coat light. You’re painting over it, so it doesn’t need to look perfect.
- Use just a touch of brown. A tiny amount on the corner of your brush is enough to start adding dimension.
- Work one pumpkin at a time. This gives you a chance to blend the brown into the fresh base color.
- Let the paint dry thoroughly before stacking. The pieces can fit more snugly after painting, and you don’t want to disturb your work.
A Little Pumpkin Stack with Plenty of Fall Charm
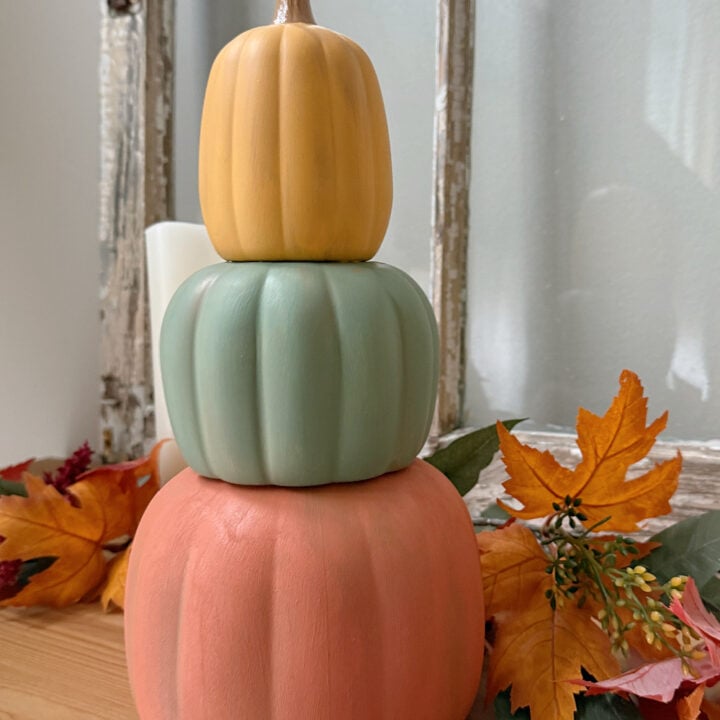
I’m loving the softer colors on this Dollar Tree stacked pumpkin makeover. The warm orange, mossy green, and golden yellow still feel perfectly seasonal, while the brown distressing gives the plastic pumpkins a more rustic finish.
Tuck your finished stack onto a shelf, add it to a fall tray, or display it beside a little greenery. It’s a simple paint project that gives an inexpensive pumpkin stack a whole new look!
Rustic Painted Plastic Pumpkin Stack
Give a small plastic pumpkin stack a rustic fall makeover with muted orange, green, and yellow paint and simple brown distressing.
Materials
- Small Dollar Tree plastic pumpkin stack
- Flat white spray paint suitable for plastic
- FolkArt Terra Cotta paint: Clay Pot
- FolkArt Matte paint: Mossy Meadow, Yellow Ochre, and Coffee Latte
Tools
- Flat 1-inch paintbrush
- Small detail paintbrush
- Paper plate or paint palette
- Protective work surface covering
Instructions
1. Watch the video tutorial located above, right here in this blog post.
2. Separate the pumpkins and apply a light coat of flat white spray paint. Let dry.
3. Paint the largest pumpkin Clay Pot, the middle pumpkin Mossy Meadow, and the smallest pumpkin Yellow Ochre. Let dry.
4. Working one pumpkin at a time, apply a second coat as needed. Blend a tiny amount of Coffee Latte into the fresh paint with light brush strokes, focusing on grooves and near the bottom for shading.
5. Let all three pumpkins dry thoroughly, then carefully snap the stack back together.
6. Paint the top stem Coffee Latte with a small brush. Let dry before displaying.