
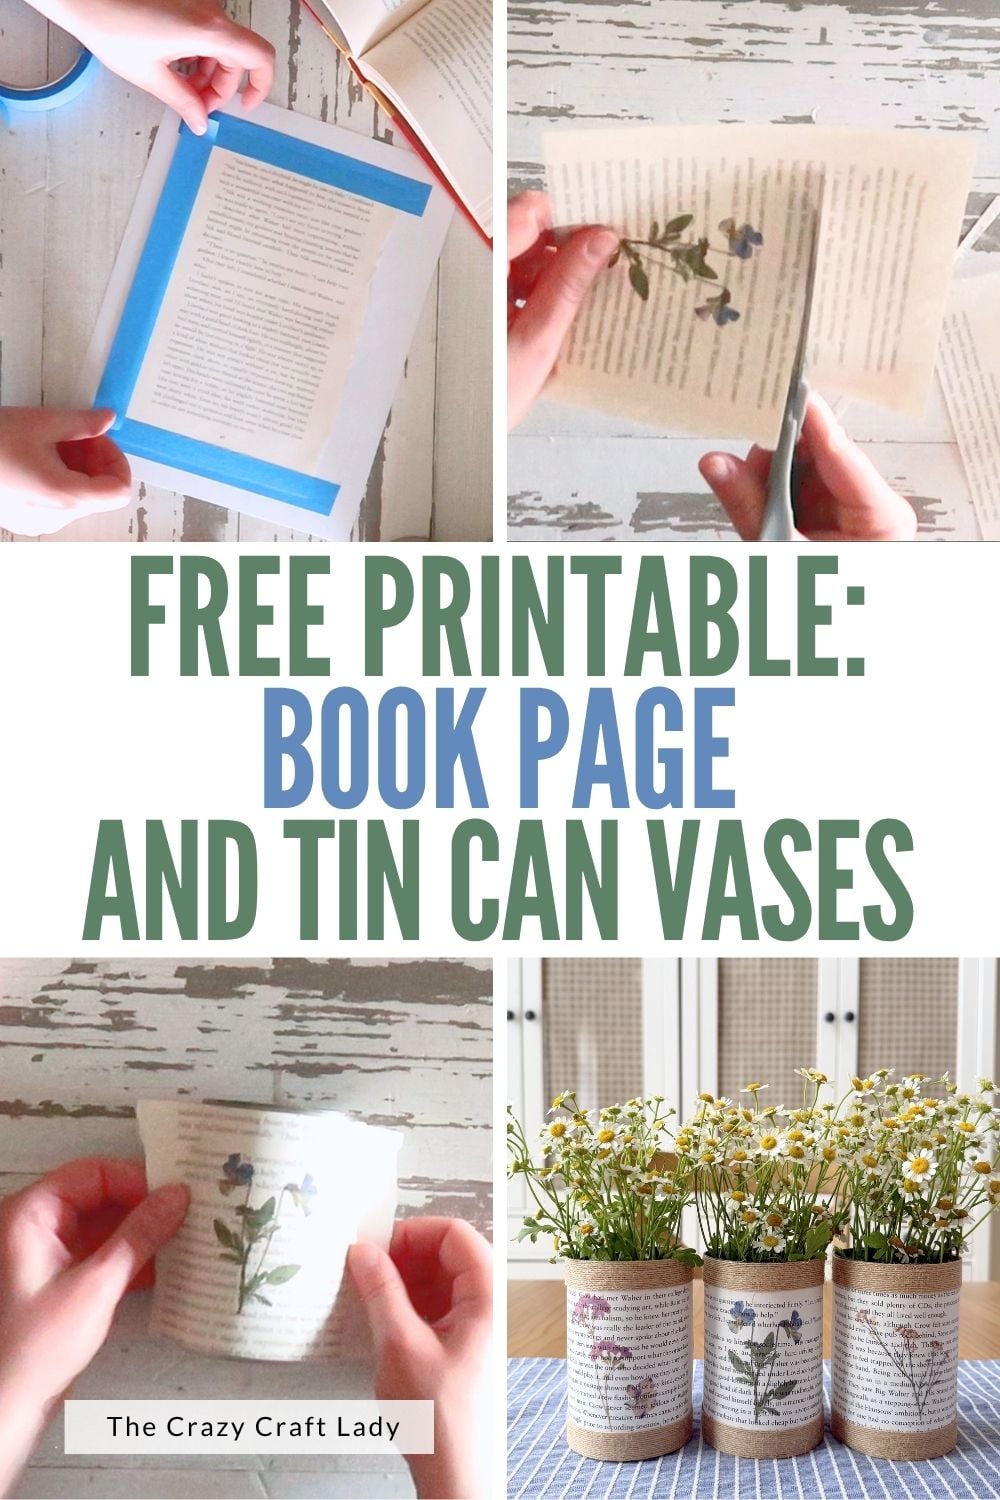
Turn empty tin cans into beautiful vintage-style vases using book pages and printable pressed flowers. Easy, budget-friendly DIY craft idea!

How to print pressed flower images on book pages to make upcycled tin can vases.
This post contains some affiliate links for your convenience. Click here to read my full disclosure policy.
Why you’ll love this tin can craft:
Looking for a sweet, budget-friendly craft that turns everyday “trash” into something seriously charming? These book page tin can vases are one of those projects that feel almost too easy for how cute they turn out. We’re talking vintage book pages, delicate pressed flower printables, and a little bit of rustic ribbon to tie it all together.
Whether you use them for fresh flowers, paintbrushes, or desk organization, these are the kind of DIYs that make your space feel instantly cozy and creative.
Video Tutorial: Floral Book Page Tin Cans
Watch this quick video to see how this craft came together:
Floral Book Page Tin Cans
Upcycle tin cans into charming floral vases using book pages and rustic ribbon. A quick and easy craft with cottagecore style!
Materials
- 3 empty, clean tin cans
- Book pages (at least 6 total)
- Printable pressed flower designs (click the button below the video tutorial above)
- Printer paper or cardstock
- Painter’s tape or masking tape
- Double-sided tape
- Pencil
- Ribbon (½ inch wide – jute or rustic style works beautifully!)
Tools
- Printer
- Hot glue gun + glue sticks
- Scissors
Instructions
- Watch the video. Follow along with the video tutorial for a step-by-step walkthrough of how to make your own book page tin cans.
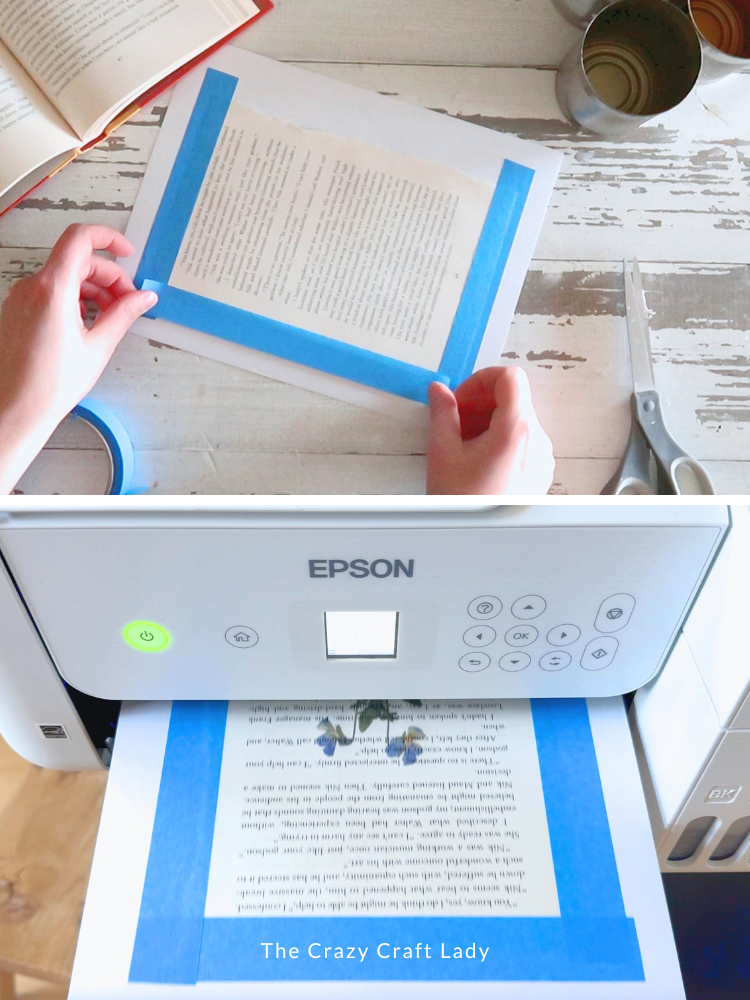
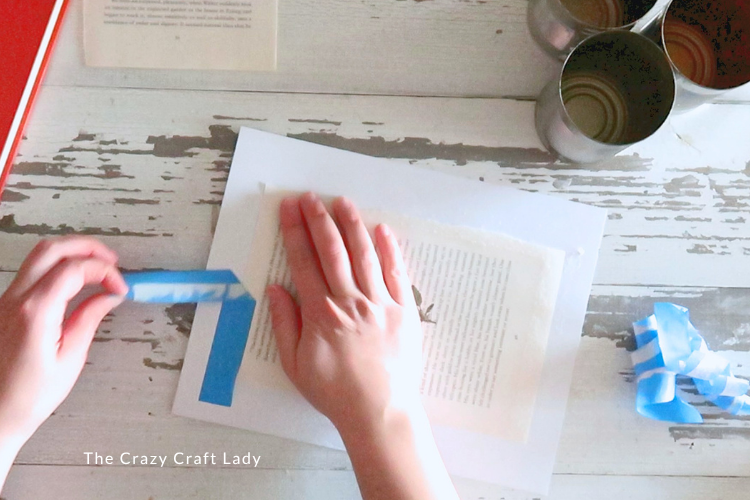
- Prep Your Book Pages for Printing. Start by taping a book page onto a sheet of printer paper or cardstock. Make sure it’s super smooth and fully secured on all edges—no curling or lifting!

- Print Your Pressed Flower Design. Run the taped book page through your printer and print your pressed flower design directly onto it. Once printed, gently remove the tape and peel your book page off the backing paper.

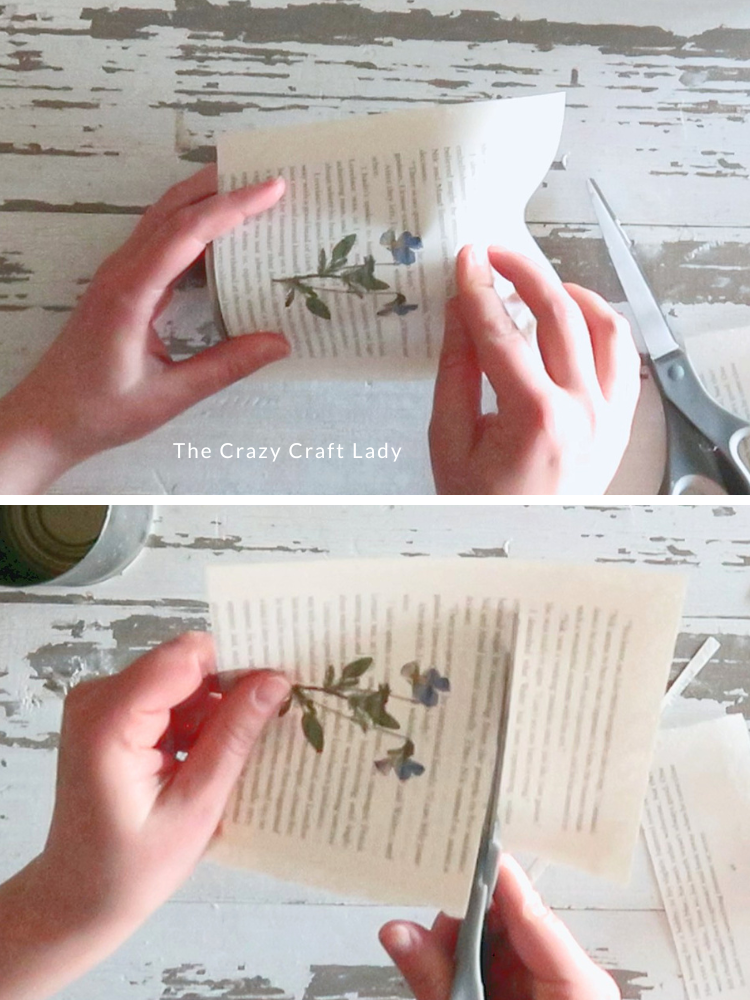
- Cut to Fit Your Tin Can. Hold your printed book page up to your tin can and trim the bottom edge first. Adjust so your flower design is nicely centered from top to bottom. Then fold the page around the top of the can to measure the top cut.
- Prep a Second Book Page. Grab another book page (this one stays plain—no printing). Measure it to match the exact height of your printed piece and cut it to size.
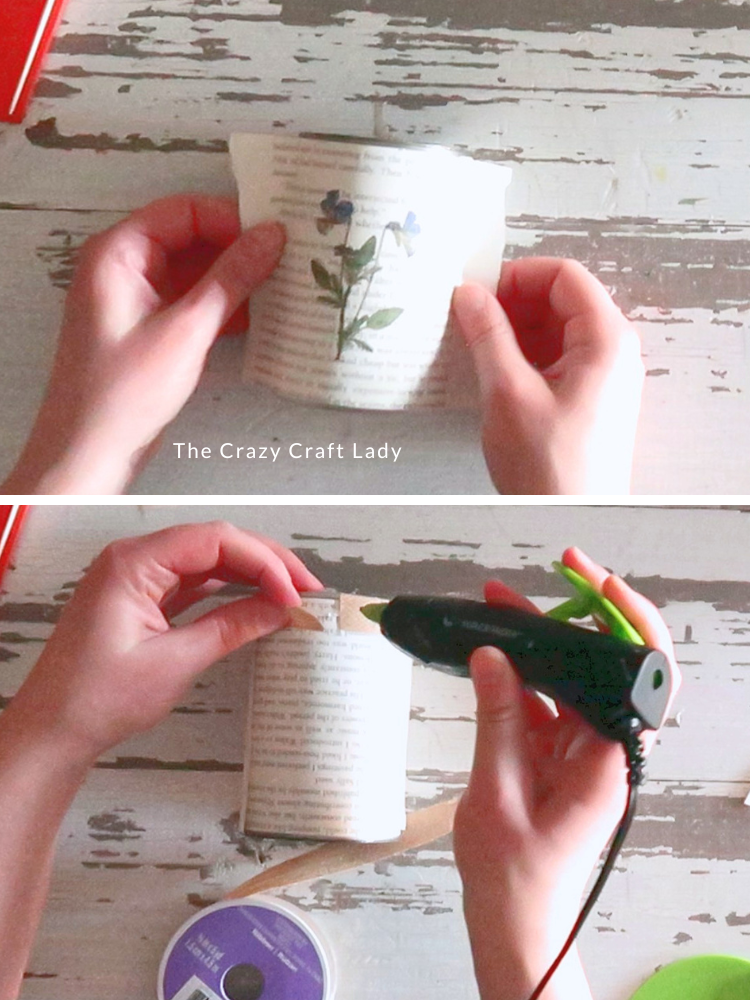
- Wrap the Tin Can. Start with the plain book page first. Add double-sided tape to the left and right back edges, and then wrap it around the can. Then layer your printed book page over the remaining exposed area.
- Add Ribbon Trim (Bottom). Grab your ribbon and start at the back of the can: Add a dab of hot glue, wrap the ribbon around the bottom edge, and secure with small dabs of glue as you go. When you reach the back again, trim the ribbon so the ends meet cleanly and glue it down.
- Repeat at the Top. Do the exact same thing around the top edge of the can. Start at the back, wrap all the way around, and finish neatly where you started.
- Make a Set of 3. Repeat the process with your other printed designs to create a full set of three coordinating cans.
How to Use Your DIY Tin Can Vases
These are so versatile and honestly addicting to make. Here are a few ideas:
- Fill with fresh flowers (Trader Joe’s bouquets are PERFECT for this!)
- Use as desk organizers for pens and pencils
- Store paintbrushes or craft tools
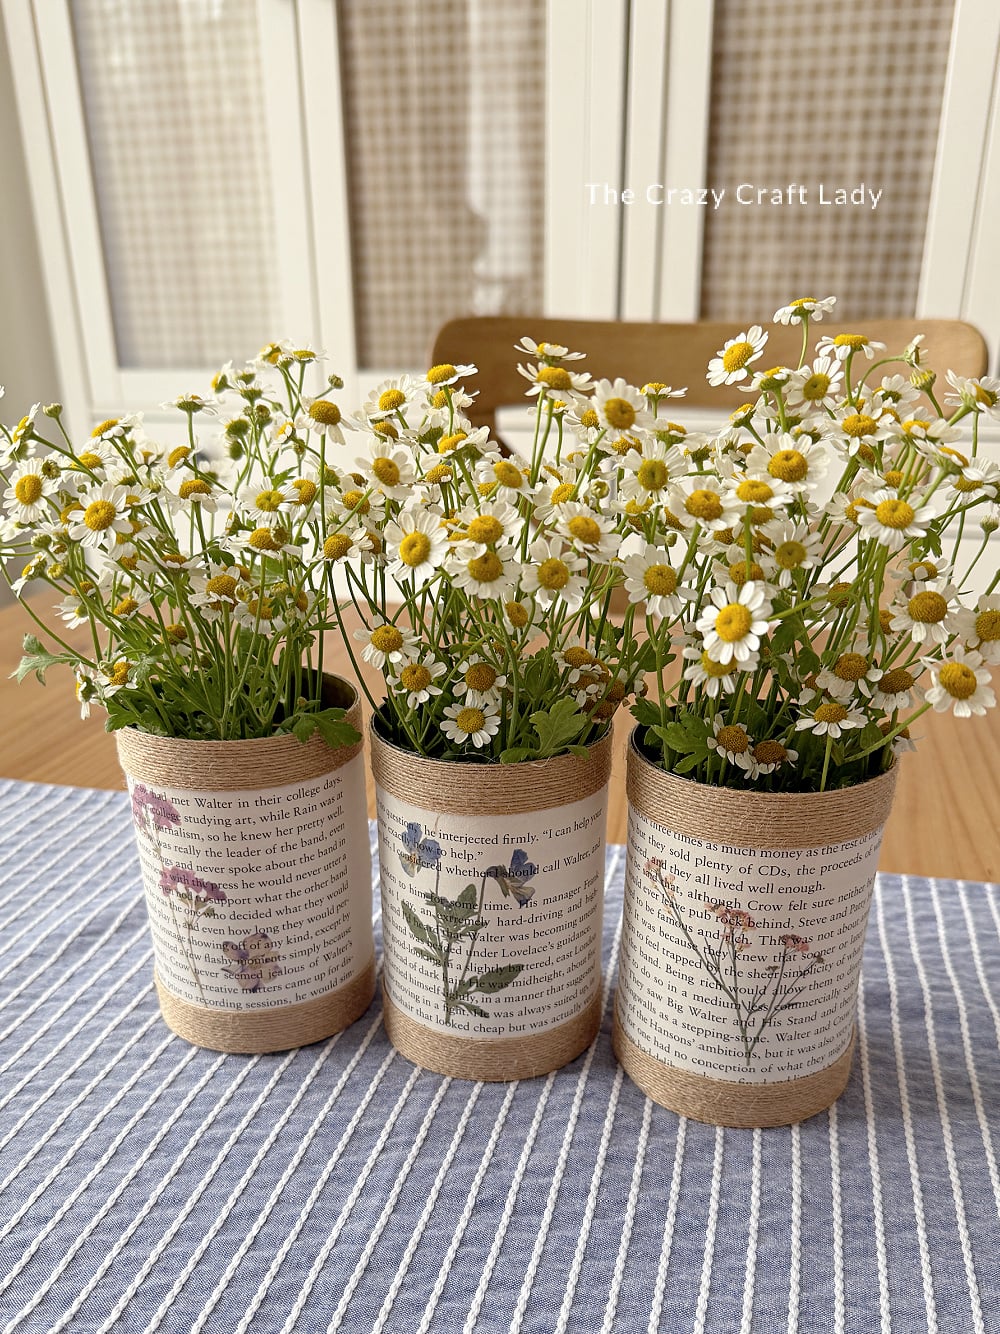
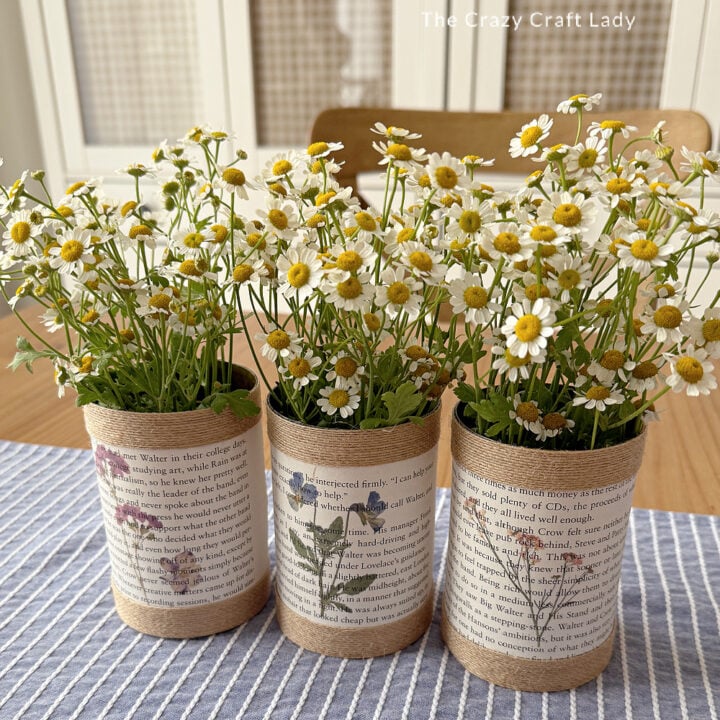
The Finished Craft
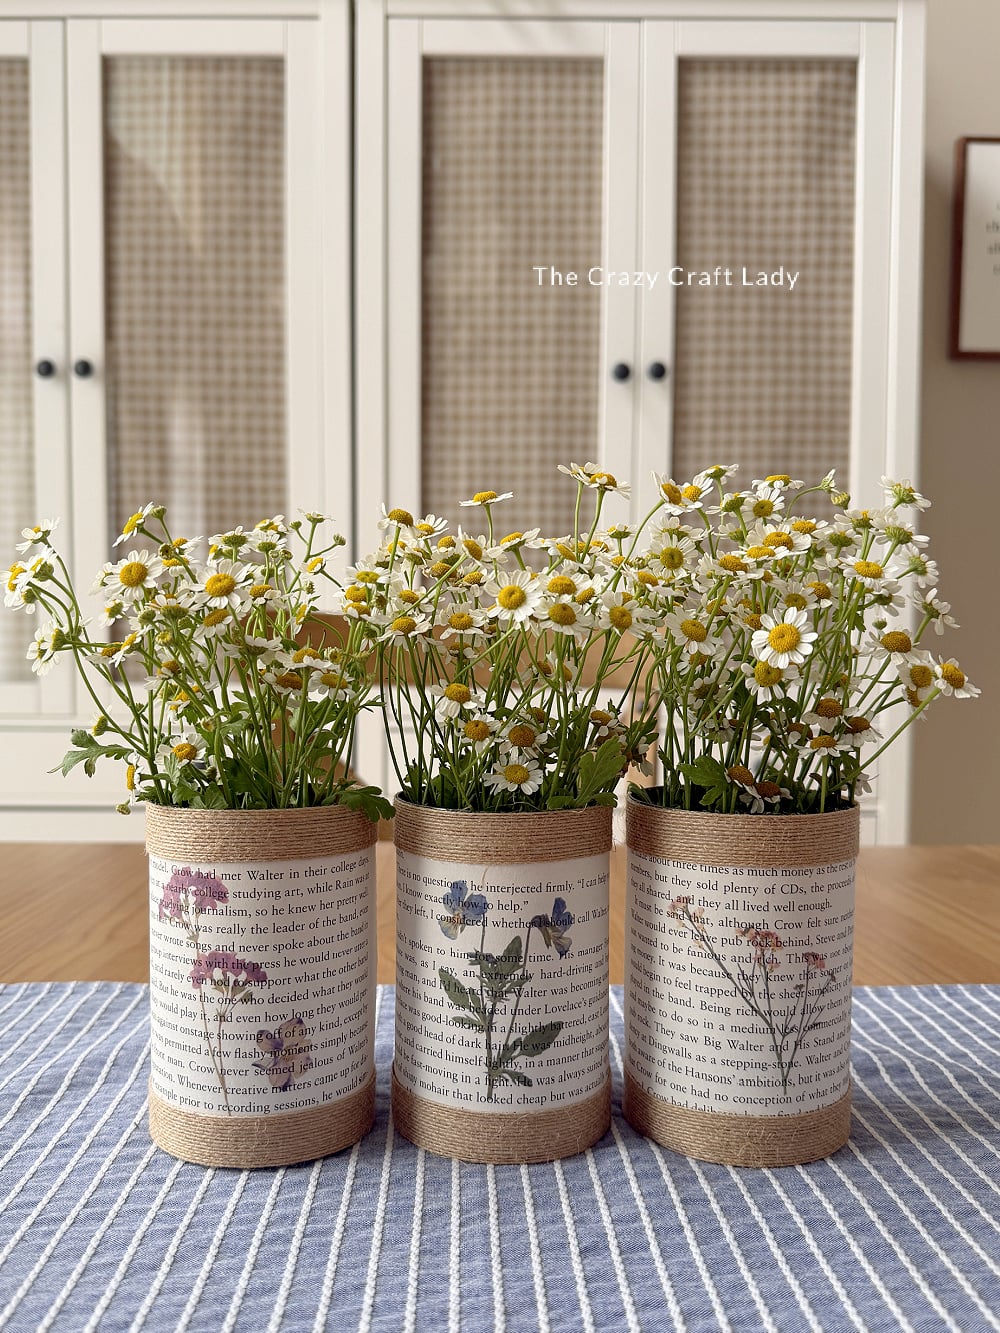
This is one of those crafts that hits all the right notes: easy, inexpensive, and ridiculously cute. The mix of vintage book text with delicate florals? I’m obsessed.
Don’t forget to PIN this tin can upcycle for later:
