Learn how to make beautiful DIY vintage bookmarks using book pages and a free printable! This easy craft is perfect for readers and gift-giving.
This post contains some affiliate links for your convenience. Click here to read my full disclosure policy.
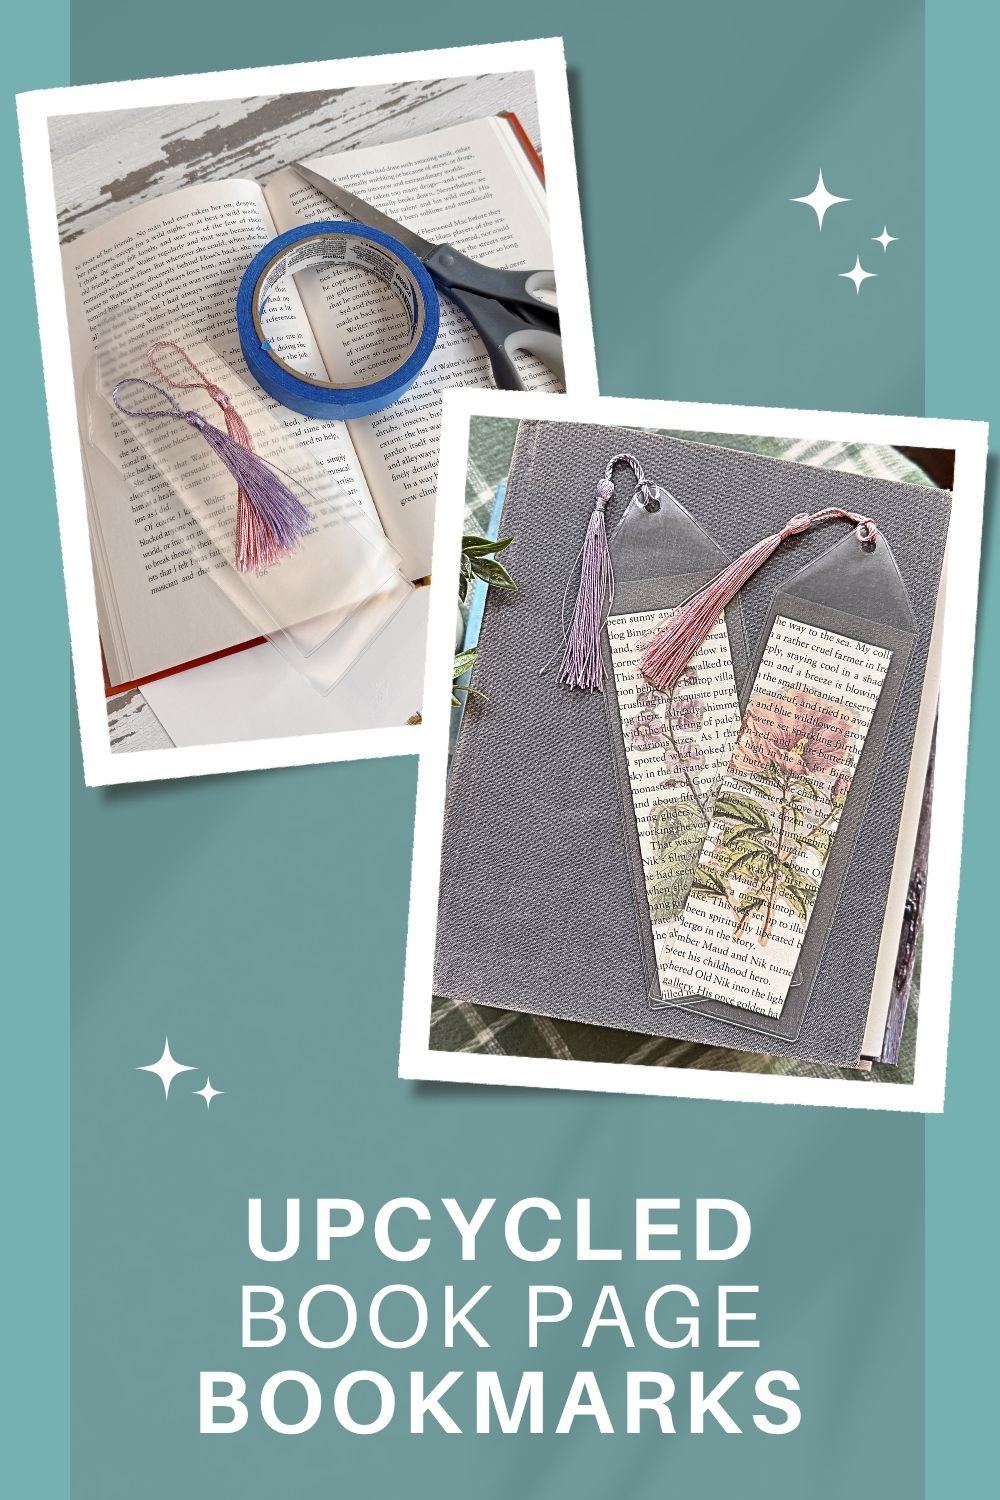
How to make DIY Book Page Floral Bookmarks – Complete with a FREE Vintage Pressed Flower Printable.
If you’ve been around here for a while, you already know I have a slight obsession with book page crafts… and this one might be my new favorite.
These DIY vintage-style bookmarks are SO easy to make, they look like something you’d find in a cute little boutique, and they’re perfect for gifting (or keeping… no judgment here). Bonus: you can customize them with literally any design you want!
Video Tutorial: Book Page Floral Bookmarks
Watch this quick video to see how this craft came together:
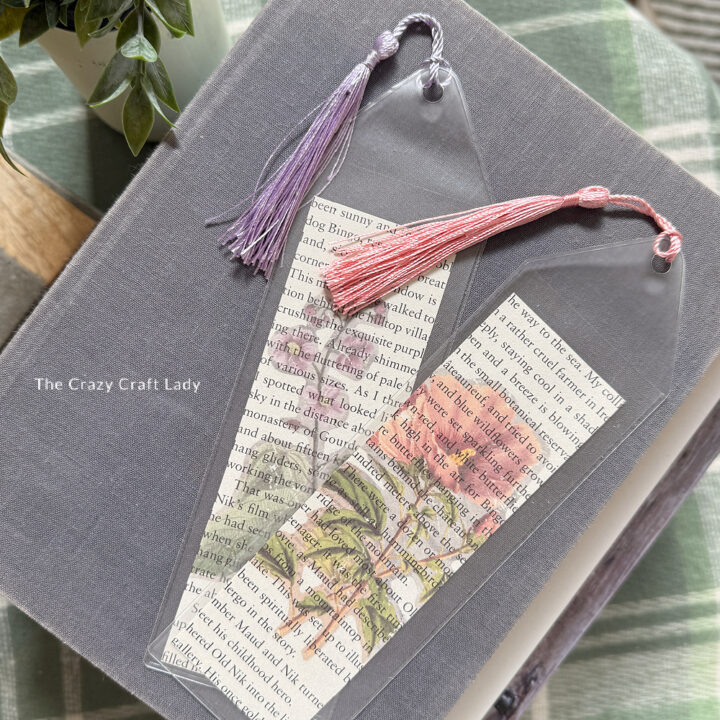
Book Page Floral Bookmarks
Make your own custom bookmarks with book pages, printable designs, and tassels—an easy and budget-friendly DIY project.
Materials
- Old book pages
- Cardstock or printer paper
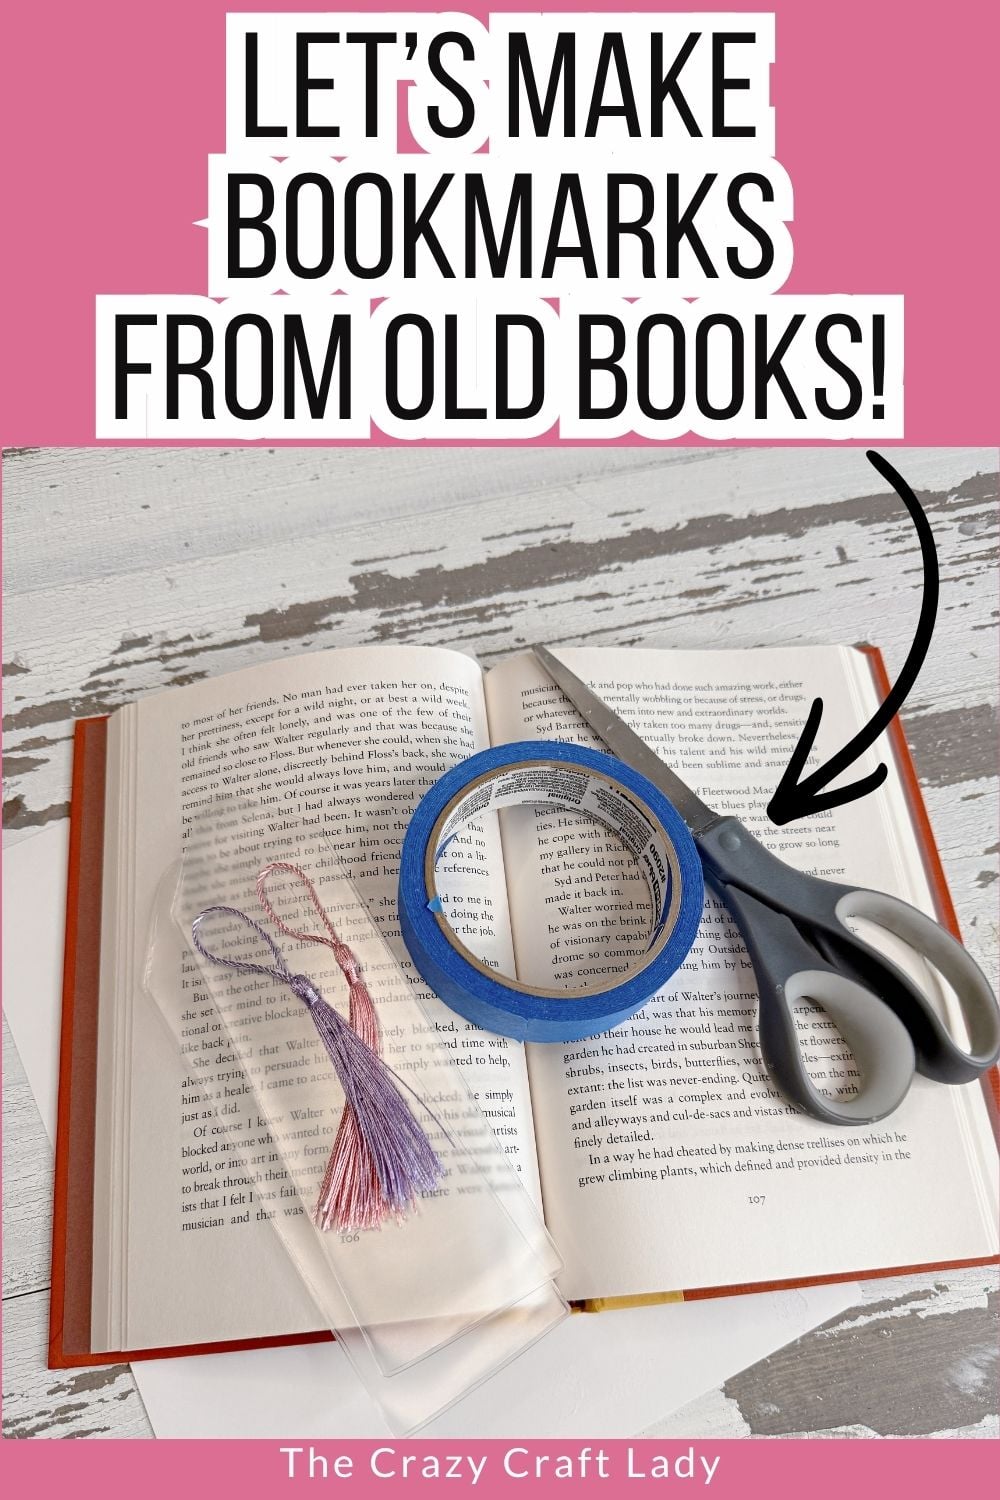
- Painter’s tape or masking tape
- Printable bookmark designs (click the button under the video tutorial above)
- Bookmark sleeves (optional)
- Tassels (optional)
Tools
- Printer
- Scissors or paper cutter
- Hole punch (optional)
- Laminator or packing tape (optional)
Instructions
- Watch the video. Follow along with the video tutorial for a step-by-step walkthrough of how to make your own bookmarks.
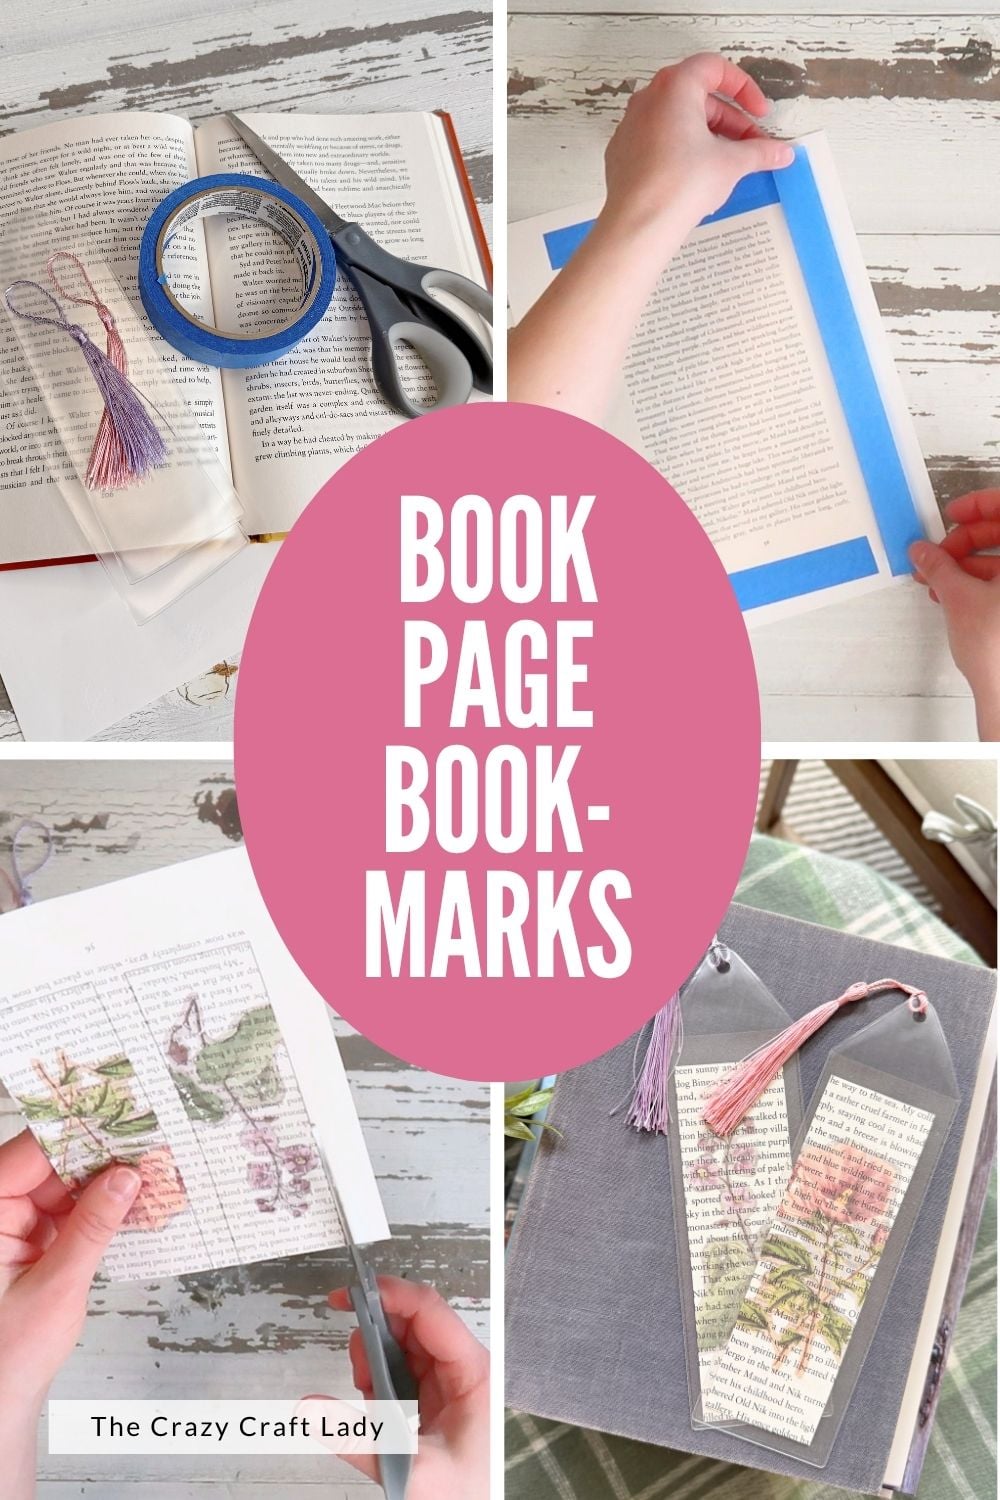
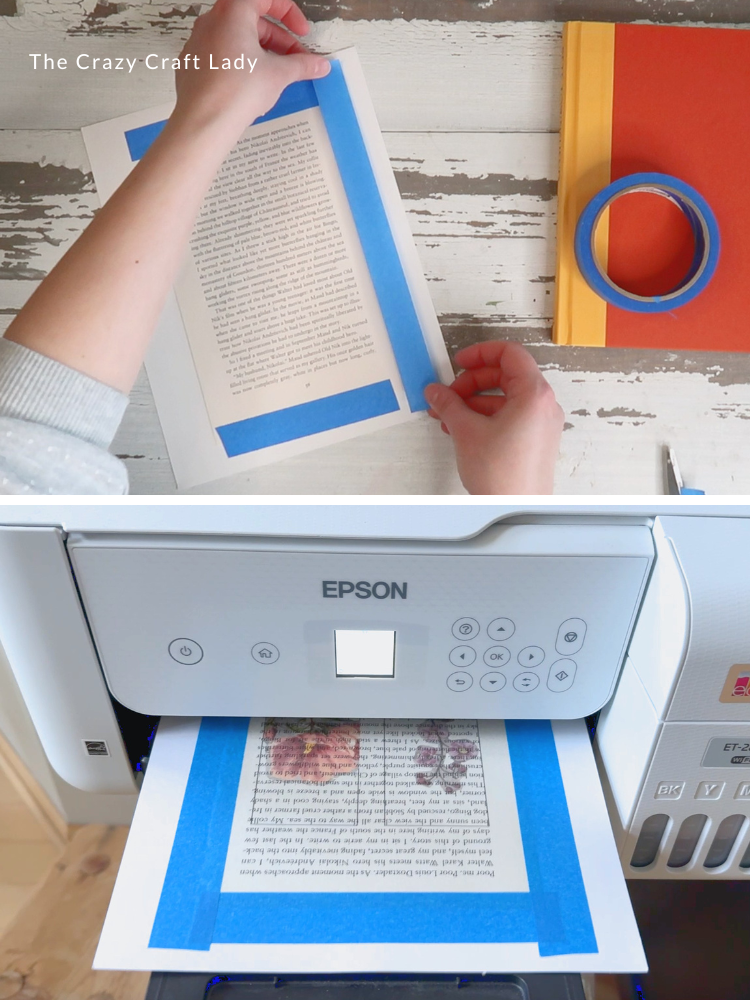
- Prep Your Book Pages and Attach to Cardstock. Start by tearing (or cutting) a page out of an old book. Center your book page onto a piece of cardstock or printer paper. Use painter’s tape to secure it. Tape all the edges down flat and make sure everything is smooth (no wrinkles or lifted corners).

- Print Your Design. Run your taped book page through your printer and print your bookmark designs directly onto it.
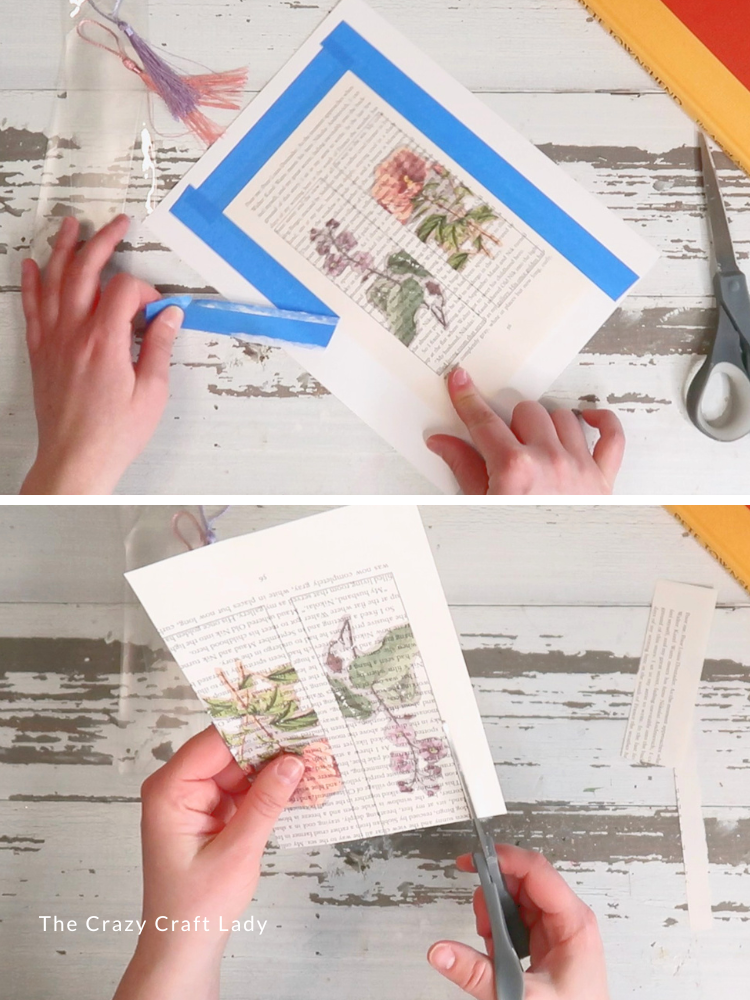
- Remove & Cut. Carefully peel off the tape and remove your book page from the backing. Then cut out each bookmark using scissors or a paper trimmer.
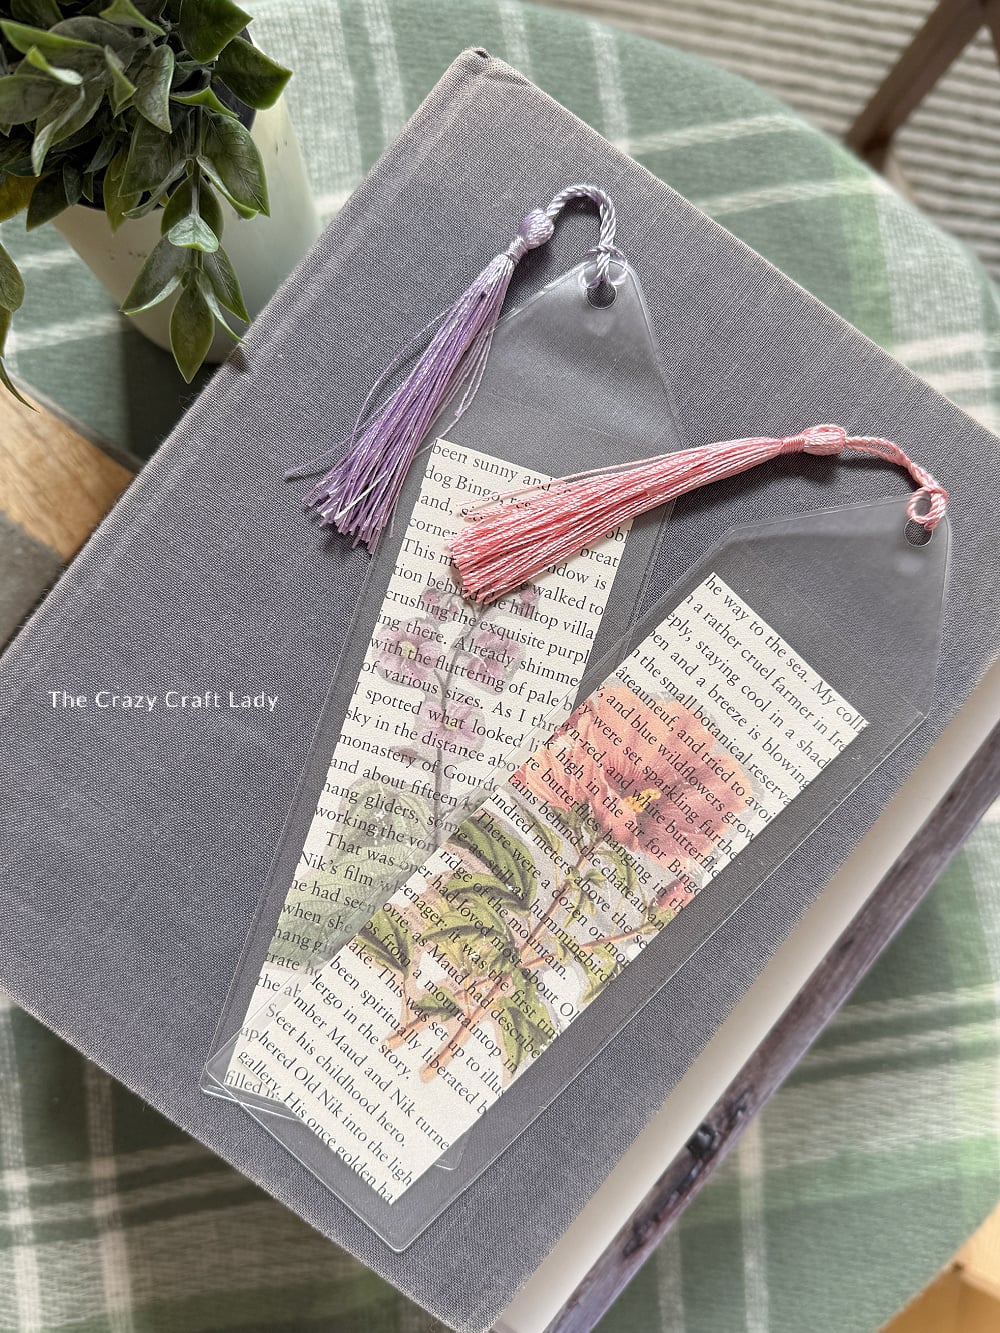
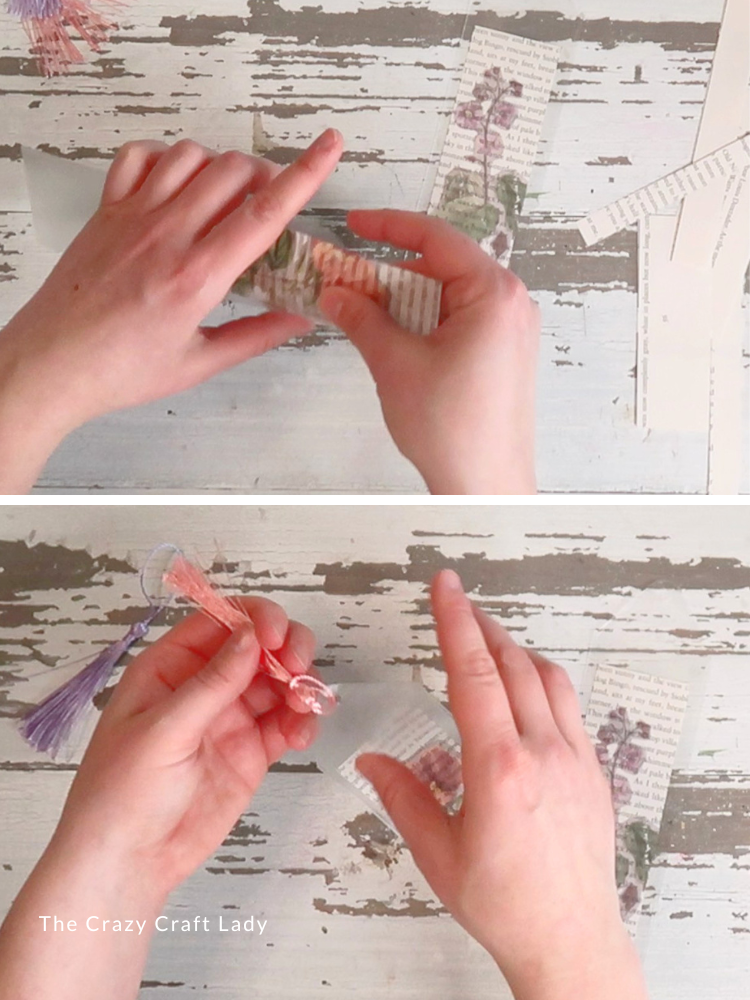
- Protect Your Bookmark (3 Options!). You’ve got a few ways to finish these depending on what you have on hand. Option 1: Bookmark Sleeves (my favorite!) Slide your bookmark into a clear plastic sleeve for a super polished look. Option 2: Laminate. Run them through a laminator for durability. Option 3: Packing Tape Hack.
Cover both sides with clear packing tape and smooth it out. This is the most budget-friendly and it works great!
- Add a Tassel (Optional but Cute!). Punch a hole at the top and add a tassel. You can: use pre-made tassels or DIY your own with yarn or ribbon
Notes
Download the Free Printable
Right below the video tutorial above, you’ll find the big button to download my vintage botanical bookmark printable. It’s sized perfectly to fit standard bookmark sleeves!
Tips & Variations
- Use different printables for holidays, gifts, or themed reading lists
- Try black-and-white designs for a more antique look
- Layer multiple book pages for a thicker bookmark
- Let kids design their own for a fun reading craft
The Finished Craft
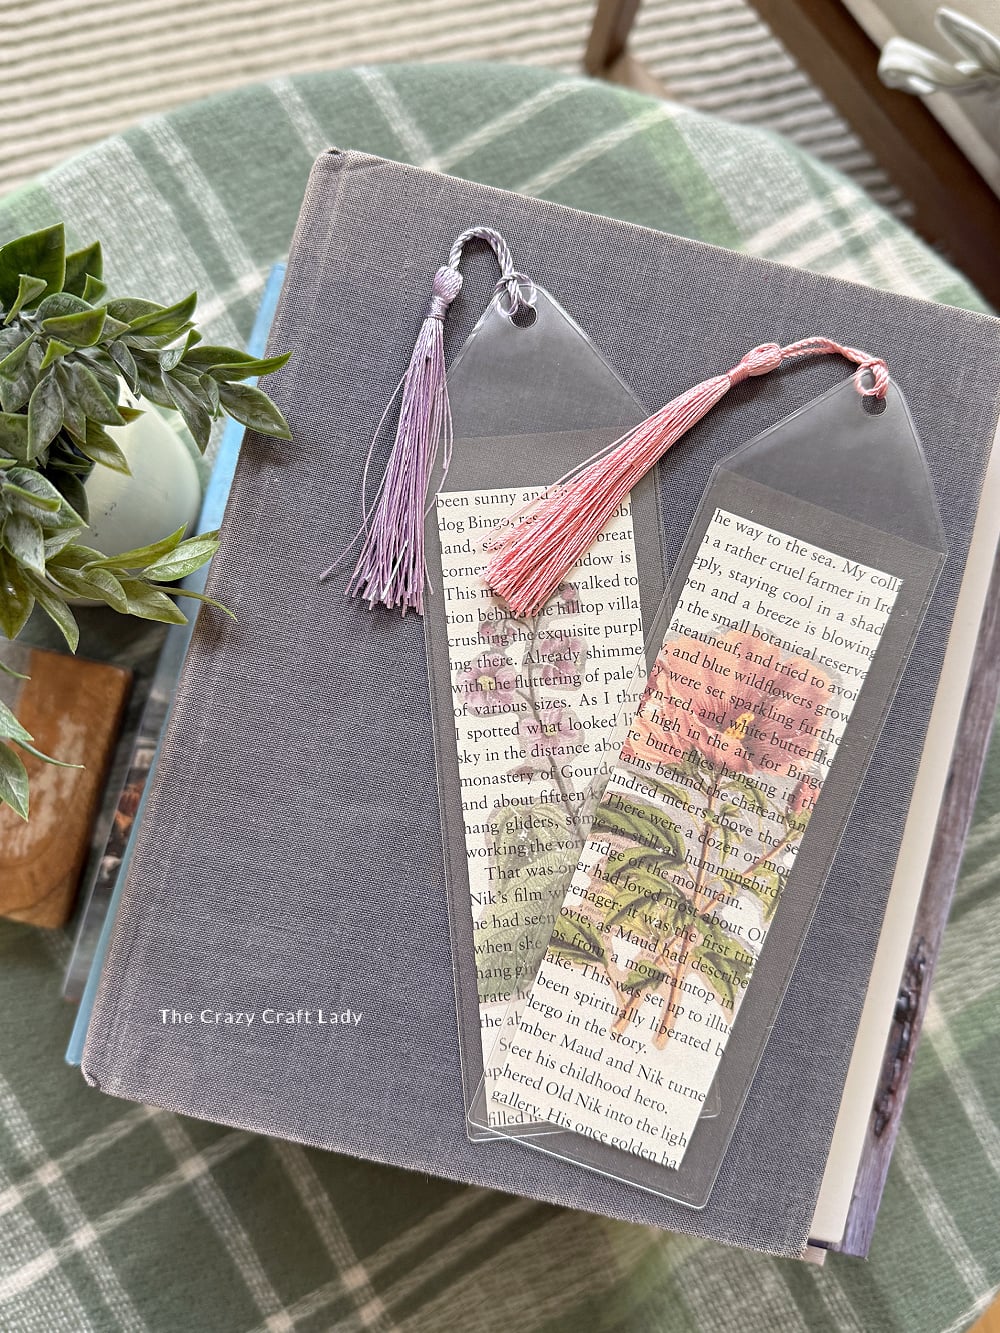
I just love a craft that’s: Easy, Budget-friendly, and Actually useful. And these bookmarks check all the boxes. Whether you’re making them for yourself, your kids, or as a thoughtful handmade gif, this is one you’ll come back to again and again.
PIN these Bookmarks for Later: