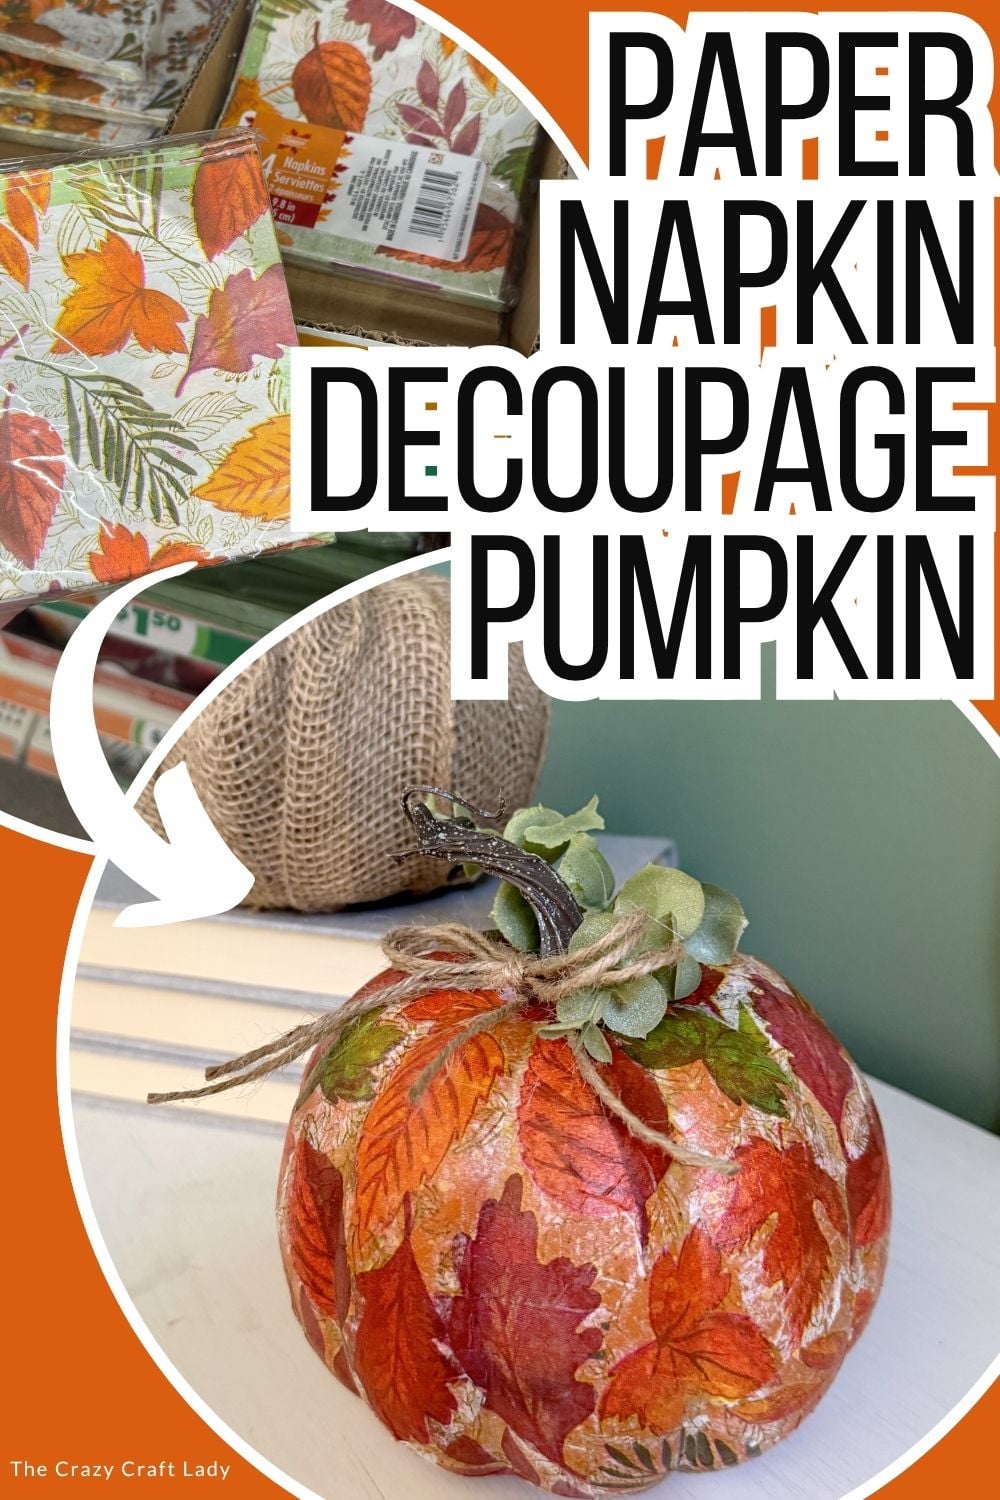
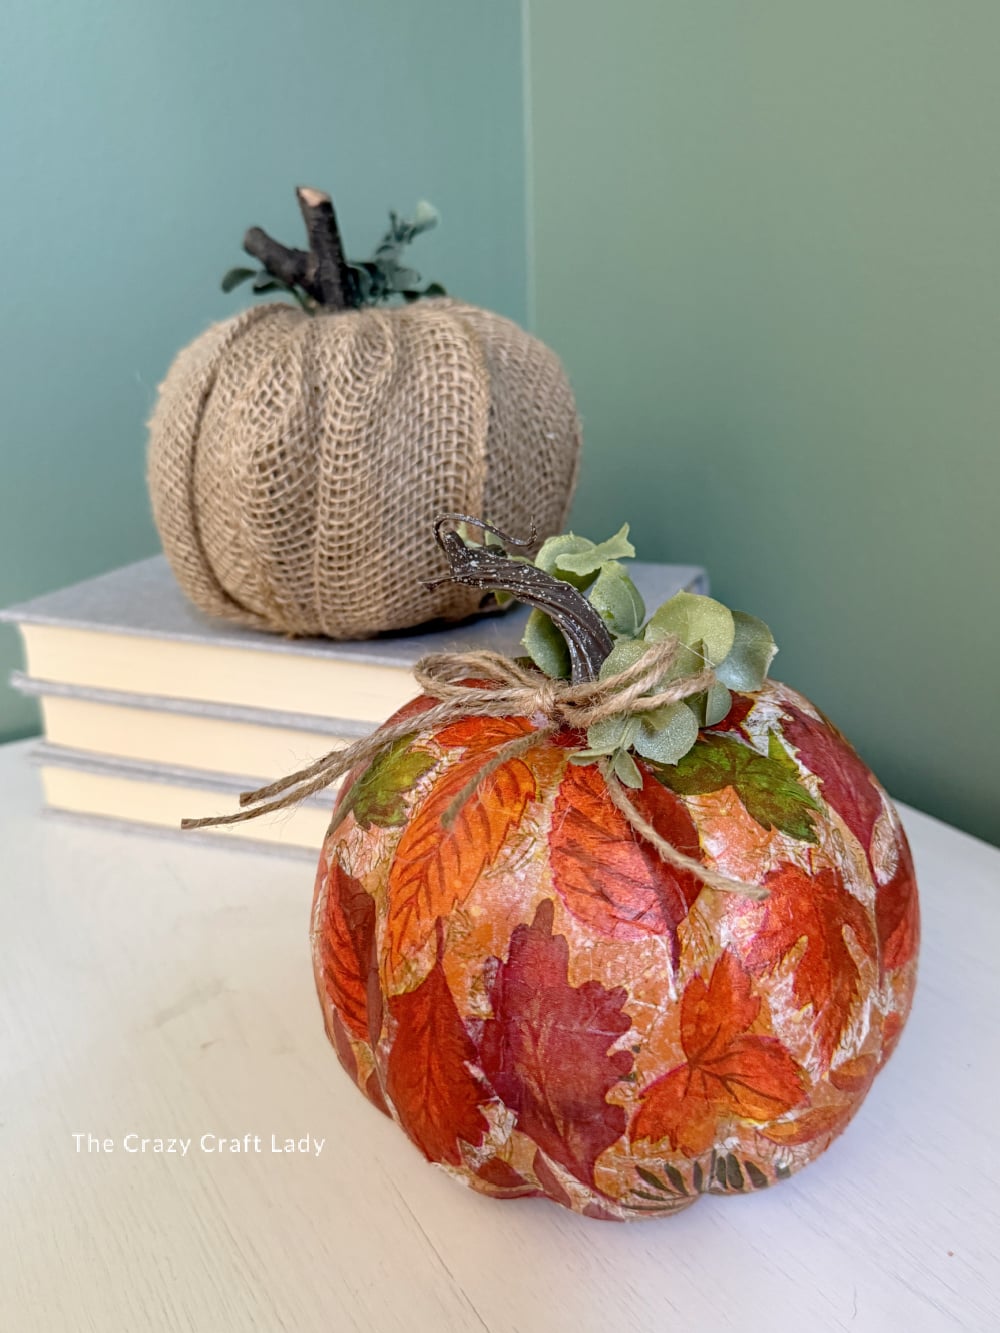
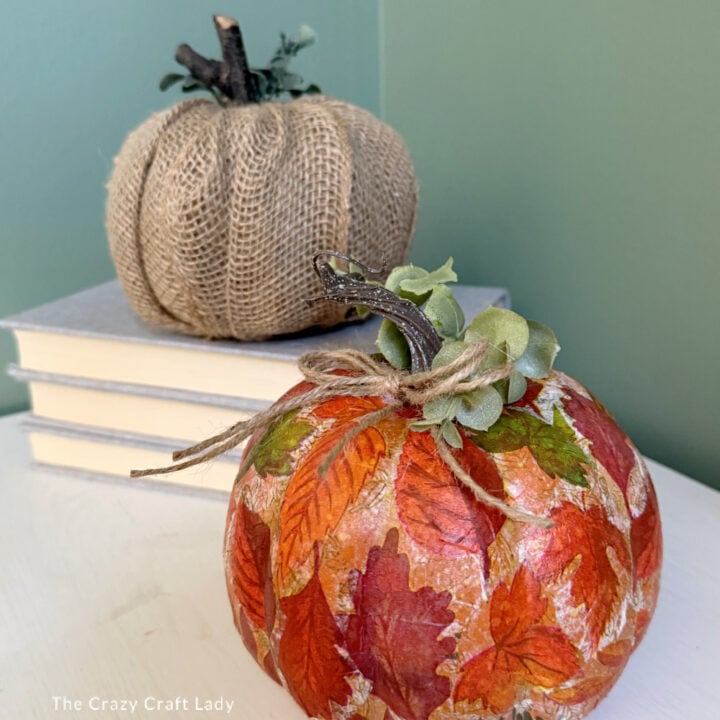
Transform a plain foam pumpkin with colorful paper napkin leaves, Mod Podge, greenery, and a simple handmade twine bow.
This post contains some affiliate links for your convenience. Click here to read my full disclosure policy.
An Easy Fall Leaf Decoupage Pumpkin
This might be the easiest way to decorate a foam pumpkin. It takes a little time to cover the entire surface, but the actual technique couldn’t be simpler.
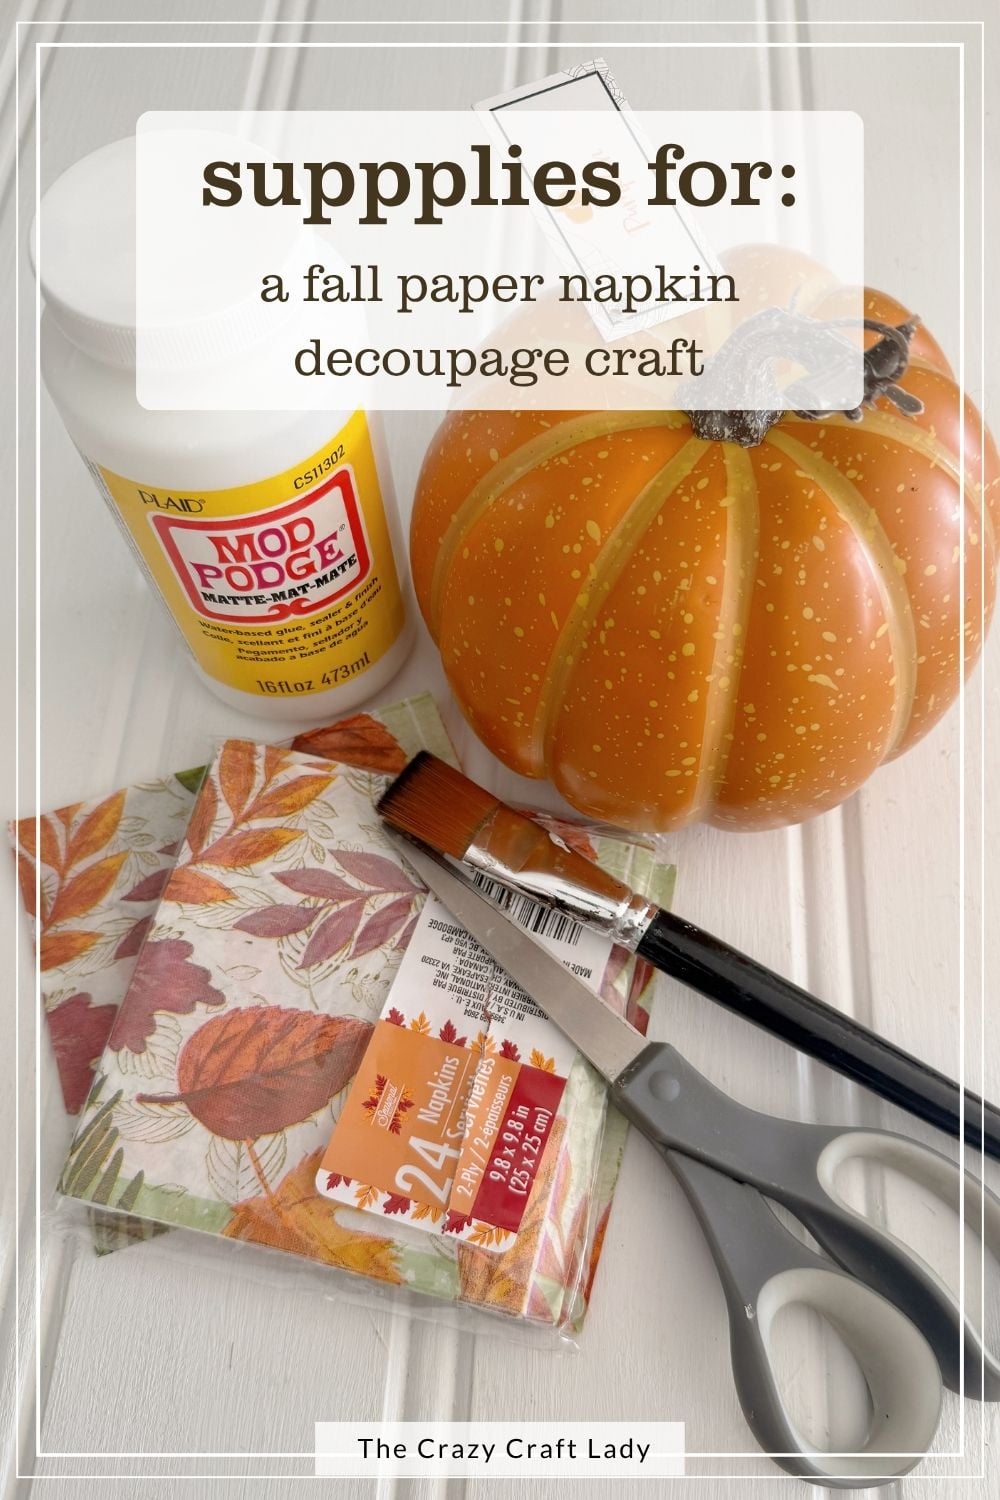
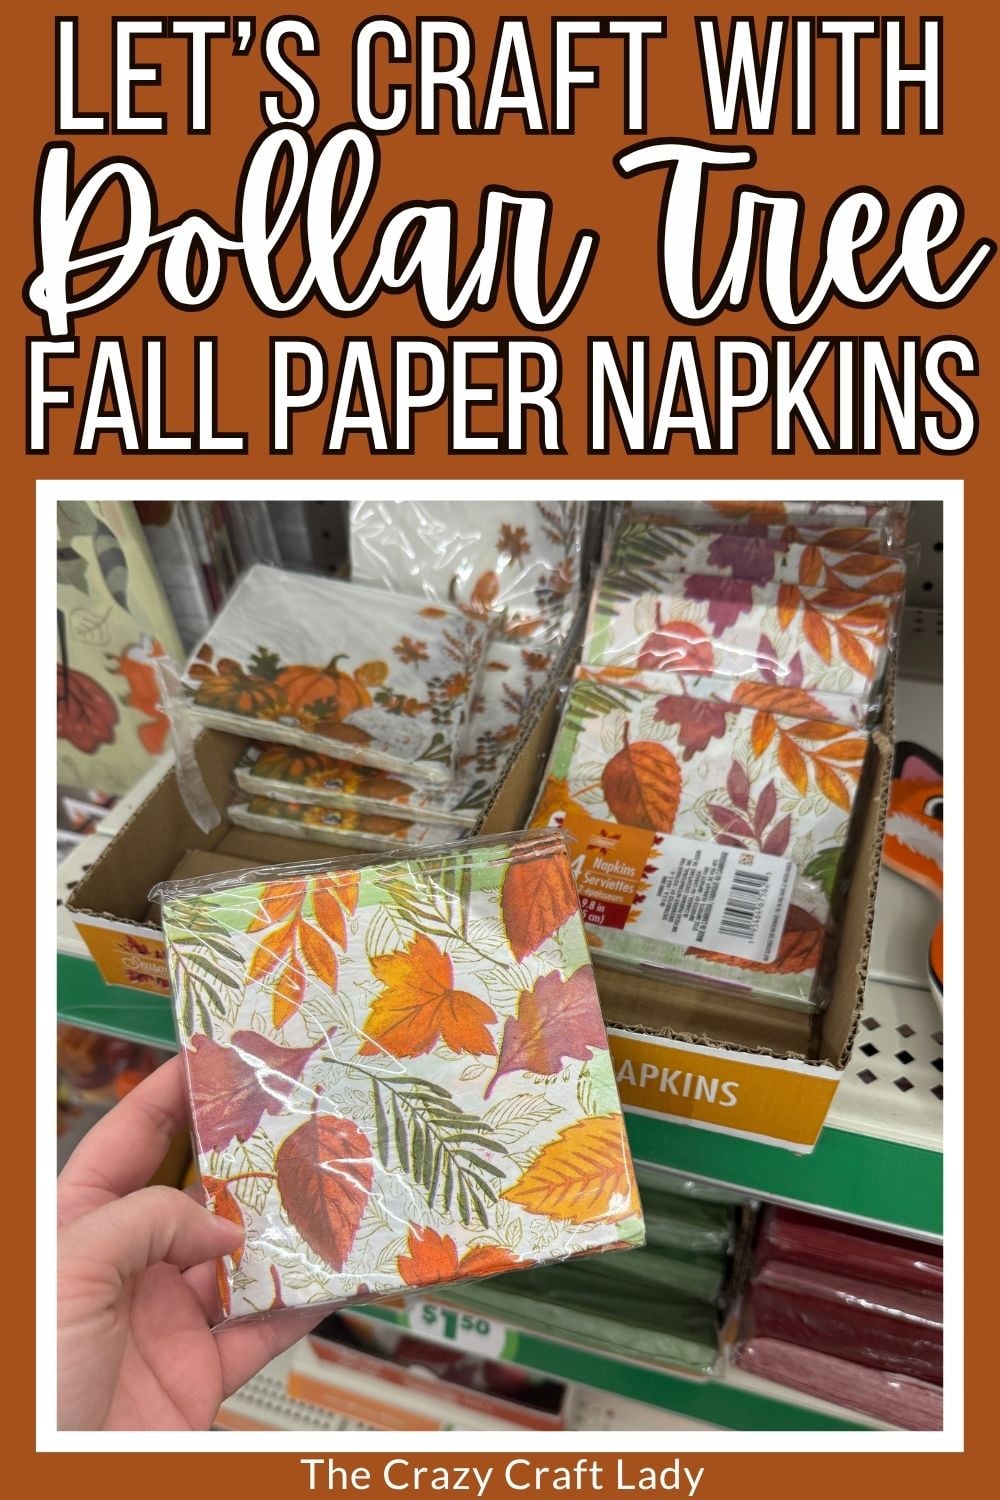
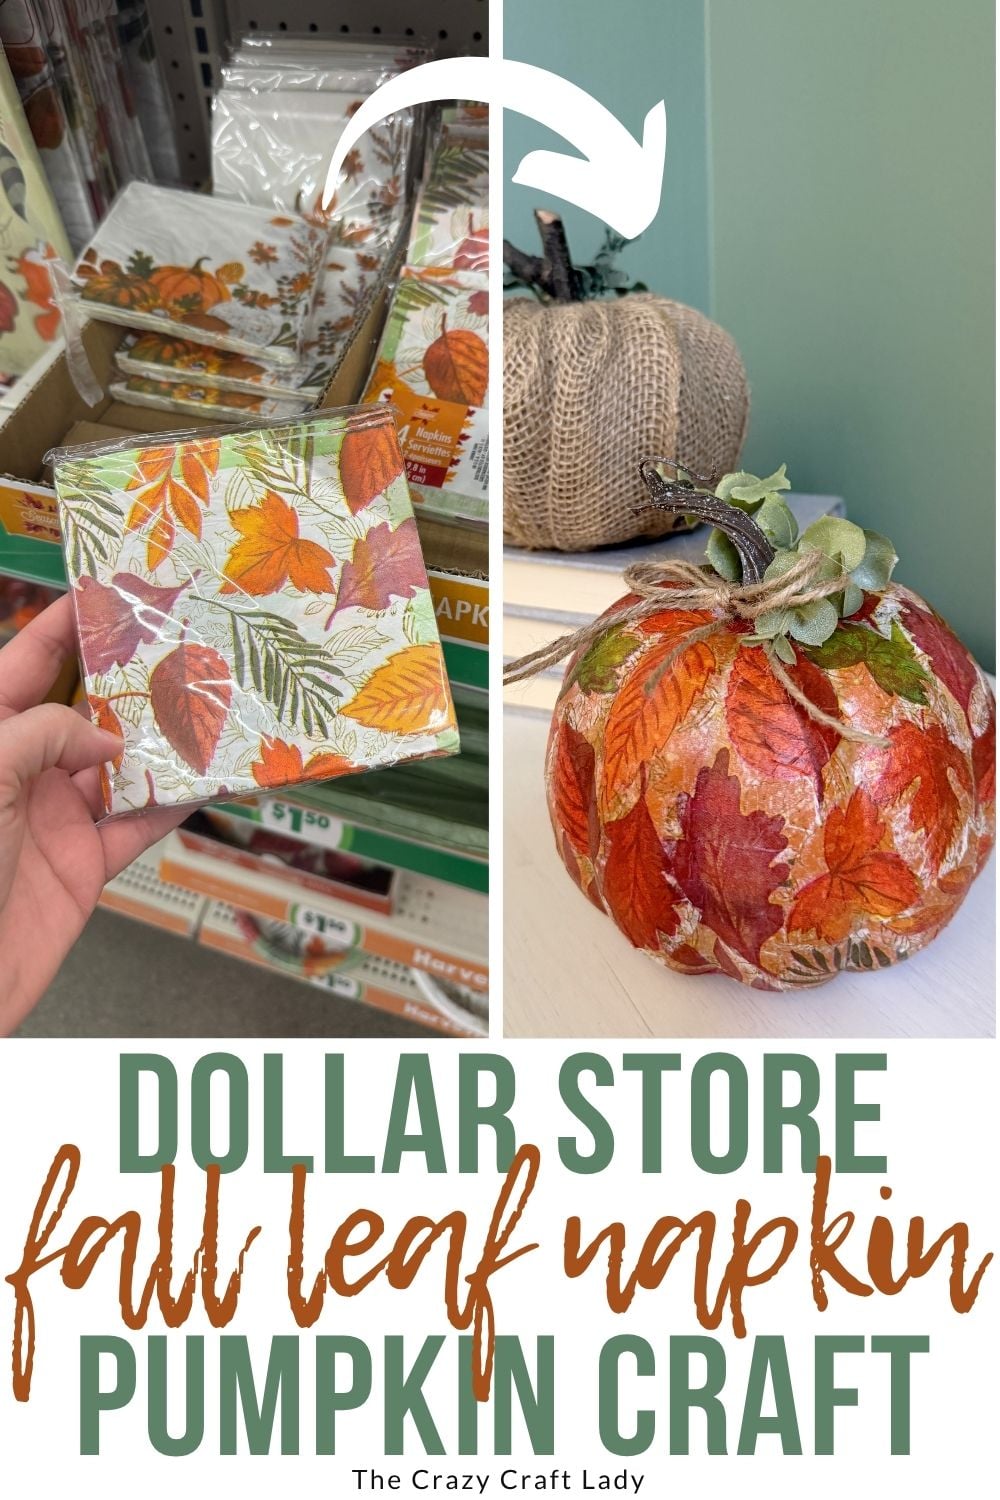
I started with an inexpensive foam pumpkin from the Target Dollar Spot because my Dollar Tree didn’t have any in stock. Add colorful fall leaf napkins, Mod Podge, and a few simple embellishments, and you have a pretty pumpkin for your fall decor.
It’s basically decoupage-by-number—just keep adding leaves until the plain pumpkin disappears!
Video Tutorial: Fall Leaf Napkin Decoupage Pumpkin
Watch this quick video to see how this craft came together:
Fall Leaf Napkin Decoupage Pumpkin
Learn how to decorate a foam pumpkin with fall leaf napkins in this easy decoupage tutorial for colorful autumn decor.
Materials
- Foam pumpkin
- Fall leaf paper napkins
- Painter’s tape
- Matte Mod Podge
- Faux greenery
- Twine
Instructions
- Watch the Video Tutorial. Before you begin, watch the full video tutorial to see exactly how the project comes together.
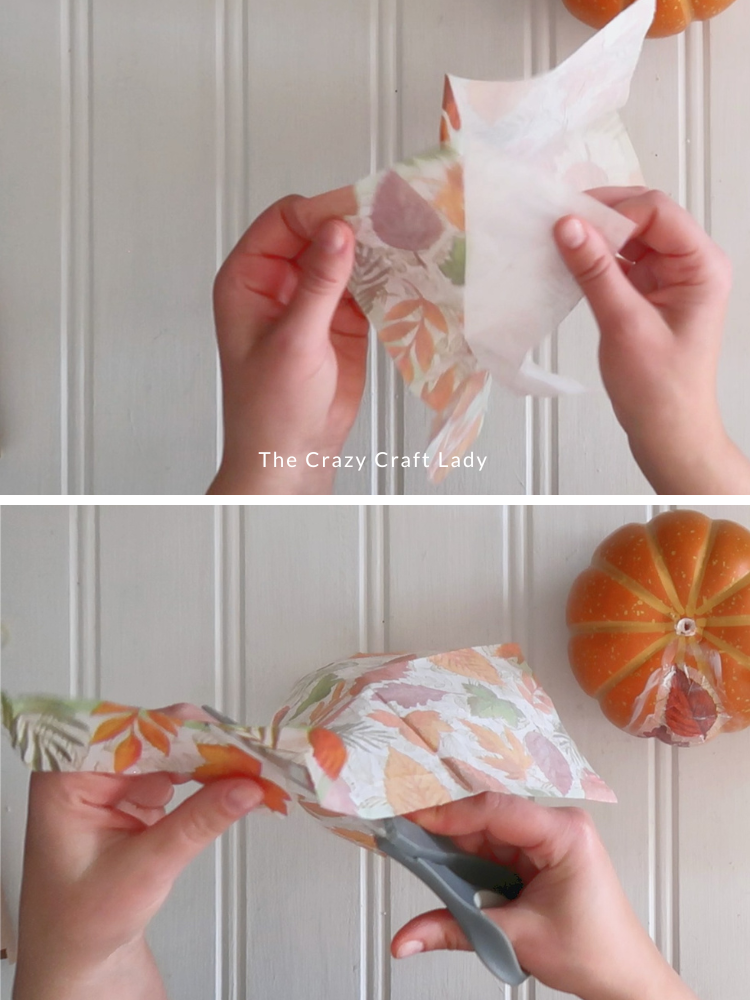
- Prepare the Pumpkin and Napkins. Remove the pumpkin stem. Separate the napkin layers, keeping only the printed top layer. If the layers are difficult to separate, attach small pieces of painter’s tape to the front and back of one corner, then gently pull them apart.

- Cut Out the Leaves. Use scissors to cut the individual leaves from the printed napkin layer.
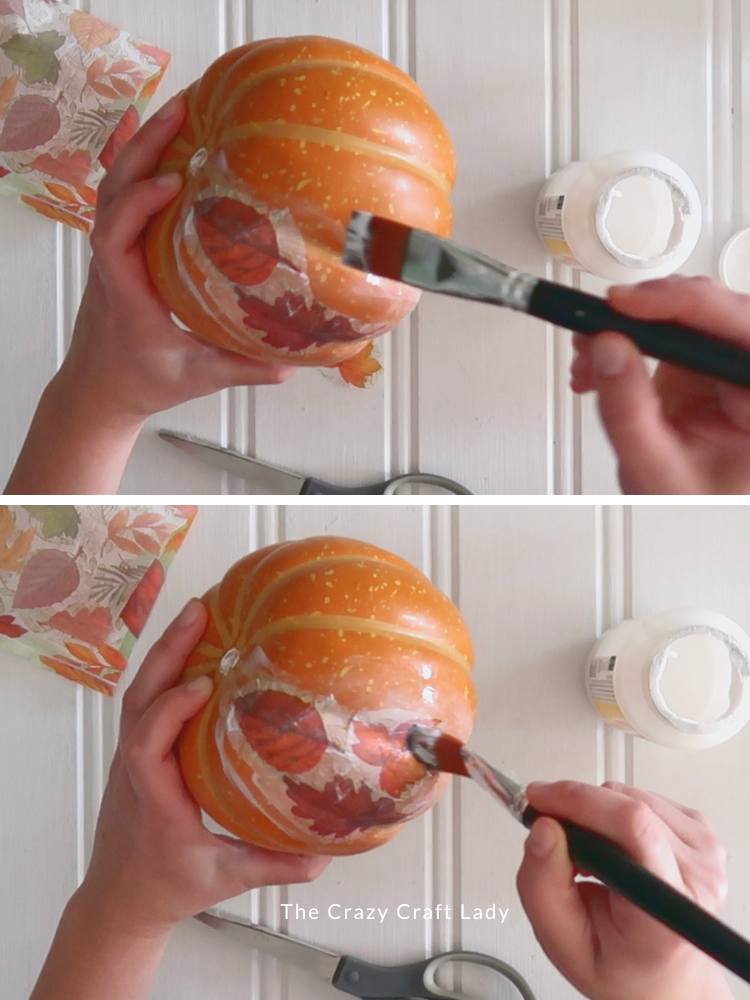
- Decoupage the Pumpkin. Brush Mod Podge onto a small section of the pumpkin. Add one leaf, gently tap it into place, and seal it with another thin coat of Mod Podge. Continue adding leaves so they slightly overlap and completely cover the pumpkin.
- Let the Pumpkin Dry. Cover one half of the pumpkin and let it dry before working on the other half. This gives you a dry area to hold and keeps Mod Podge off your fingers.
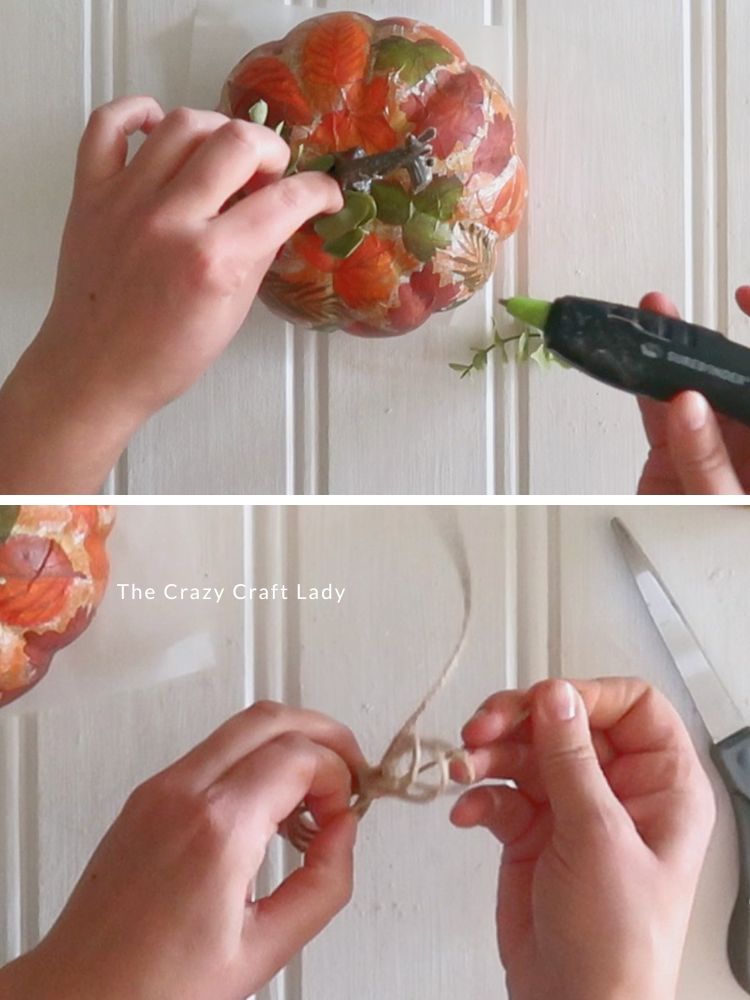
- Add the Embellishments. Replace the stem once the pumpkin is completely dry. Hot glue a small piece of faux greenery and a twine bow around its base.
Tips for Arranging the Leaves
Work in small sections and place each leaf close to the next so there are no visible gaps.
Alternate the colors and shapes as you go. A little planning will keep two identical leaves—or several leaves of the same color—from ending up right next to each other.
You can overlap the delicate napkin pieces slightly to cover awkward spaces around the pumpkin’s curves.
Colorful DIY Fall Pumpkin Decor
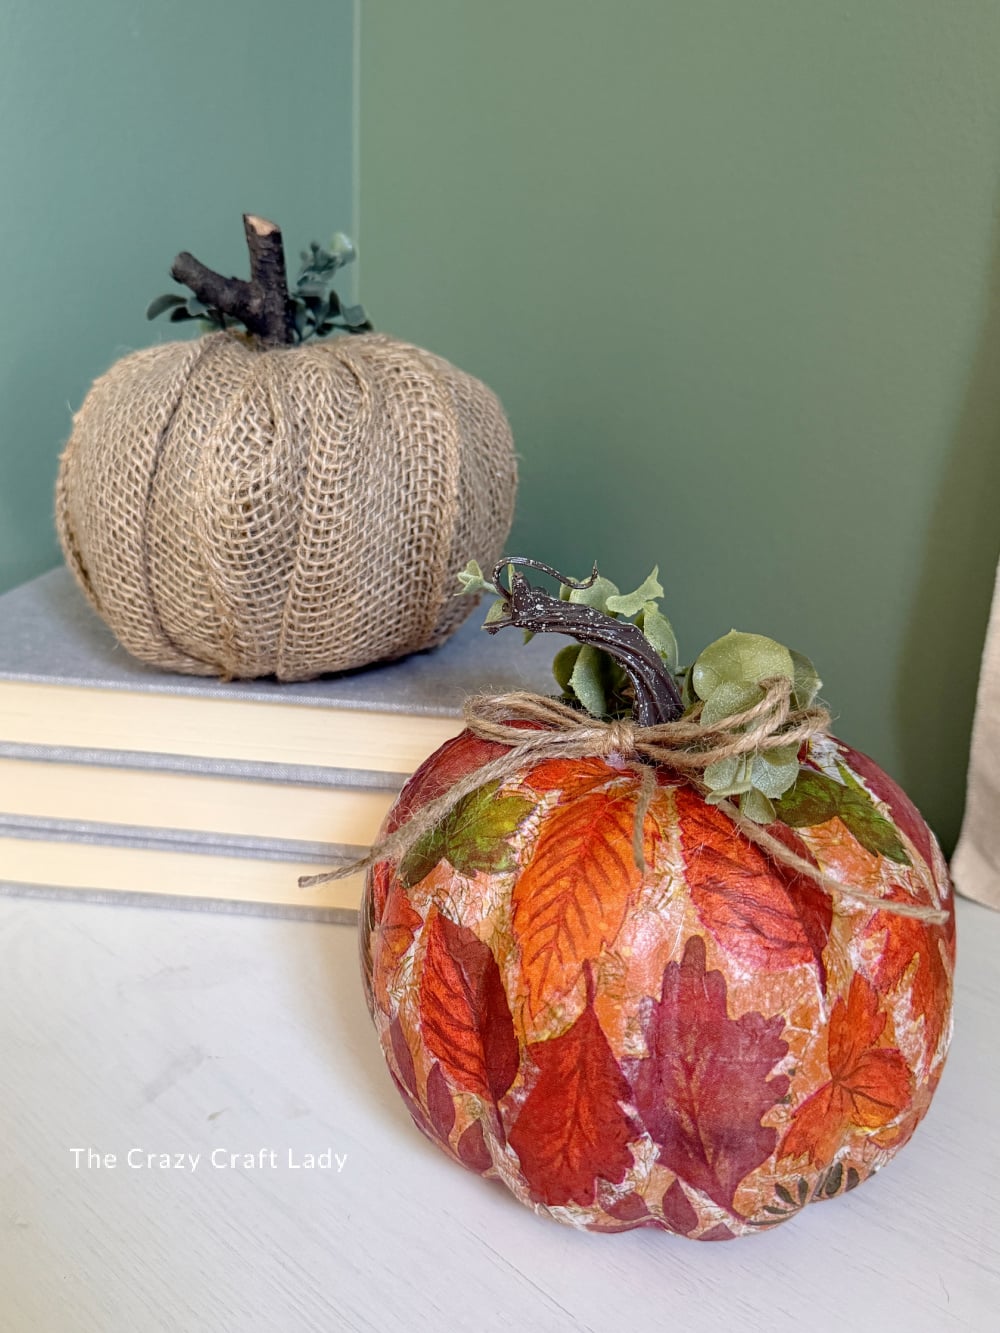
I love all the different colors and patterns covering this pumpkin. The faux greenery and rustic twine bow add the perfect finishing touches without competing with those pretty fall leaves.
This project is a little time-consuming, but it is incredibly easy—and sometimes quietly decoupaging an entire pumpkin is about as rebellious as my day gets!
Display your finished pumpkin on a mantel, shelf, entry table, or alongside other handmade pumpkins for a colorful fall arrangement.
PIN this fall pumpkin decoupage craft for later: