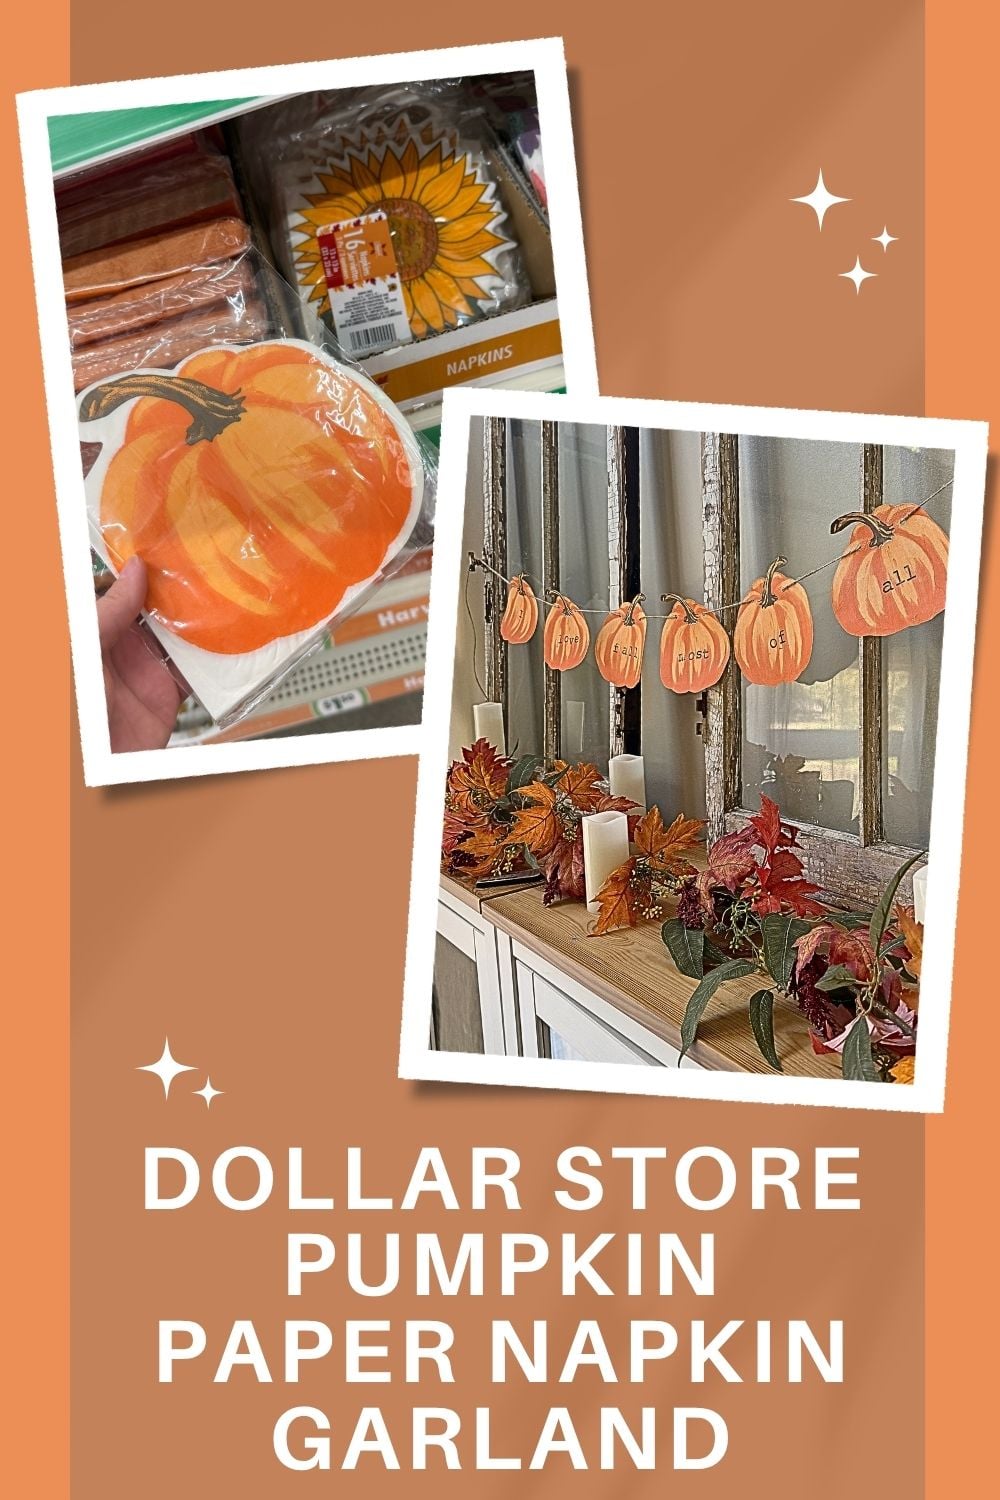
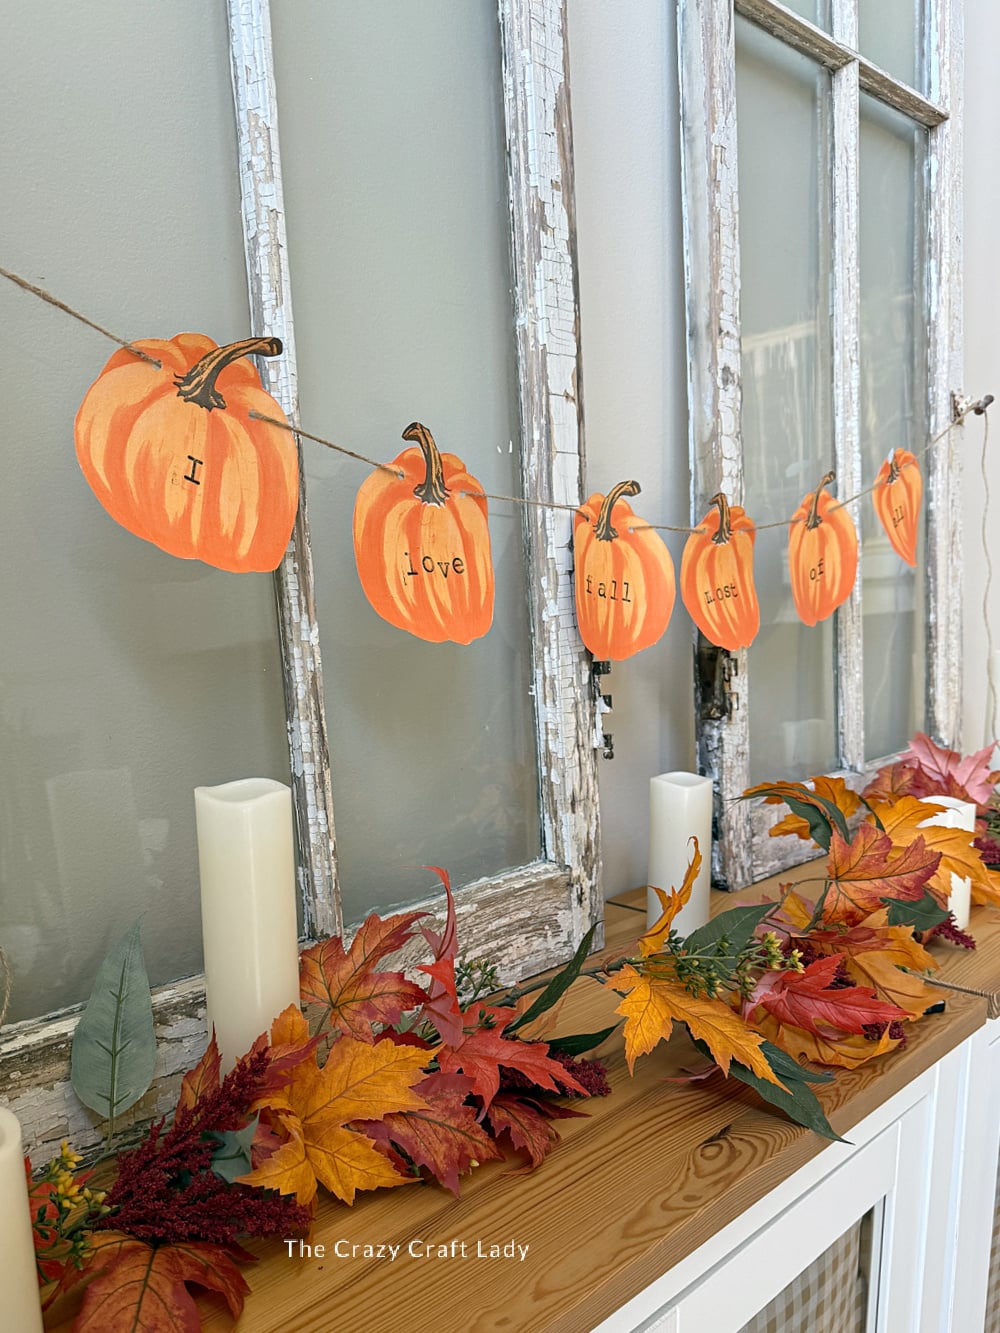
Turn cute dollar store napkins into a festive pumpkin garland featuring the phrase “I Love Fall Most of All.”
This post contains some affiliate links for your convenience. Click here to read my full disclosure policy.
How to make a paper decoupage pumpkin fall garland craft.
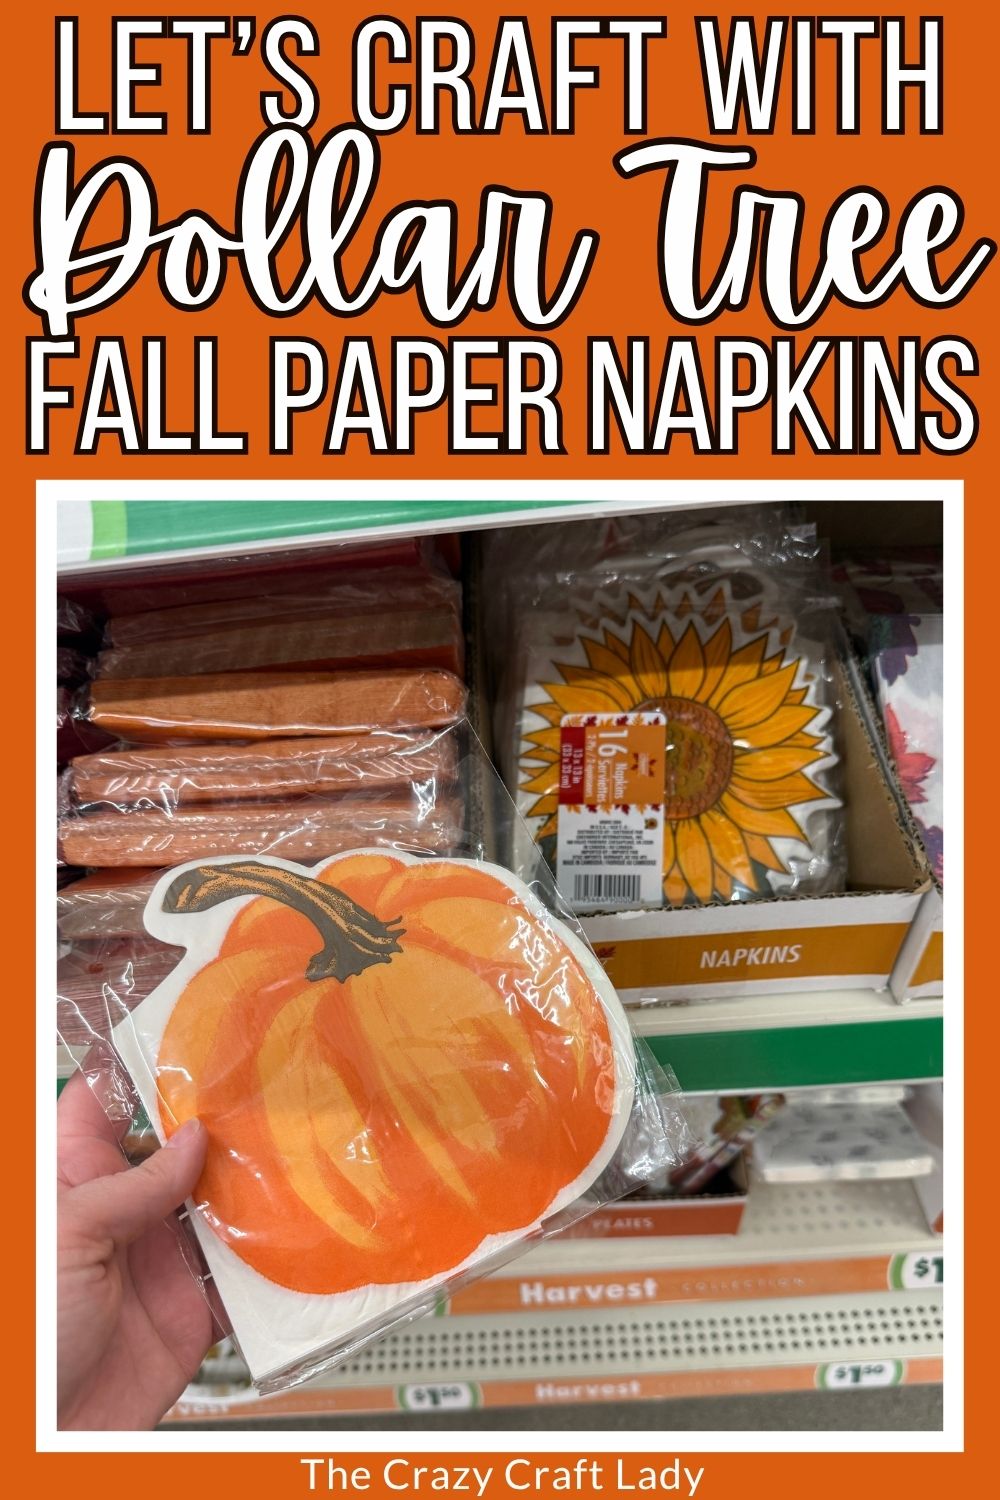
Sometimes the cutest craft supplies are hiding right in the party aisle! As soon as I spotted these little pumpkin napkins at the dollar store, I knew they needed to come home with me.
Instead of decoupaging them onto wood or another traditional surface, I applied the napkins to cardstock. The paper backing makes each pumpkin sturdy enough to cut out, stamp, and string onto twine.
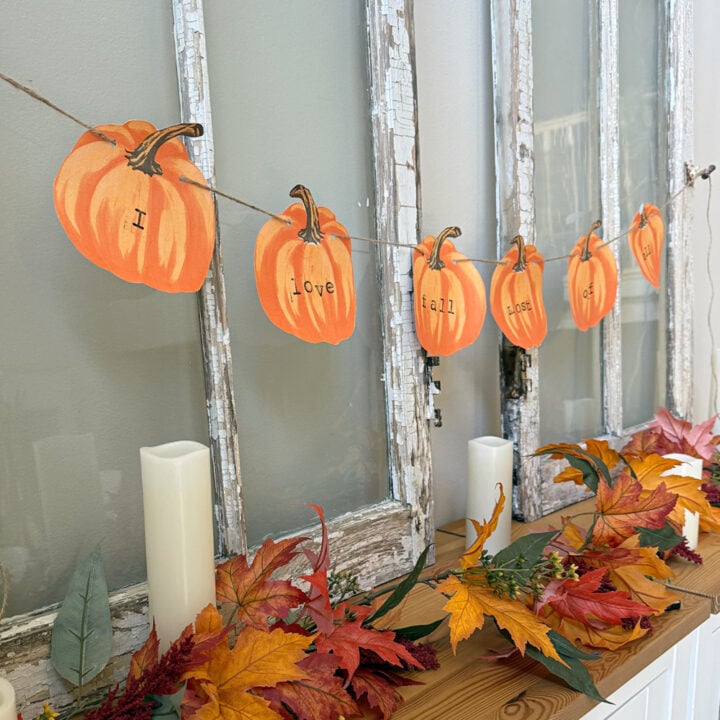
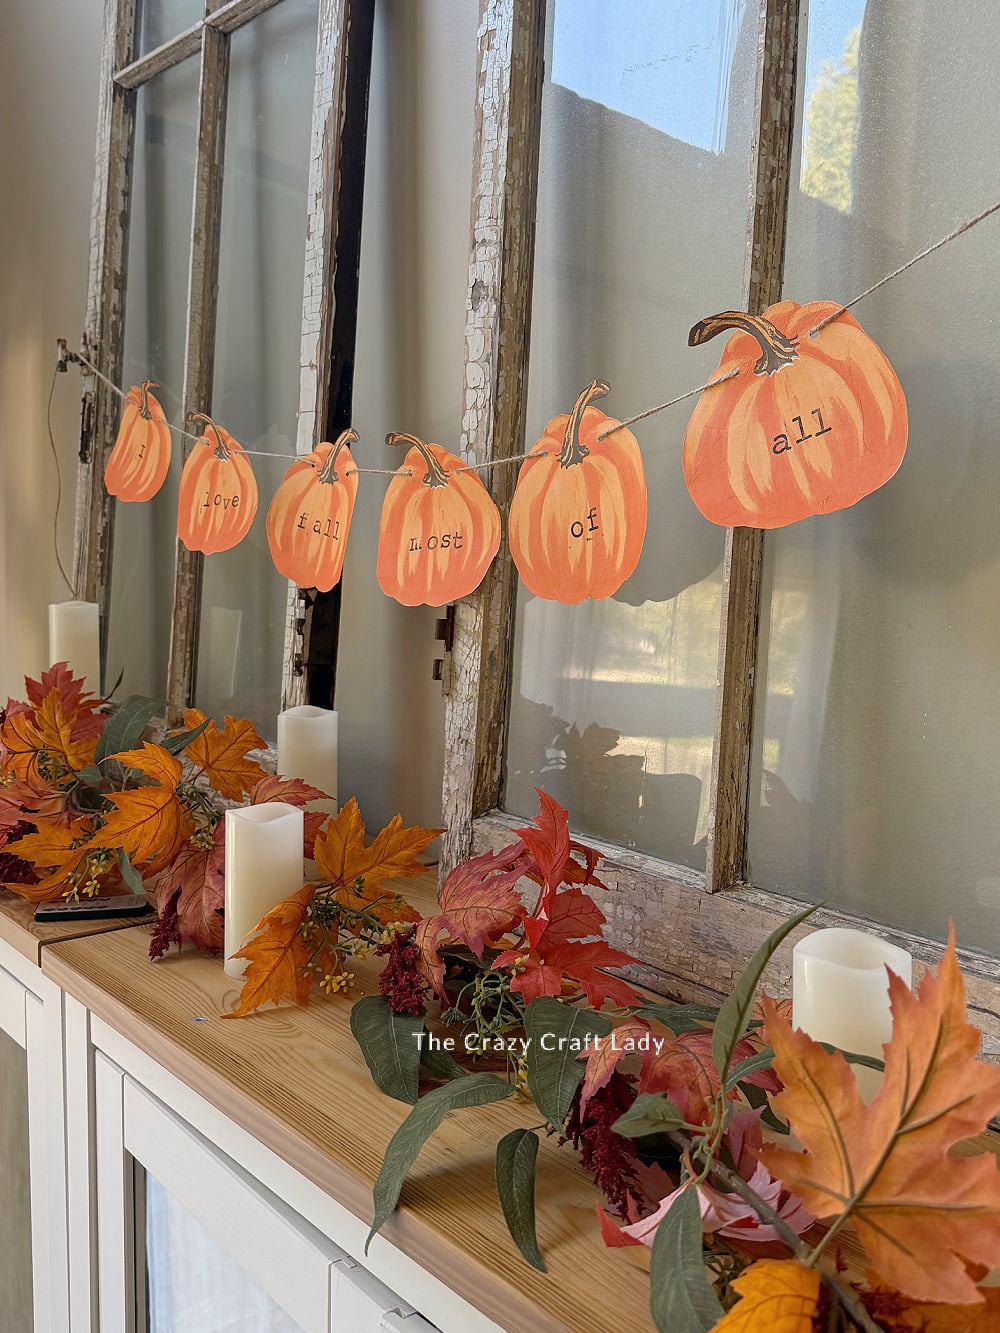
I used six pumpkins to spell out “I Love Fall Most of All,” creating an adorable garland that’s perfect for a mantel, shelf, doorway, or fall party.
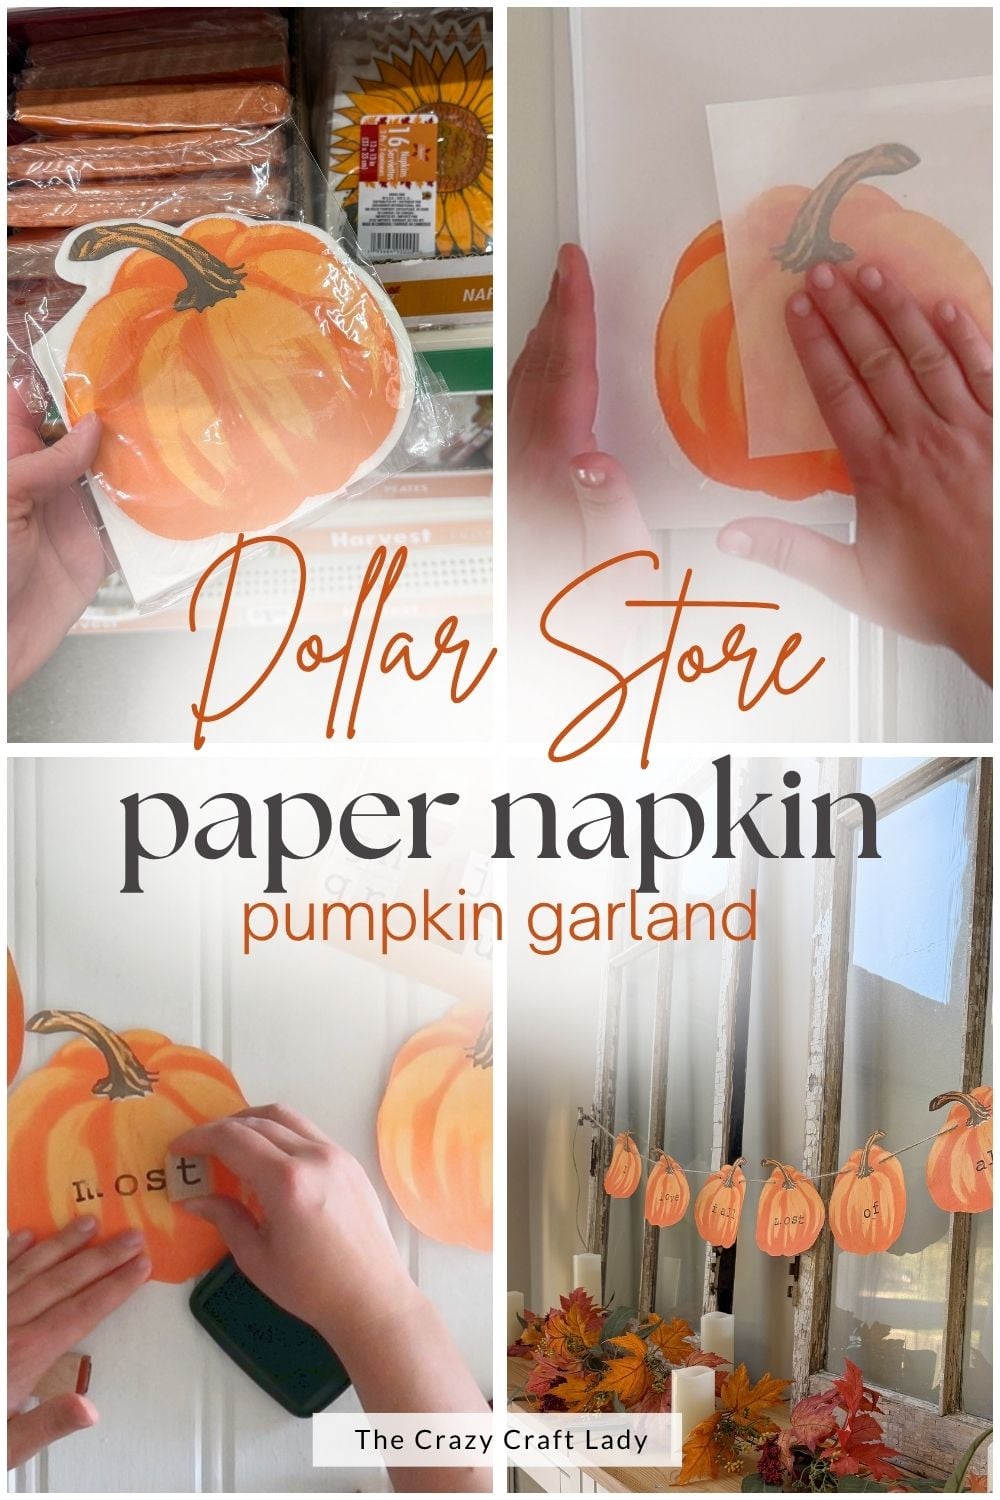
Video Tutorial: DIY Paper Napkin Pumpkin Garland
Watch this quick video to see how this craft came together:
DIY Paper Napkin Pumpkin Garland
Learn how to decoupage paper napkins onto cardstock to create an easy pumpkin garland for your fall home decor.
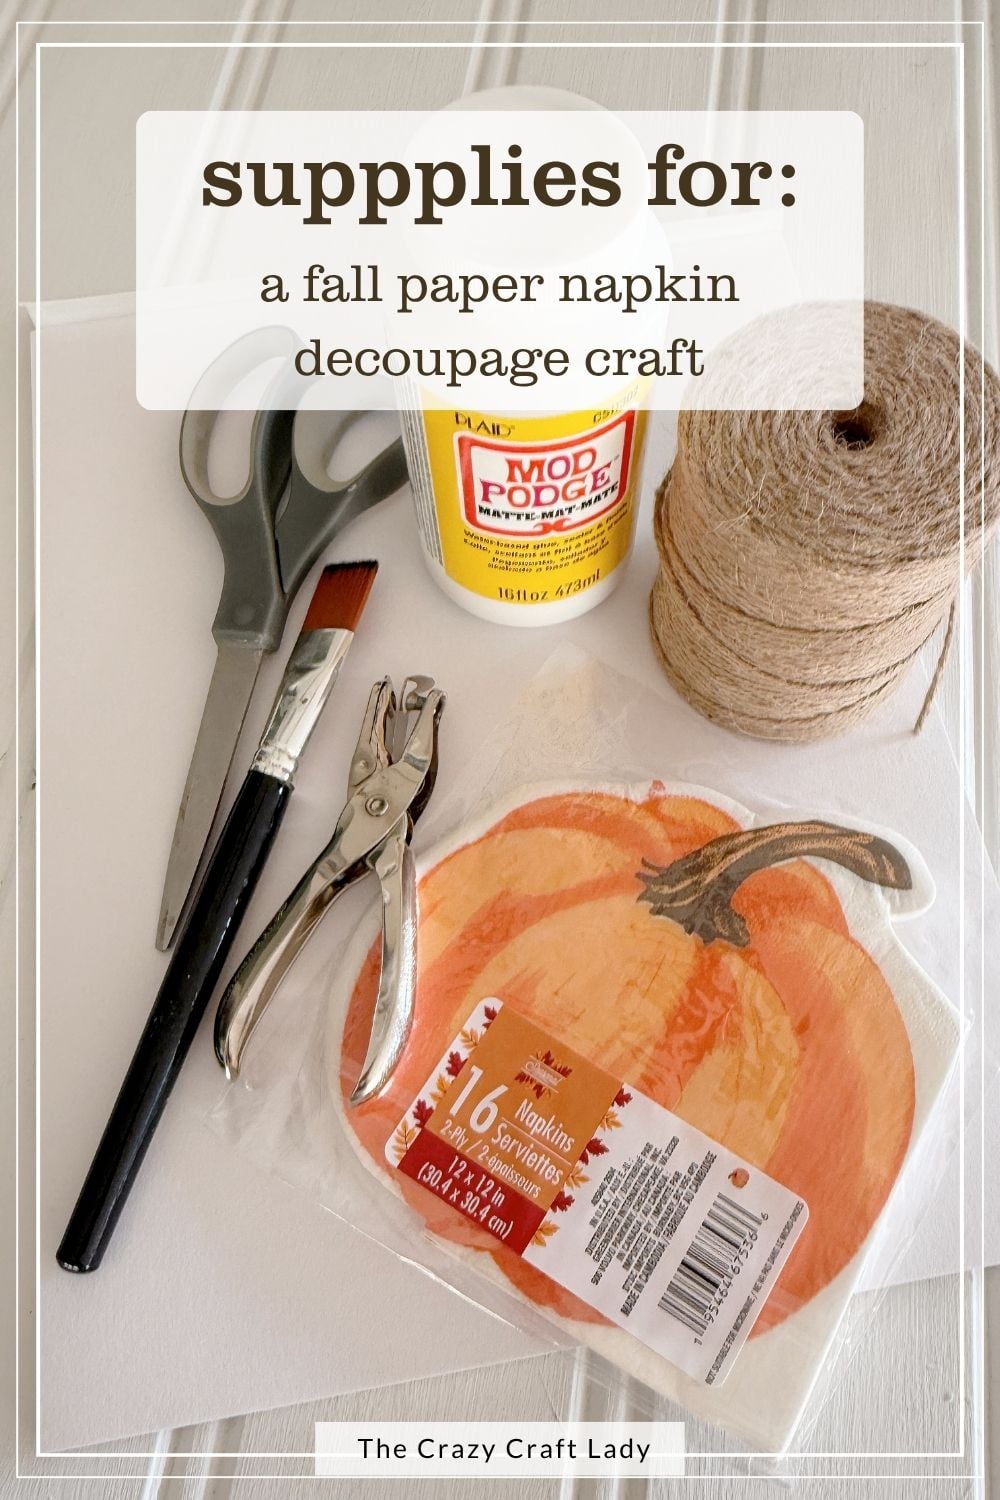
Materials
- Pumpkin paper napkins
- White cardstock or heavyweight art paper
- Matte Mod Podge
- Parchment paper or plastic wrap
- Black ink pad
- Twine
Tools
- Paintbrush
- Scissors
- Alphabet stamps
- Hole punch
Instructions
- Watch the Video Tutorial. Before you begin, watch the full video tutorial to see exactly how the project comes together.
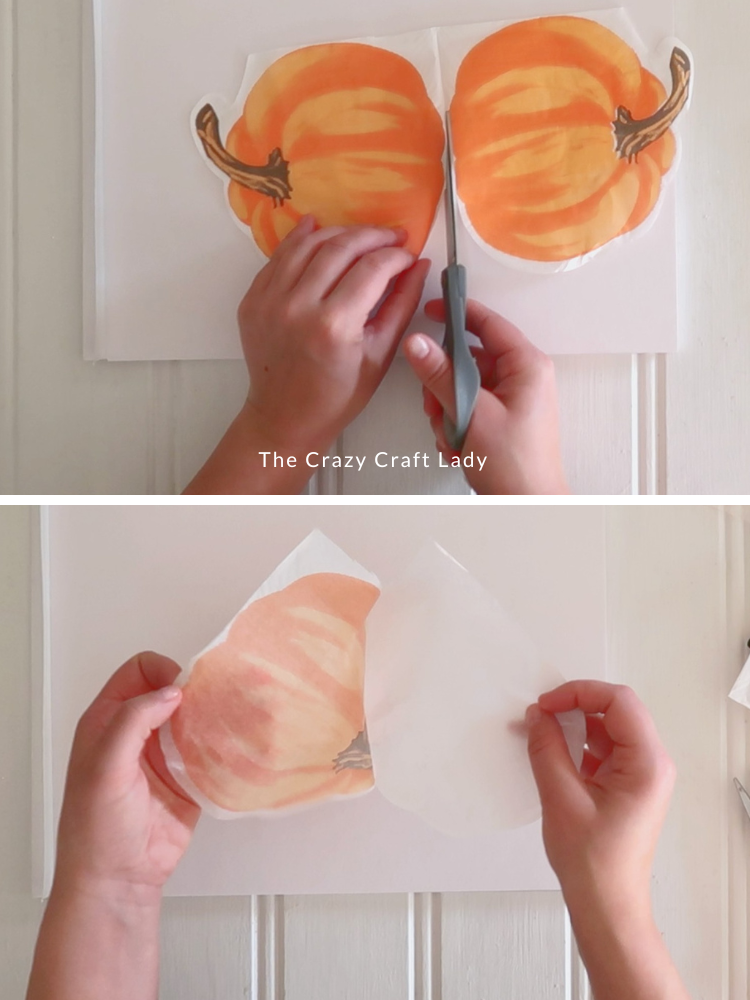
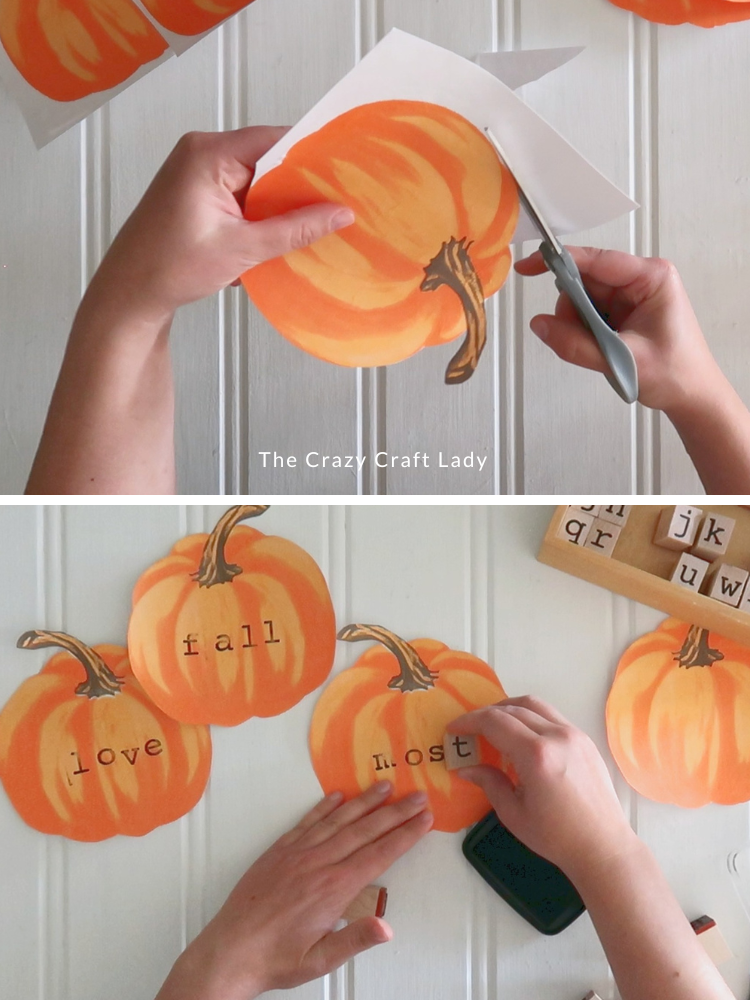
- Separate the Napkin Layers. Cut the napkins into individual pumpkin sections. Carefully separate the layers, keeping only the top printed layer.

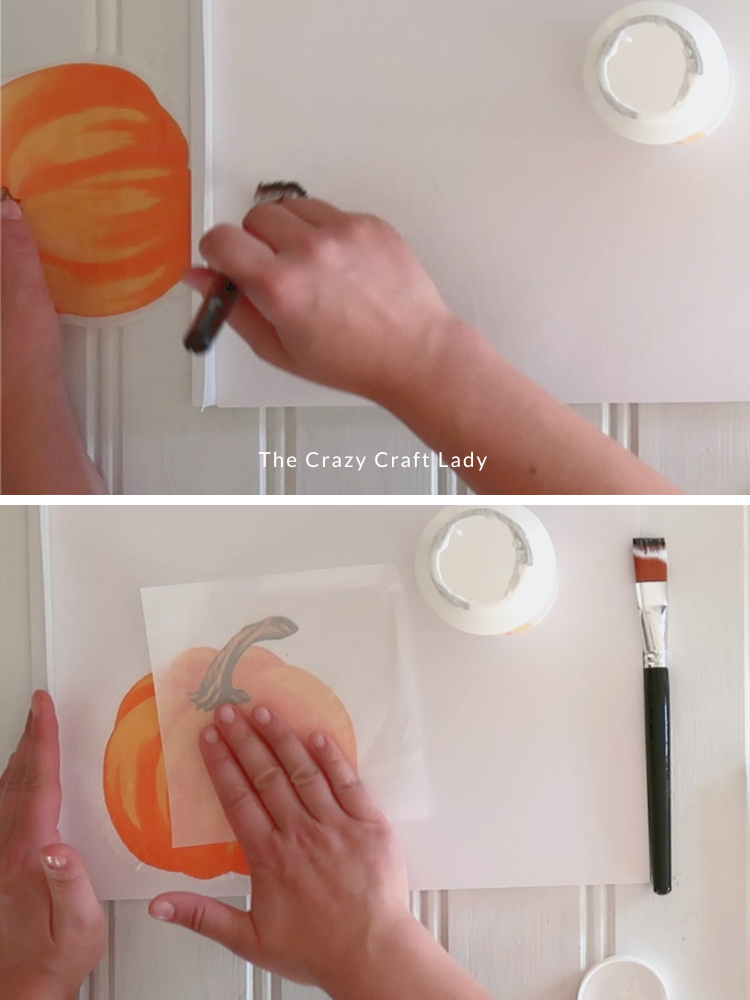
- Decoupage the Pumpkins. Brush a thin layer of Mod Podge onto white cardstock. Place the printed napkin layer on top, cover it with parchment paper or plastic wrap, and gently smooth away wrinkles. Repeat until you have six pumpkins, then let them dry completely.
- Cut Out the Pumpkins. Use craft scissors to cut closely around each pumpkin image so no white cardstock shows around the edges.
- Stamp the Words. Stamp one part of the phrase onto each pumpkin: “I Love Fall Most Of All.”
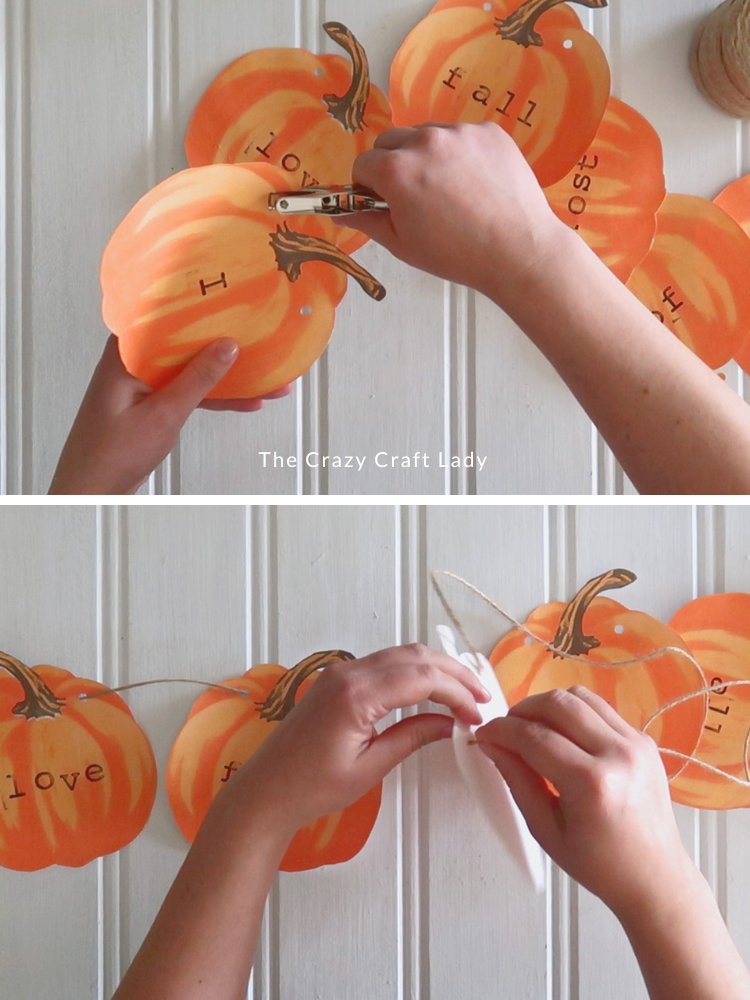
- Assemble the Garland. Punch two holes near the top of each pumpkin, placing one hole on either side of the stem. Thread the pumpkins onto twine in the correct order.
For easier stringing, start with the center pumpkins and work outward instead of pulling every pumpkin along the entire length of twine.
Tips for Working With Paper Napkins
- Paper napkins become very delicate once the extra layers are removed. Use only a thin coat of Mod Podge and avoid adjusting the napkin too much after placing it.
- Parchment paper or plastic wrap protects the napkin while you smooth it down.
- White cardstock works best because it keeps the printed colors looking bright. If you don’t have cardstock, heavyweight white art paper is a good substitute.
An Easy Fall Garland Made From Napkins
I love how this little pumpkin garland turned out! The stamped phrase gives it a fun handmade touch, and you would never guess the pumpkins started as dollar store paper napkins.
This is such an easy way to turn an inexpensive package of napkins into custom fall decor. Hang your finished garland across a mantel, along a shelf, or anywhere that could use a little extra autumn color.
PIN this fall pumpkin garland for later: