
Make a Dollar Store calendar page pumpkin stand with a wood cutout, Mod Podge, paint stir stick, and simple fall embellishments.
This post contains some affiliate links for your convenience. Click here to read my full disclosure policy.
Easy Calendar Page Decoupage Pumpkin Craft
Apparently, buying a bunch of Dollar Store wood pumpkin cutouts, forgetting you have them, and then buying even more is how I operate now. So, good news for you: there will probably be wood pumpkin crafts around here for years to come!
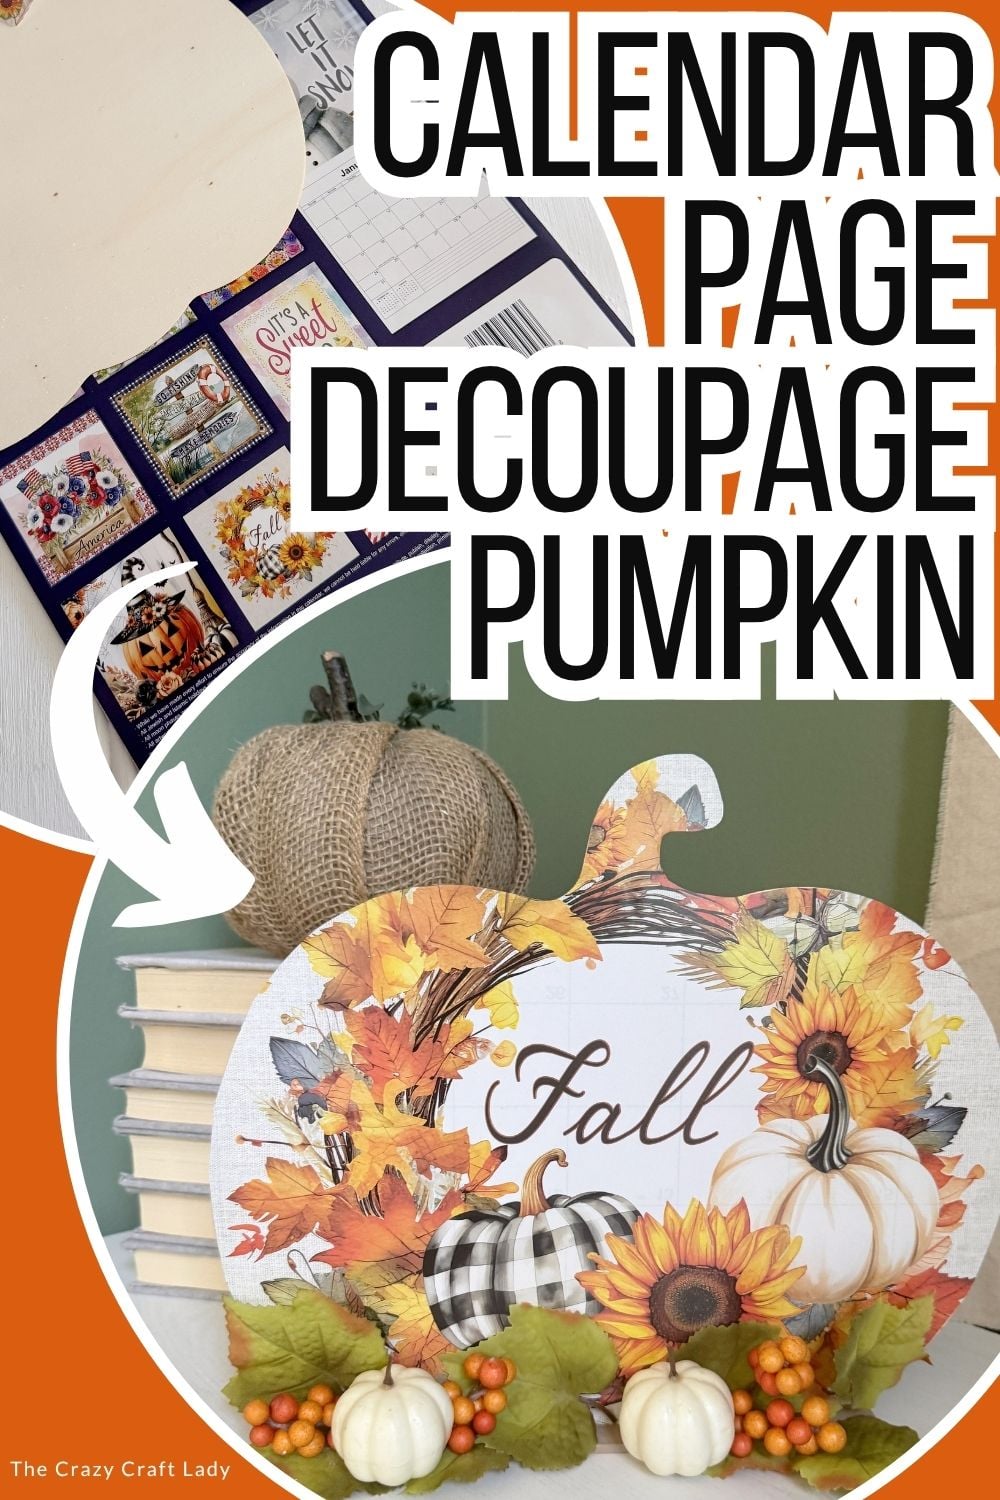
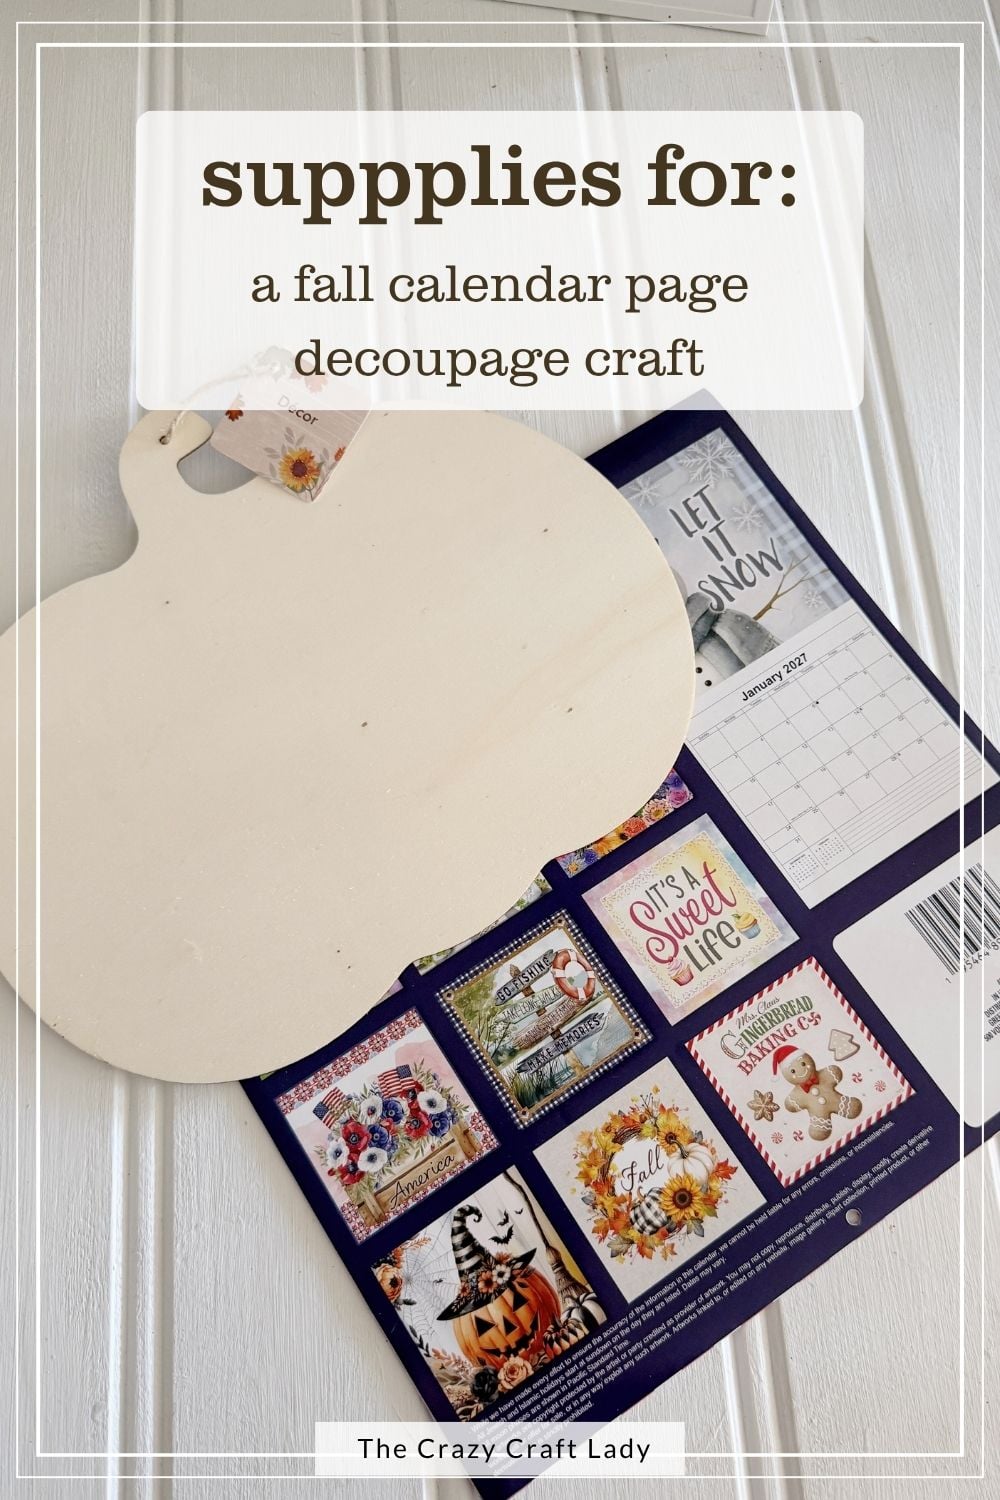
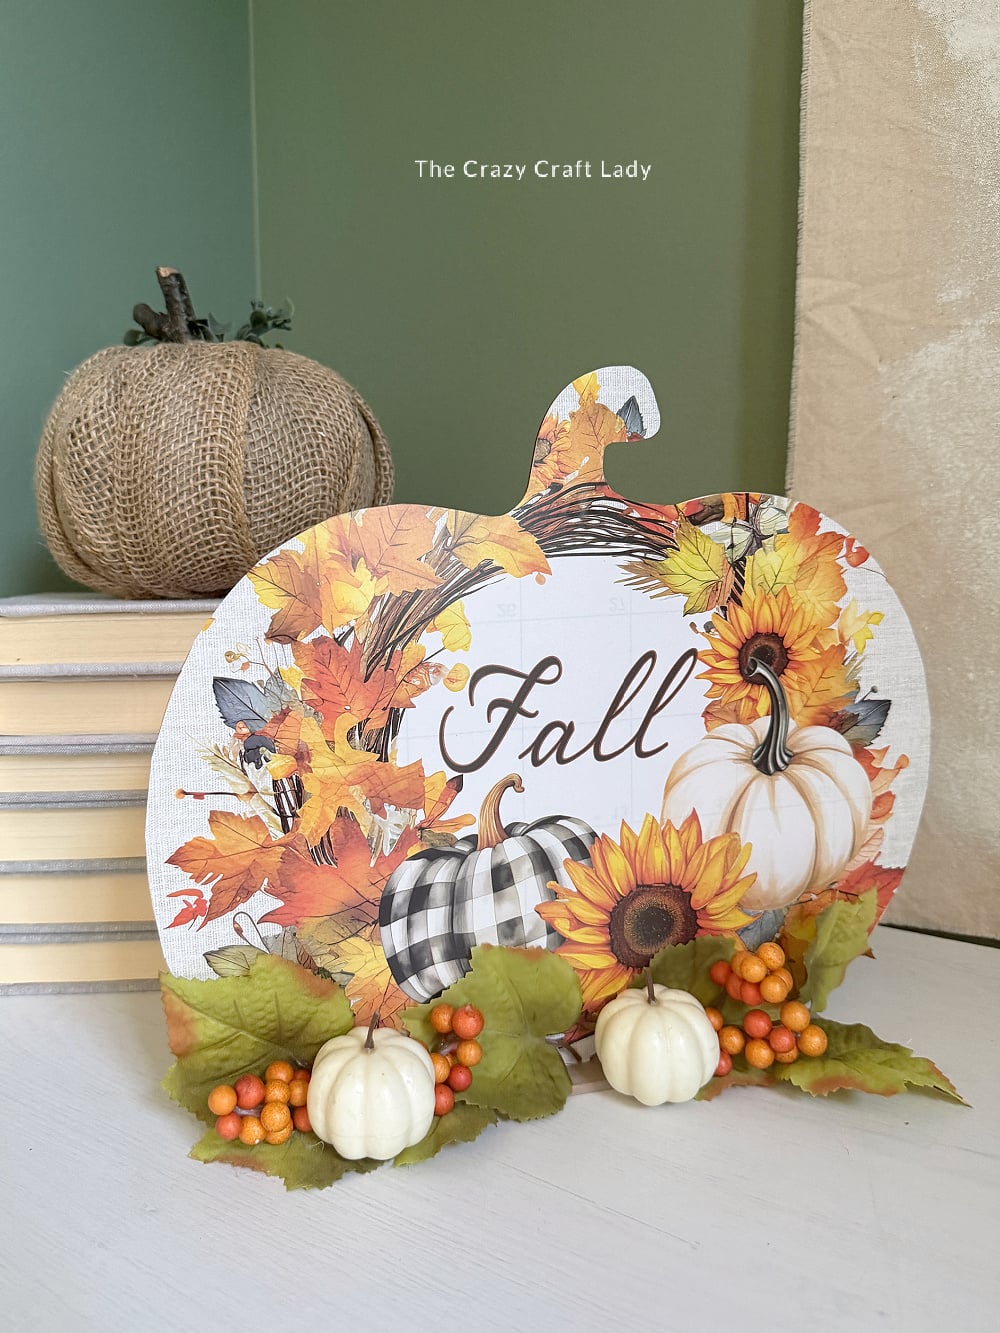
For this Dollar Store Calendar Page Pumpkin Stand, I paired one of those wood pumpkin cutouts with a pretty fall calendar page, then added a simple paint-stir-stick base so the whole thing stands up on its own.
A few mini pumpkins, leaves, and berries finish it off for an easy little piece of fall decor that’s perfect for a shelf, entry table, mantel, or anywhere else that needs a pumpkin. Because in the fall, there’s always room for one more pumpkin.
Video Tutorial: Dollar Store Calendar Page Pumpkin Stand
Watch this quick video to see how this craft came together:
Dollar Store Calendar Page Pumpkin Stand
This easy calendar page pumpkin craft turns a Dollar Store wood cutout into a cute standing fall sign with leaves, berries, and mini pumpkins.
Materials
- Dollar Store wood pumpkin cutout
- Fall calendar page
- Matte Mod Podge
- Parchment paper
- Paint stir stick
- Taupe or neutral craft paint
- 2 tumbling tower blocks or small wood blocks
- Faux fall leaves
- Mini faux pumpkins
- Faux berries
Tools
Instructions
- Watch the Video Tutorial. Watch the video tutorial to see how I decoupage the calendar page and turn the flat pumpkin cutout into a freestanding sign.
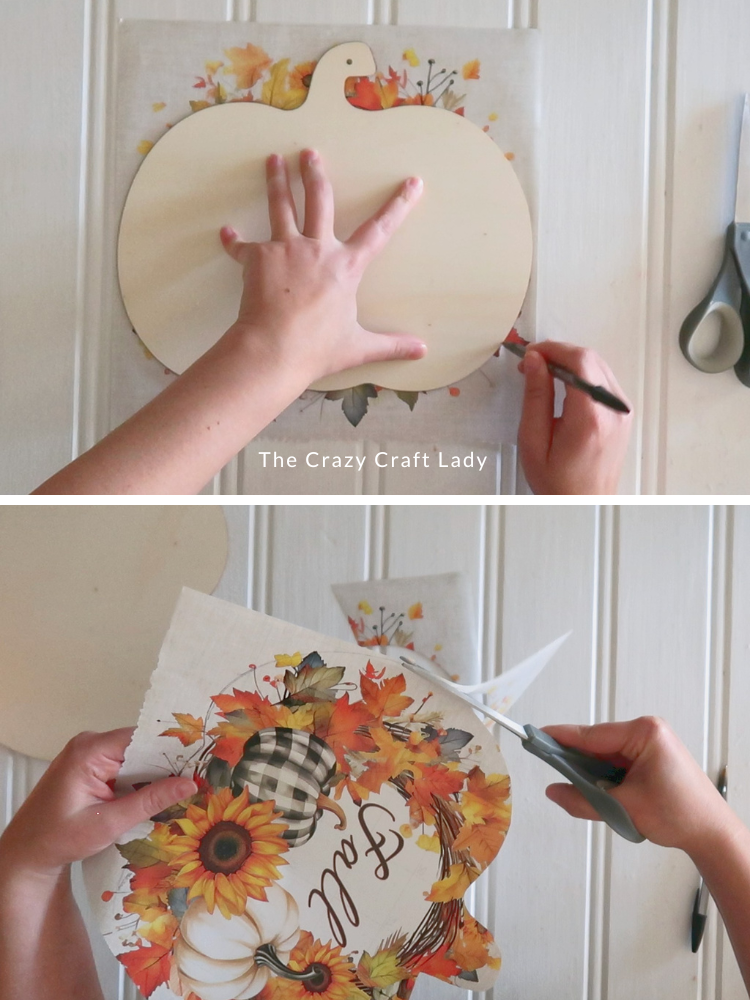
- Cut the Calendar Page. Remove the hanger from the wood pumpkin and center the pumpkin over your calendar image. Trace around the pumpkin with a pen, then cut just inside the traced line.

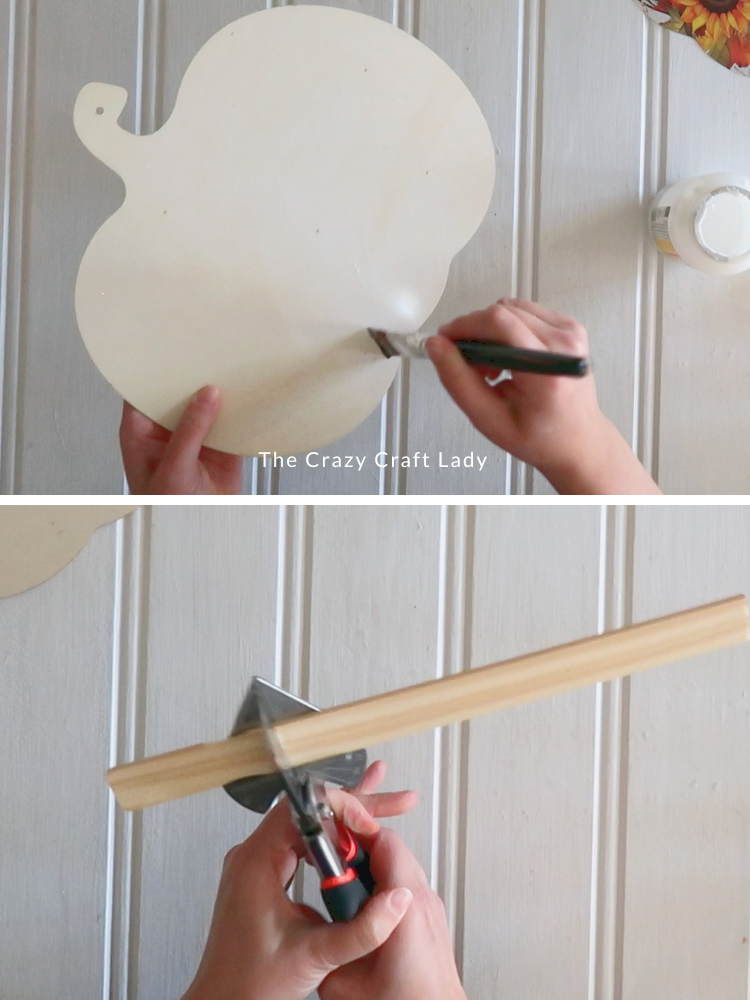
- Apply the Mod Podge. Brush an even coat of Mod Podge over the front of the wood pumpkin. Set it aside and let it dry completely.
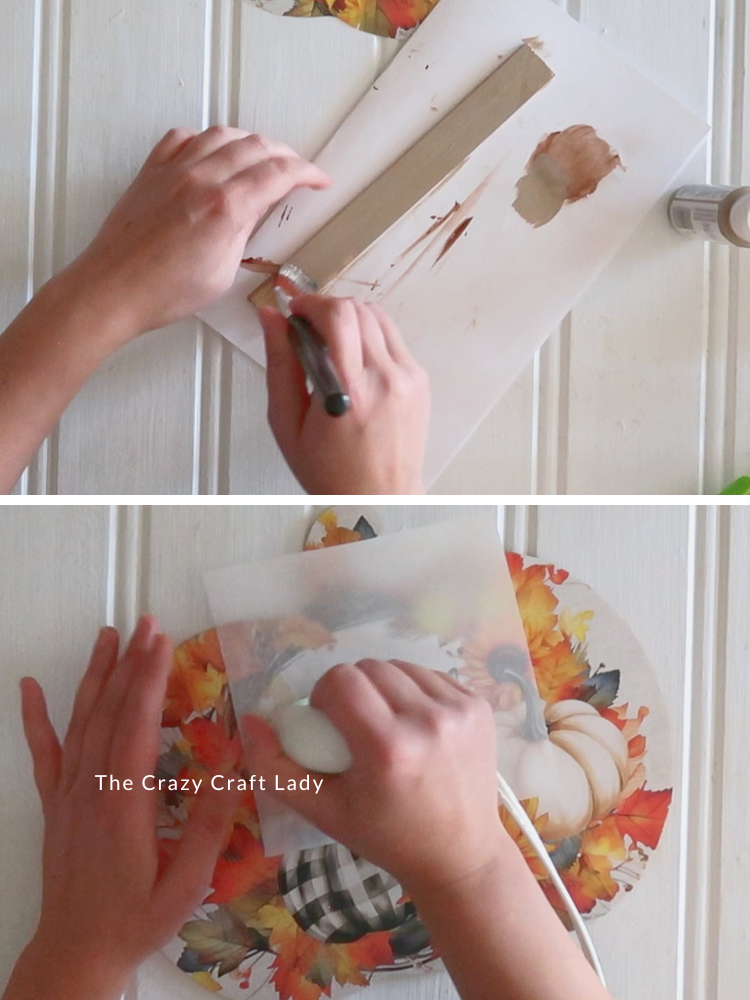
- Make the Base. Cut the handle from a paint stir stick with miter shears. Paint the stick with a neutral color that coordinates with your calendar image and let it dry.
- Attach the Calendar Page. Center the calendar image over the dried Mod Podge and cover it with parchment paper. Heat press from the center outward until the paper is smooth and securely attached.
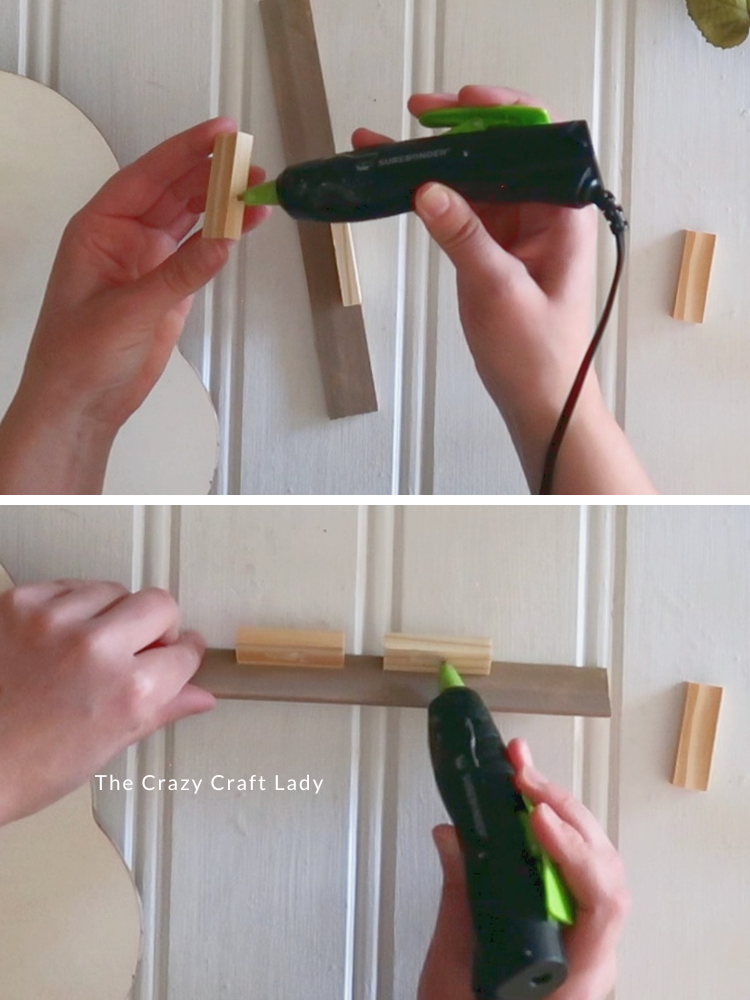
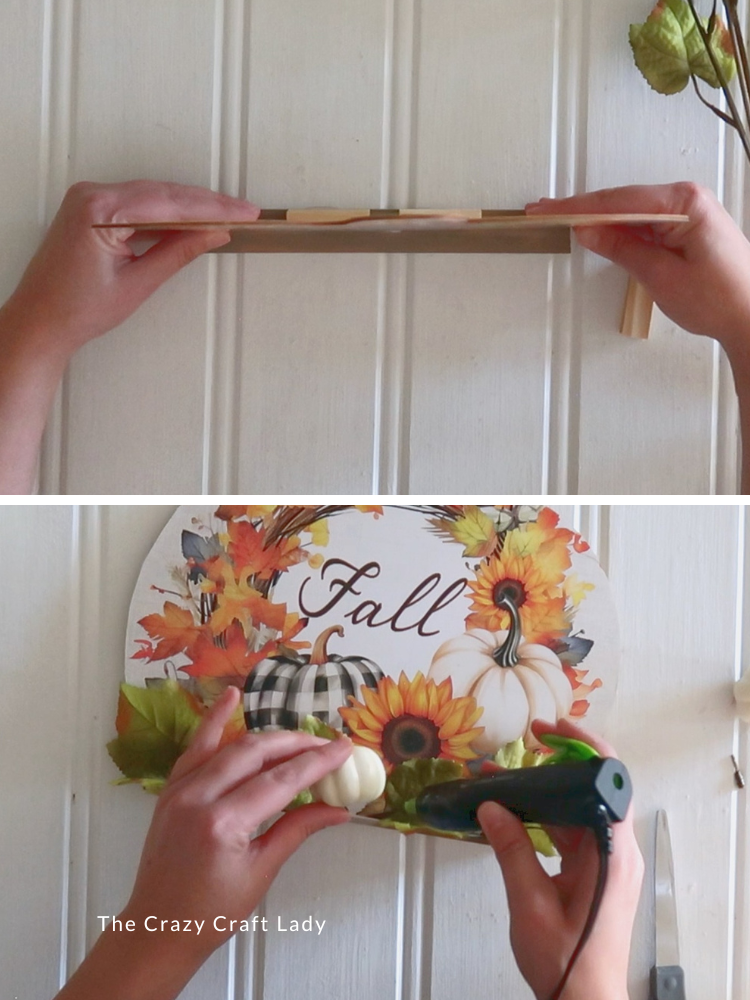
- Make the Pumpkin Stand. Hot glue two tumbling tower blocks to the paint stir stick to create a brace. Add more hot glue to the blocks and attach the pumpkin upright to the base.
- Add the Embellishments. Hot glue faux leaves, mini pumpkins, and berries around the bottom of the sign, covering most of the base and wooden supports. Then your little freestanding fall pumpkin sign is ready to display!
Easy Dollar Store Fall Pumpkin Decor
Once your Dollar Store Calendar Page Pumpkin Stand is assembled, you can really have fun with the embellishments.
I kept mine fairly neutral with green leaves, little white pumpkins, and berries.
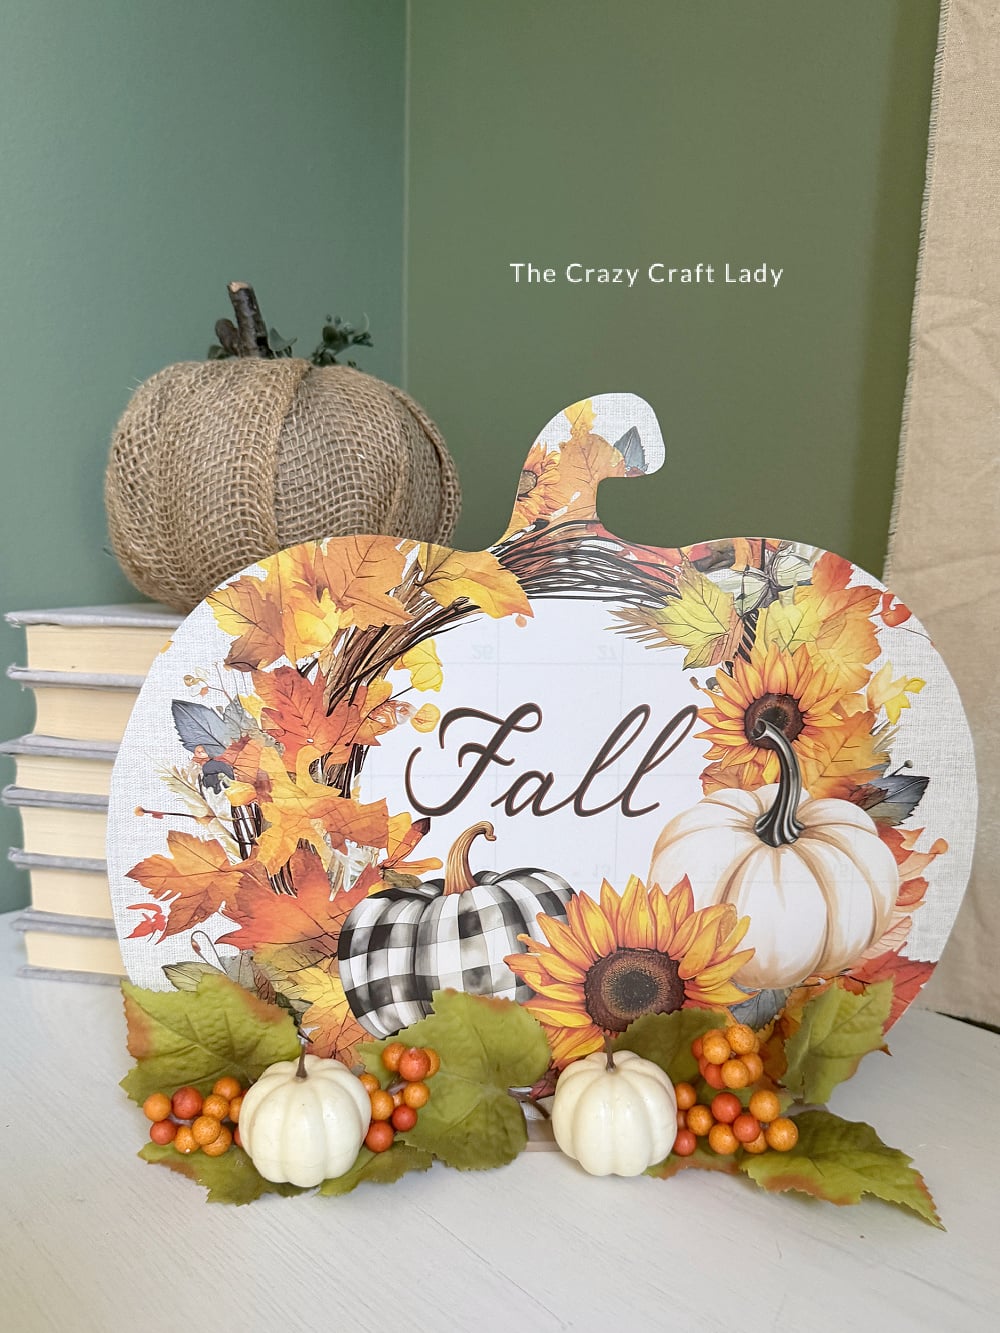
But you could use orange pumpkins, sunflowers, colorful fall leaves, raffia, ribbon, or whatever is already hiding in your craft stash.
And considering the number of wood pumpkin cutouts I apparently own, I’d say there’s a pretty good chance this won’t be the last pumpkin makeover you see around here.
PIN this Dollar Store Fall Craft for Later:
Wrinkle-Free Calendar Page Decoupage
For this project, I applied Mod Podge to the wood pumpkin and let it dry completely before adding the calendar page. Once dry, center the paper on the pumpkin, place parchment paper over it, and use a mini heat press to reactivate the Mod Podge underneath.
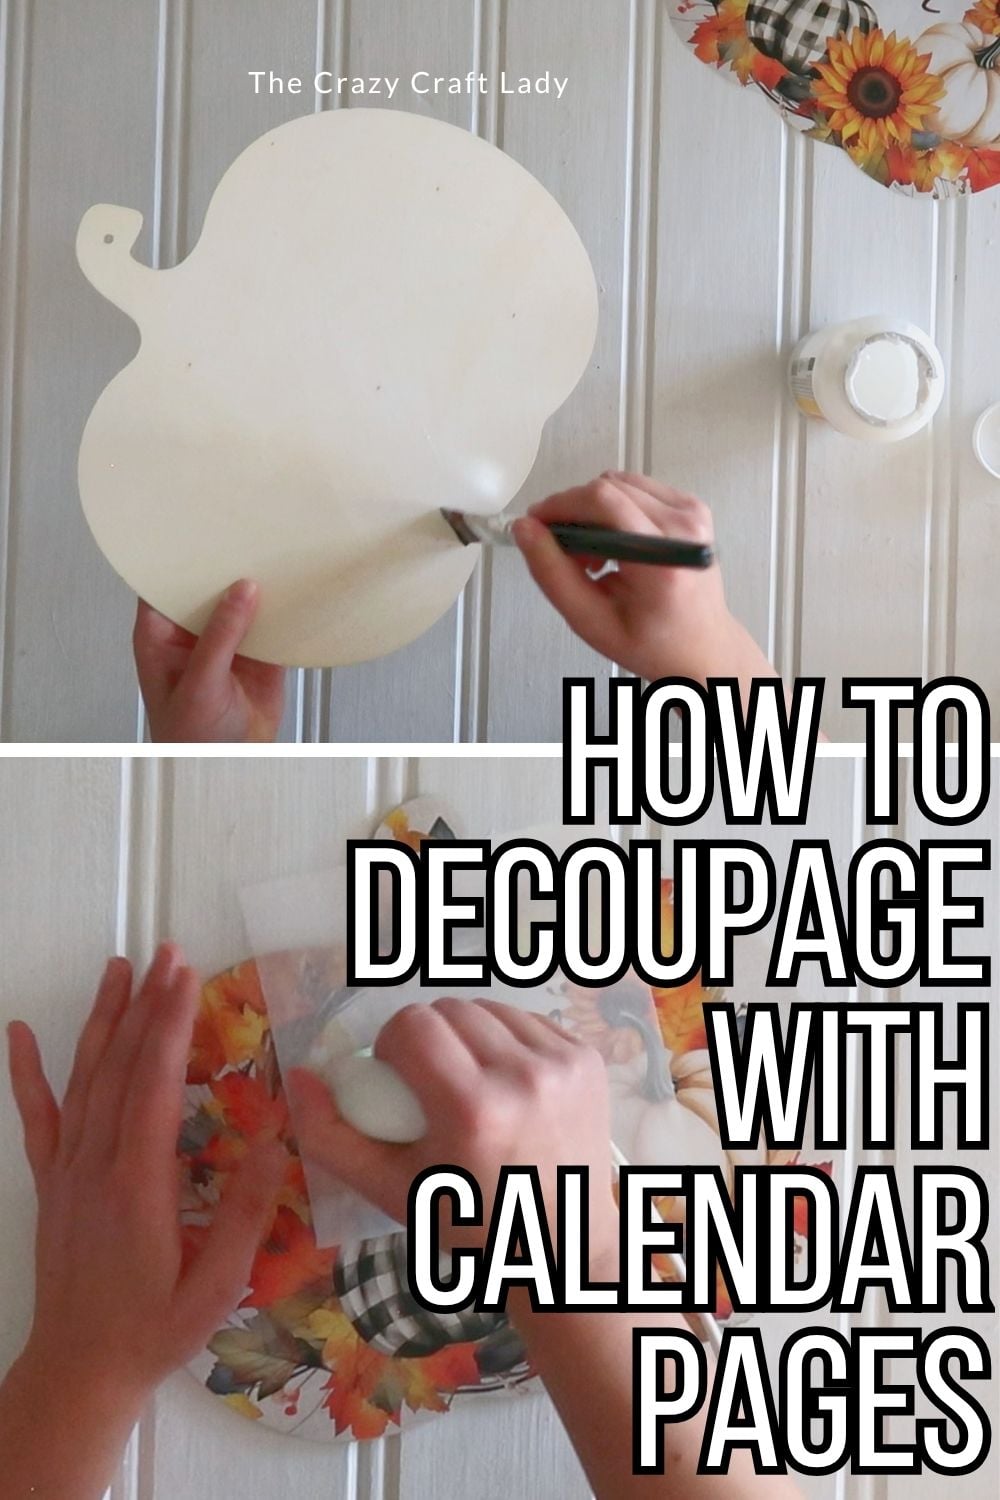
Start in the middle and work toward the outside edges. This gives you a smooth finish without trying to wrestle thin calendar paper onto wet Mod Podge. You can also use a regular household iron with the steam turned off if you don’t have a mini heat press.