
Grab some chalk paint and give an old piece of furniture or frame a brand new look, with this chippy, layered, distressed chalk paint finish. It’s seriously SO EASY!

Transform an ordinary wooden picture frame into a stunning piece of wall decor with a distressed chalk paint finish.
Follow my step-by-step guide to learn the techniques and tips for achieving a rustic, vintage look that adds character and charm to any wooden surface.
This post contains some affiliate links for your convenience. Click here to read my full disclosure policy.
A note from Aimee: This blog post first appeared on The Crazy Craft Lady in October 2019. It has since been updated to bring you the best, most current creative content.

The EASIEST Layered, Chippy, Distressed Chalk Paint Tutorial
I came across an art print online that I just had to order. It has one of my favorite colors in it – green. I actually love green and blue and like to bring those out in my home decor.
Since what I purchased was the print only, I needed to find a frame for it. Instead of spending a lot of money on custom framing, this became the perfect opportunity for me to surf the thrift stores and try to find one I could update.
Luckily, I found the perfect wooden frame just waiting for an update with a chippy, layered, distressed chalk paint finish.

Why I Love this Project
Who doesn’t love a good thrift store find? I absolutely love taking someone else’s trash and turning it into a treasure for my home. Not to mention, I end up saving way more money, versus going out to the store and purchasing pretty much the exact same thing!
Before getting started, I needed to tighten a few screws and put down a sheet to protect my work surface. Then, it was crafting time.
Supplies needed:
- brushes
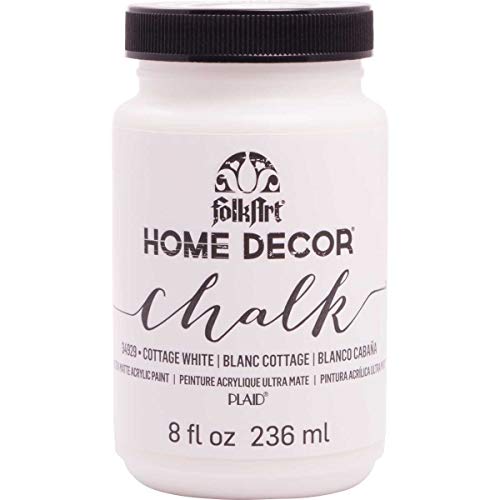
- chalk paint – white, light blue, navy
- votive wax candle
- sand paper
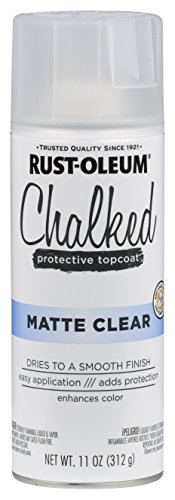
- clear satin spray (optional)
- My art print came from here – I LOVE IT!!
Tutorial: How to create a chippy, layered chalk paint finish
Watch this video tutorial below to see how I completely transformed a thrift store frame with this technique:
** Love that art print as much as I do? Grab it here 🙂 **
How to achieve a rustic, vintage look that adds character and charm to your wooden frames
The process really is SO simple.
You start by rubbing a bit of wax from a votive candle in random spots around the wooden picture frame.
They layer in paint. First dark blue, then light blue, and then white.

And don’t worry about what brand of paint. I used leftovers from my craft stash. In fact, I didn’t have navy chalk paint at the time. Since you need so little navy paint anyway, it seemed wasteful to go buy something new. I just used a bit of navy blue acrylic craft paint I had on hand.
Lightly sand away any paint in the spots you applied the wax. Finish with a clear protective coat.
Then step back and admire your work.


The EASIEST Layered, Chippy, Distressed Chalk Paint Tutorial
Grab some chalk paint and give an old piece of furniture or frame a brand new look, with this chippy, layered, distressed chalk paint finish. It's seriously SO EASY! Follow this step-by-step tutorial for achieving a rustic, vintage look that adds character and charm to your wooden frames.
Materials
- chalk paint - white, light blue, navy
- votive wax candle
- sand paper
- clear satin spray, either a matter or satin finish is fine. I would not recommend a glass finish for this project
Tools
- paint brushes, 1-inch flat brushes work best
Instructions
- Watch the video tutorial before you begin, and let that be your visual guide for this project.
- Lay a sheet over your work surface to protect your table from all the artsy things you're about to do.
- If you used an old frame like what I found that came with a print, remove the print and foam board it was attached to completely. (Hang on to the foam board to use for your new print.)
- Gather your supplies. (In the video I mentioned that I would normally use just chalky finish paint, but I used what I had on hand. It ended up being a combination of chalky finish paint and craft paint.)
- Clean your frame well. A rag and warm, soapy water should do the trick.
- Use the wax candle (removed from the aluminum votive) and pick select spots to rub the waxed candle on your frame. Use firm pressure.
- Start painting with your darkest color (navy blue). (I used a 1" brush.) Only paint in a few spots where you want the navy to poke through.
- Once the navy paint has dried, start painting with your next lightest color. Paint similar to how you did with the darker color (splotches around the entire frame.)
- Once that paint has dried, go in with a wide brush and the chalk paint, painting the entire frame. (Go for semi-full coverage, leaving parts of the wood grain showing.)
- After all the paint has dried, take your sanding block and lightly sand your frame to begin giving it a distressed look. Keep sanding until you get your desired look.
- Protect your paint finish with a coat of clear finishing spray.
- Place your print onto the original foam piece removed at the beginning (or new piece) using double-sided tape and then put it into your new frame.

Notes
Love that art print as much as I do? Grab it here!
Recommended Products
As an Amazon Associate and member of other affiliate programs, I earn from qualifying purchases.

More Chalk Paint Crafts
- If you like chalk paint, then you may love these 15 genius chalkboard paint ideas. From staying organized to providing a nice decor touch, you’ll never got without chalkboard paint again!
- Do you love the nautical theme? Give your boat and anchored room and nice touch with nautical stripe chalk painted jars.
- When fall rolls around and all things pumpkin come out, grab a few from your local Dollar Store to make these chalky + metalic finish pumpkins.
Don’t forget to PIN this project for later!


Great technique. Thank you so much!
Beautiful job! (and I love the print!) You really do amazing work! 🙂
Aww… thanks so much!