
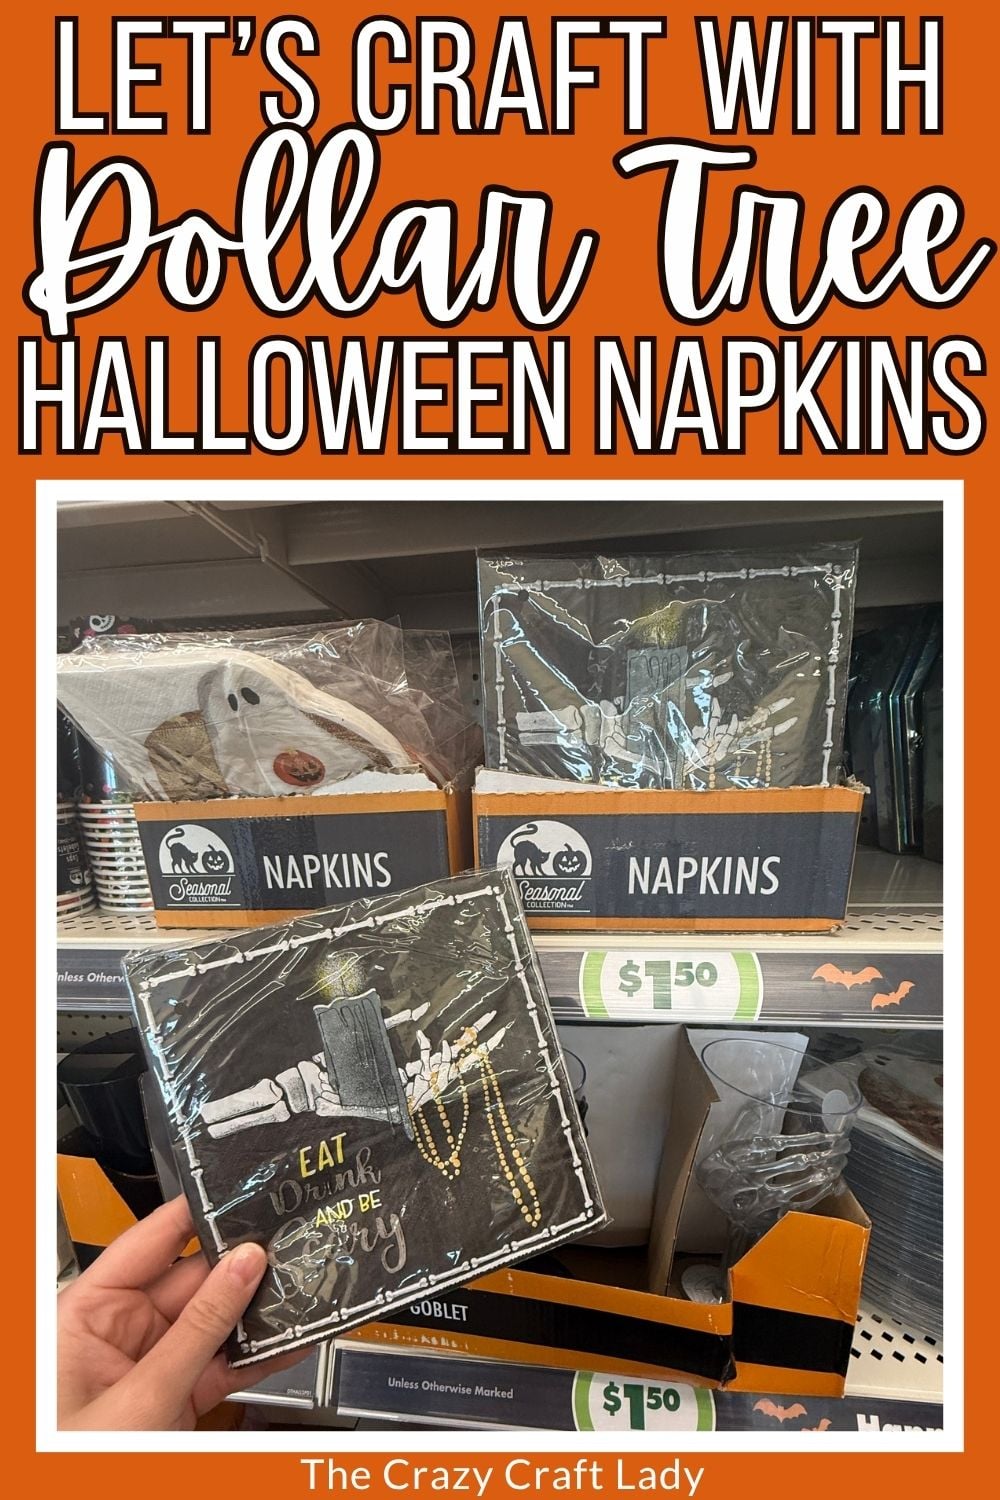
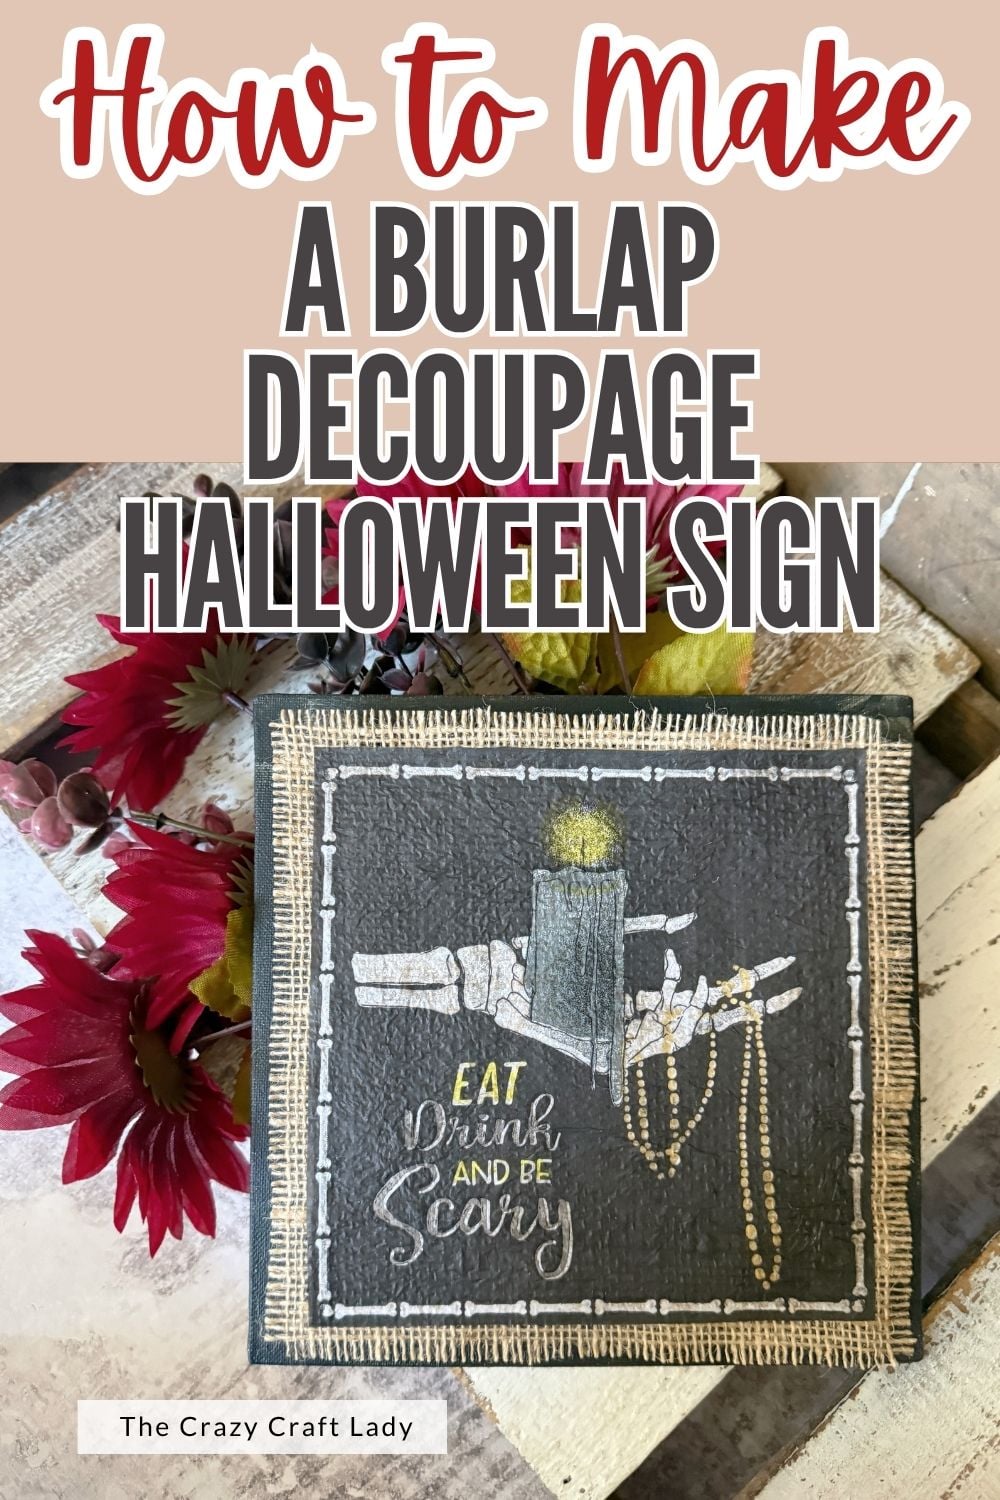
Make a DIY burlap Halloween sign with a paper napkin, Dollar Tree canvas, and tumbling tower blocks for added 3-D dimension.
This post contains some affiliate links for your convenience. Click here to read my full disclosure policy.
A 3-D Halloween Sign Made With Burlap
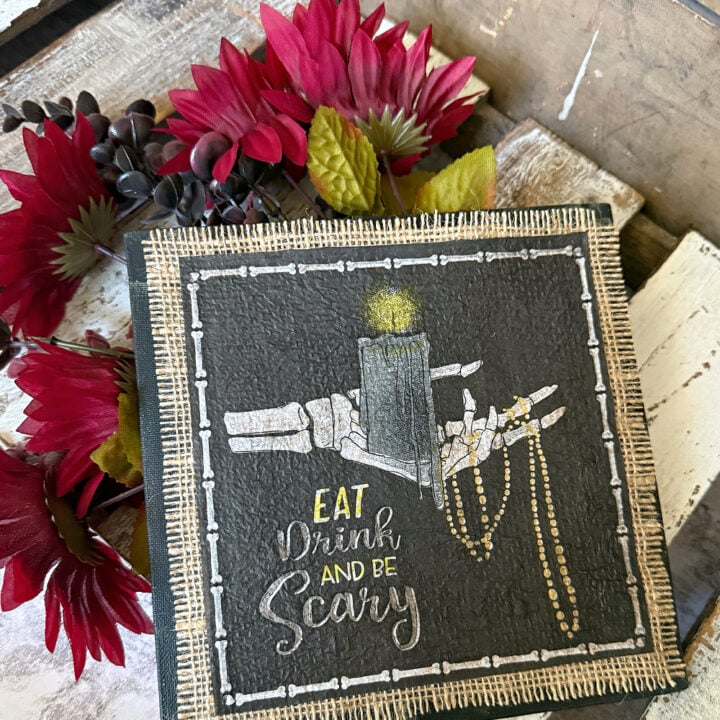
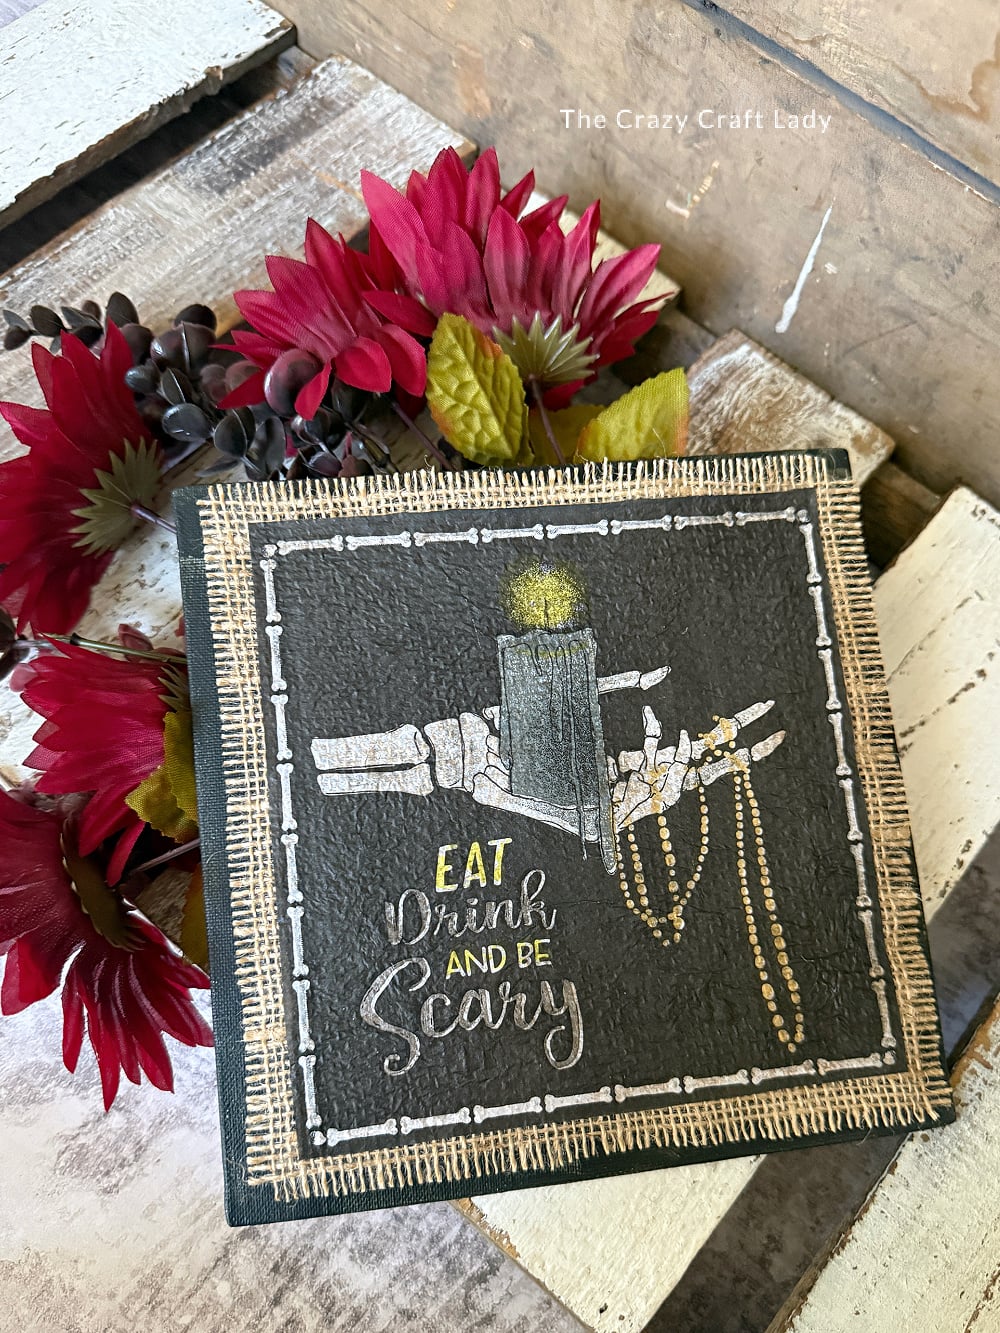
I had never tried decoupaging a paper napkin onto burlap before, so this craft was a bit of an experiment. Thankfully, it worked—and the finished texture is so much fun!
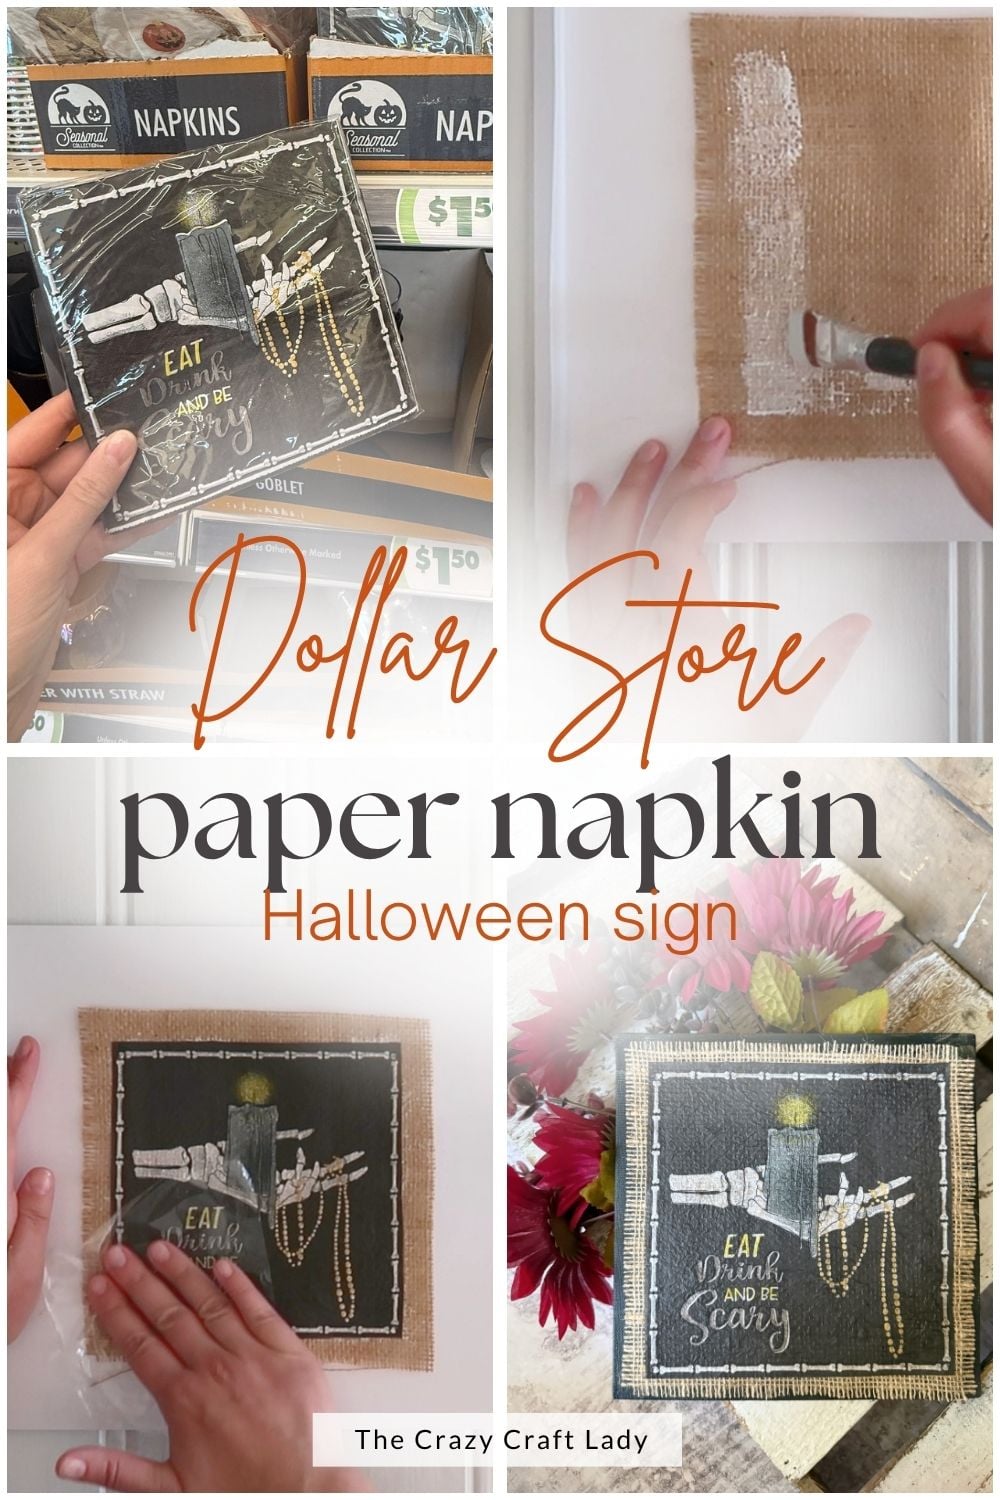
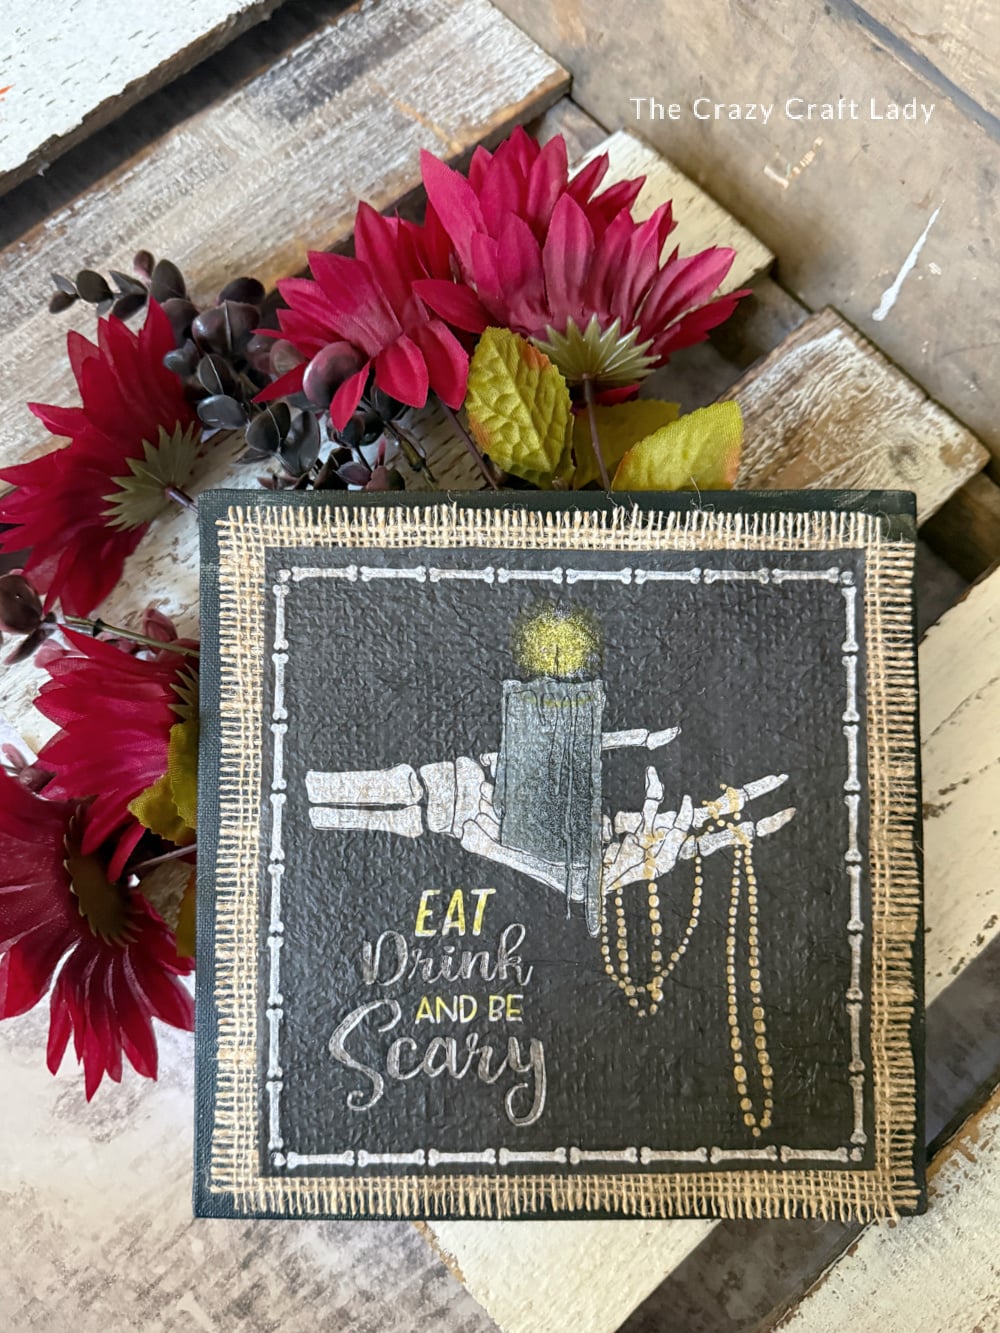
The napkin settles into the woven surface and almost looks like the design was printed directly onto the burlap. I mounted it over dollar store tumbling tower blocks to give the finished Halloween sign a little extra dimension.
You can recreate this project with any seasonal napkin you like. Just switch the napkin and paint colors to make a sign for fall, Christmas, or any other holiday.
Video Tutorial: Burlap Halloween Sign with Napkin Decoupage
Watch this quick video to see how this craft came together:
Burlap Halloween Sign with Napkin Decoupage
Create an inexpensive 3-D Halloween sign with napkin decoupage, textured burlap, a canvas panel, and tumbling tower blocks.
Materials
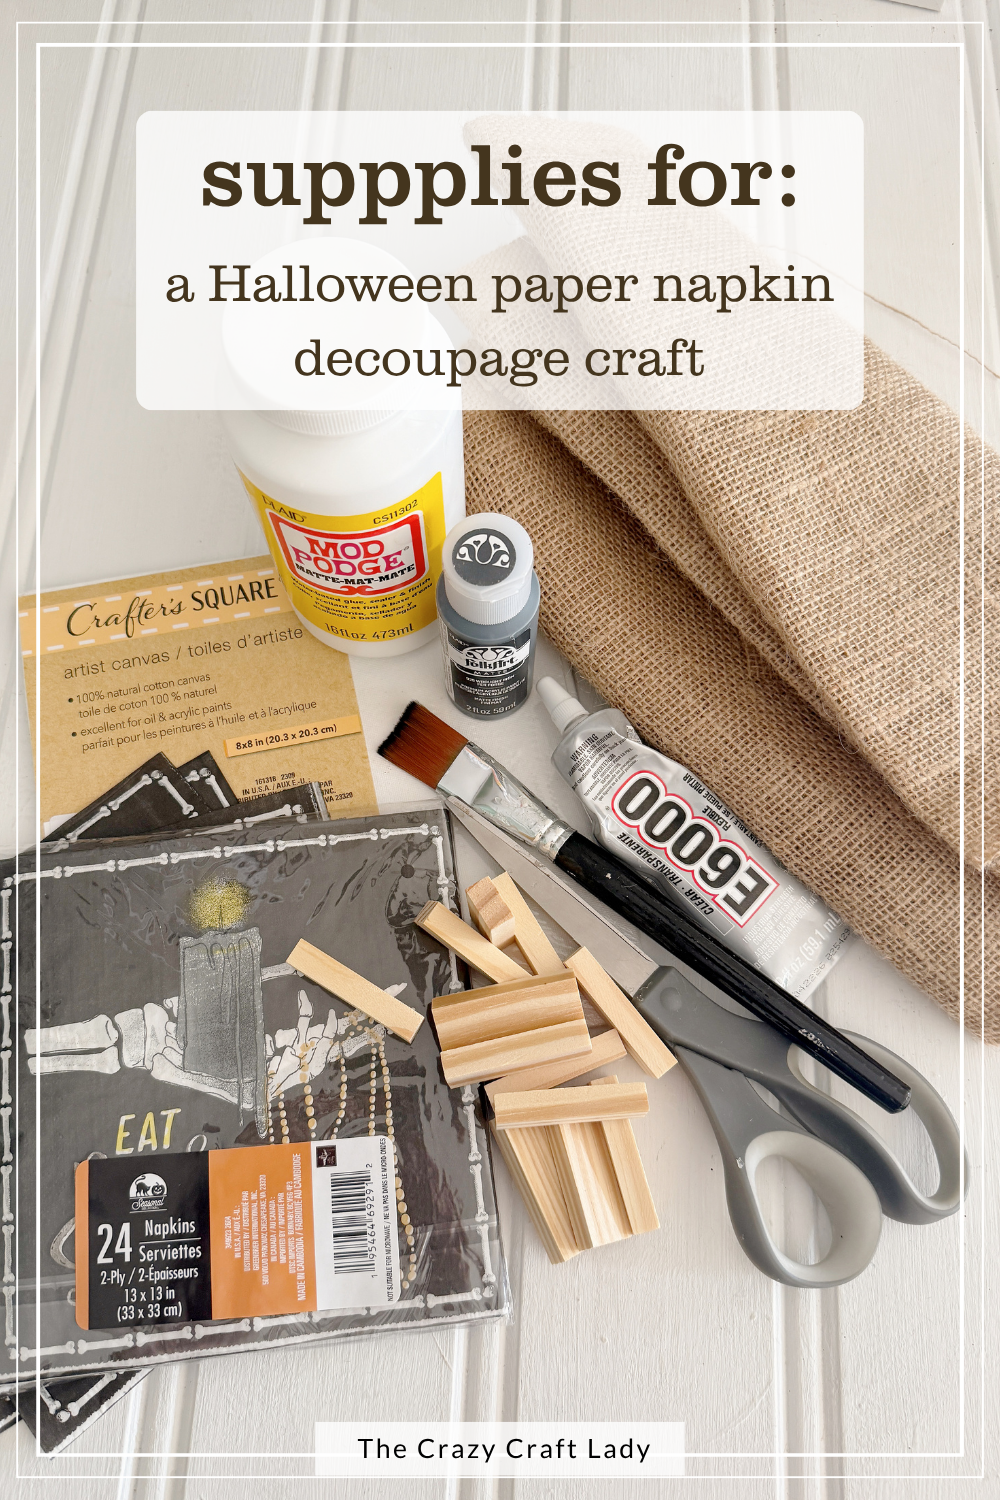
- Halloween paper napkin
- Burlap
- Painter’s tape
- Matte Mod Podge
- Paintbrush
- Plastic wrap
- Scrap paper and parchment paper
- 8-inch square canvas panel
- Nine tumbling tower blocks
- E6000 adhesive
- Black or deep charcoal craft paint
- Heavy book
Tools
Instructions
- Watch the Video Tutorial. Before you begin, watch the full video tutorial to see exactly how the project comes together.
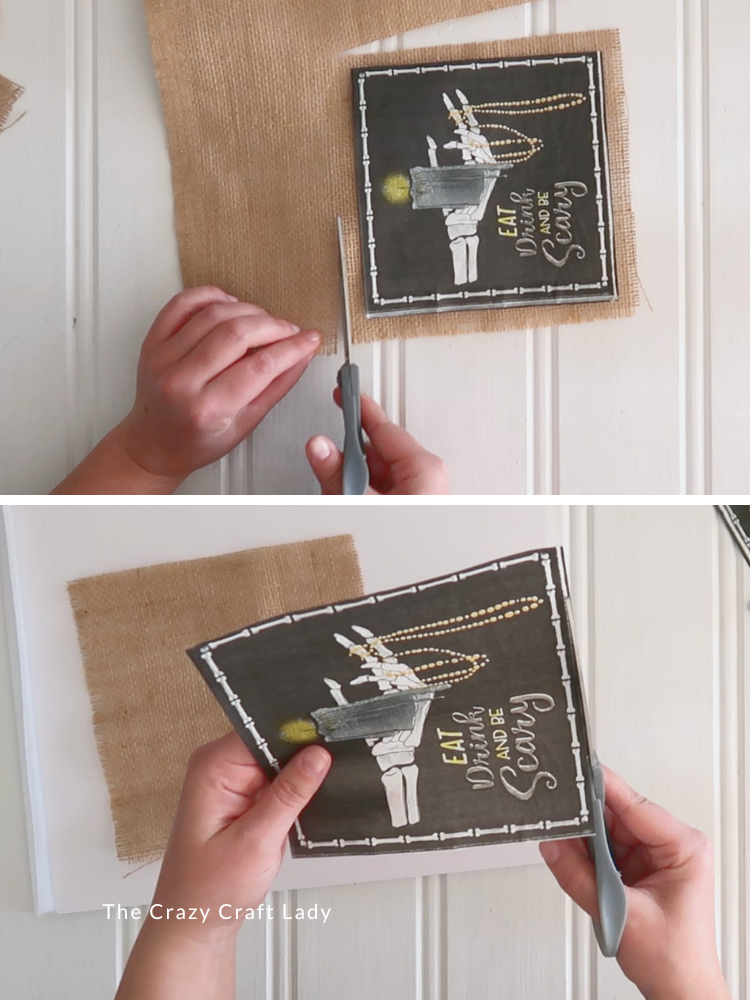
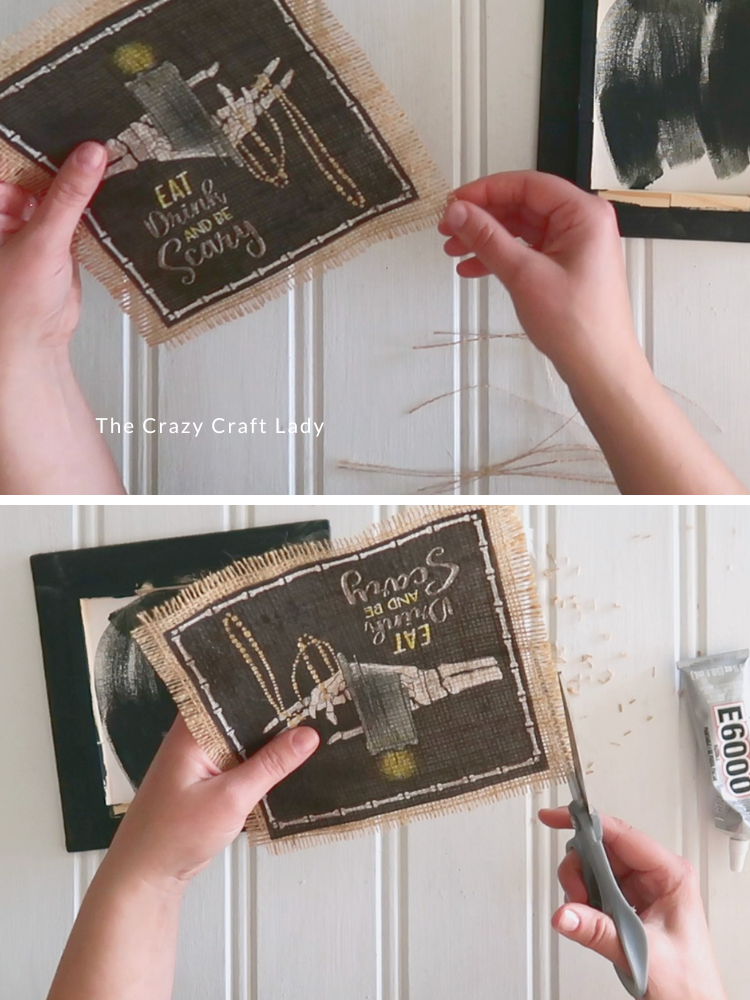
- Prepare the Burlap and Napkin. Cut the burlap about 1/2 inch larger than the napkin design on every side. Cut between the woven rows to keep the edges straight. Cut out one napkin panel, separate the layers, and keep only the printed top layer.

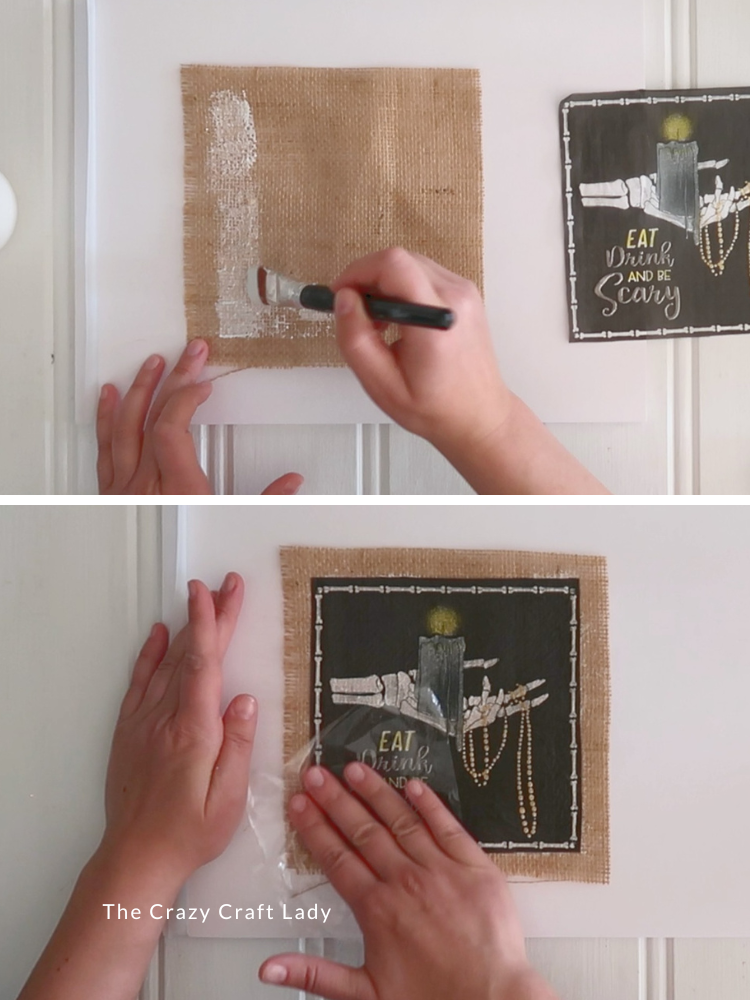
- Decoupage the Burlap. Brush a generous layer of Mod Podge onto the center of the burlap, leaving the outer 1/4 to 1/2 inch bare. Position the napkin on top and gently press it into the burlap with plastic wrap.
- Let It Dry. Lift the burlap from the scrap paper before it sticks. Transfer it to parchment paper—or carefully turn it over—to dry completely.
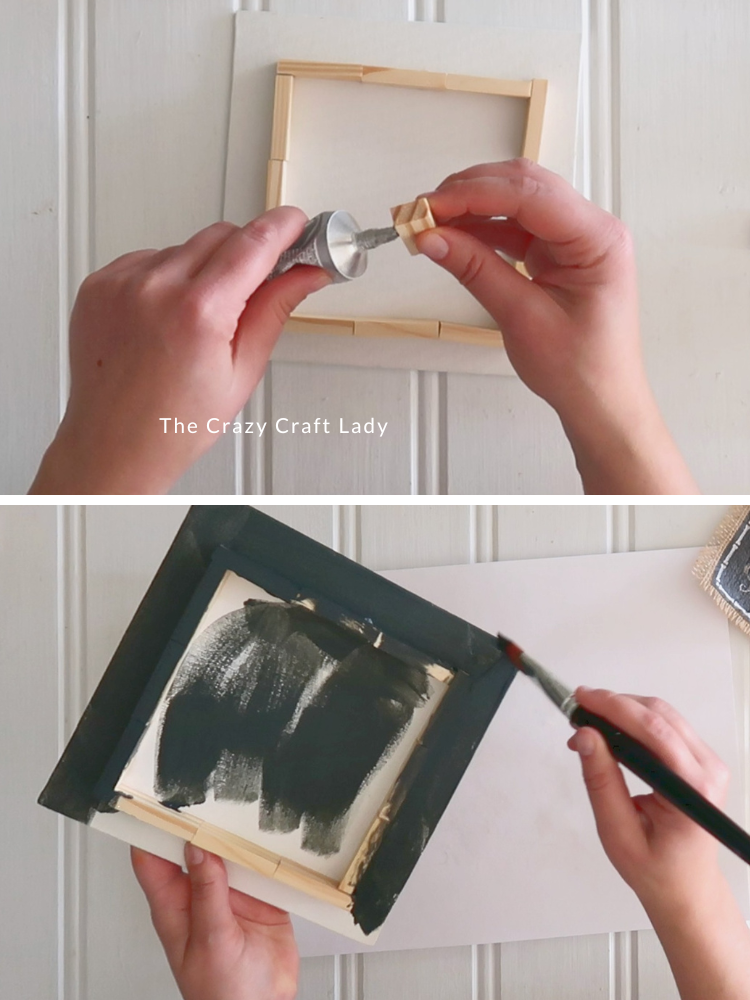
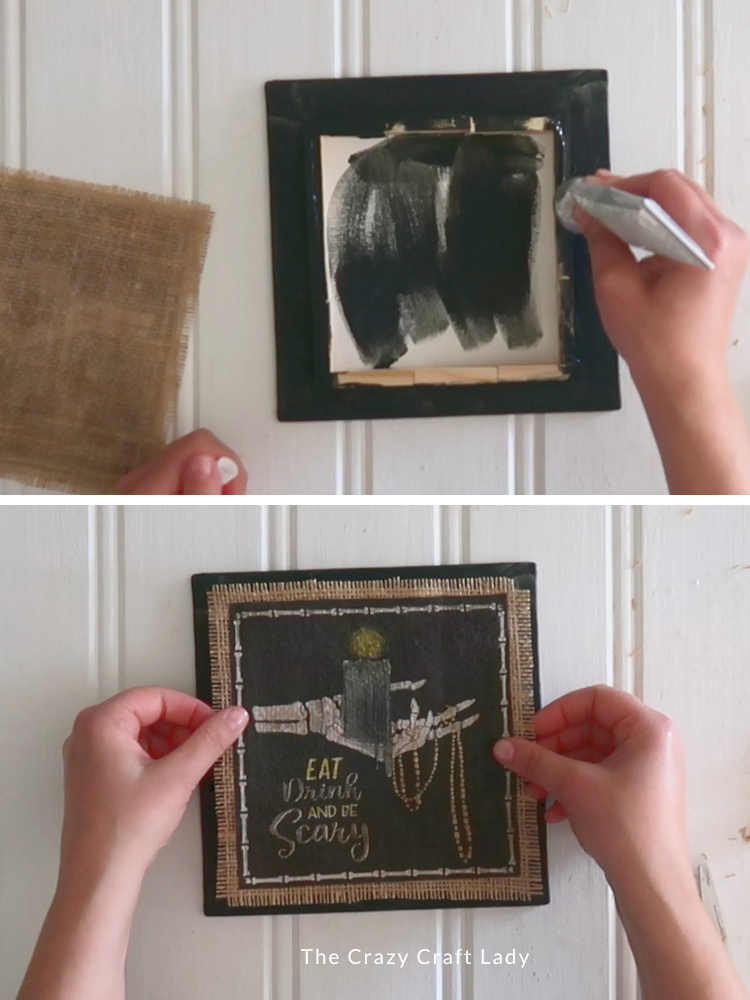
- Build the Raised Backing. Arrange nine tumbling tower blocks in a square on the canvas panel. Dry-fit the pieces first, then secure them with E6000 and let the adhesive dry.
- Paint the Sign. Paint the visible edges of the canvas and tumbling tower blocks with black or deep charcoal paint. Let everything dry.
- Fray the Burlap Edges. Trim the burlap slightly smaller than the canvas and pull out a few strands to fray the edges.
- Attach the Burlap. Apply E6000 along the top of the wood blocks, center the burlap over them, and press it into place. Set a book on top while the adhesive dries.
Tips for Decoupaging on Burlap
Burlap is very porous, so it absorbs more Mod Podge than a smooth surface. Apply enough to saturate the area beneath the napkin without coating the exposed border.
Plastic wrap lets you press the delicate napkin into the weave without tearing it or covering your fingers in Mod Podge.
Be sure to move the burlap away from your work surface immediately after decoupaging. Mod Podge will seep through the open weave and could glue your project to the paper underneath. Let dry upside-down or on a piece of parchment paper.
How to Get Straight Burlap Edges
Cut the burlap larger than you think you’ll need. You can always trim it after the Mod Podge dries, but you can’t add more burlap if your original piece is too small.
Follow the woven rows when cutting to create a straight, square piece. Once trimmed to size, remove a few strands from each side for a naturally frayed border.
Easy Dollar Store Halloween Decor
The tumbling tower blocks create a small space between the burlap and the canvas, giving the finished sign a raised, 3-D effect. Painting the background a soft black or deep charcoal also helps the Halloween napkin design stand out.
I love the textured, slightly rustic look of the finished piece. And now that I know you can decoupage napkins onto burlap, I can think of all kinds of seasonal signs to make with this same technique!