
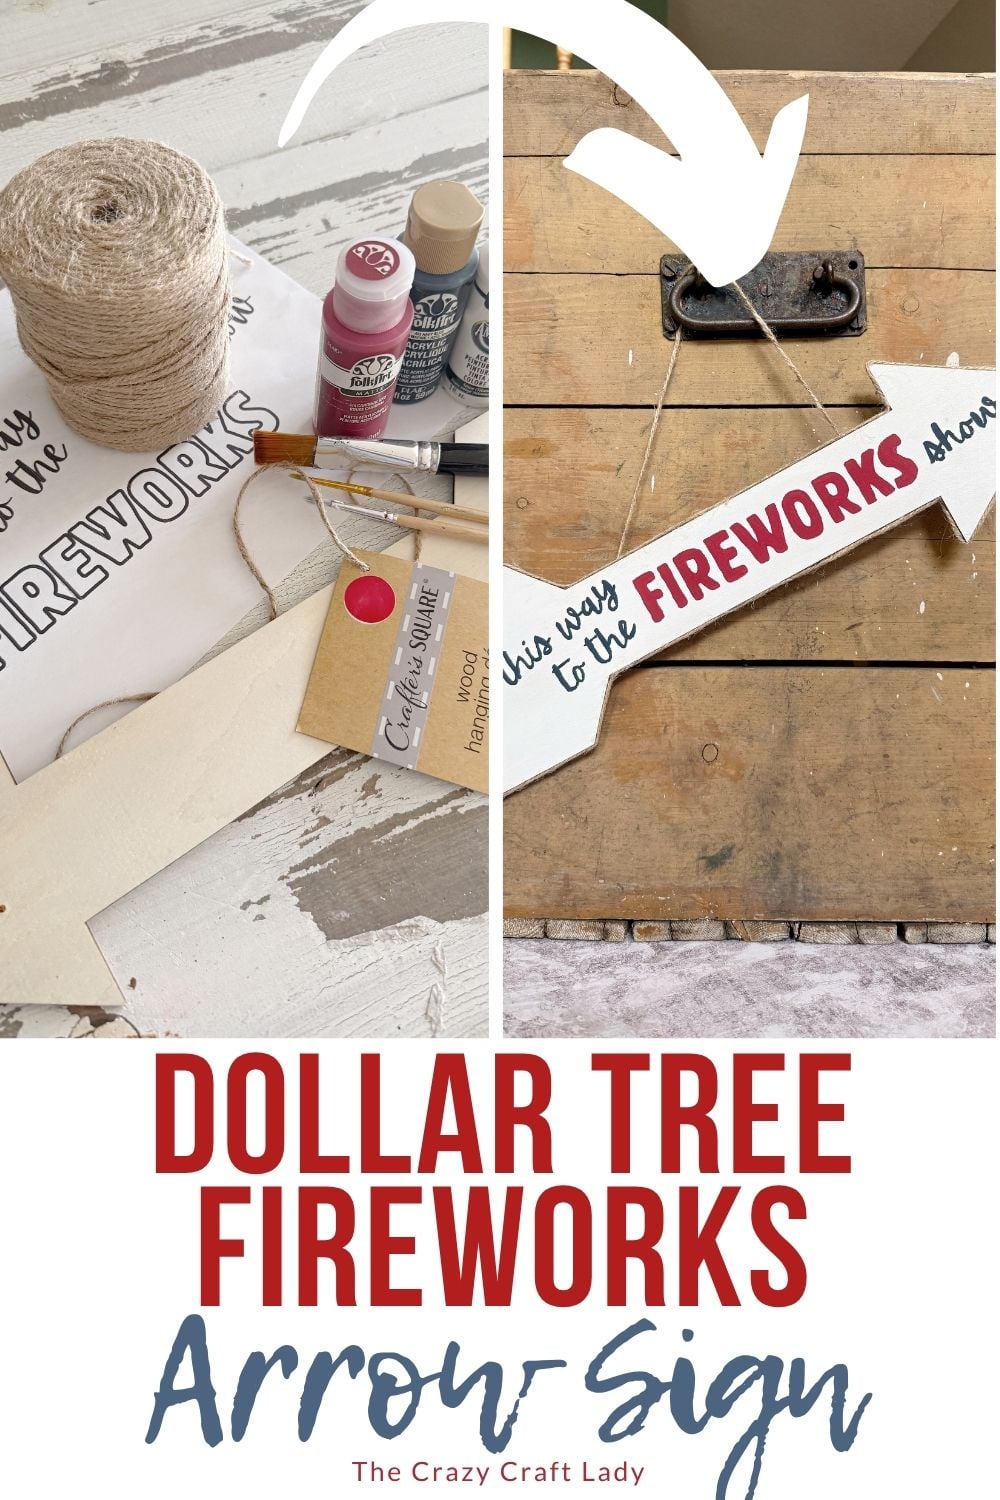
Learn how to make a rustic “This Way to the Fireworks Show” sign using inexpensive Dollar Tree supplies. A simple red, white, and blue craft that’s perfect for patriotic decorating!
How to paint a Fireworks Show Arrow sign – perfect 4th of July photo prop.
This post contains some affiliate links for your convenience. Click here to read my full disclosure policy.
If you’re looking for an easy patriotic craft that adds a little vintage Americana charm to your summer decorating, this Dollar Tree Fireworks Show Arrow Sign is the perfect project!
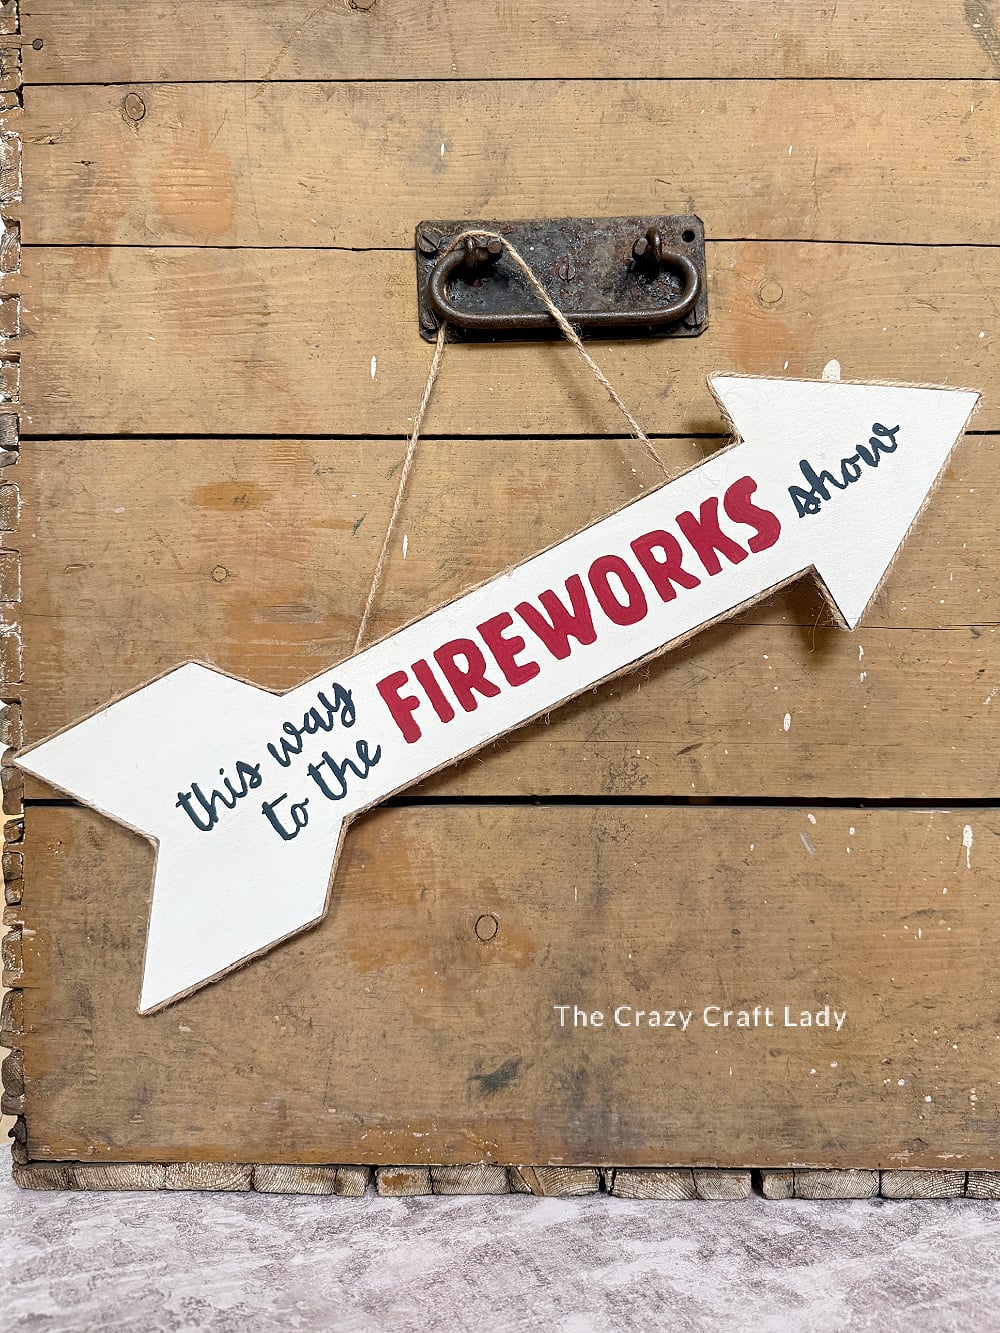
Inspired by an old Fourth of July photo shoot I did with my twins years ago, this rustic arrow sign features the phrase “This Way to the Fireworks Show” in classic red and blue lettering. It’s inexpensive to make, beginner-friendly, and can be customized to fit any style of patriotic decor.
Display it on a wreath, tuck it into a tiered tray, add it to a porch vignette, or hang it as part of your Fourth of July decorations.
Video Tutorial: DIY Fireworks Show Arrow Craft
Watch this quick video to see how this craft came together:
DIY Fireworks Show Arrow Craft
Looking for easy patriotic decor ideas? This Dollar Tree fireworks arrow sign combines painted lettering and rustic twine trim for a festive Fourth of July decoration on a budget.
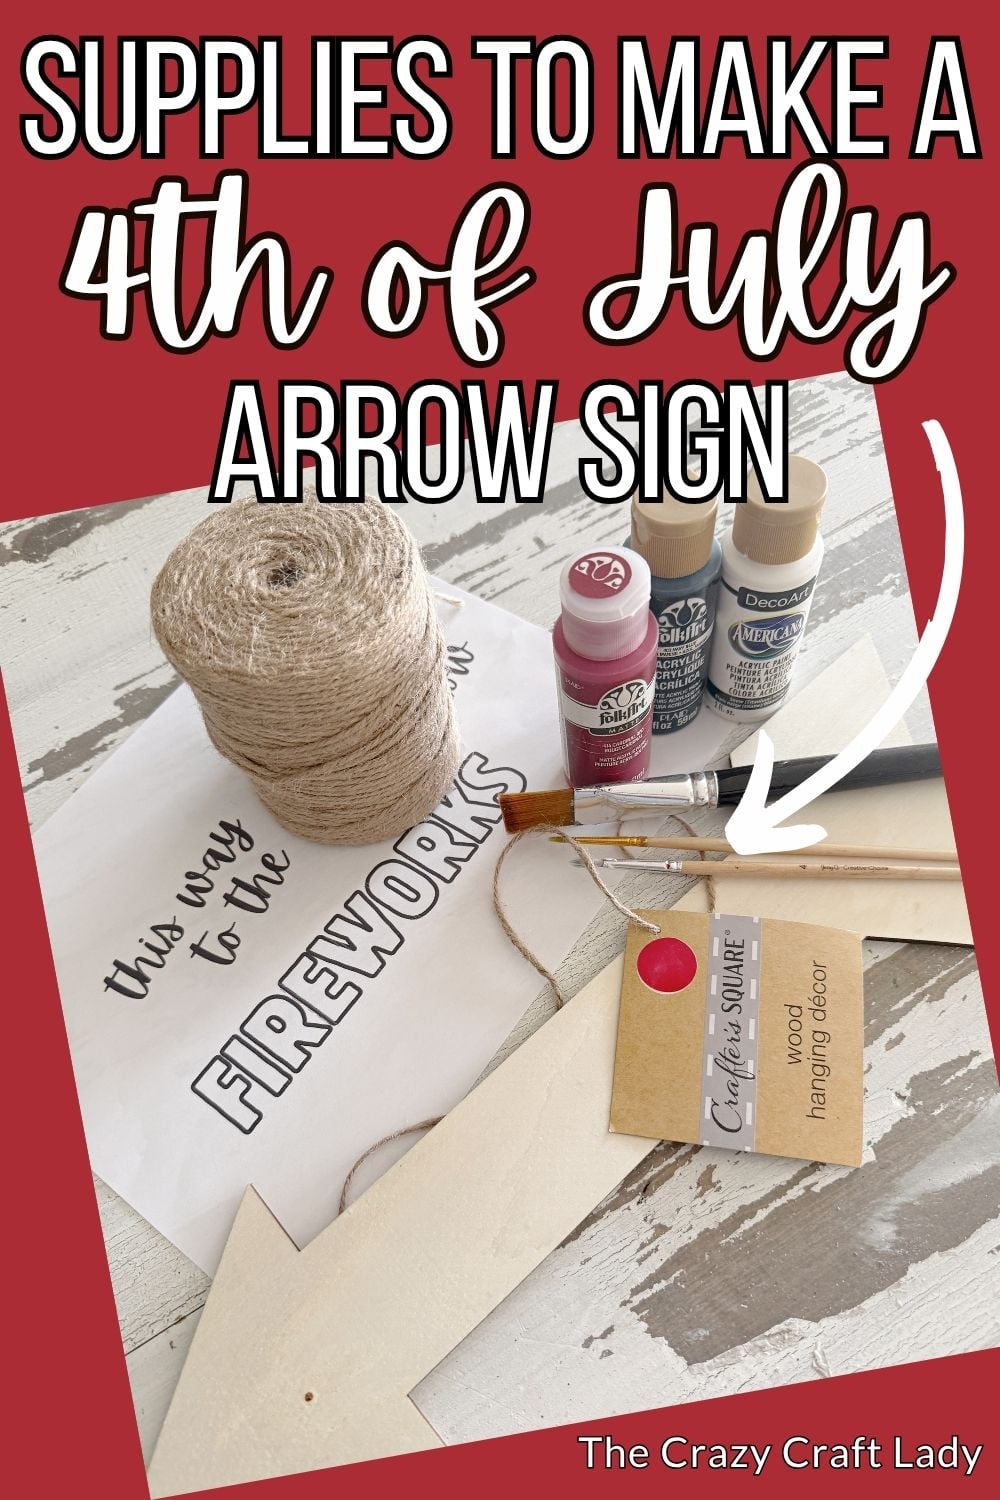
Materials
- Dollar Tree wooden arrow sign
- White acrylic craft paint
- Navy blue acrylic craft paint
- Red acrylic craft paint
- Printable "This Way to the Fireworks Show" template
- Carbon transfer paper (optional)
- Jute twine
Tools
- Paintbrushes
- Fine-tip detail paintbrush
- Scissors
- Pencil (if not using transfer paper)
- Hot glue gun
- Glue sticks
Instructions
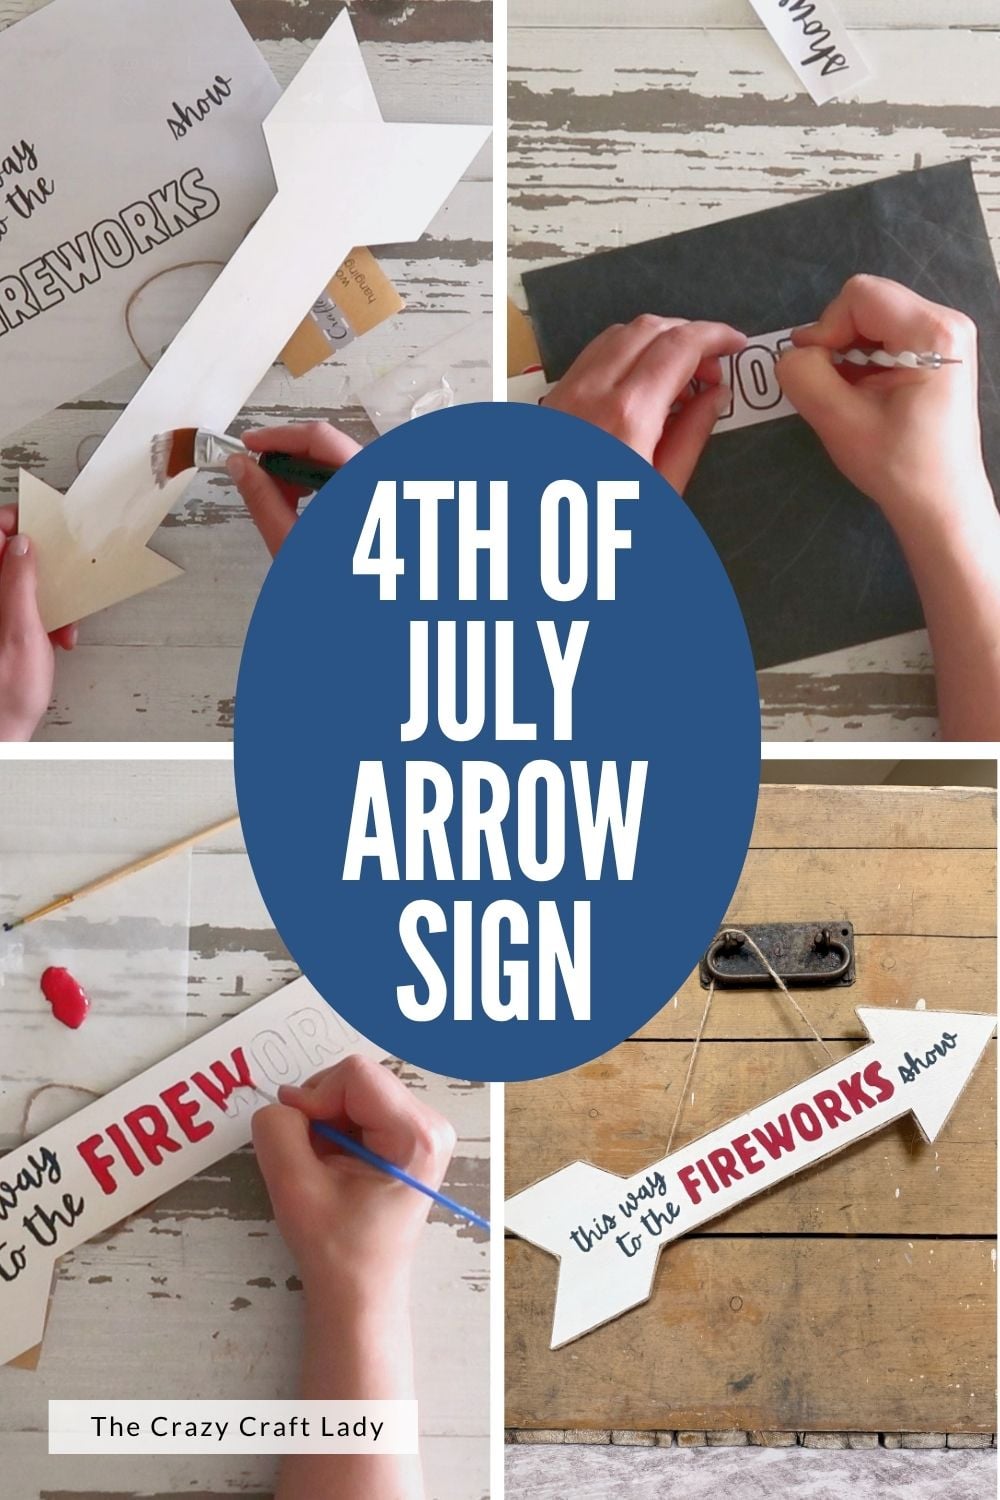
- Watch the video. Follow along with the video tutorial for a step-by-step walkthrough of how to make your own fireworks show arrow sign.
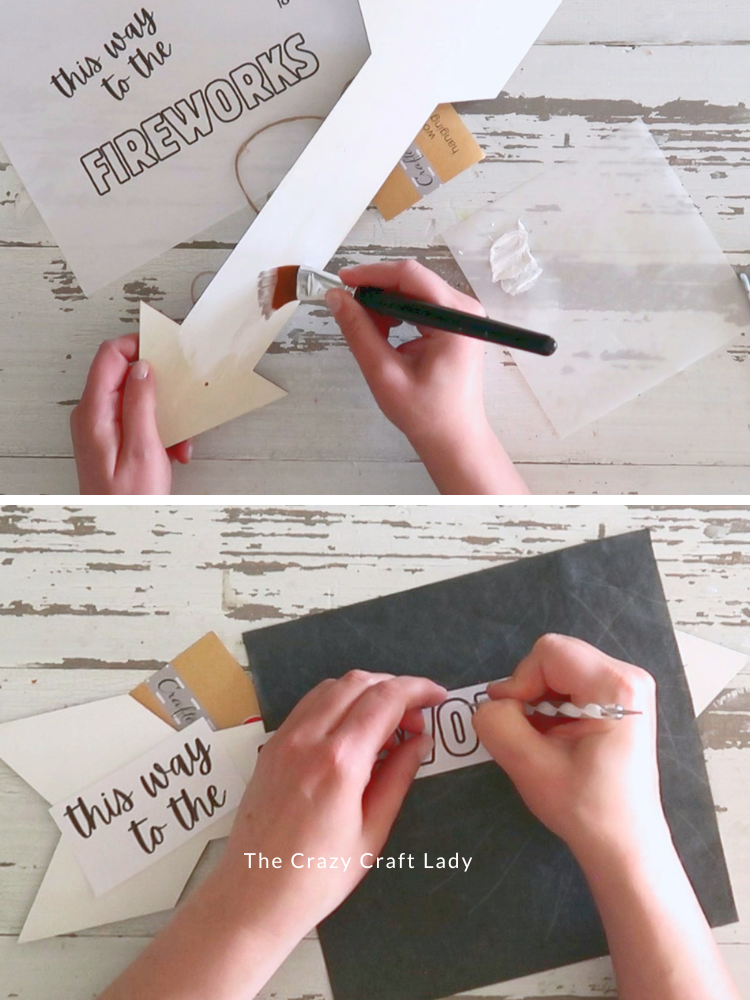
- Paint the Arrow White. Paint the entire front surface of the arrow white and allow it to dry completely. This creates a clean background that makes the red and blue lettering stand out.

- Prepare the Printable Template. Print the free "This Way to the Fireworks Show" template and cut out the three word sections. Lay the pieces on your wooden arrow to make sure the sizing fits correctly. If you're using a different size arrow from a craft store, you may need to adjust your printer settings slightly larger or smaller before printing.
- Transfer the Design. Place carbon transfer paper between the printable and the wooden sign.
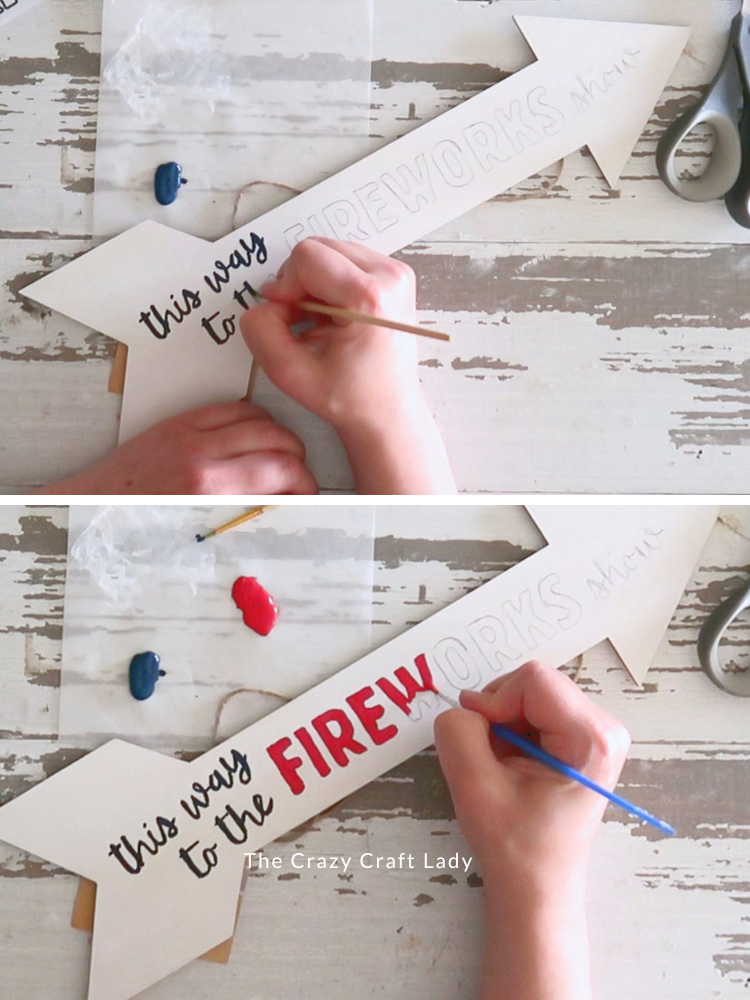
Trace over all of the lettering to transfer the design onto the wood. - Paint the Lettering. Using a fine detail brush, carefully paint over the transferred design. Paint the script words "This Way To The" and "Show" with navy blue paint. Paint the word "Fireworks" with red paint.
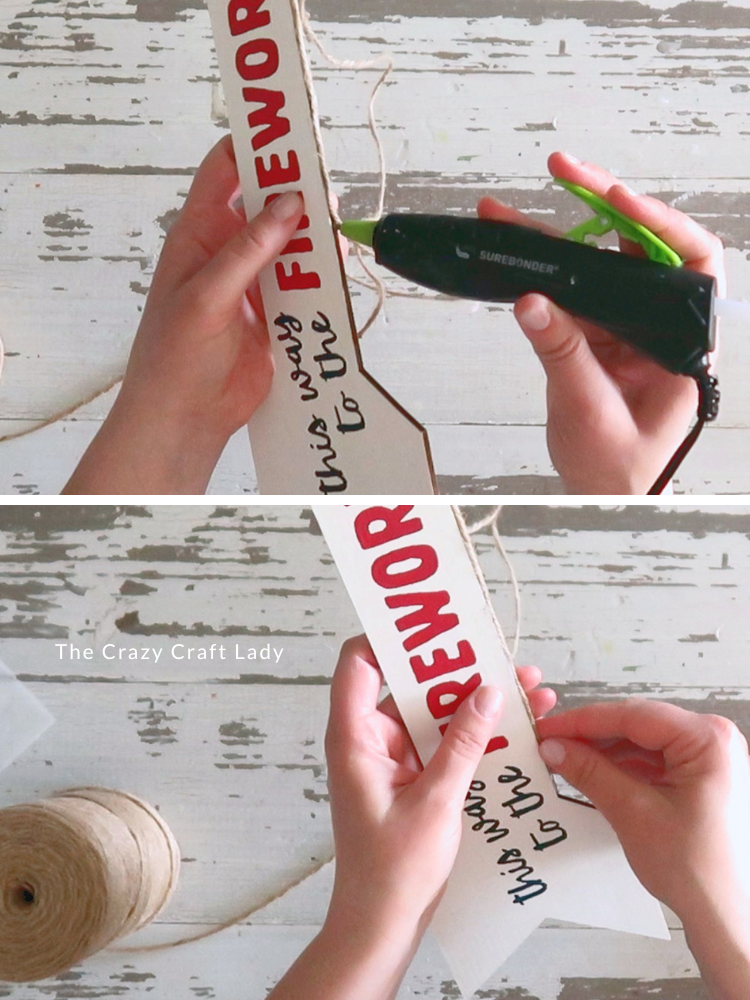
- Add a Rustic Twine Border. Once the paint is completely dry, apply a thin bead of hot glue around the edge of the arrow and press jute twine into place. Work in small sections because the thin line of glue cools quickly.
Notes
No Carbon Paper? No problem! Simply scribble pencil on the back of the printed template, place it on the sign, and trace over the letters. The pencil marks will transfer to the wood and create a guide for painting.
If hand-painting isn't your thing, you could also cut the design from vinyl using a Cricut machine.
The Finished Craft
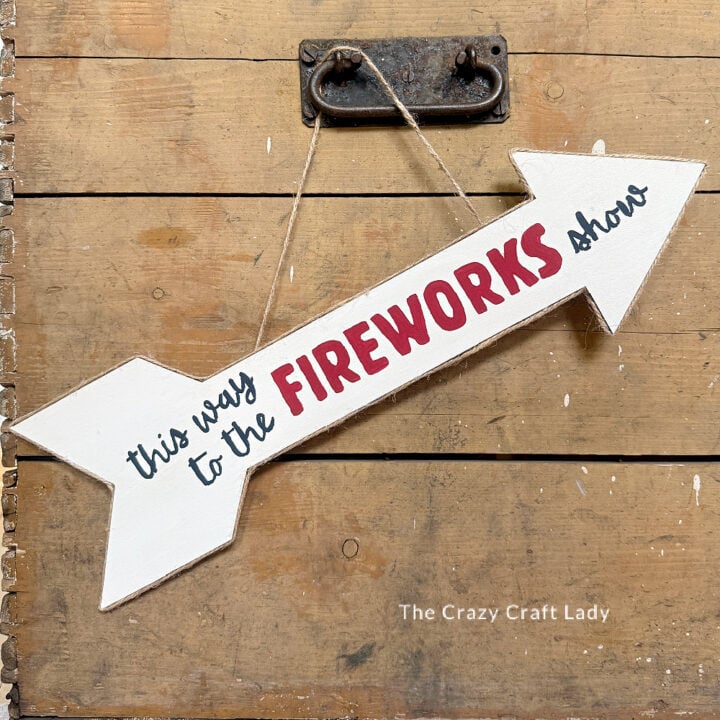
That’s it! A simple Dollar Tree arrow becomes a festive red, white, and blue decoration perfect for summer.
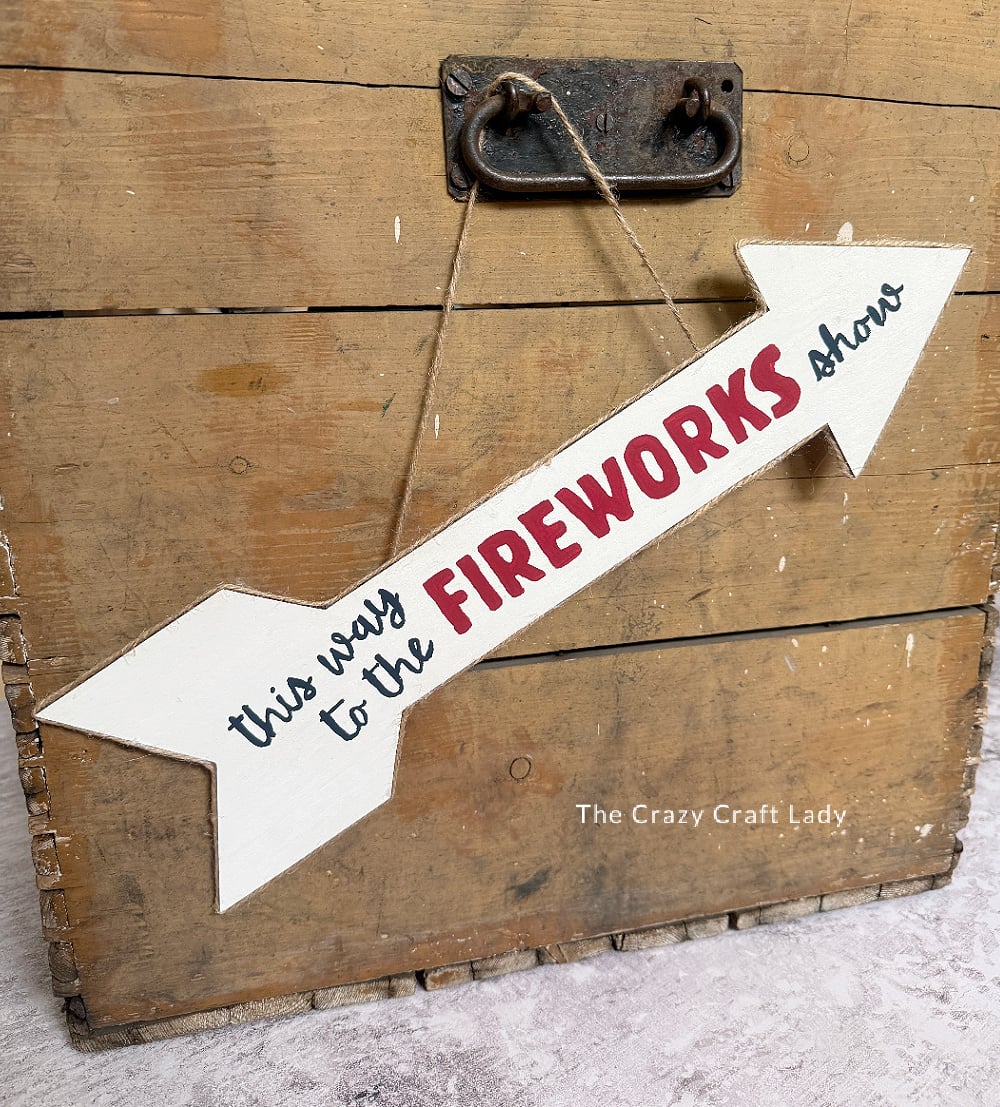
I love how the twine trim gives this sign a vintage county fair vibe, and the classic “This Way to the Fireworks Show” phrase feels right at home among patriotic decor. Whether you display it indoors or outdoors in a covered space, it’s a fun project that comes together in an afternoon.
PIN this craft for later:
See what to pack – photography equipment, supplies, and DIY photo props – for a fun summer 4th of July photo shoot for kids

It’s the last of the twins’ “firsts” as far as major holidays are concerned. Since the weather is finally making it feel like summer, I wanted to take R & B to the park to play in the grass and take some pictures. I really wanted to capture their first experience feeling grass, and I thought some 4th of July themed pictures would be cute. Well, this little trip to the park may have gotten a bit out of control (in a good way).
On Thursday afternoon, after getting new checkered outfits at the mall, I swung by the craft store to pick up some props. I bought two mini American flags and an unfinished wooden plaque in the shape of an arrow.
That night, after the twins went to bed, I stayed up painting. I decided on the words “this way to the fireworks show.” After a minor paint air bubble incident and a couple of hours, I had a finished product. Side Note: I used Martha Stewart multi-surface SATIN acrylic craft paint in “tartan red” and “greek tile.”

The next morning, I packed a bag full of all my supplies, put the twins in their checkered outfits, and headed to the park. We only stayed for about 45 minutes. I think the babies went on sensory-overload. When I set Miss. B. in the grass, she looked utterly terrified. Both babies were getting tired, so we went home for a nap and a more familiar setting. But we weren’t finished yet.

That afternoon, my mom came over to visit the twins. We went back to the park and took more shots. It was nice to have an extra set of hands (especially when taking pictures on the bench and on the dock). After another 45 minutes, I had 400 pictures to sort and edit. Here are my absolute favorites:


More 4th of July Crafts:


They are way too cute! I love all of the pics and the editing, you do such a good job with all of the photos. I still need to learn how to take good pics…..someday…….
I really like your photos. I often use photo editor to edit my photos.