Create stunning watercolor butterfly wall art using book pages and a Dollar Tree canvas. Easy, budget-friendly DIY decor!
This post contains some affiliate links for your convenience. Click here to read my full disclosure policy.
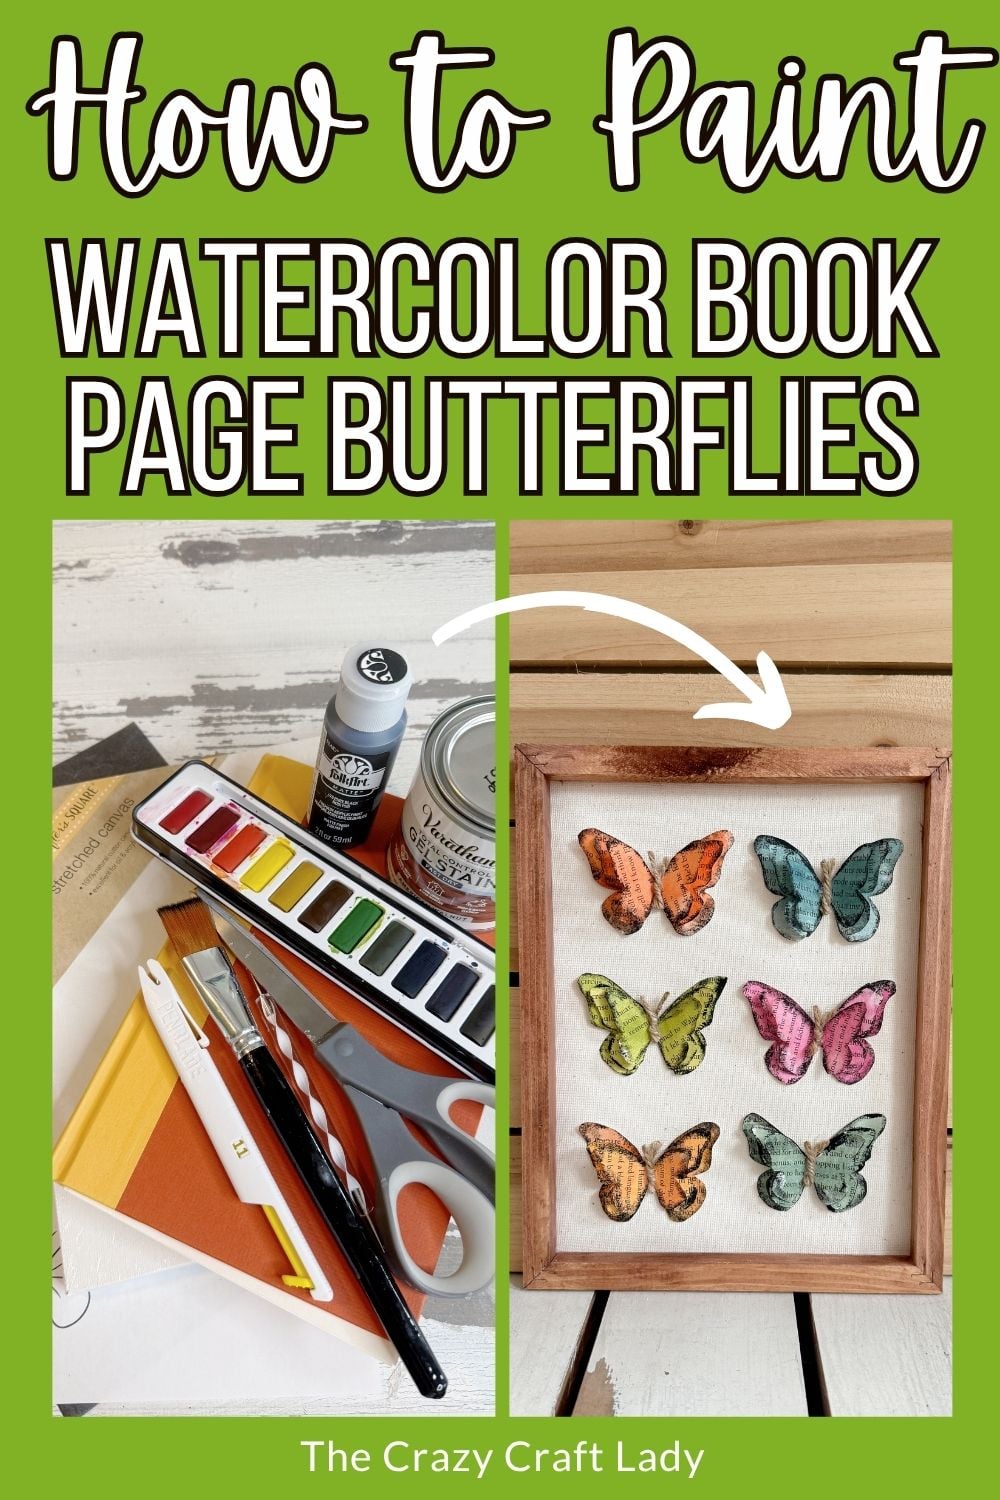
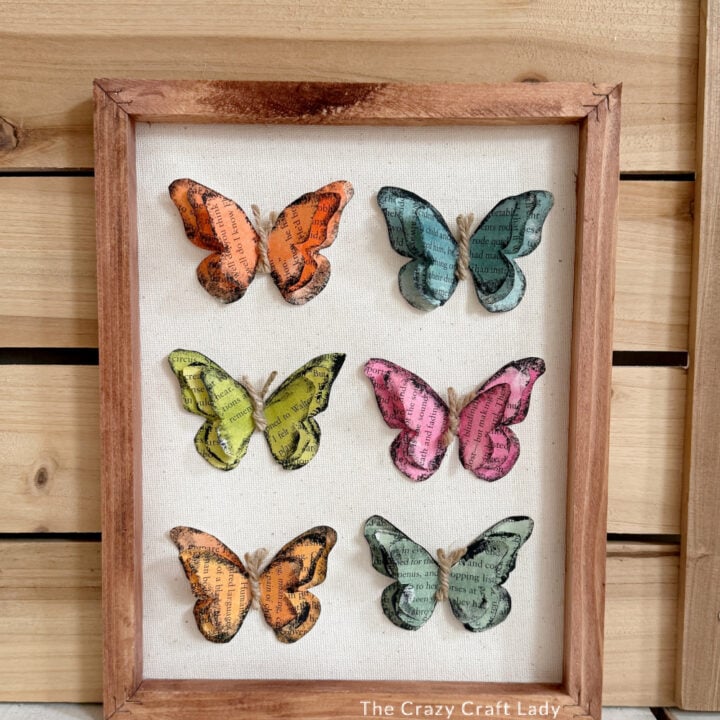
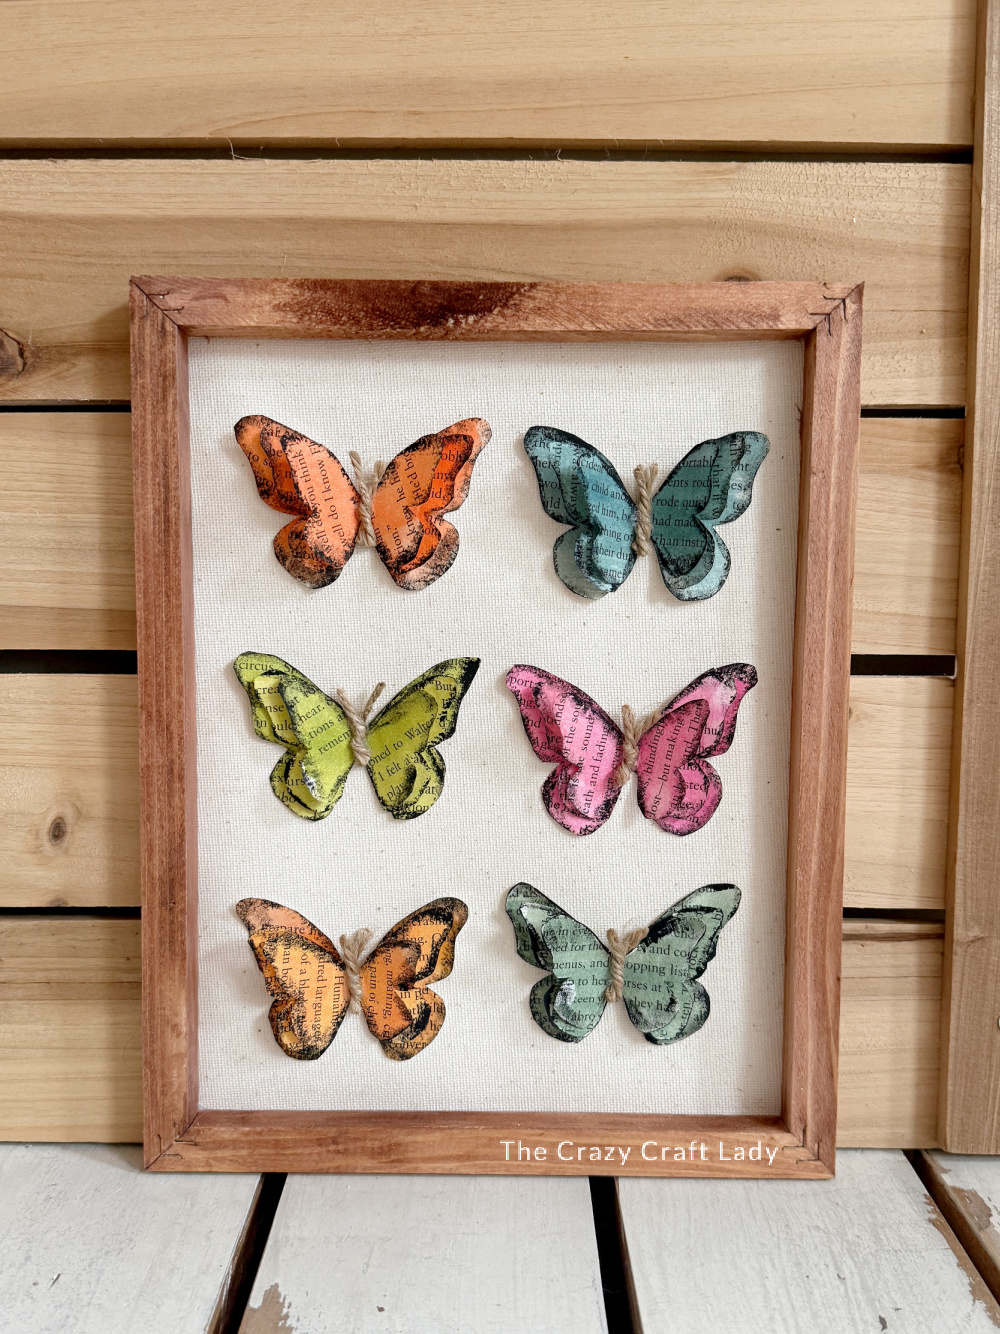
How to make beautiful butterfly specimen art using old book pages and watercolor paint.
If you love budget-friendly crafts with a vintage twist, you are going to LOVE this watercolor butterfly wall art! This project combines painted book pages, layered butterflies, and a reverse canvas technique to create a gorgeous piece of DIY specimen art that looks high-end, but costs just a few dollars to make.
Video Tutorial: Watercolor Book Page Butterfly Specimen Art
Watch this quick video to see how this craft came together:
Watercolor Book Page Butterfly Specimen Art
Yield:
1 craft
Active Time:
30 minutes
Additional Time:
40 minutes
Total Time:
1 hour 10 minutes
Difficulty:
easy
Estimated Cost:
$2
Turn old book pages into beautiful layered butterfly wall decor with this simple step-by-step tutorial.
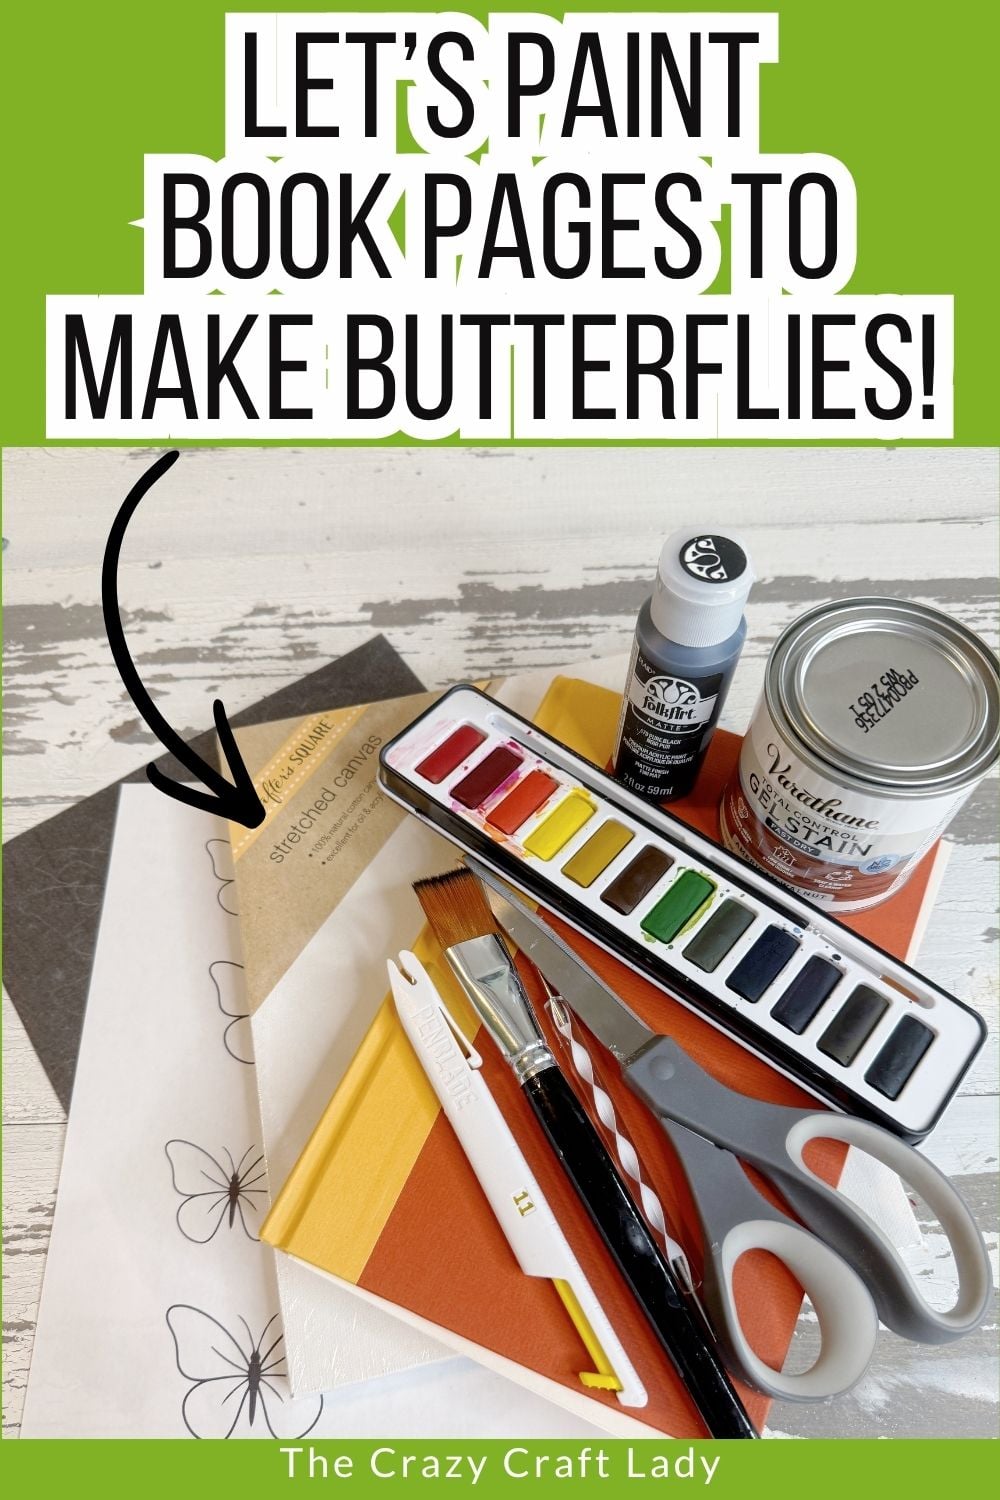
Materials
- Old book pages
- Watercolor paints
- Free butterfly printable (for tracing)
- Carbon transfer paper
- Tracing tool or pen
- Scissors
- Black acrylic paint
- Small flat paintbrush (for dry brushing)
- Twine
- 8x10 stretched canvas (Dollar Tree)
- Wood stain (I used Varathane in American Walnut)
- Paper towels
Tools
- Paintbrushes
- Printer
- Lamp (for tracing)
- Work surface protection (scrap paper or mat)
- Craft knife or pen blade
- Pliers (optional)
- Hot glue gun + glue sticks
Instructions
- Watch the video. Follow along with the video tutorial for a step-by-step walkthrough of how to make your own butterfly specimen art.
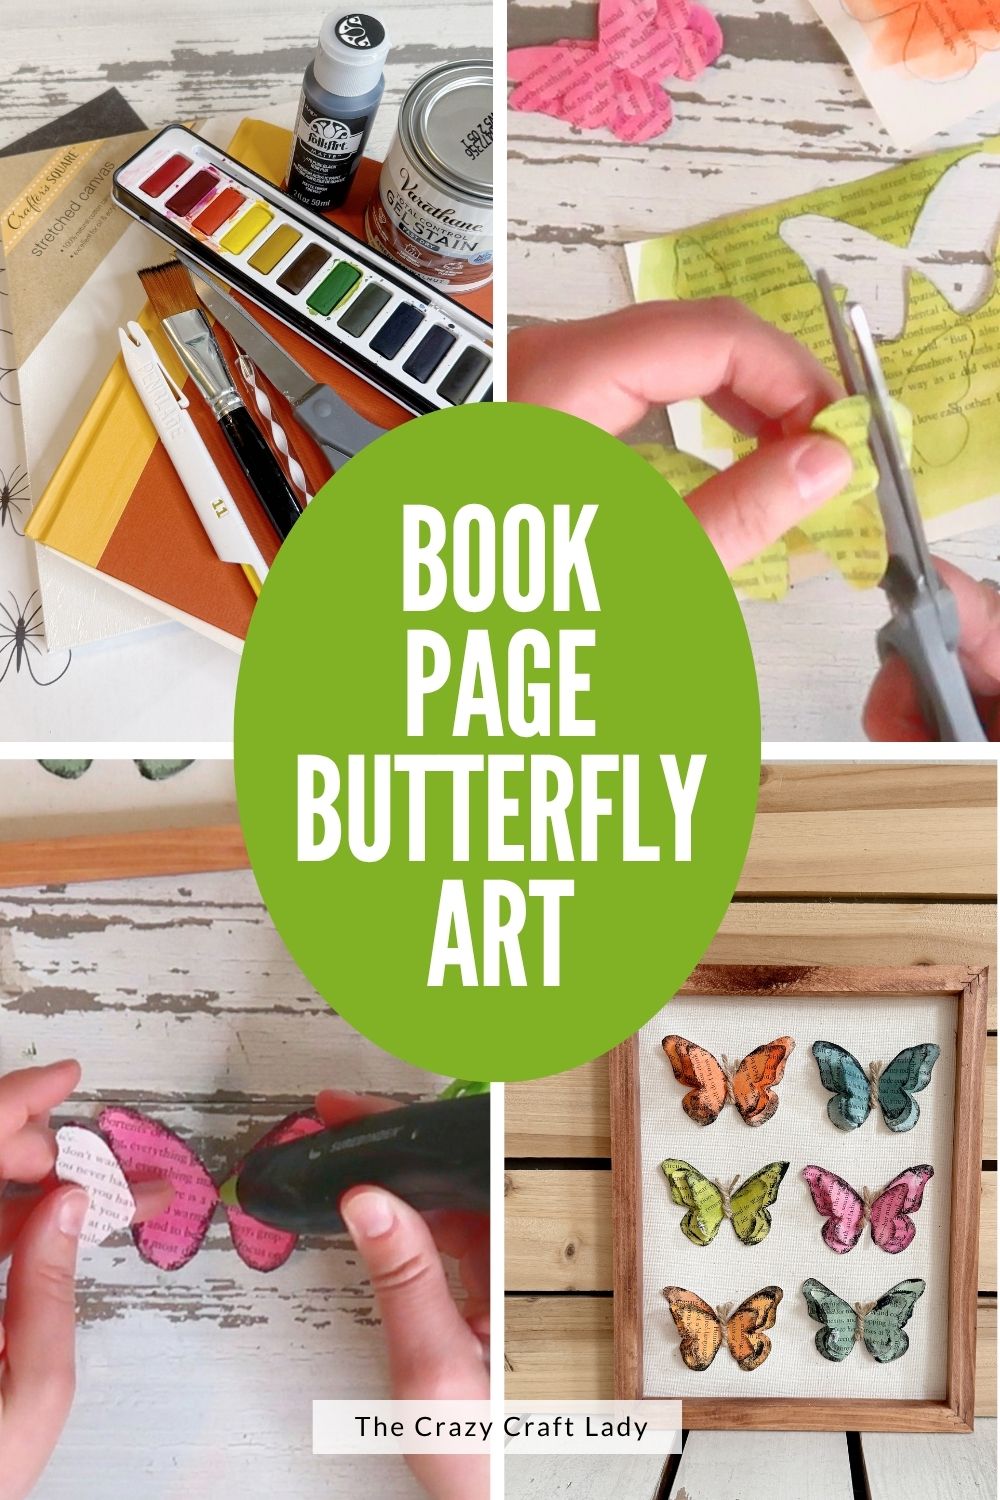
- Paint Your Book Pages. Start by tearing out several book pages. Using watercolor paints, create six different color variations. Each color should cover about half of a book page, which will give you enough space to trace three butterflies (small, medium, and large). Let everything dry completely before moving on.
- Trace the Butterfly Shapes. Hold your printable up to a light source (like a lamp), place your painted book page behind it, and slide carbon transfer paper underneath. Trace only the outer edges of the wings, skip the body and antenna. Repeat until you have: 6 colors, 3 sizes per color, 18 butterflies total.
- Cut Out the Butterflies. Cut out all of your butterflies. Normally, you’d cut just inside the traced lines so not of the carbon transfer lines show. For this project, you don’t need to be so precise, since we’ll be distressing the edges.
- Distress the Edges. Using a dry brush technique with black acrylic paint, lightly distress the edges of each butterfly. Brush outward toward the edges. Use a mix of brushing and light pouncing. Keep it subtle for a soft, vintage look. This step adds depth and helps the layered butterflies stand out.
- Create the Reverse Canvas Frame. Grab your 8x10 stretched canvas and carefully cut around the back edge to remove the canvas from the wood frame. Trim the canvas slightly smaller than the frame. Stain the wooden frame (front + edges) and wipe away excess stain. Let dry (about 20–30 minutes). Flip the frame over and hot glue the canvas back on, this time as a backing, not the front.
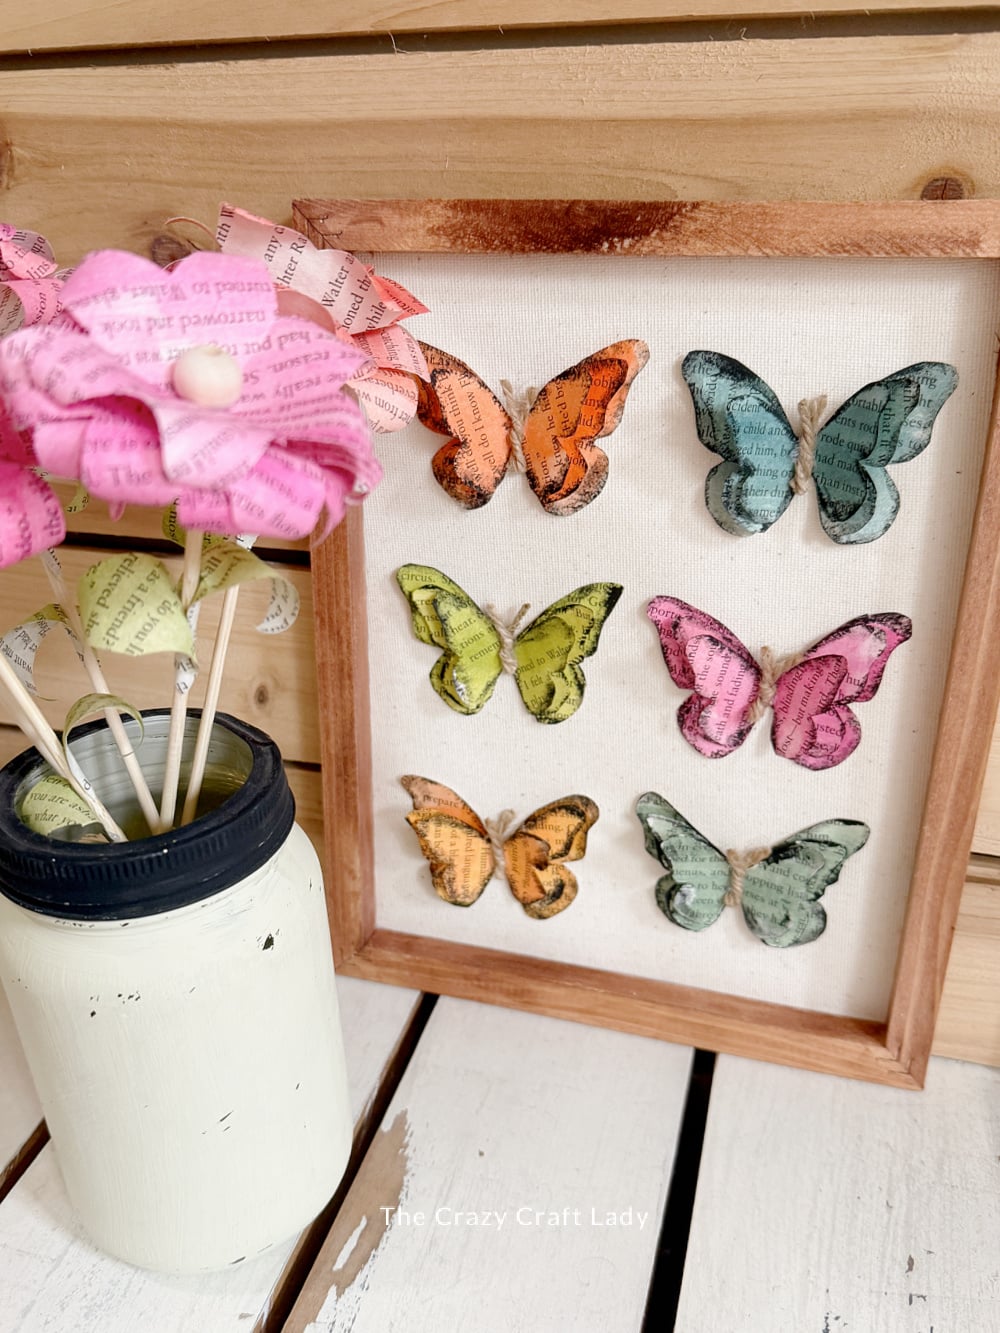
- Arrange Your Butterflies. Lay out your six largest butterflies evenly across the canvas in a specimen art style. This will be your base design before layering.
- Build the 3D Butterfly Layers. For each butterfly set, start with the largest butterfly (base layer). Fold the medium butterfly slightly and glue it in the center, and add the smallest butterfly on top. This creates a beautiful dimensional effect with lifted wings.
- Add the Butterfly Body. Cut two small (about 1-inch) pieces of twine, and twist them together. Glue the center down as the body, and leave the ends sticking up as antenna.
- Attach Butterflies to Canvas. Add a dab of hot glue to the back of each butterfly and attach them to your canvas. Only press down the bottom layer, then gently fluff the top layers for that 3D effect.
The finished Butterfly Specimen Art Craft
Don’t forget to PIN this craft for later: