
Make Pottery Barn-inspired terracotta jack-o’-lanterns for less using Dollar Tree pumpkins, baking soda, paint, and a little patience.
DIY Terracotta Jack-o’-Lanterns from Dollar Tree Pumpkins
This post contains some affiliate links for your convenience. Click here to read my full disclosure policy.
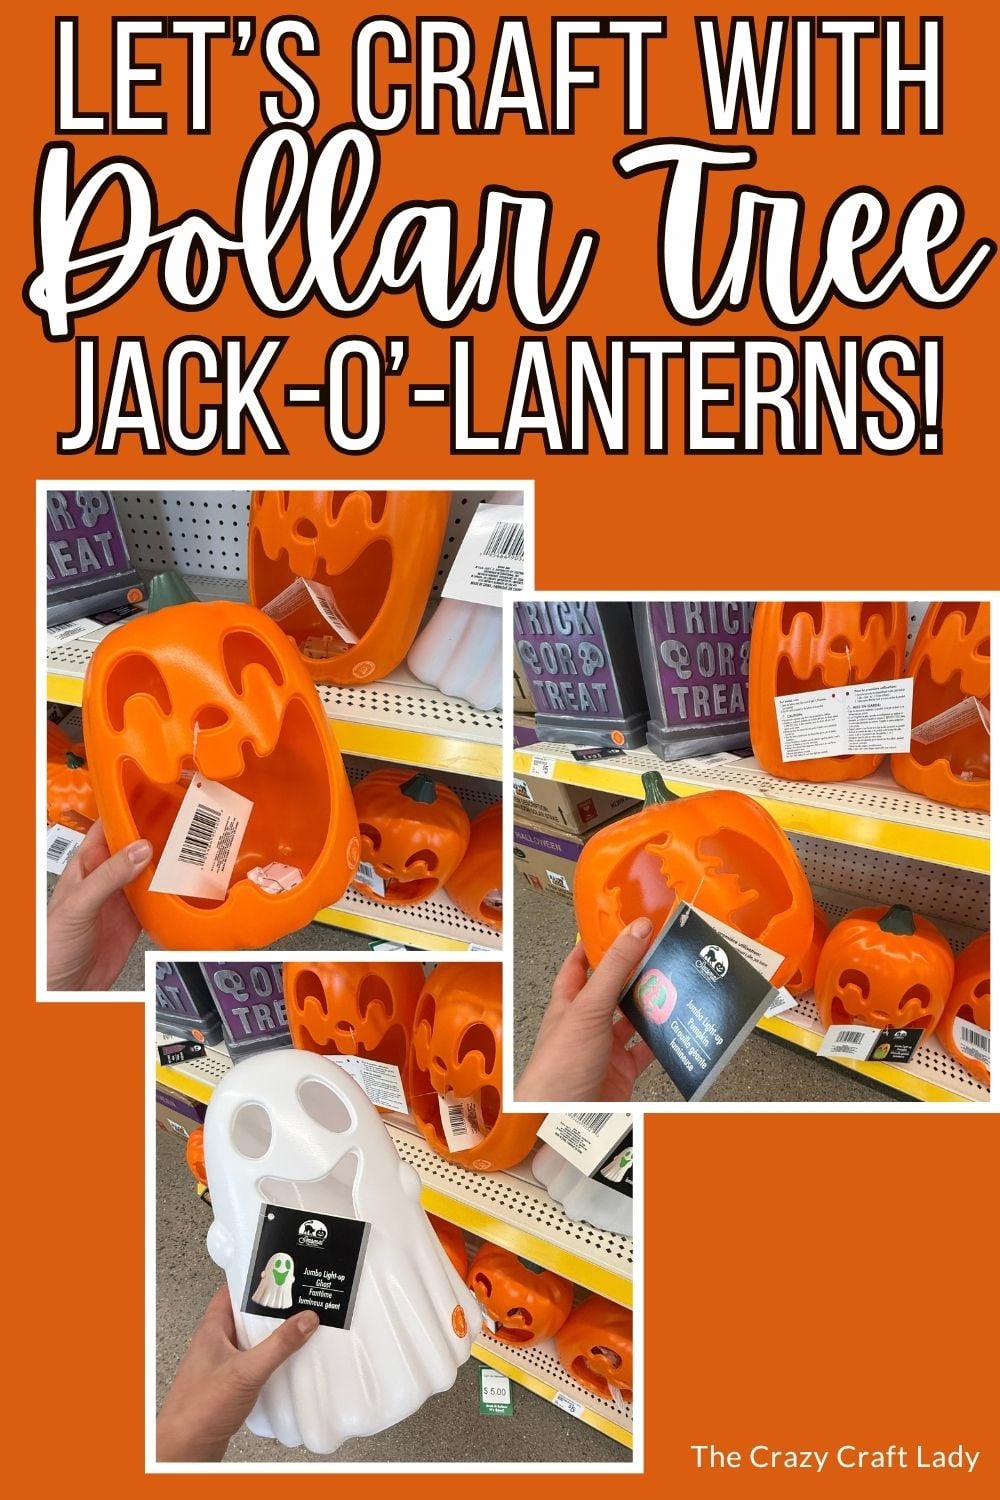
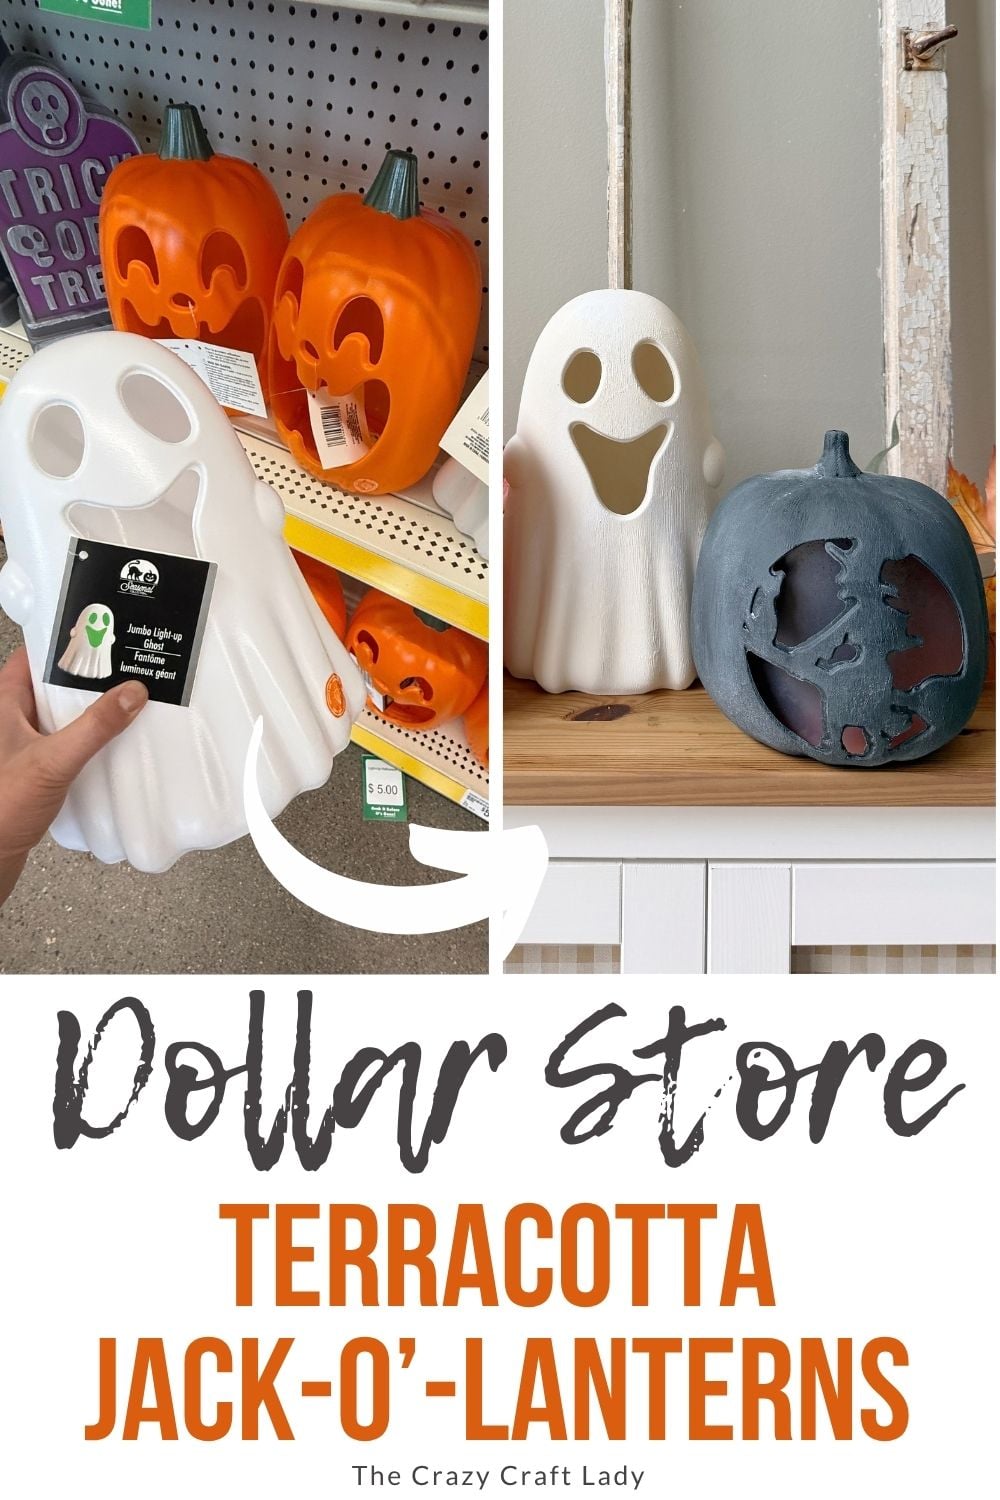
I spotted these jumbo plastic jack-o’-lanterns at Dollar Tree and immediately wanted to paint them. My inspiration was a set of handmade terracotta jack-o’-lanterns I’d seen at Pottery Barn. I loved the orange, black, and cream colors, so I decided to try all three.
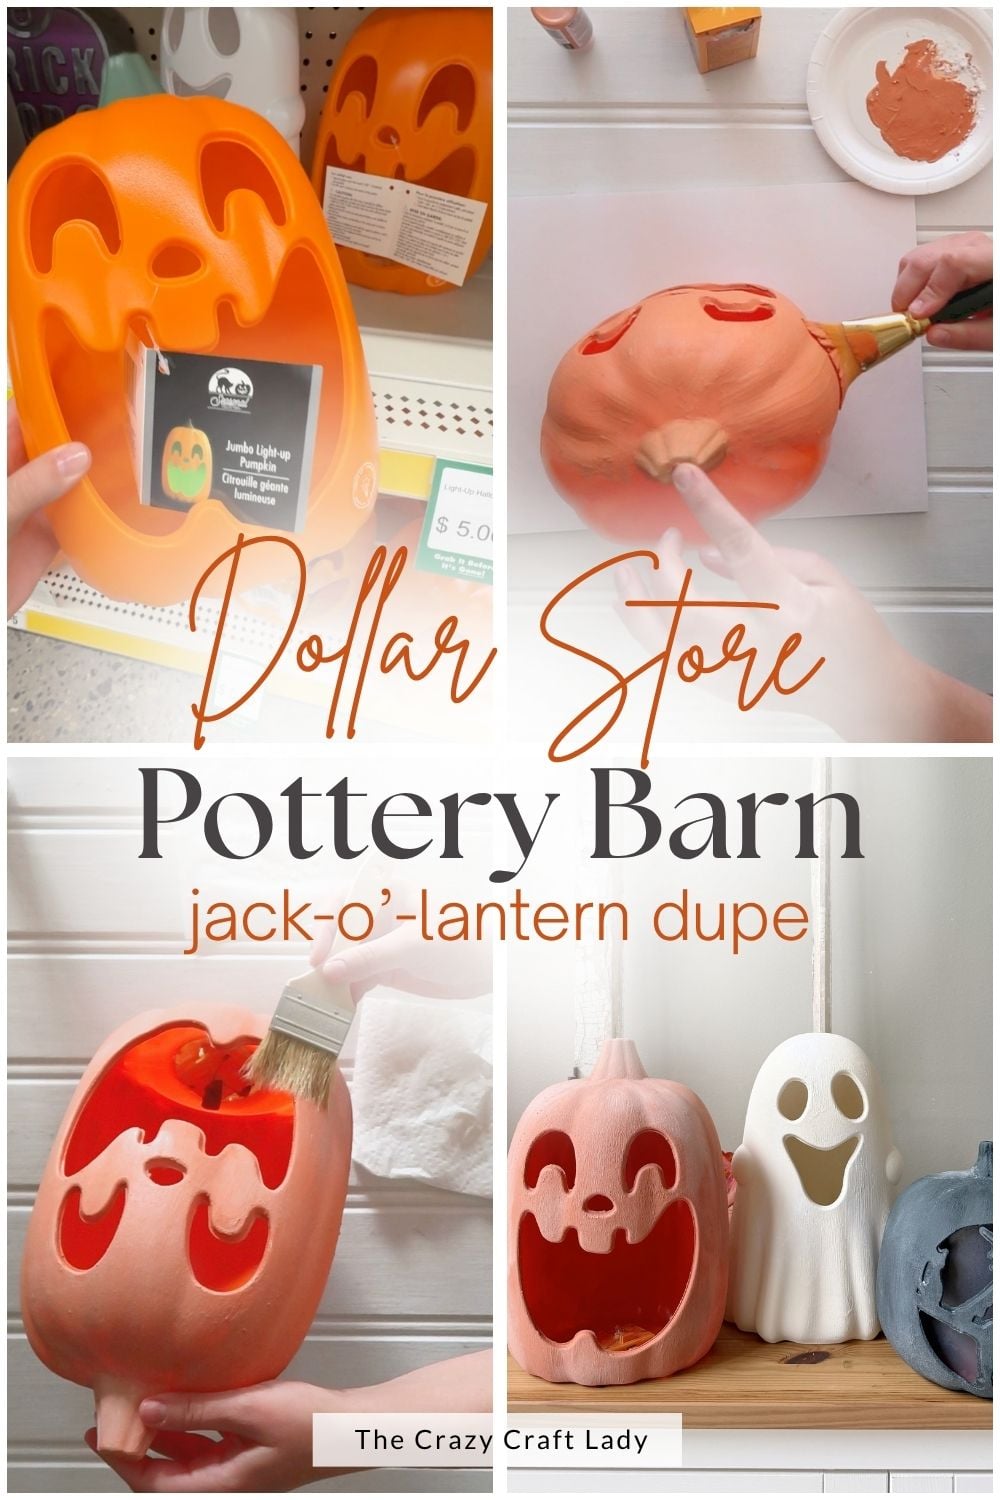
This is a put-on-Gilmore Girls-and-craft kind of project. The painting takes some time, but the baking soda texture and whitewashed finish make those plastic pumpkins look completely different.
Supplies you’ll need for this craft:
- Three Dollar Tree plastic jack-o’-lanterns
- Spray paint for a base coat (I used orange, black, and cream)
- Acrylic or chalk paint in orange, soft black, and cream
- White acrylic paint
- Baking soda
- Paintbrushes, including a wider brush and a stiff chip brush
- Painter’s tape
- Scrap kraft paper or any other paper
- Water and a spray bottle
- Paper towels
- Matte clear spray sealer
- Battery-operated candles, optional
*EXACT paint colors I used: FolkArt Terra Cotta in Clay Pot, FolkArt Matte in Wrought Iron and Vintage White, and BEHR Chalk Spray Paint in Chiffon Cream. You can use paints you already have and mix colors you like.
How to Make DIY Terracotta Jack-o’-Lanterns
Step 1. Watch the video.
Watch the video located above right here in this blog post to see how I build up the texture and adjust the whitewash on each color.
Step 2. Prep the pumpkins.
Cut off the tags and remove any stickers. On the orange jack-o’-lantern, I covered the little light bulb with painter’s tape so I could keep its light.
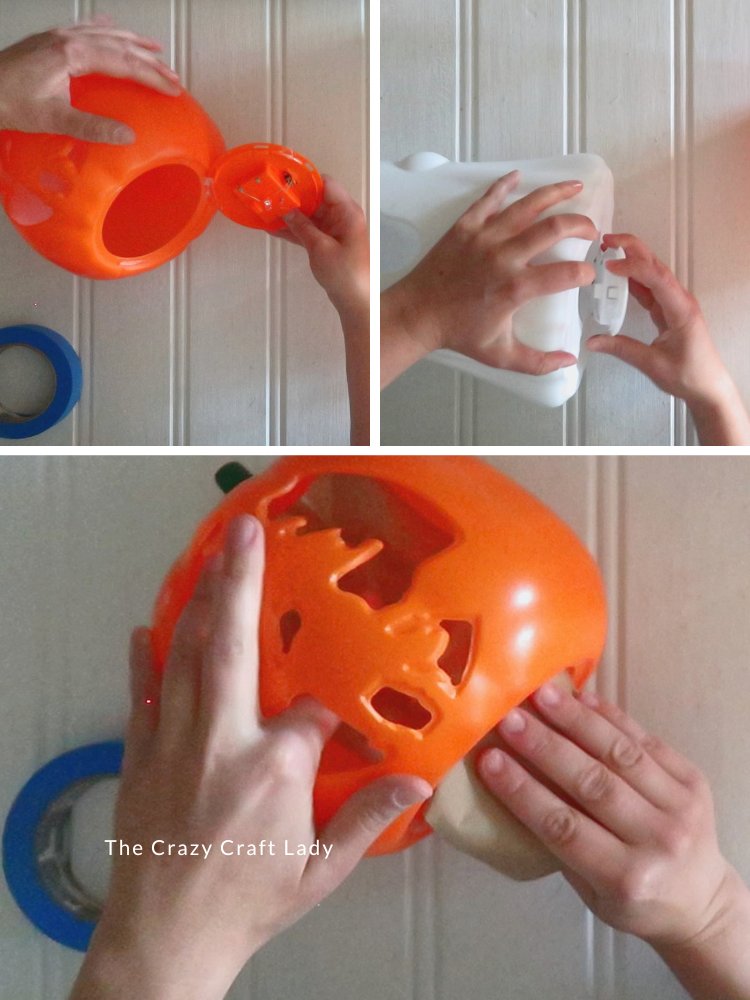
I pulled the battery packs out of the ghost and black pumpkins; a paint-can opener helped pry out the stubborn one. The black pumpkin also had a frosted panel behind its cutout, so I tucked crumpled kraft paper inside to keep paint off it.
Step 3. Spray-paint the base colors.
In a well-ventilated area, spray the pumpkins orange, black, and cream, then let them dry. Think of this as a base coat for the textured paint.
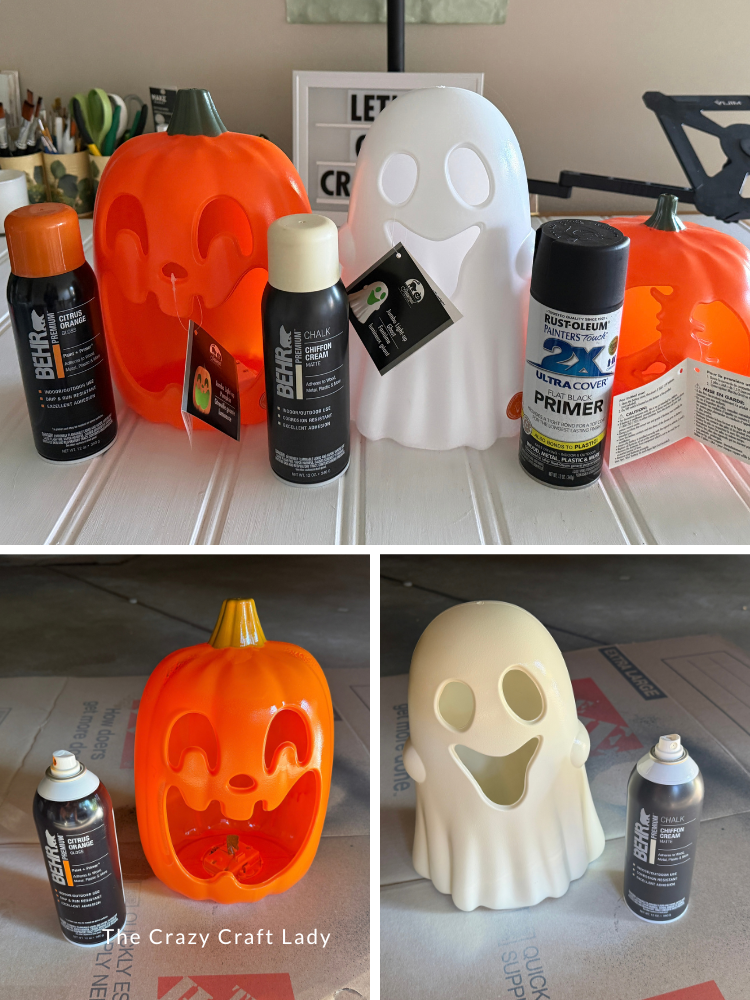
I used what I had on hand, and the orange spray paint’s coverage wasn’t perfect, but that was fine once the next layer went on. Feel free to use whatever spray paint you have on hand, even if the colors don’t match perfectly.
Step 4. Paint around the faces.
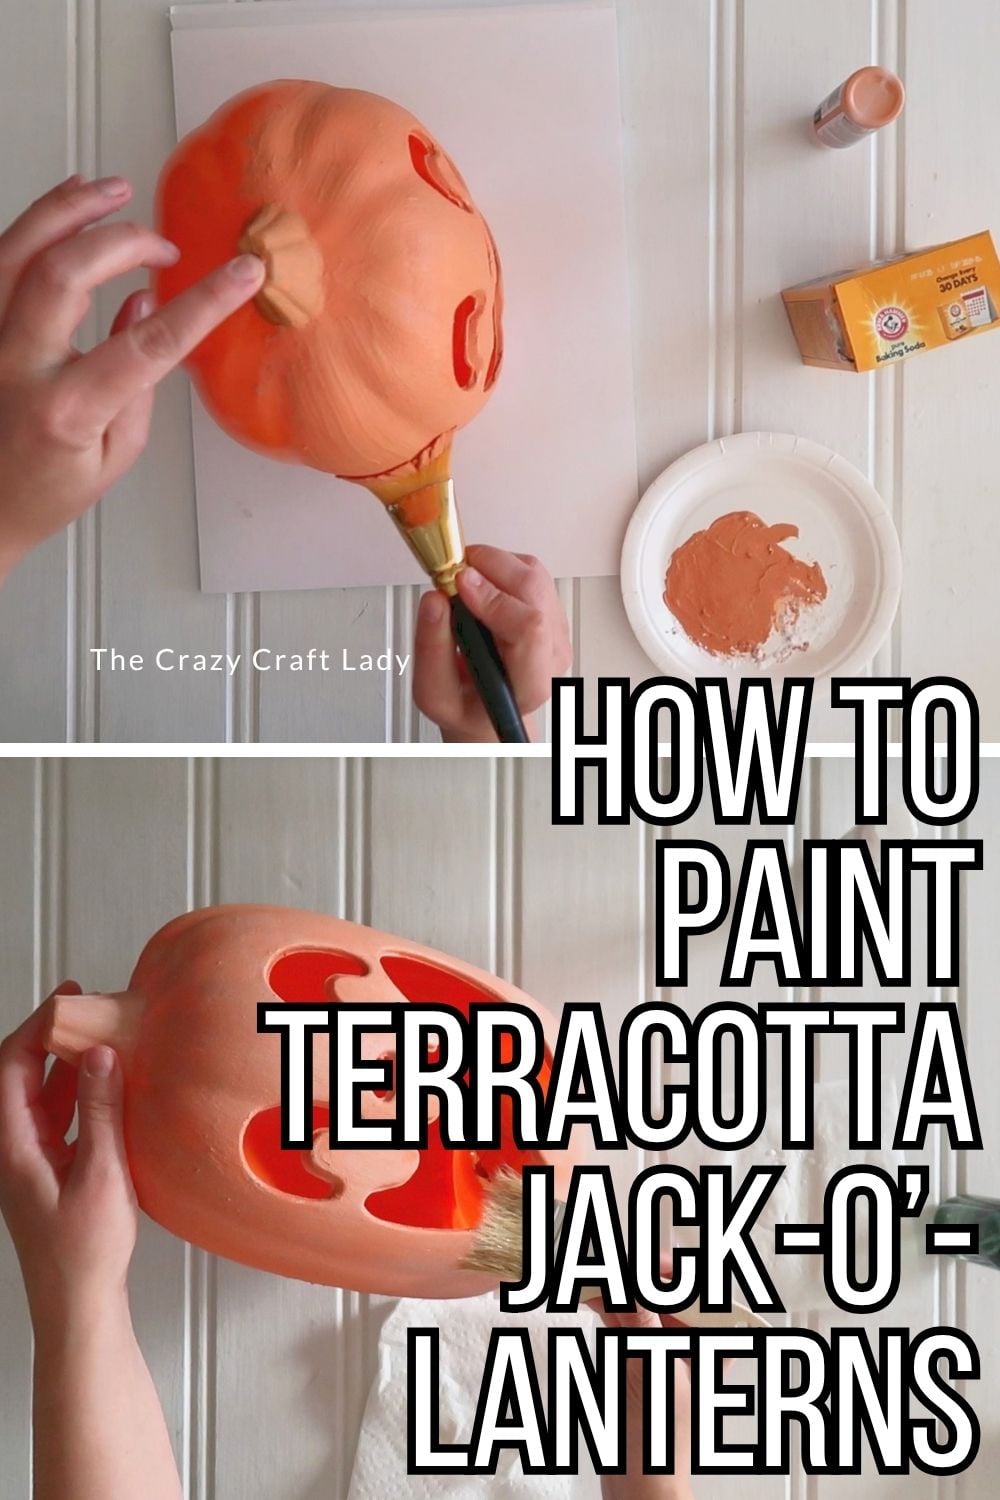
Before adding texture to the jack-o’-lanterns, use plain paint and a small pouncing motion to cover the narrow raised edges around their cutouts. Those little rims are much easier to reach without baking soda in the paint.
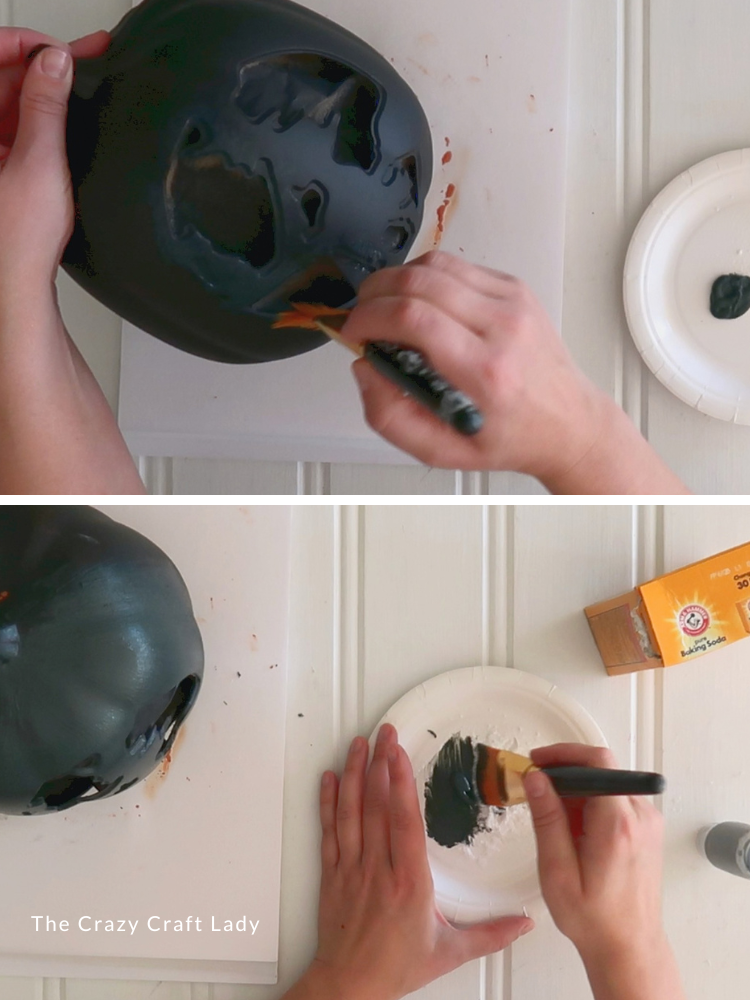
Step 5. Build the terracotta texture.
Mix a little baking soda into your orange paint on a paper plate. Brush it around the face, then use a wider brush to make long vertical strokes down the pumpkin. Work in sections, mixing more paint and baking soda as needed.
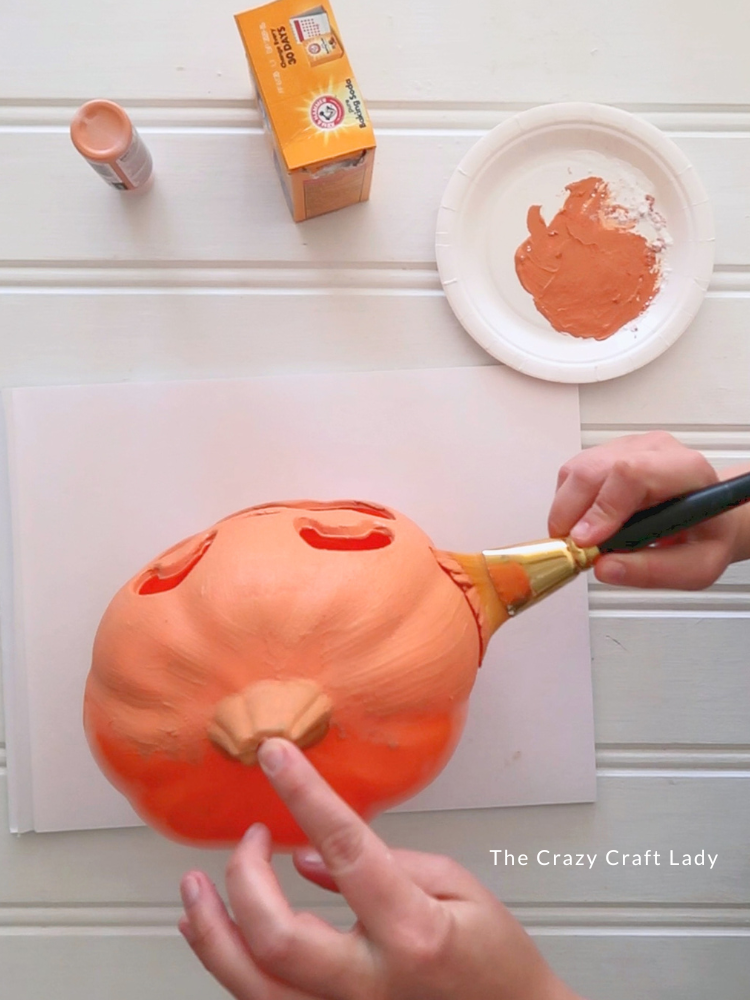
Repeat with soft black paint on the black pumpkin and cream paint on the ghost. Once dry, add a second coat anywhere you want more texture. I also brushed a little extra baking soda over the black pumpkin while its paint was still wet, for a different technique. Play around to see what works best for you.
Step 6. Whitewash each pumpkin.
When the textured paint is dry, mix white acrylic paint with water and brush it on using vertical strokes. A stiff chip brush works well for catching the texture.
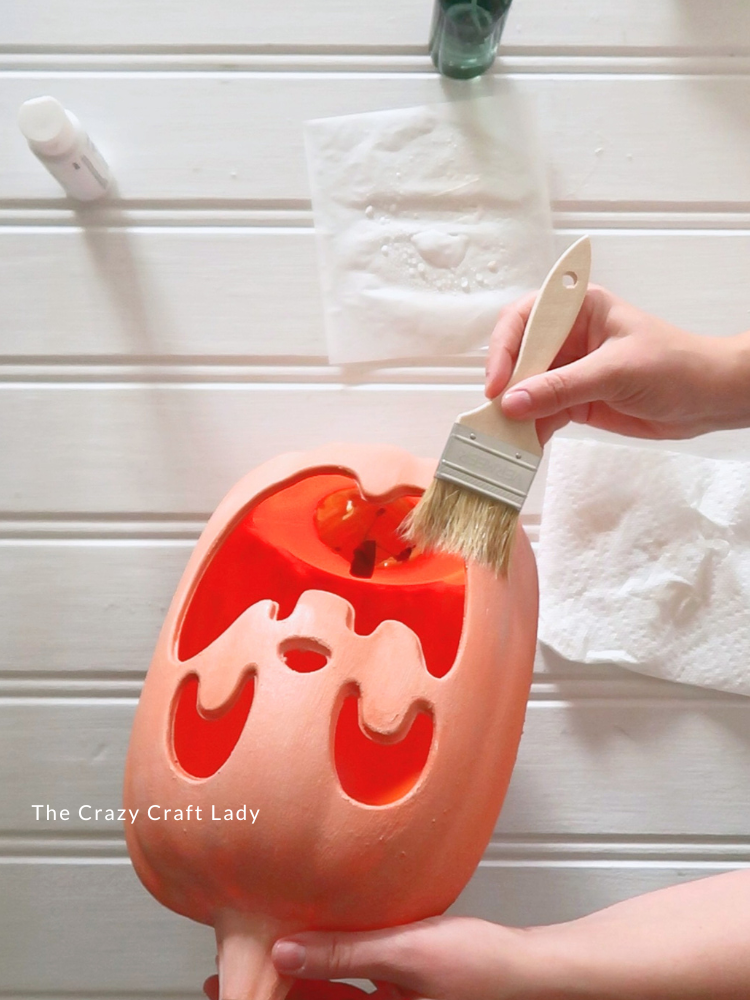
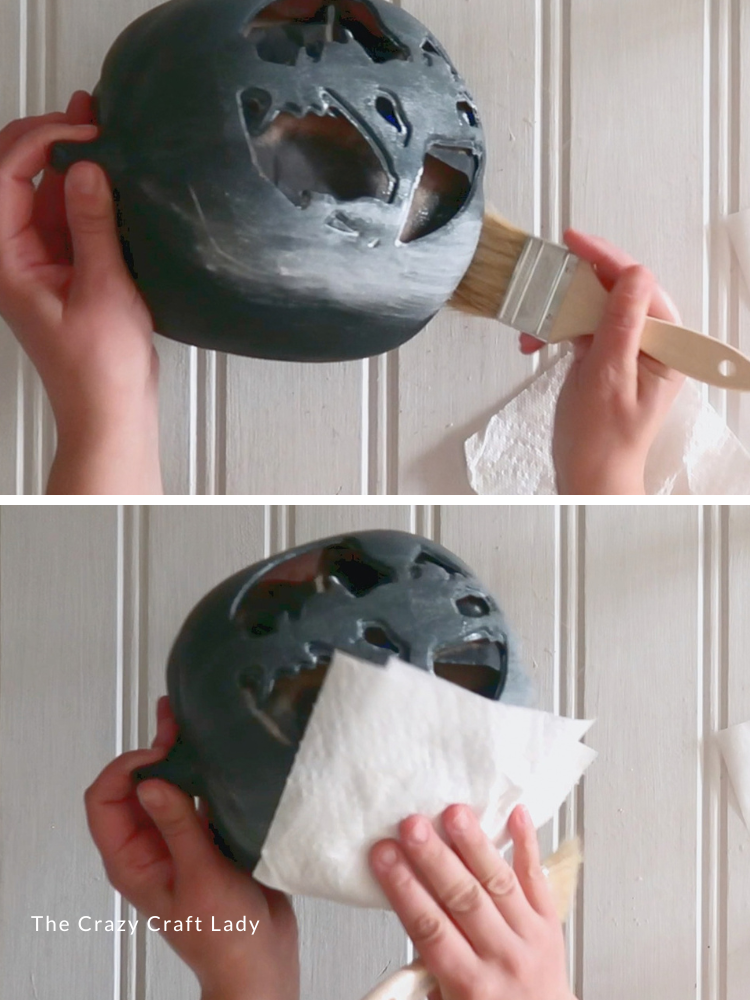
Use a very thin whitewash on the black pumpkin, a moderately watered-down mixture on the orange one, and less water on the cream ghost so the white will show up. If a section looks too heavy, dab it with a paper towel or mist it with water and brush it out.
Step 7. Add a little more distressing.
Let the first whitewash dry and take a look at all three pumpkins. I went back with more white in selected spots on the orange pumpkin and pounced a thicker white mixture onto parts of the ghost. Keep adjusting until you like the uneven, weathered finish.
Step 8. Seal and reassemble.
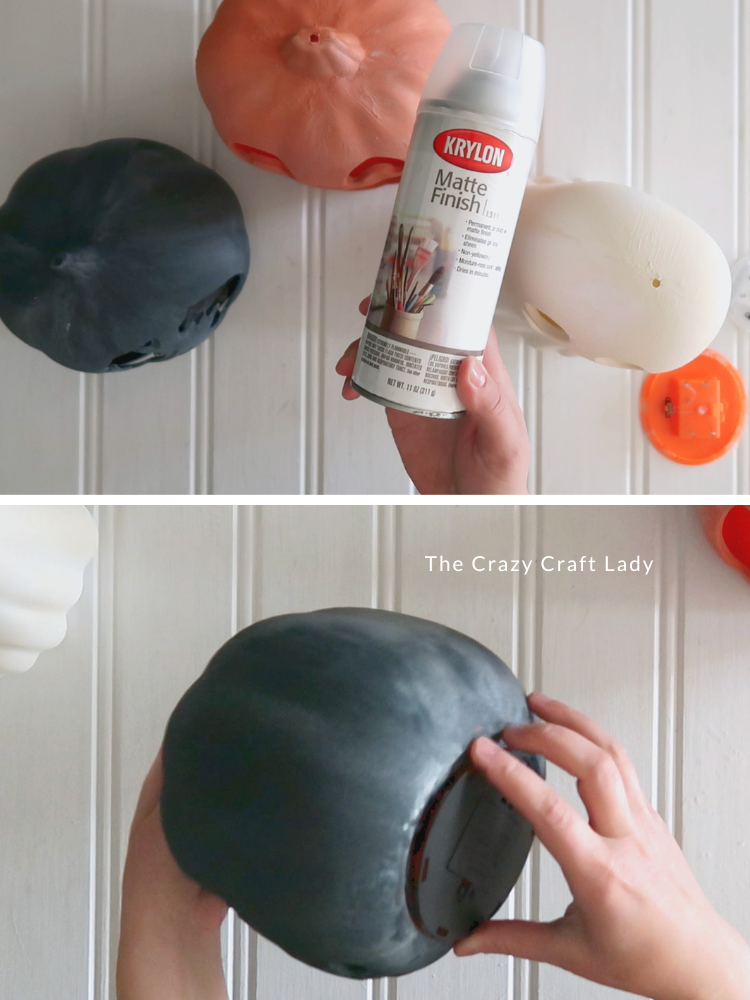
Once the paint is completely dry, spray on two light coats of matte clear sealer. Remove the painter’s tape and kraft paper, then put the battery packs back in. Mine flashed bright colors when lit; for a softer glow, you can leave the packs out and use battery-operated candles instead.
A Quick Note on the Distressed Finish
I tested sprinkling baking soda over wet paint for a dusty white finish, but the white effect disappeared when I added clear sealer. Watered-down white paint gave me the look I wanted and held up after sealing.
Finished Terracotta Jack-o’-Lanterns
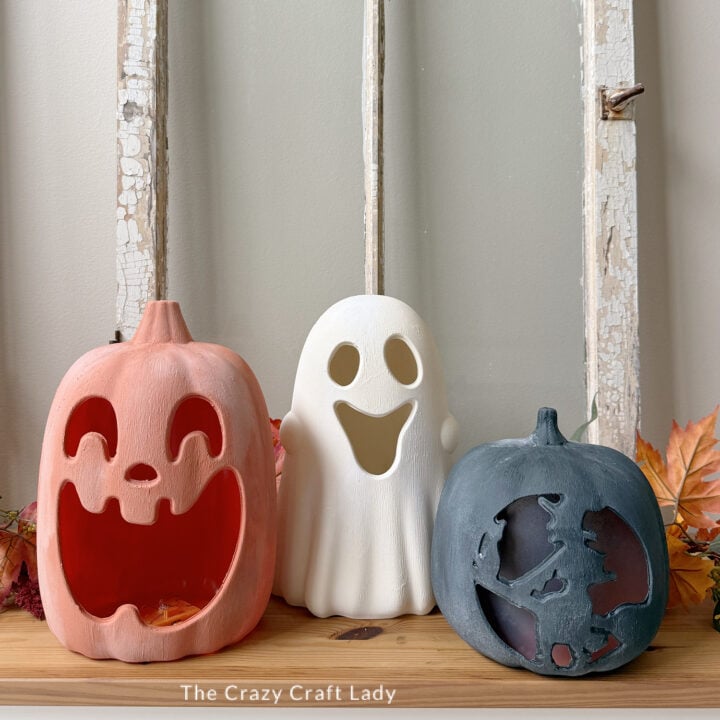
I love how different these Dollar Tree pumpkins look with a little texture and whitewash. The orange feels classic, the soft black is a little moody, and the cream ghost might be my favorite of the three.
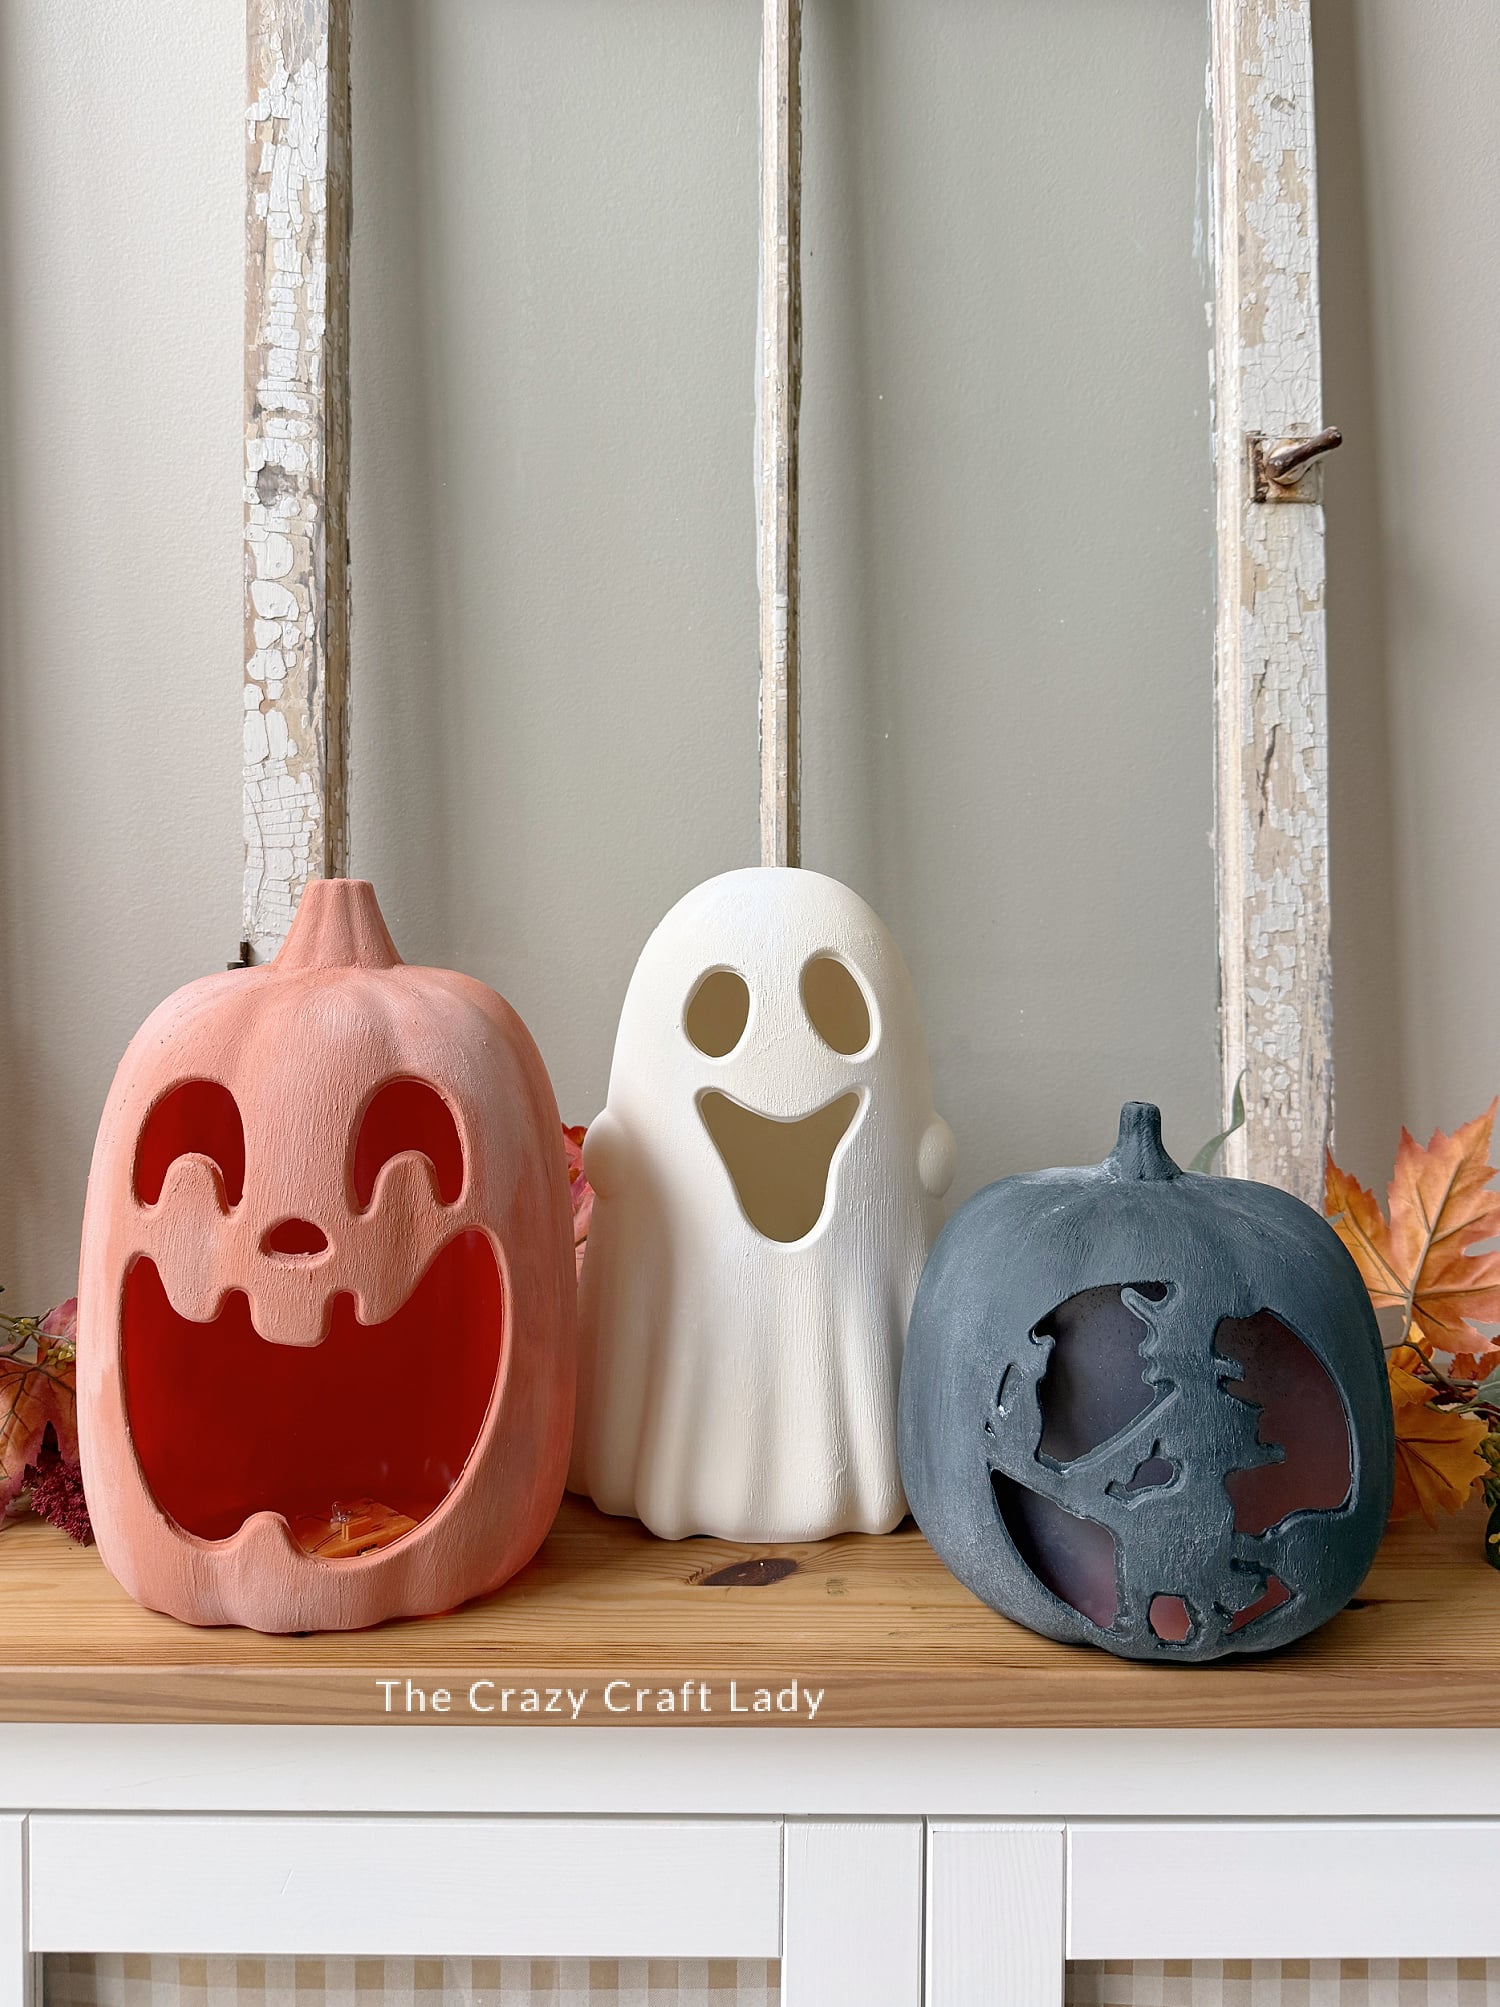
There’s no need to make every brushstroke perfect. The uneven finish is what gives them that handmade terracotta look. Pop in the original lights if you like their colorful flash, or use battery-operated candles for a softer glow. Which color would you make first?
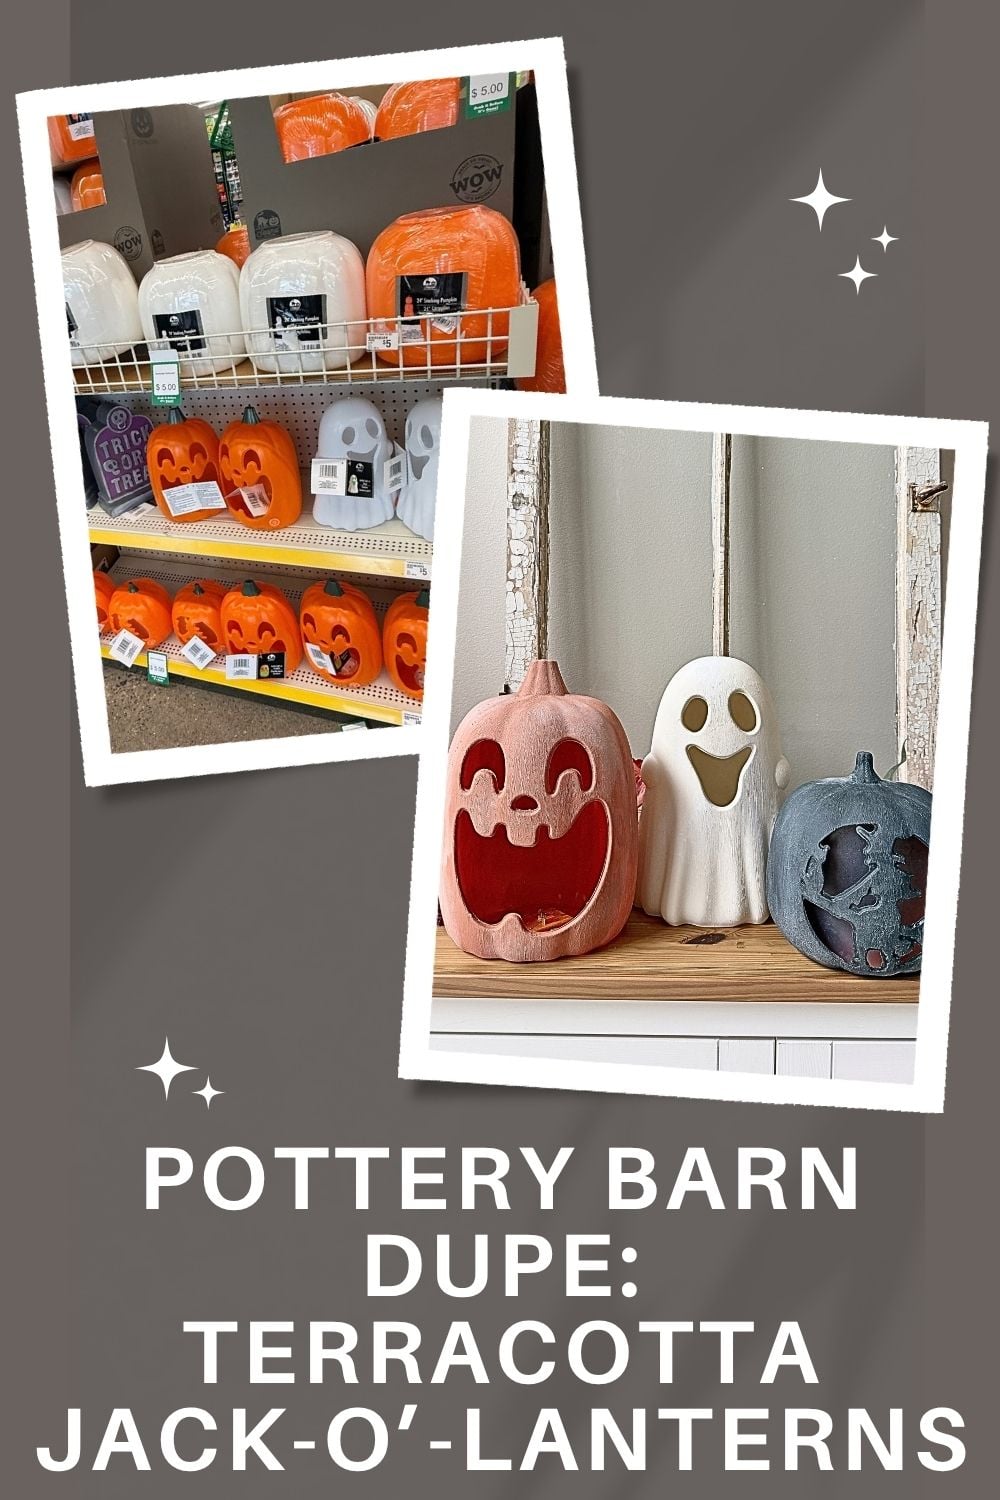
PIN this Halloween Pottery Barn Dupe for Later:
DIY Terracotta Jack-o’-Lanterns
See how to transform plastic jack-o’-lanterns into textured Halloween decor in orange, black, and cream.
Materials
- Three Dollar Tree plastic jack-o’-lanterns
- Spray paint for a base coat (I used orange, black, and cream)
- Acrylic or chalk paint in orange, soft black, and cream
- White acrylic paint
- Baking soda
- Painter’s tape
- Scrap kraft paper or any other paper
- Paper towels
- Matte clear spray sealer
- Battery-operated candles, optional
Tools
- Paintbrushes, including a wider brush and a stiff chip brush
- Water and a spray bottle
Instructions
- Watch the video located above right here in this blog post for a closer look at the painting and whitewashing techniques.
- Cut off the pumpkin tags and remove stickers. Tape over any light bulb you plan to keep. Remove the bottom battery packs if needed, and tuck kraft paper inside to protect any frosted cutout panels.
- Spray-paint the pumpkins orange, black, and cream. Let the base coats dry before adding texture.
Use plain paint to cover the narrow rims around the face cutouts. Pounce the brush into those small areas so they’re fully coated. - Mix baking soda into coordinating acrylic paint. Brush the mixture over each pumpkin in long vertical strokes, working in sections. Let dry, then add another coat wherever you want more texture.
- Thin white acrylic paint with water. Brush it vertically over each pumpkin with a stiff chip brush. Use the most water for the black pumpkin and the least for the cream ghost.
- Dab away heavy white spots with a paper towel, or mist them with water and brush them out. Let dry and add more whitewash in selected areas until you like the distressed finish.
- When completely dry, apply two light coats of matte clear spray sealer. Remove the tape and kraft paper, then reinsert the battery packs or use battery-operated candles.