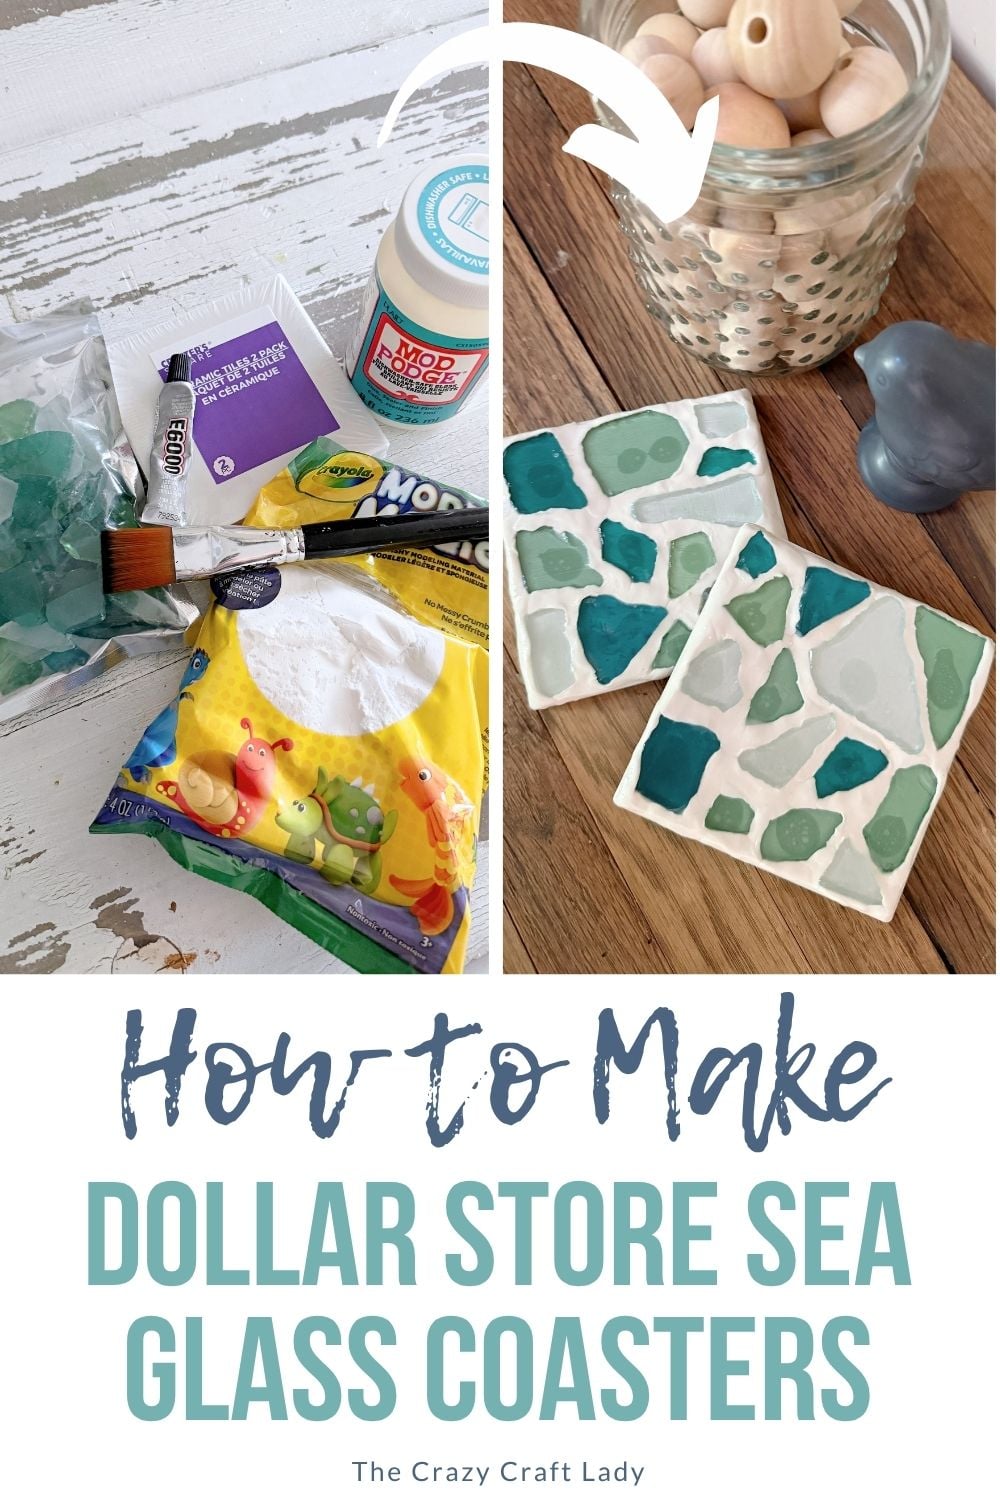
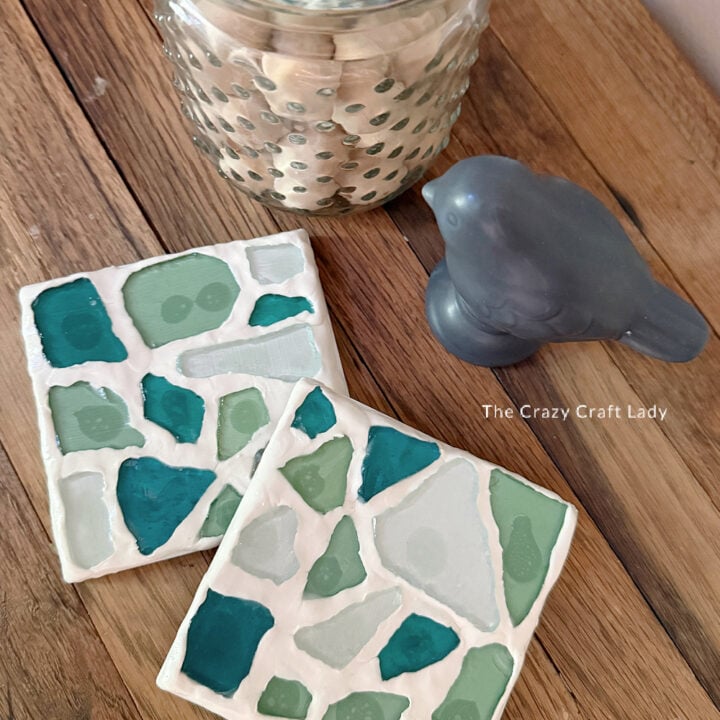
Make beautiful DIY sea glass coasters using Dollar Tree tile coasters, faux sea glass, and air dry clay. This easy coastal craft is budget-friendly and beginner-friendly!
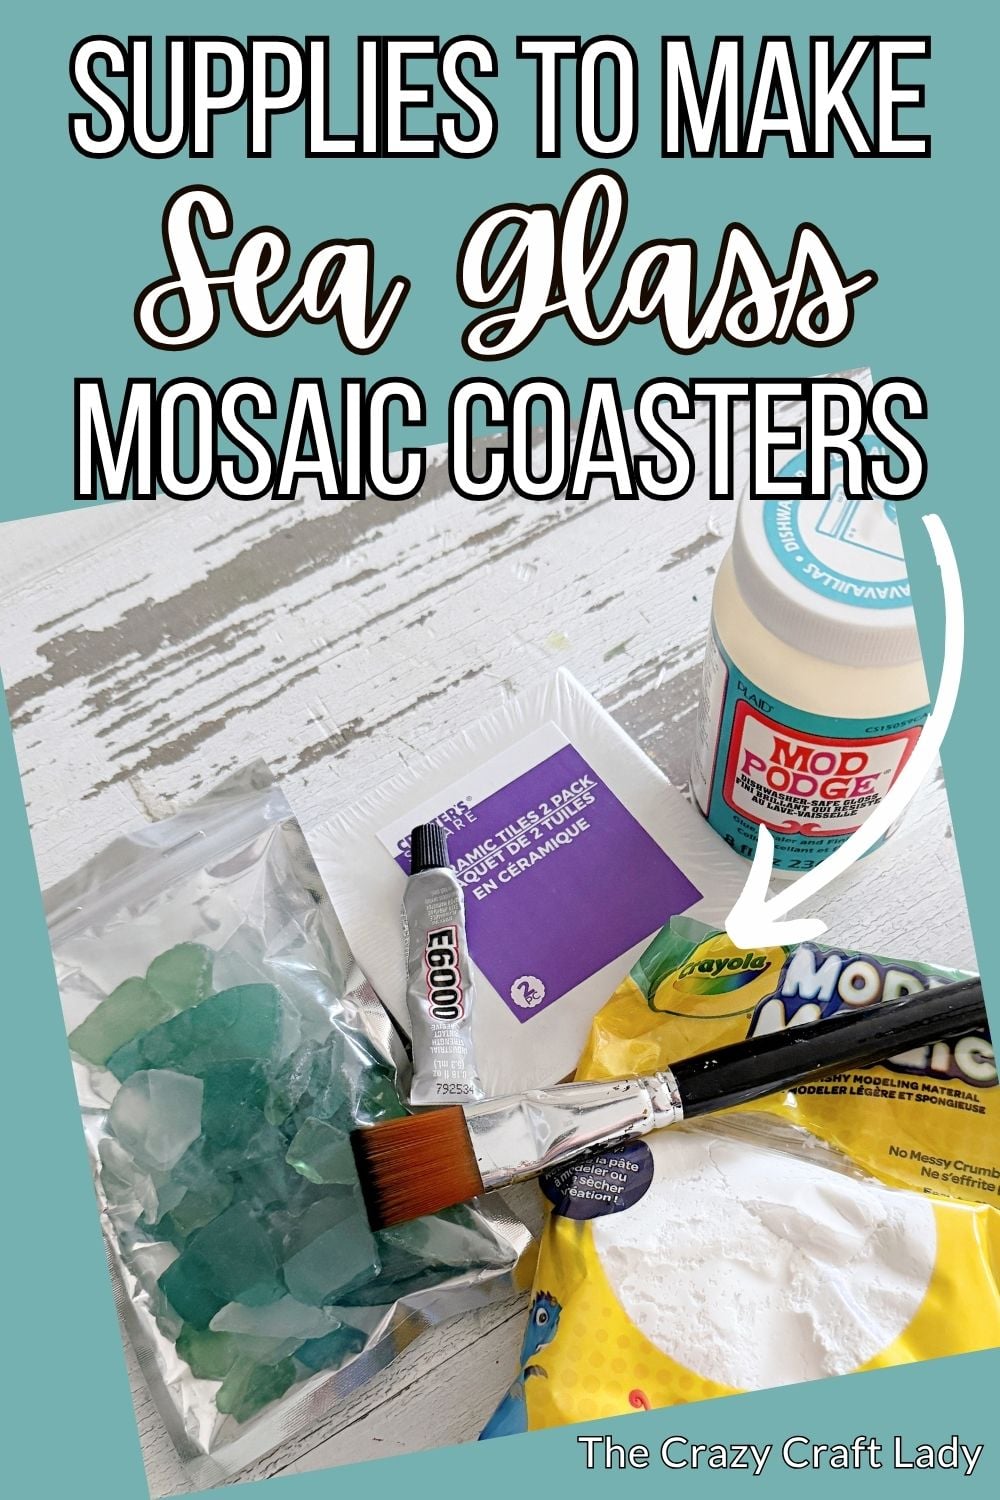
How to make sea glass mosaic coasters using Dollar Tree supplies.
This post contains some affiliate links for your convenience. Click here to read my full disclosure policy.
If there is one thing I can’t resist in the Dollar Tree craft aisle, it’s a plain surface with craft potential. And those little square tile coasters? Ohhh, they are just begging for a makeover.
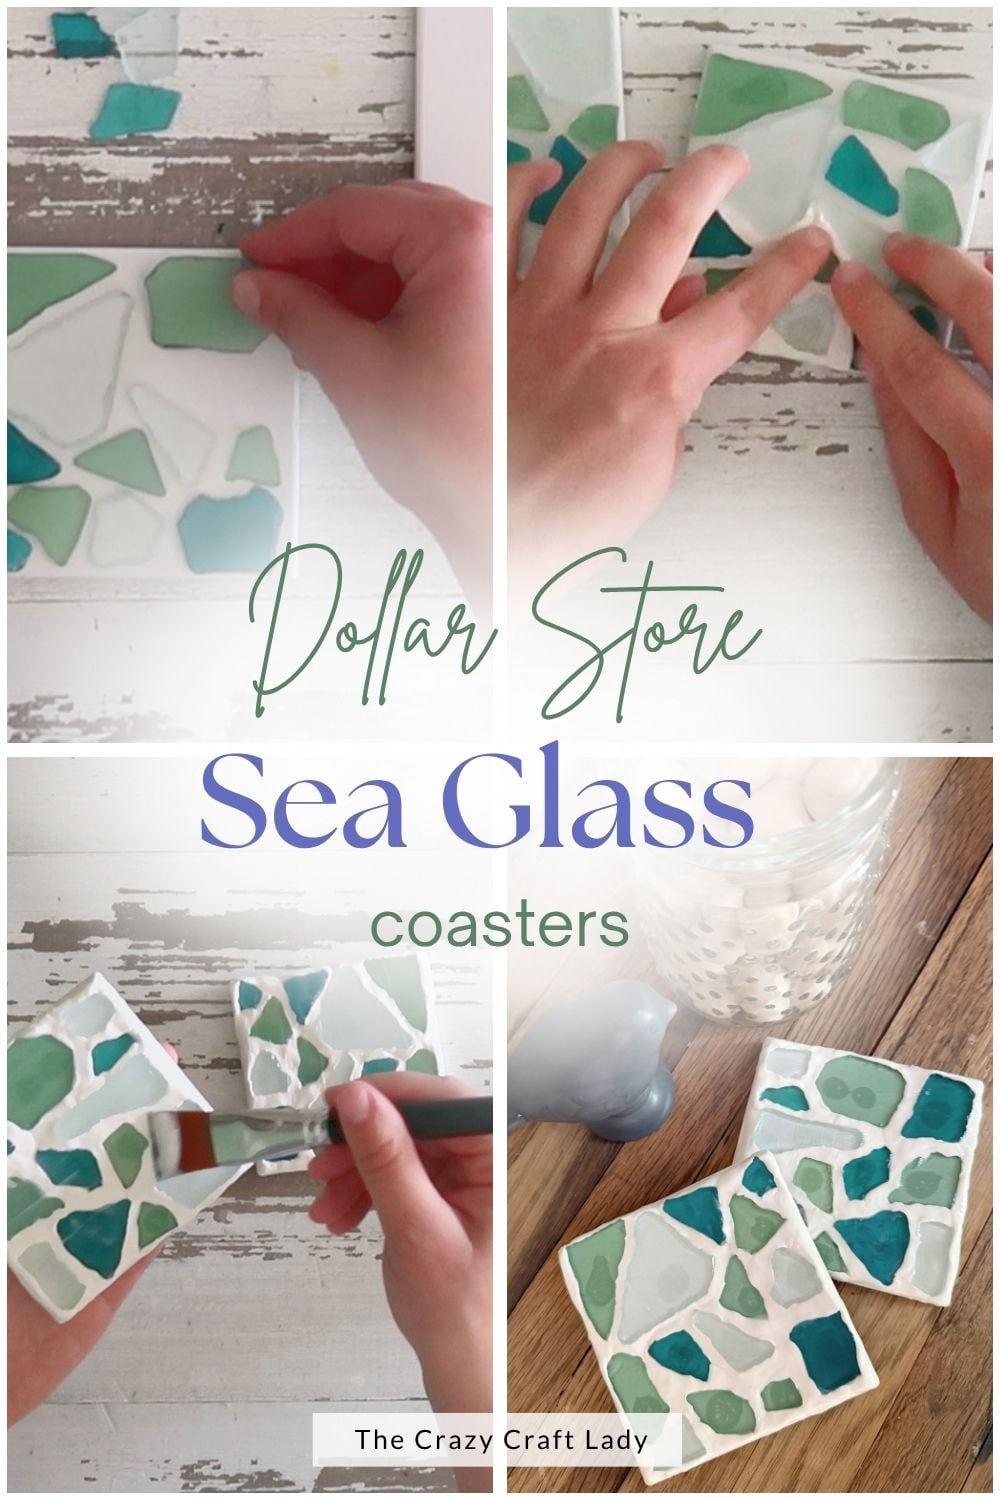
For this project, I turned a set of basic dollar store tile coasters into pretty faux sea glass coasters with a soft coastal vibe. They’re easy to make, surprisingly forgiving, and they look like something you’d find in a cute little beachside gift shop… not made from a couple of Dollar Tree supplies on your kitchen table.
The best part? No messy grout involved. We’re using air dry clay instead, which makes this project a whole lot more approachable.
Video Tutorial: DIY Sea Glass Mosaic Coasters
Watch this quick video to see how this craft came together:
DIY Sea Glass Mosaic Coasters
Learn how to make DIY sea glass coasters with dollar store supplies! These coastal-inspired coasters are easy to customize and sealed for a glossy, water-resistant finish.
Materials
- Dollar Tree square tile coasters
- Sea glass pieces from Dollar Tree
- E6000 adhesive
- Air dry clay or Model Magic
- Dishwasher Safe Mod Podge
Tools
Instructions
- Watch the video. Follow along with the video tutorial for a step-by-step walkthrough of how to make your own sea glass coasters.
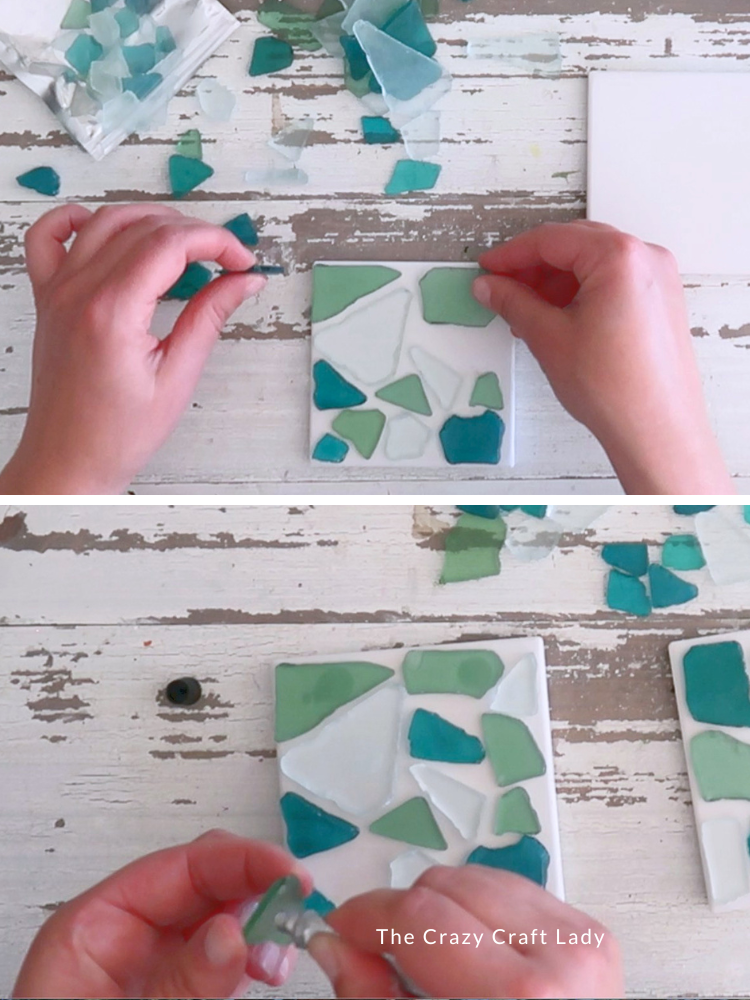
- Arrange the sea glass on the coaster. Start with one of the square tile coasters from Dollar Tree. Grab your faux sea glass pieces and start playing around with the layout before gluing anything down. I used a mix of colors—dark teal, medium teal, and very light blue/clear pieces—and alternated them around the coaster so the colors felt evenly spaced. There’s no exact pattern required here, so just move the pieces around until it looks balanced to your eye.

- Glue the sea glass in place. Once you’re happy with your arrangement, use a tiny dab of E6000 on the back of each sea glass piece and press it onto the coaster. After everything is attached, gently press and wiggle the sea glass pieces so they’re sitting nice and flat on the tile surface. Then let the glue dry completely before moving on to the next step.
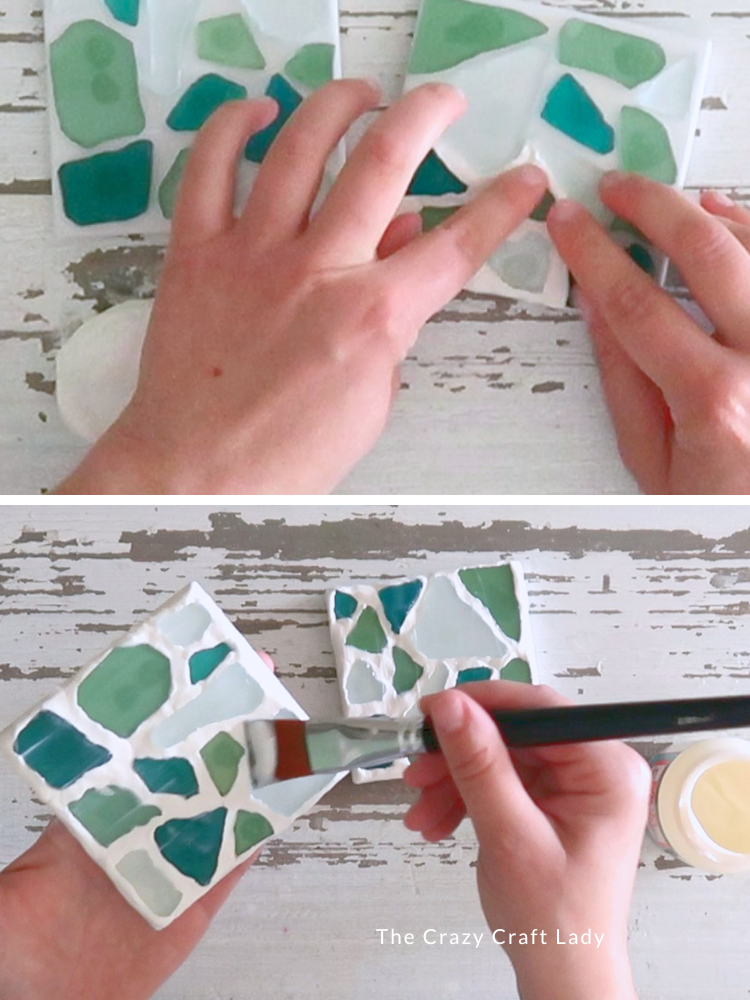
- Fill the gaps with air dry clay. Instead of using grout, I used air dry clay for the spaces between the sea glass pieces. It’s much less messy and way easier to work with. Roll the clay into little thin “snakes,” then press those pieces into the gaps between the sea glass. Use your fingers to smush and smooth the clay down so it fills the spaces evenly. You want the surface to feel fairly level, with the clay filling in around the sea glass pieces. It doesn’t have to be absolutely perfect, but take a few extra minutes here to smooth things out as much as you can. Set the coaster aside and let the clay dry overnight.
- Seal the coaster. Once the clay is fully dry, it’s time to seal everything. I used Dishwasher Safe Mod Podge because I wanted the coasters to have a little protection from moisture and condensation. Brush on a coat of Mod Podge over the entire surface of the coaster, let it dry completely, and then add a second coat. Two coats worked well for me and gave the coaster a nice glossy finish too.
Notes
Tips for Success
* Dry fit your design first. Don’t glue anything down until you like the spacing.
* Use a tiny amount of glue. Too much E6000 can squish out around the sea glass.
* Smooth the clay well. The more time you spend here, the cleaner your finished coaster will look.
* Let each step dry fully. Especially the glue and the air dry clay.
* Seal with at least two coats. This helps protect the coaster and gives it a pretty glossy finish.
The Finished Craft
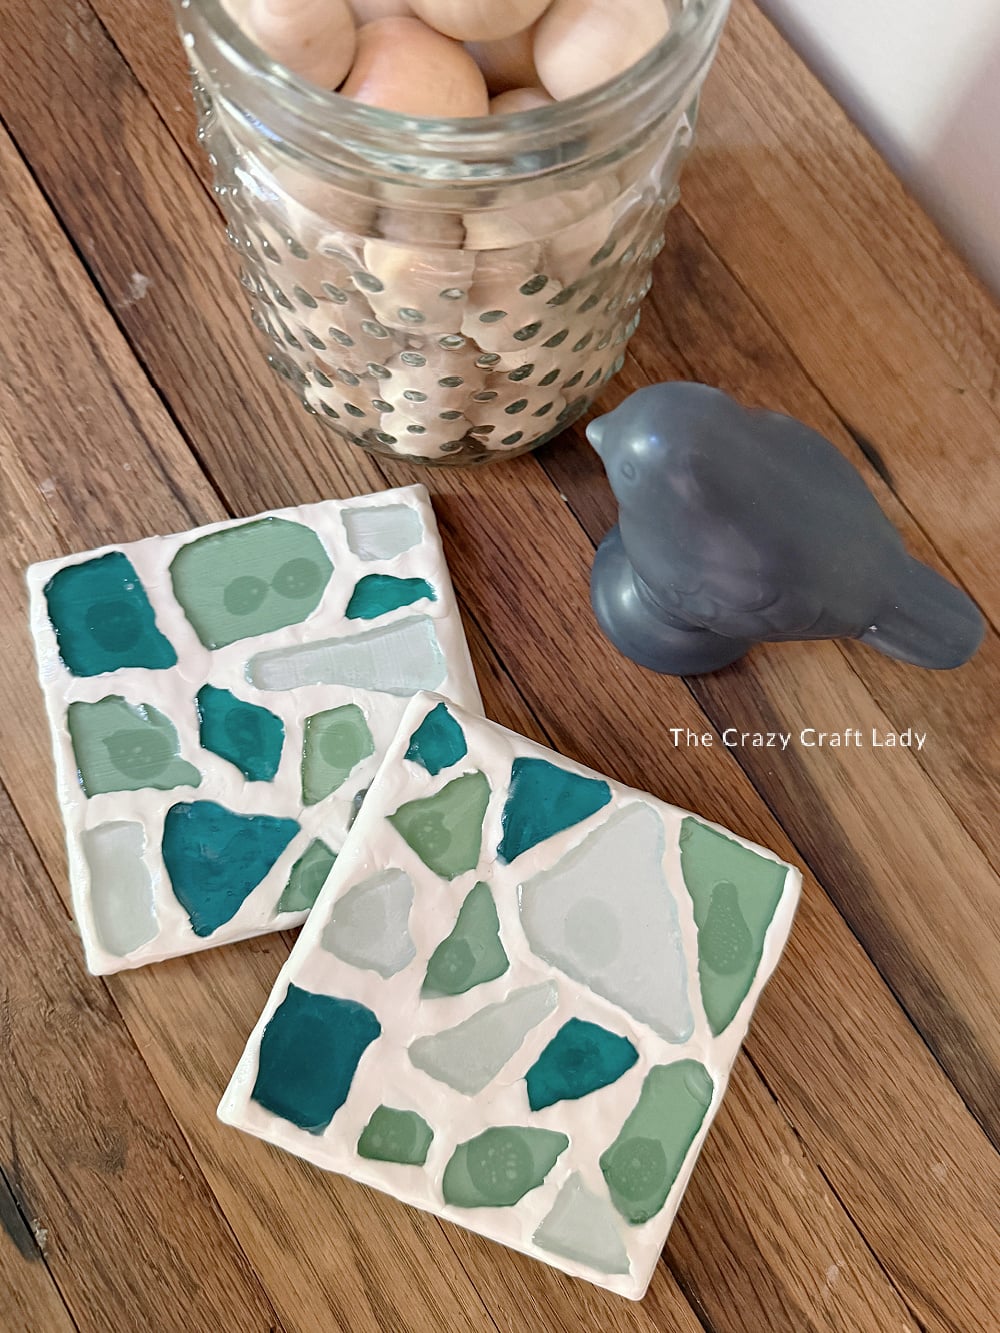
These turned out so pretty. They’ve got that beachy, mosaic look without needing any fancy tools or messy grout, and I love that each one comes out a little different depending on how you arrange the sea glass colors.
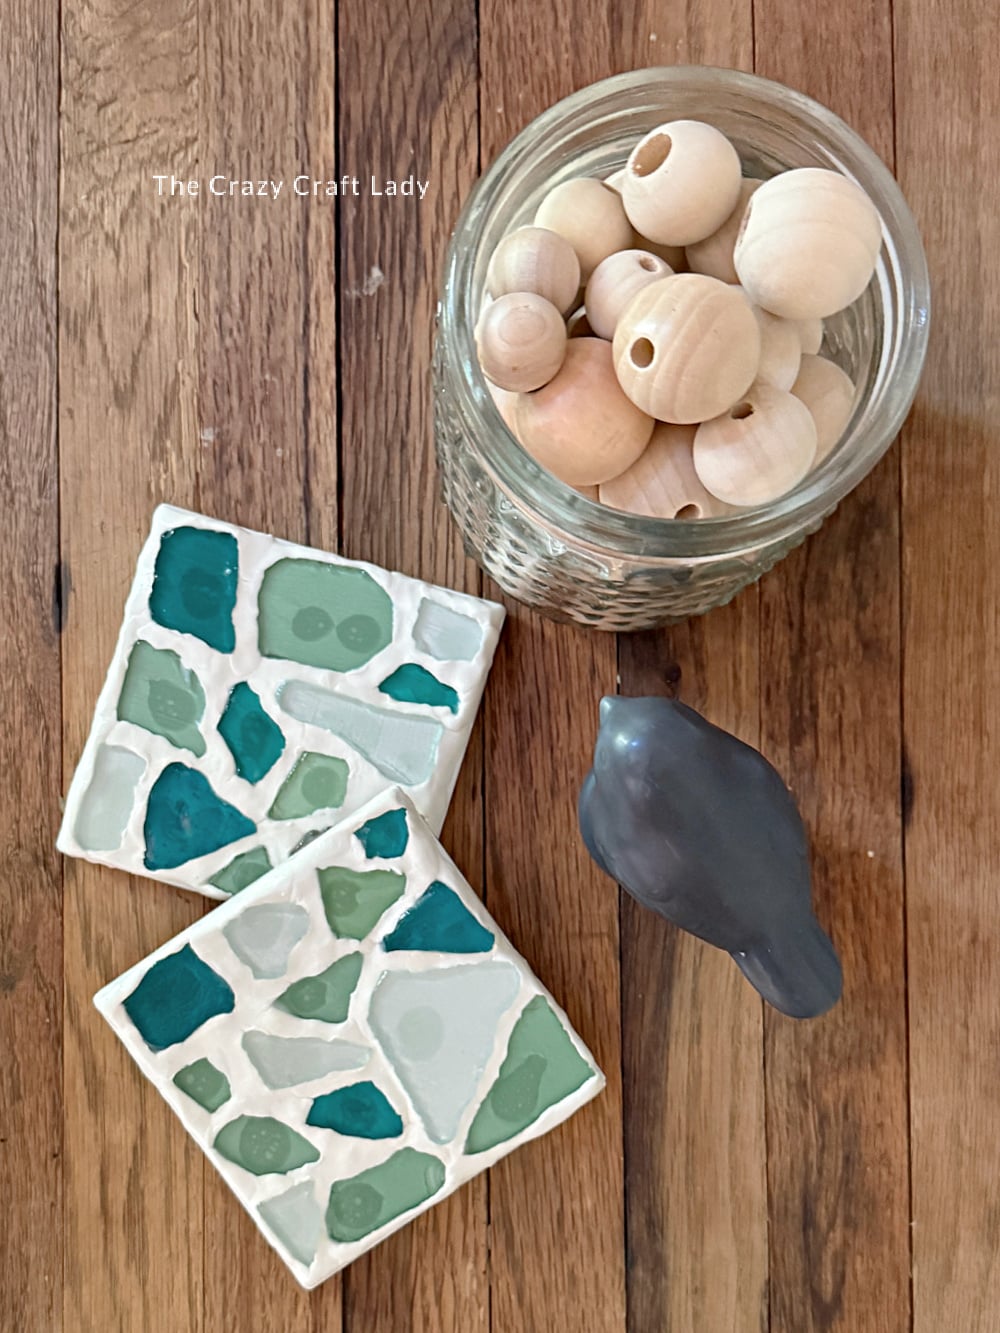
They’d be cute for summer decor, coastal decor, a little lake house vibe, or even as a handmade gift.
And because this is a Dollar Tree craft, if you mess one up? You’re out about a dollar and some fake sea glass. We love a low-stakes craft around here.
PIN this Craft for Later: