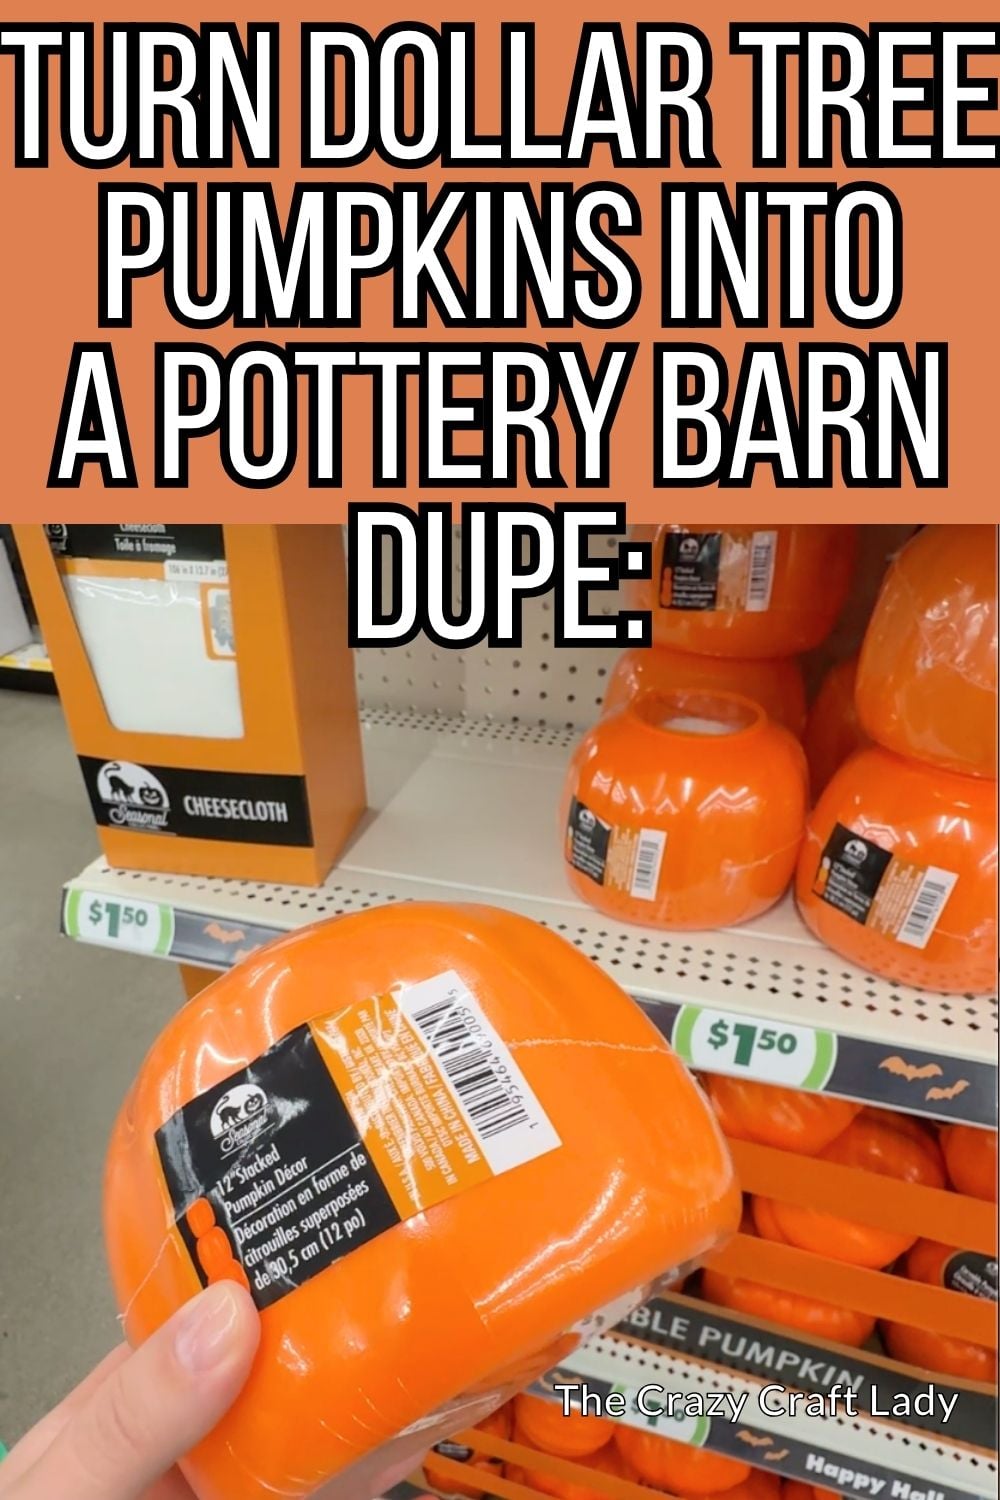
Make DIY glossy green stacked pumpkins with Dollar Tree finds, olive green paint, antique gold accents, and a shiny finish.
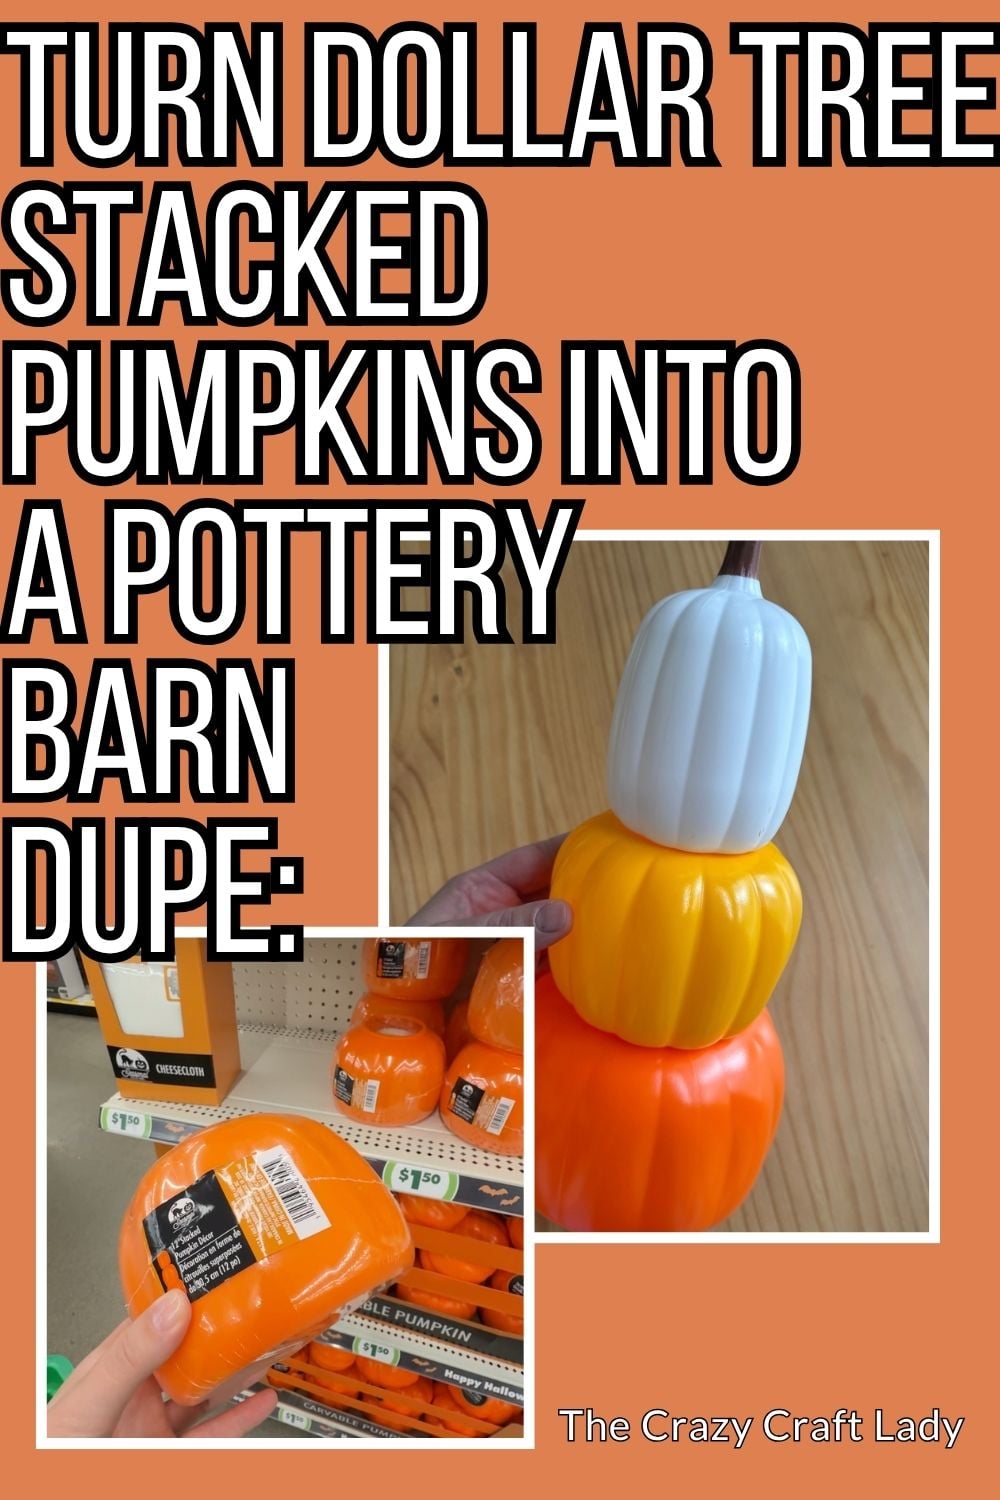
Dollar Tree Pottery Barn Pumpkin Dupe: Glossy Green Stacked Pumpkins
This post contains some affiliate links for your convenience. Click here to read my full disclosure policy.
I love the glossy green pumpkins from Pottery Barn, but I wanted to see if I could get a similar look for less. When I spotted a stack of three little plastic pumpkins at Dollar Tree, I knew they were perfect for the experiment.
These DIY glossy green stacked pumpkins get their color from layers of olive green paint, a little antique gold, and a darker green applied with crumpled plastic wrap. A few light coats of clear gloss spray give them that beautiful shine. Let’s paint some pumpkins!
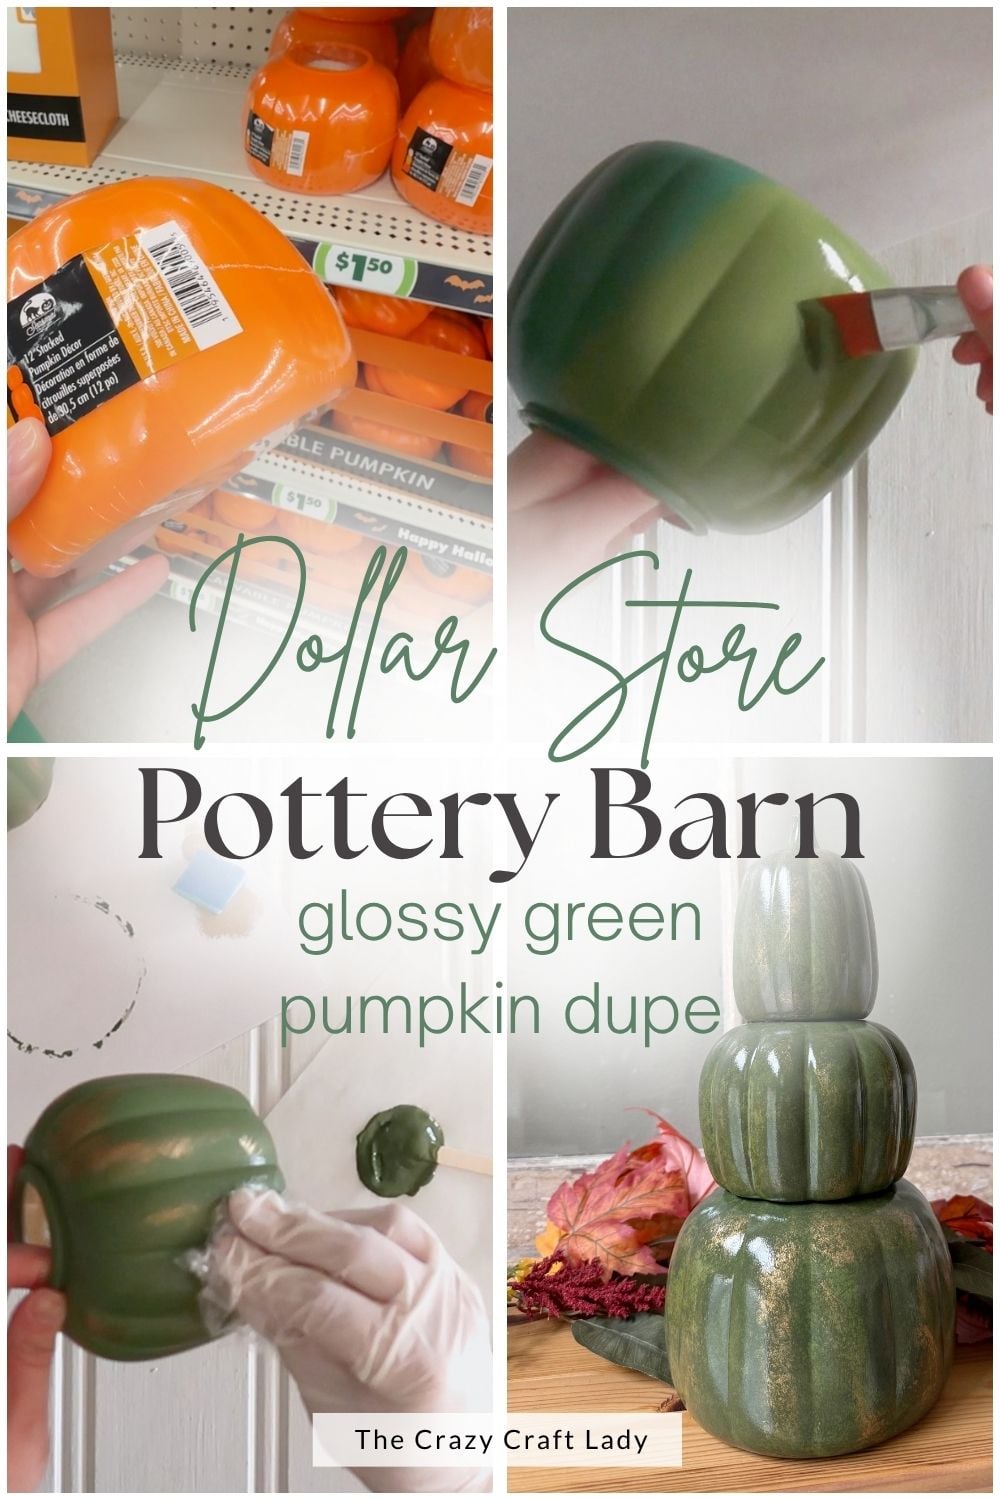
Supplies needed to make this pumpkin stack craft:
- Dollar Tree stacked plastic pumpkins, 3 – small, medium, and large
- Spray paint or spray primer, I used green
- Olive green craft paint
- A little black craft paint
- Antique Gold Rub ’n Buff
- Flat 1-inch paintbrush
- Small piece of clean dish sponge
- Plastic wrap
- Disposable glove, optional
- Scrap parchment paper or a paper plate
- Clear gloss enamel spray
*I used Rust-Oleum spray paint and primer in Moss Green, FolkArt Matte paint in Crocodile, and Rust-Oleum Crystal Clear Enamel Spray. You can choose a different green if you have one you love.
How to Make DIY Glossy Green Stacked Pumpkins
Step 1. Watch the video
Watch the video located above right here in this blog post to see how I use the plastic wrap to build up that mottled finish. This video also features my Pottery Barn Terracotta Jack-o’-Lantern Dupe first, and the glossy green pumpkin stack begins at the 12:43 mark.
Step 2. Give the pumpkins a spray-painted base coat
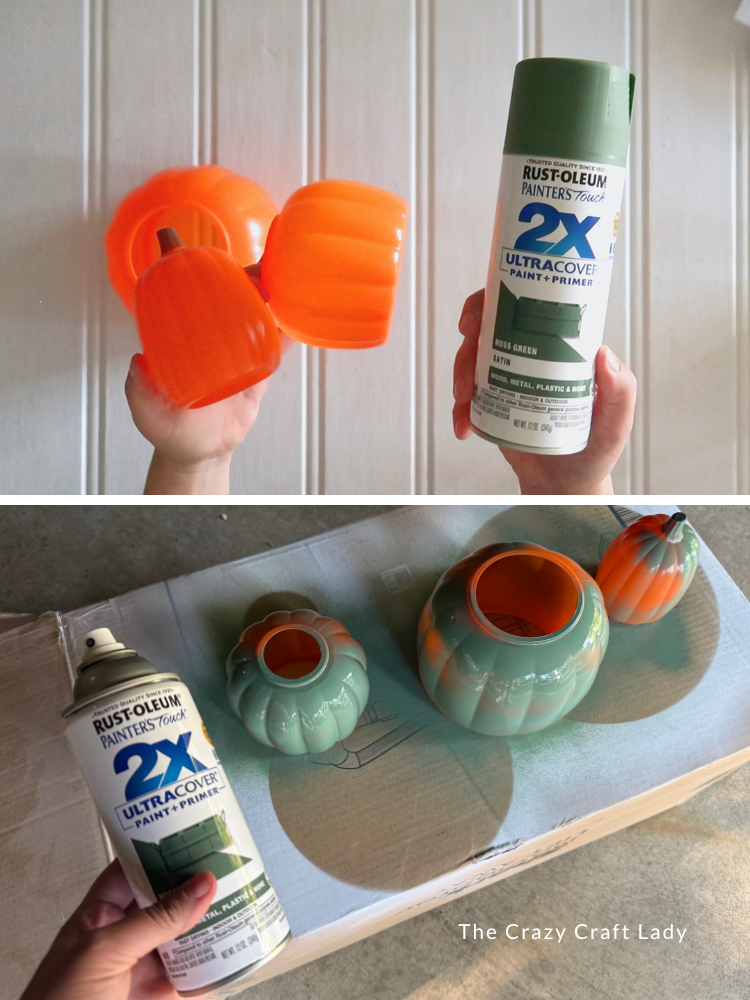
Separate the three plastic pumpkins so you can paint each one. Give them a quick coat of spray paint or spray primer in a well-ventilated area, then let them dry. I used Moss Green because I had it, but white primer works too. This base coat helps the craft paint adhere to the plastic.
Step 3. Paint all three pumpkins green
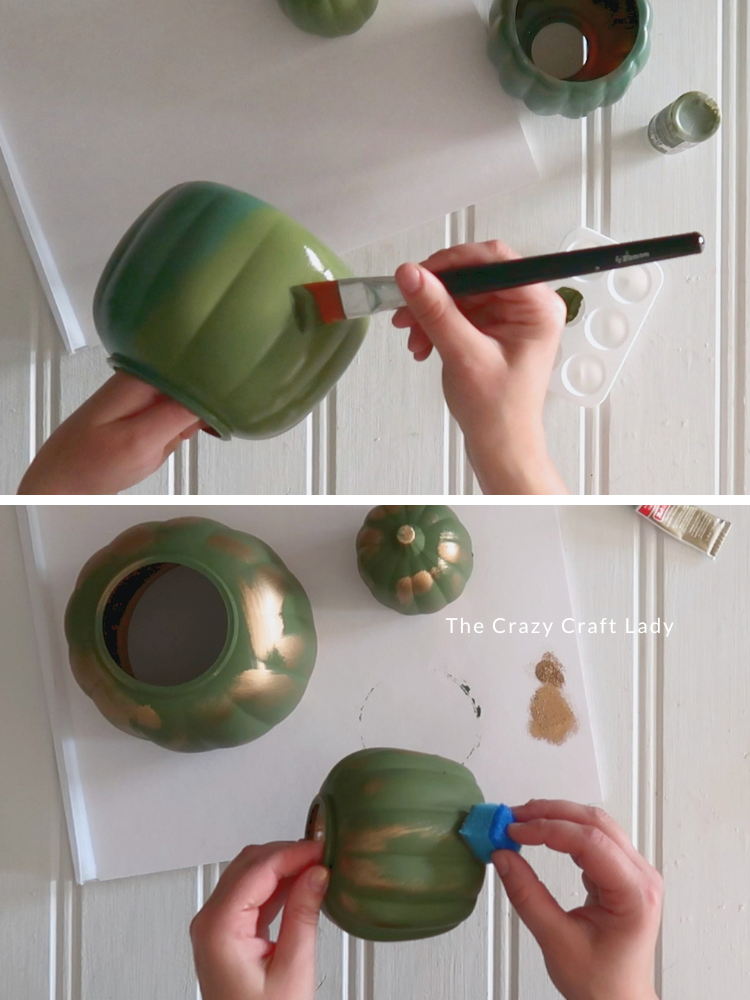
Use a flat brush to cover each pumpkin with olive green craft paint, getting into the grooves as you go. My color was FolkArt Crocodile, but this would be pretty in another shade of green—or whatever color you want for your own version. Let the paint dry.
Step 4. Add antique gold accents
Cut a small square from a clean dish sponge. Dab it into Antique Gold Rub ’n Buff, pounce off the excess, and lightly brush it over random spots on each pumpkin.
You can use a little more gold than you might expect here. Another layer of paint is coming, so much of it will be covered. The bits that peek through at the end give the pumpkins that aged look.
Step 5. Mix a darker green
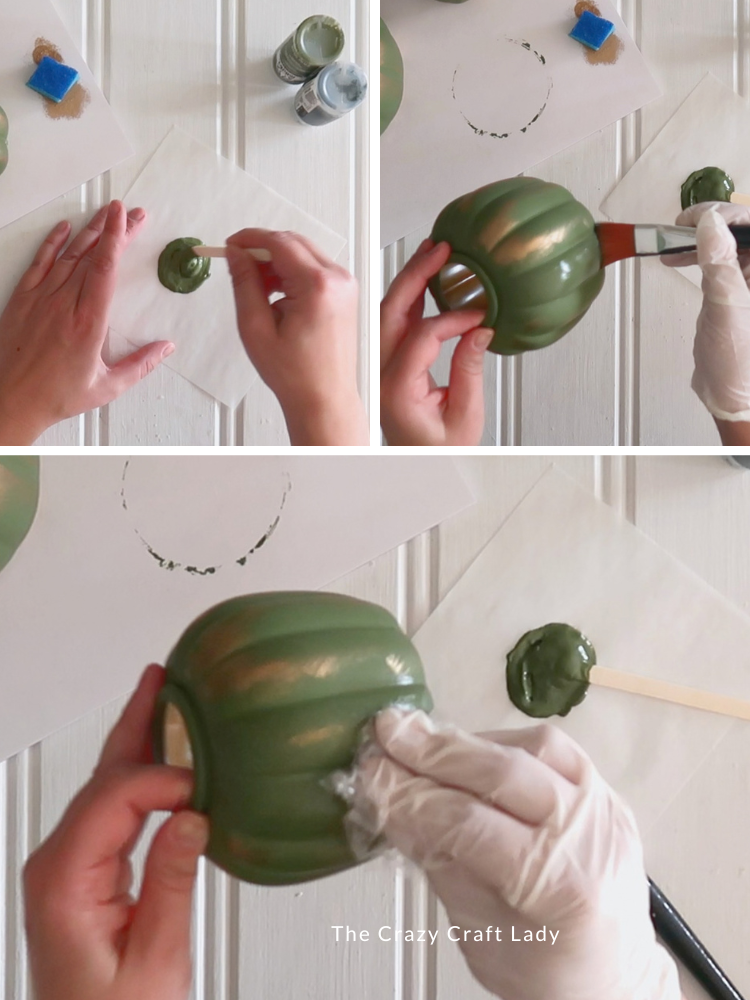
Put a little of your olive green paint on a paper plate or piece of parchment paper. Mix in a small amount of black paint until the color is just a shade darker than the original green. You want a subtle difference between the two layers.
Step 6. Pounce on the darker paint
Work on one section of a pumpkin at a time. Brush on a little darker green paint, including in the grooves, then press a crumpled piece of plastic wrap over it. Keep pouncing to spread the paint into an uneven pattern.
Let some of the lighter green and antique gold show through. That variation is what gives the finish its character. You can also dip the plastic wrap directly into the darker paint and pounce it onto the pumpkin wherever you want more coverage. Repeat on all three pumpkins and let them dry.
Step 7. Build up the glossy finish
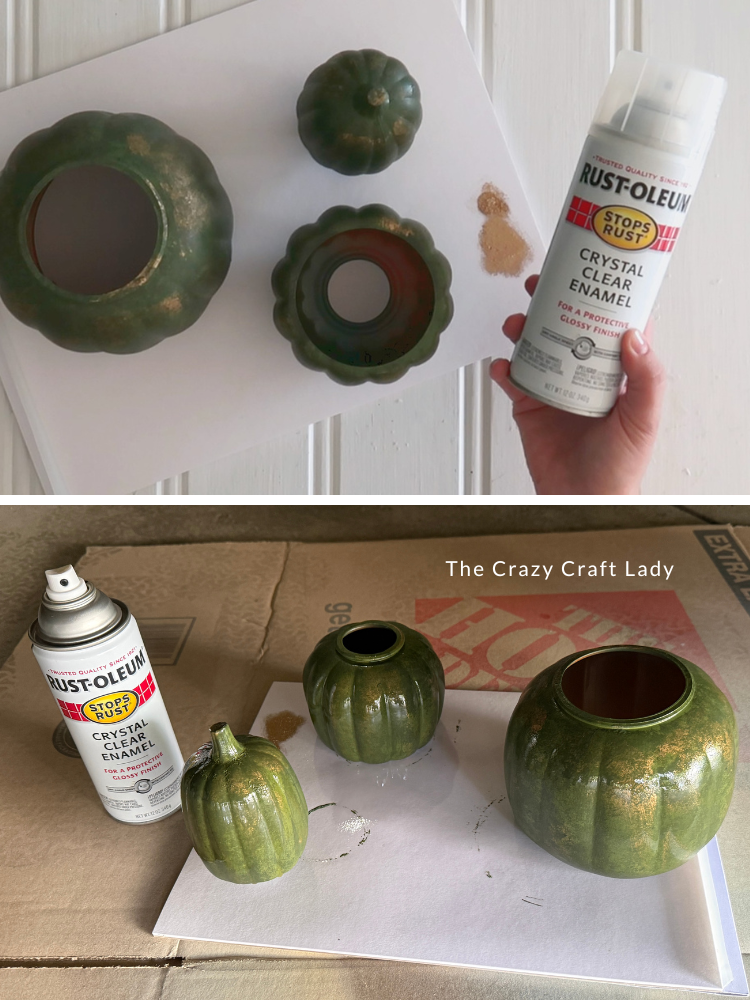
Take the pumpkins outside and spray them with clear gloss enamel. Apply very light coats, allowing them to dry according to the directions on your spray can before adding the next. I used about five light coats to get the shine I wanted. Heavy coats can run, so take your time with this step.
Step 8. Stack the pumpkins
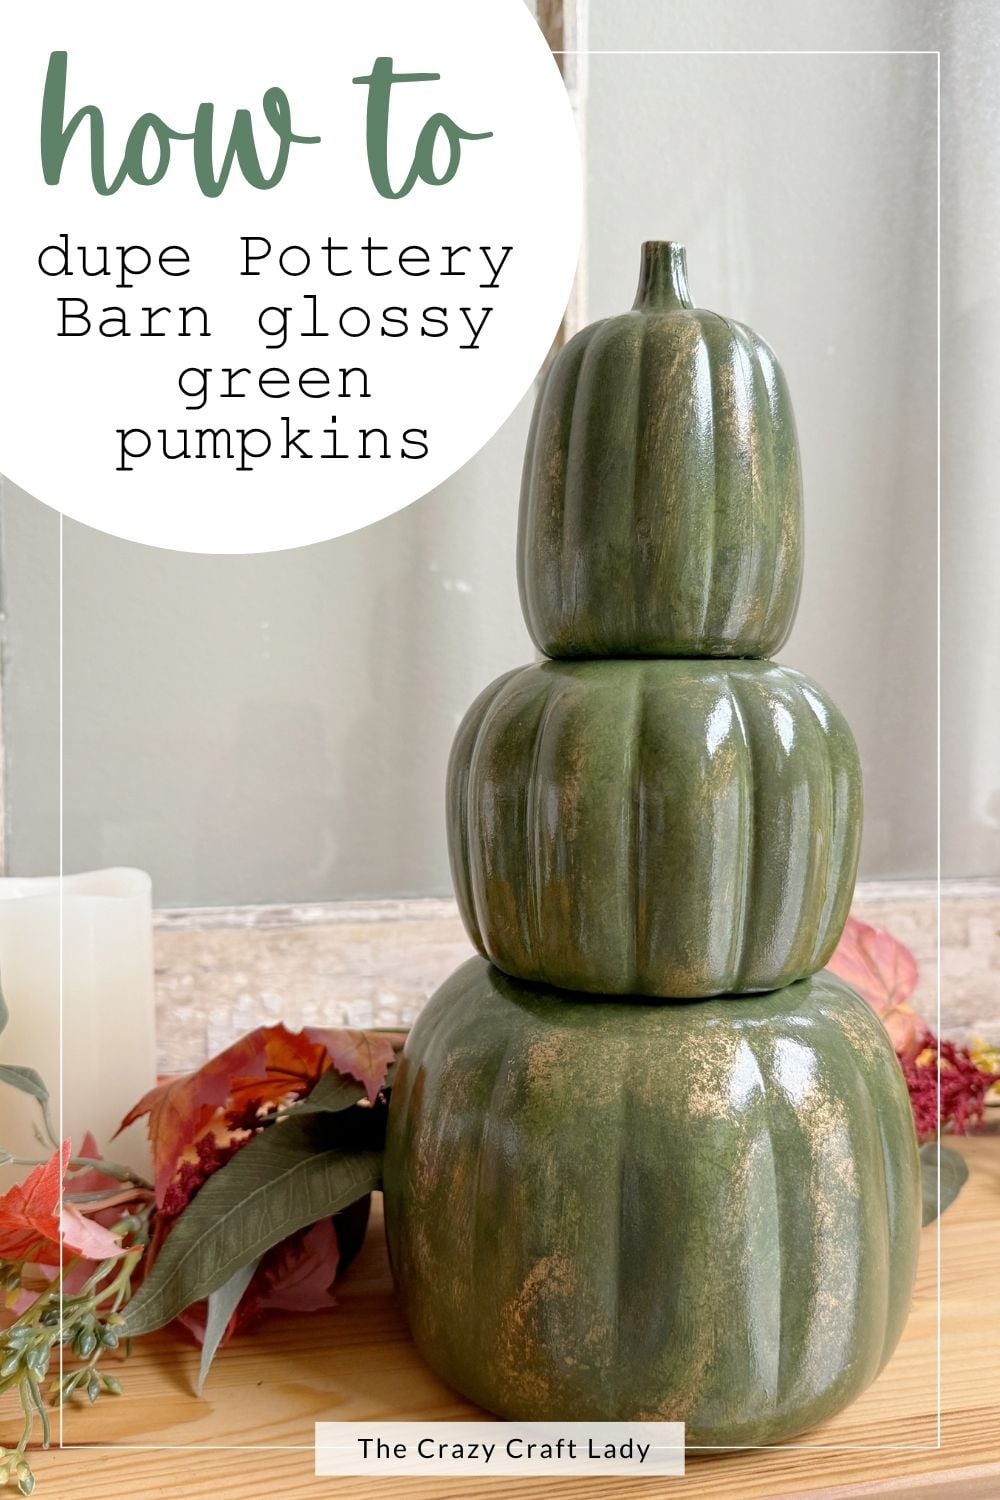
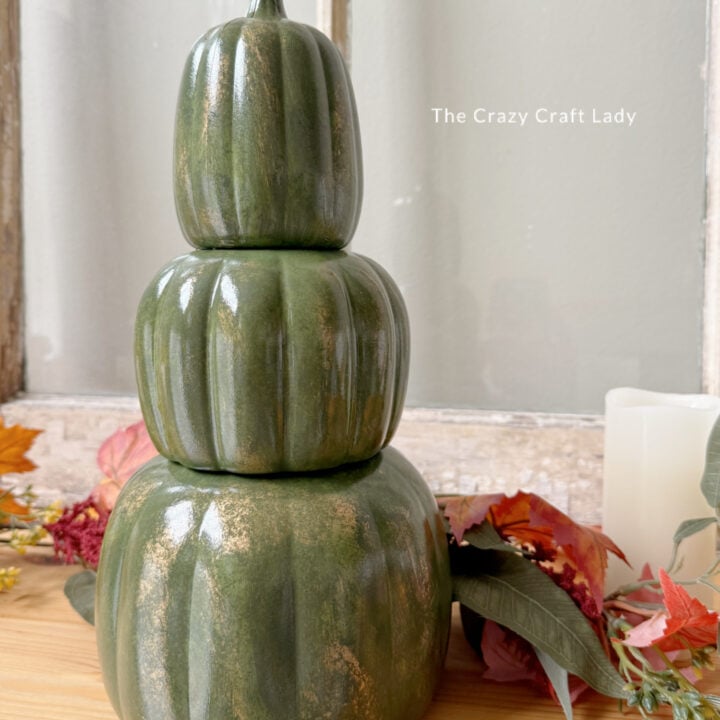
Once the finish is dry, put the three pumpkins back together. The darker green texture, little flashes of gold, and glossy topcoat make these Dollar Tree pumpkins look so much closer to my Pottery Barn inspiration. This one was especially fun to paint!
The Finished Pumpkin Stack Craft
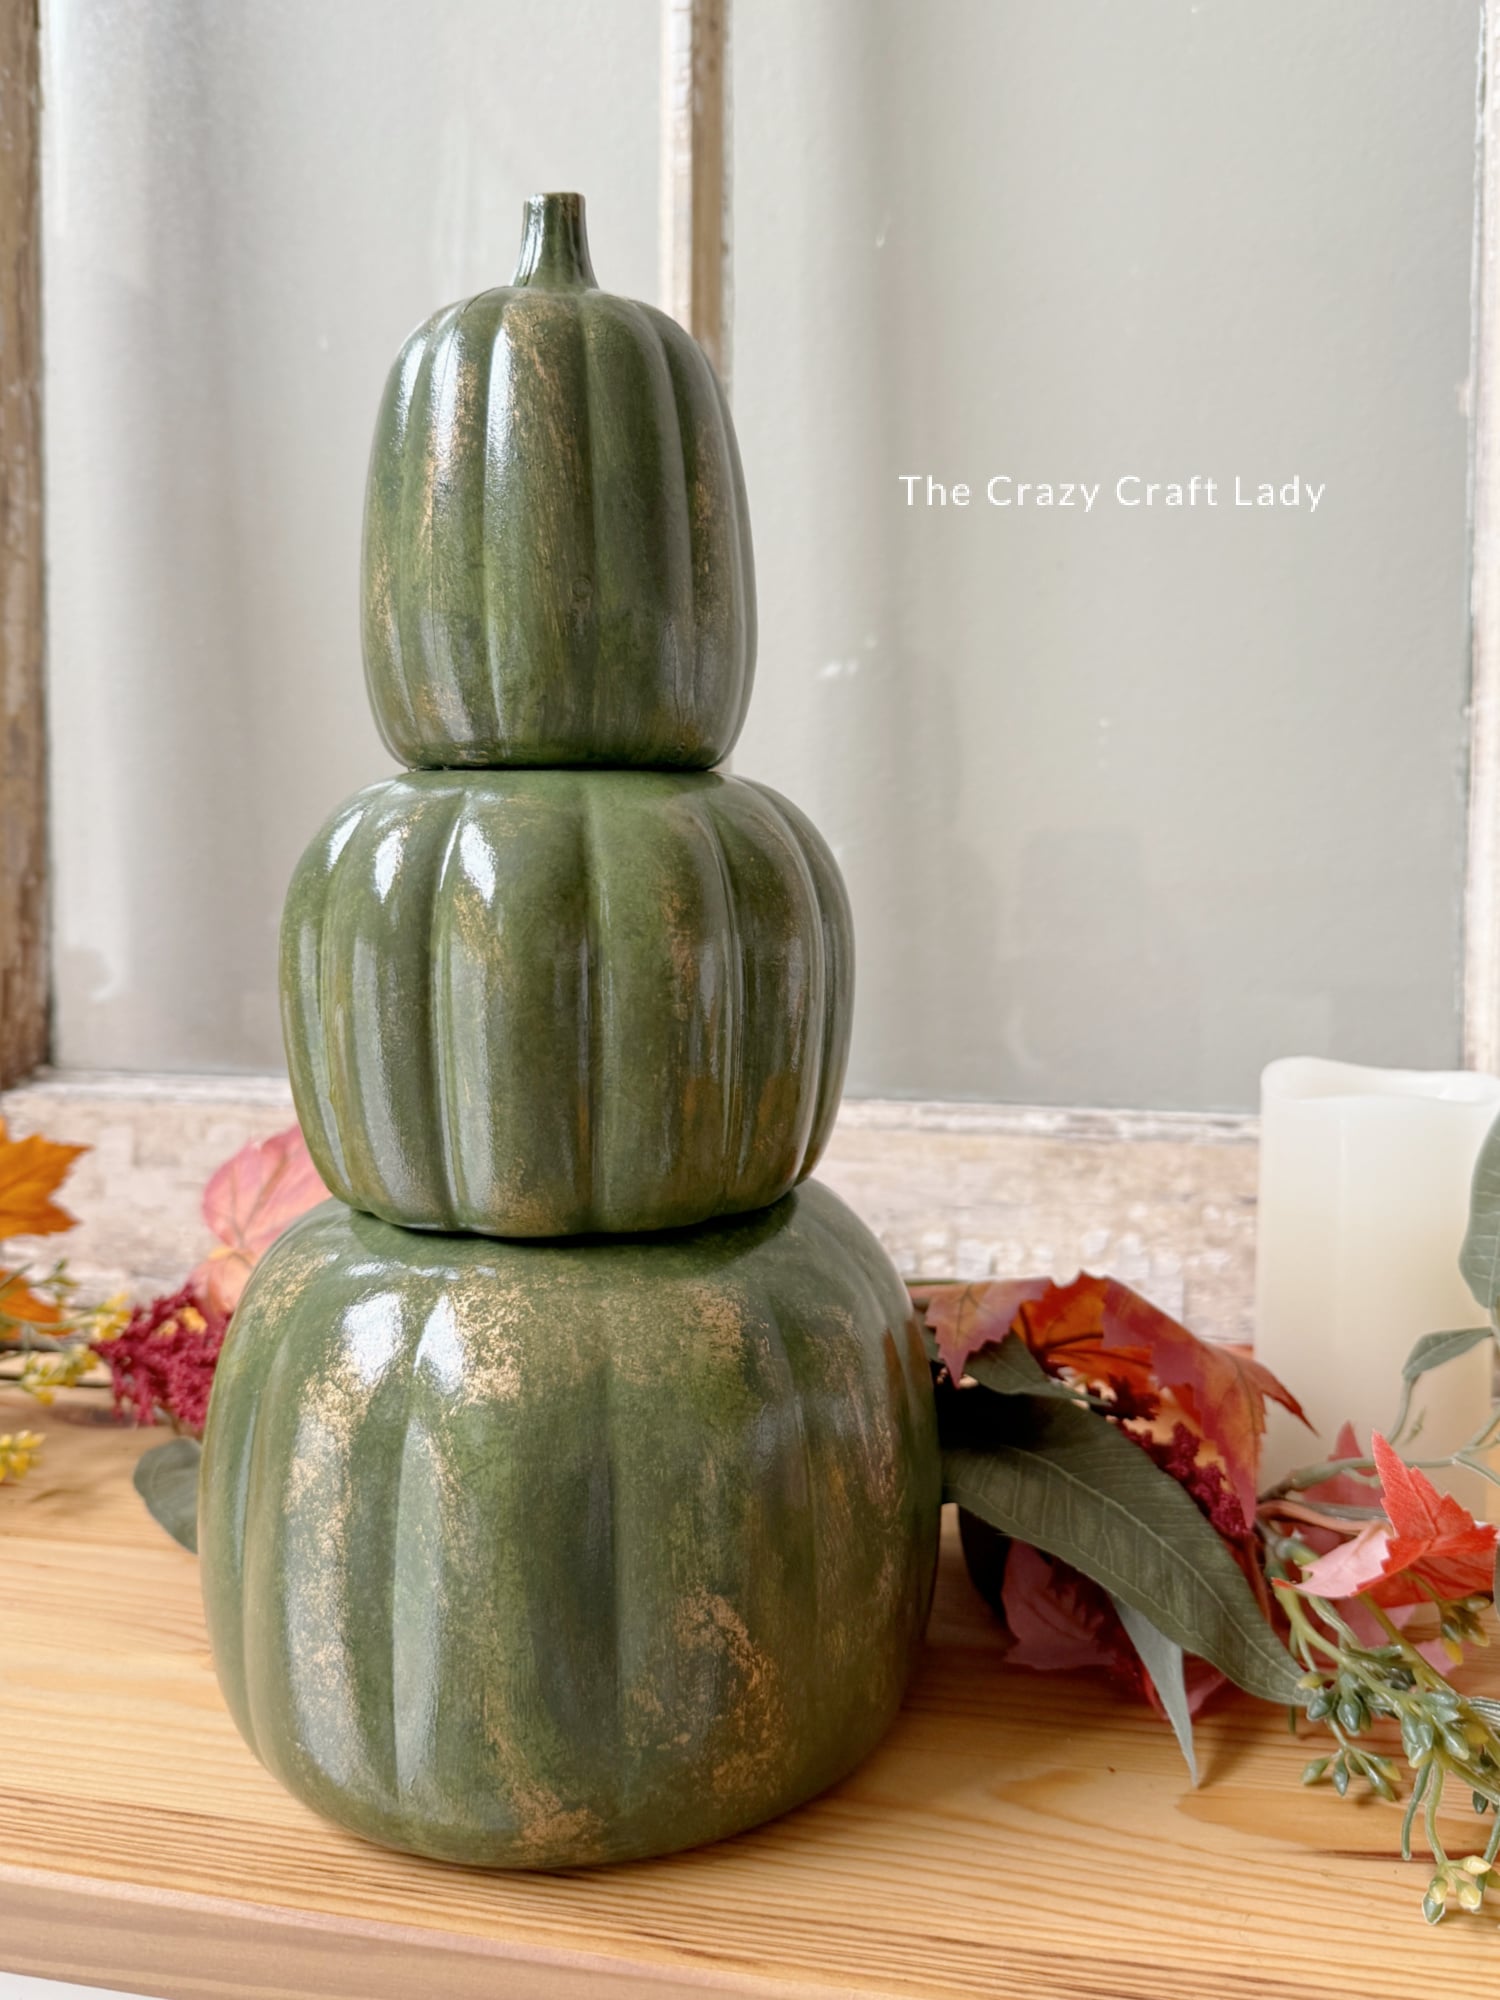
I’m so happy with how these DIY glossy green stacked pumpkins turned out. The gold peeking through the layered greens gives them an aged look, while the glossy finish makes the whole stack shine.
The plastic wrap step is fun to play with, too. Leave more of the lighter green showing, or add more dark green until you like the finish. Either way, those little Dollar Tree pumpkins look awfully cute stacked back together.
PIN this Fall Pottery Barn Dupe for Later:
DIY Glossy Green Stacked Pumpkins
Learn how to make DIY glossy green stacked pumpkins using a simple plastic wrap painting technique and clear gloss spray.
Materials
- Dollar Tree stacked plastic pumpkins
- Spray paint or spray primer
- Olive green craft paint
- A little black craft paint
- Antique Gold Rub ’n Buff
- Small piece of clean dish sponge
- Plastic wrap
- Disposable glove
- Scrap parchment paper or a paper plate
- Clear gloss enamel spray
Tools
- Flat 1-inch paintbrush
Instructions
- Watch the video located above right here in this blog post to see the plastic wrap painting technique.
- Separate the three plastic pumpkins. Spray each one with a light coat of spray paint or primer, then let dry.
- Paint all three pumpkins olive green, brushing into the grooves. Let the paint dry completely.
Dab Antique Gold Rub ’n Buff onto a small piece of sponge. Brush it lightly over random spots on each pumpkin. - Mix a little black paint into the olive green paint to make a shade that’s slightly darker than the base coat.
- Working in sections, brush the darker green onto a pumpkin. Pounce crumpled plastic wrap over the wet paint, leaving some lighter green and gold visible. Repeat on all three pumpkins and let dry.
- Spray the pumpkins with several very light coats of clear gloss enamel, following the can’s drying directions between coats. I used about five coats.
- When fully dry, put the pumpkins back together in a stack.